Note
Access to this page requires authorization. You can try signing in or changing directories.
Access to this page requires authorization. You can try changing directories.
A multi-block is a collection of individual blocks that behave as one single block, such as a door or a bed. When you place a multi-block, all its component blocks are placed at once; if a player breaks any part, the entire multi-block will break. Player and Redstone interactions have the same behavior: any interaction with a single block within the multi-block interacts with all the blocks.
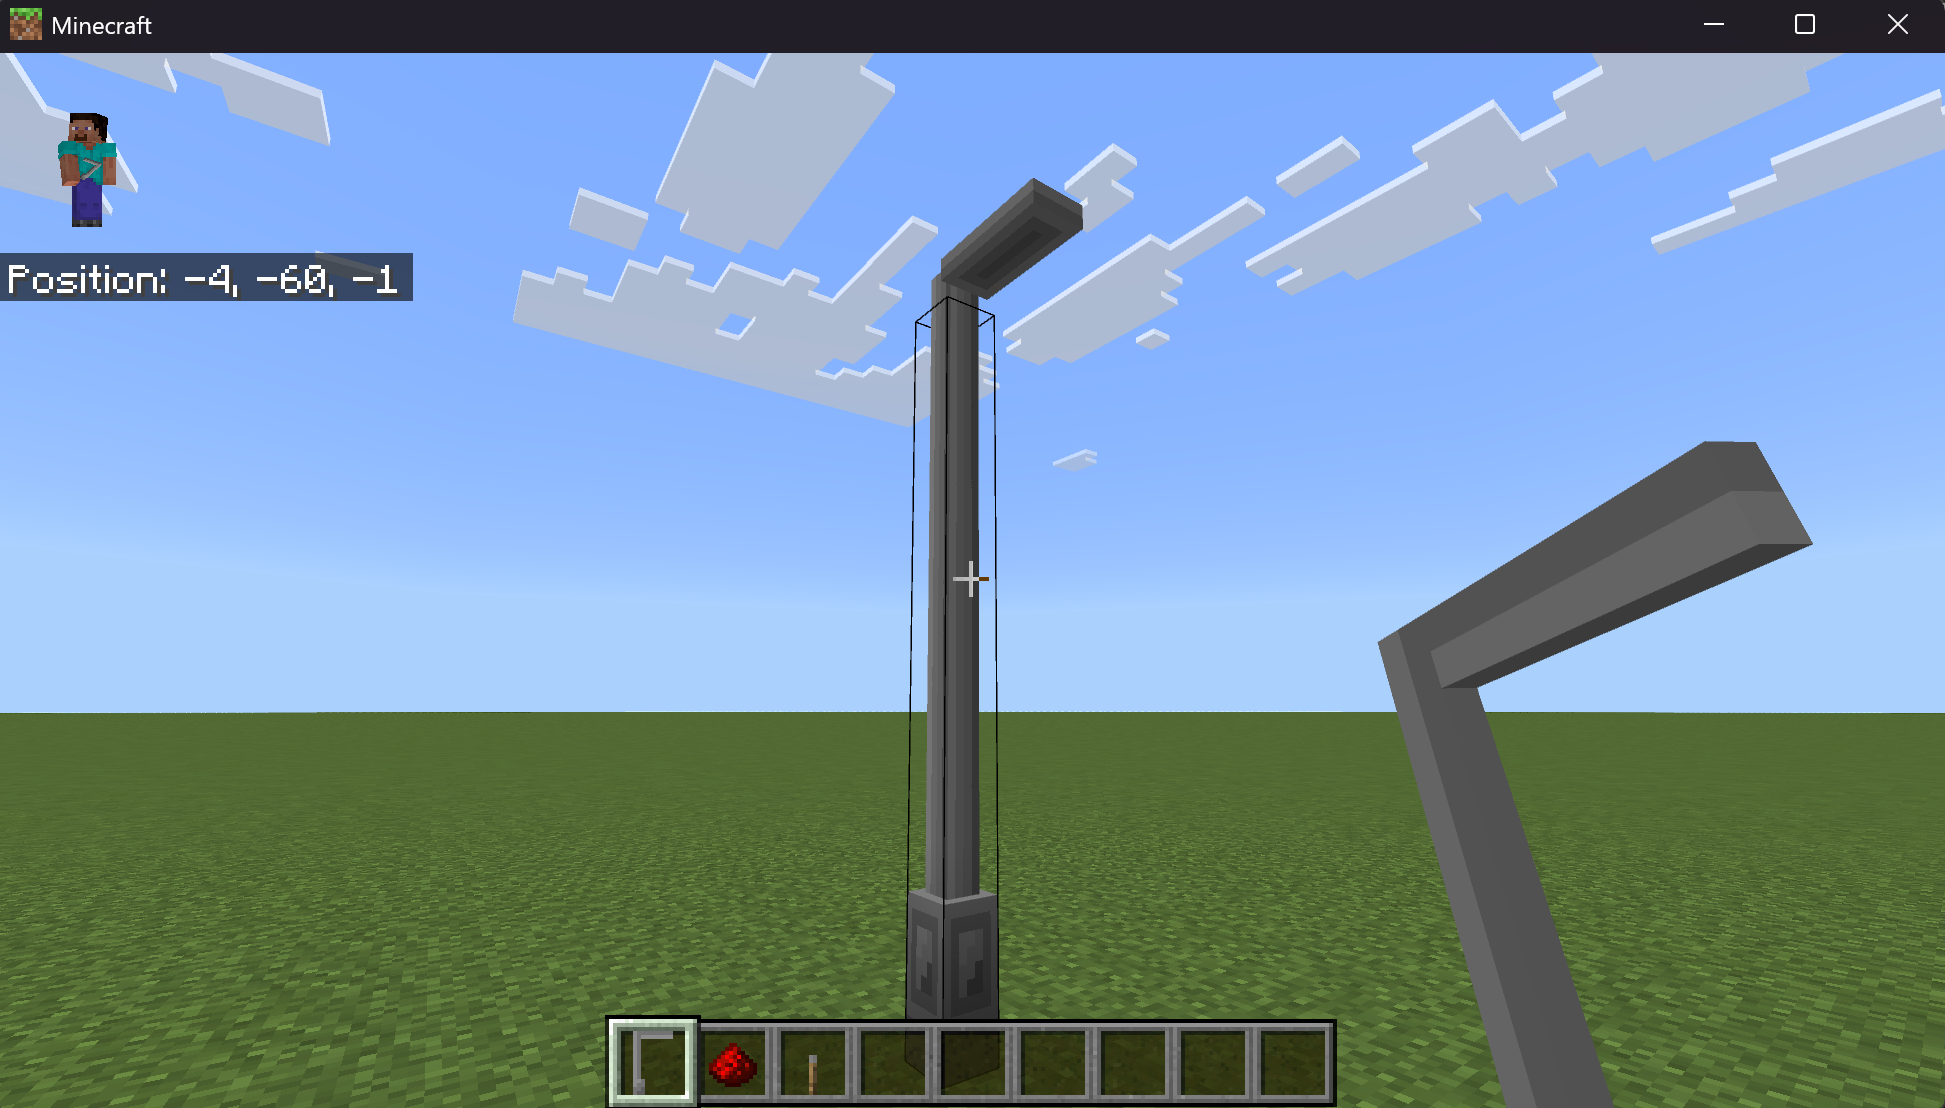
In this tutorial, we'll be examining the four-part light post multi-block from the Minecraft Samples repository.
Definition
Here's how the light post in the Samples repo is defined.
The multi-block trait
First, we use a new block trait, minecraft:multi_block. This trait gives the block a new state called minecraft:multi_block_part; the values of this new state correspond to the individual block parts. 0 indicates the light post's starting block, and 2 indicates the end block.
The multi-block trait has two properties:
directionindicates which direction to place the parts from start to end in a single axis. This field supports two values,"up"and"down"(that is, vertical multi-blocks).partsis optional; it specifies how many block parts there are, from2to4. The default is2.
Note
The direction property can accept any valid direction, but the first iteration of multi-blocks only supports up and down.
First, let's define the light post without any components:
{
  "format_version": "1.26.1",
  "minecraft:block": {
	"description": {
	  "identifier": "multiblock:light",
	  "traits": {
		"minecraft:multi_block": {
		  "enabled_states": [
			"minecraft:multi_block_part"
		  ],
		  "parts": 4,
		  "direction": "up"
		}
	  }
	},
	"components": {
	}
  }
}
Geometry and visuals
Next, we'll need to add geometry for our four block parts. The light post has three unique geometries:
| Geometry | Image |
|---|---|
| base | 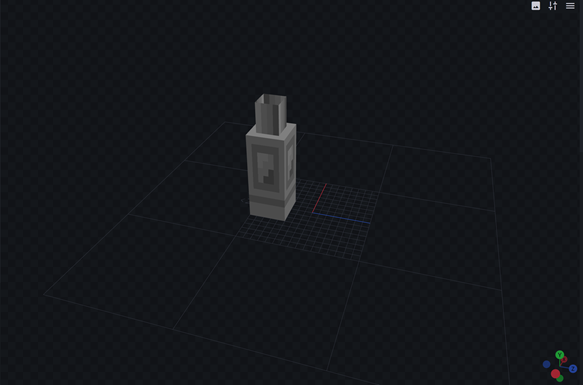 |
| pole | 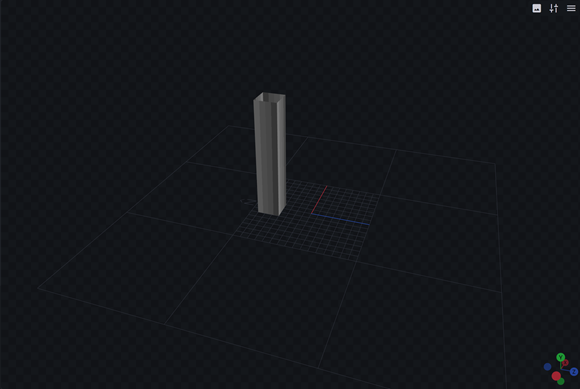 |
| light | 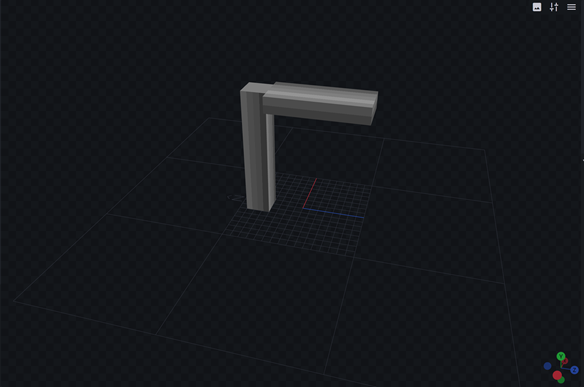 |
And, the geometries will use one of two textures:
| Texture | Image |
|---|---|
| light_on | 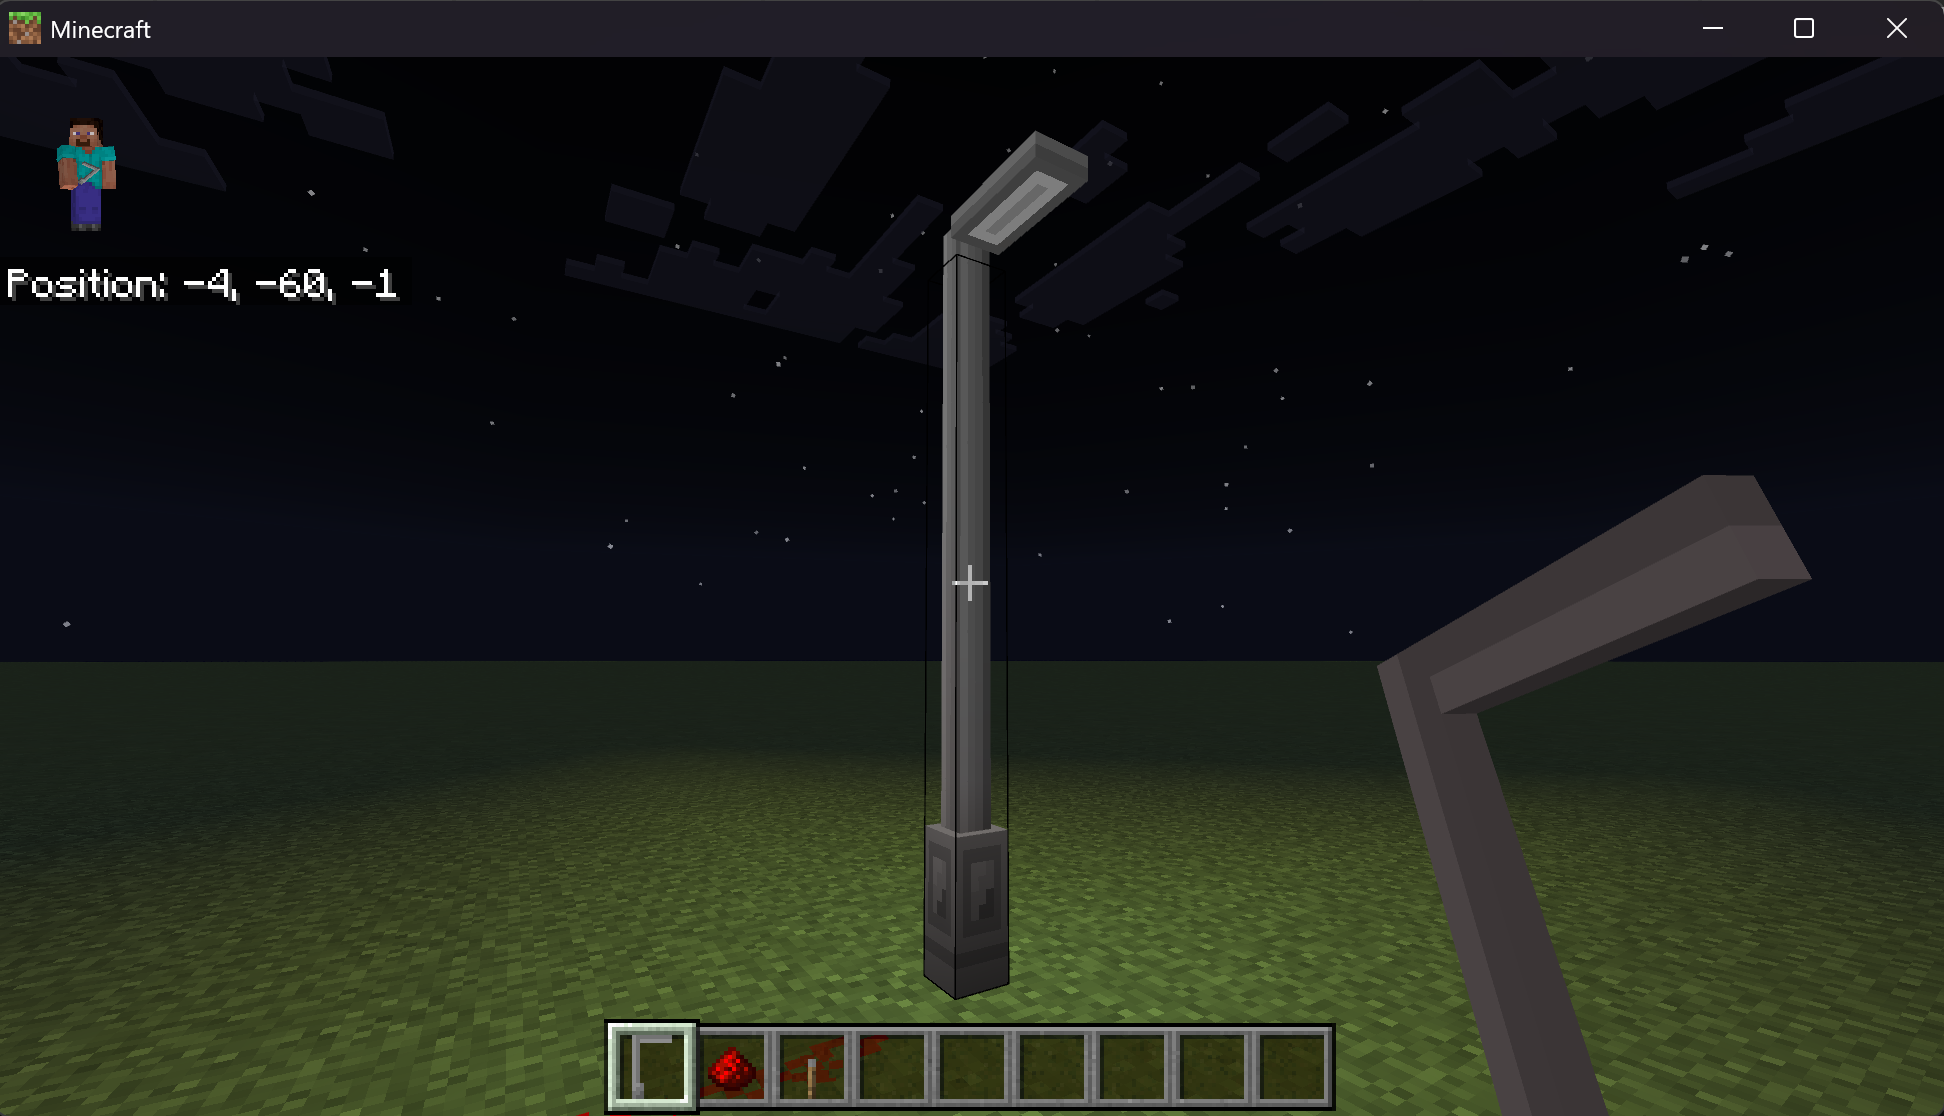 |
| light_off | 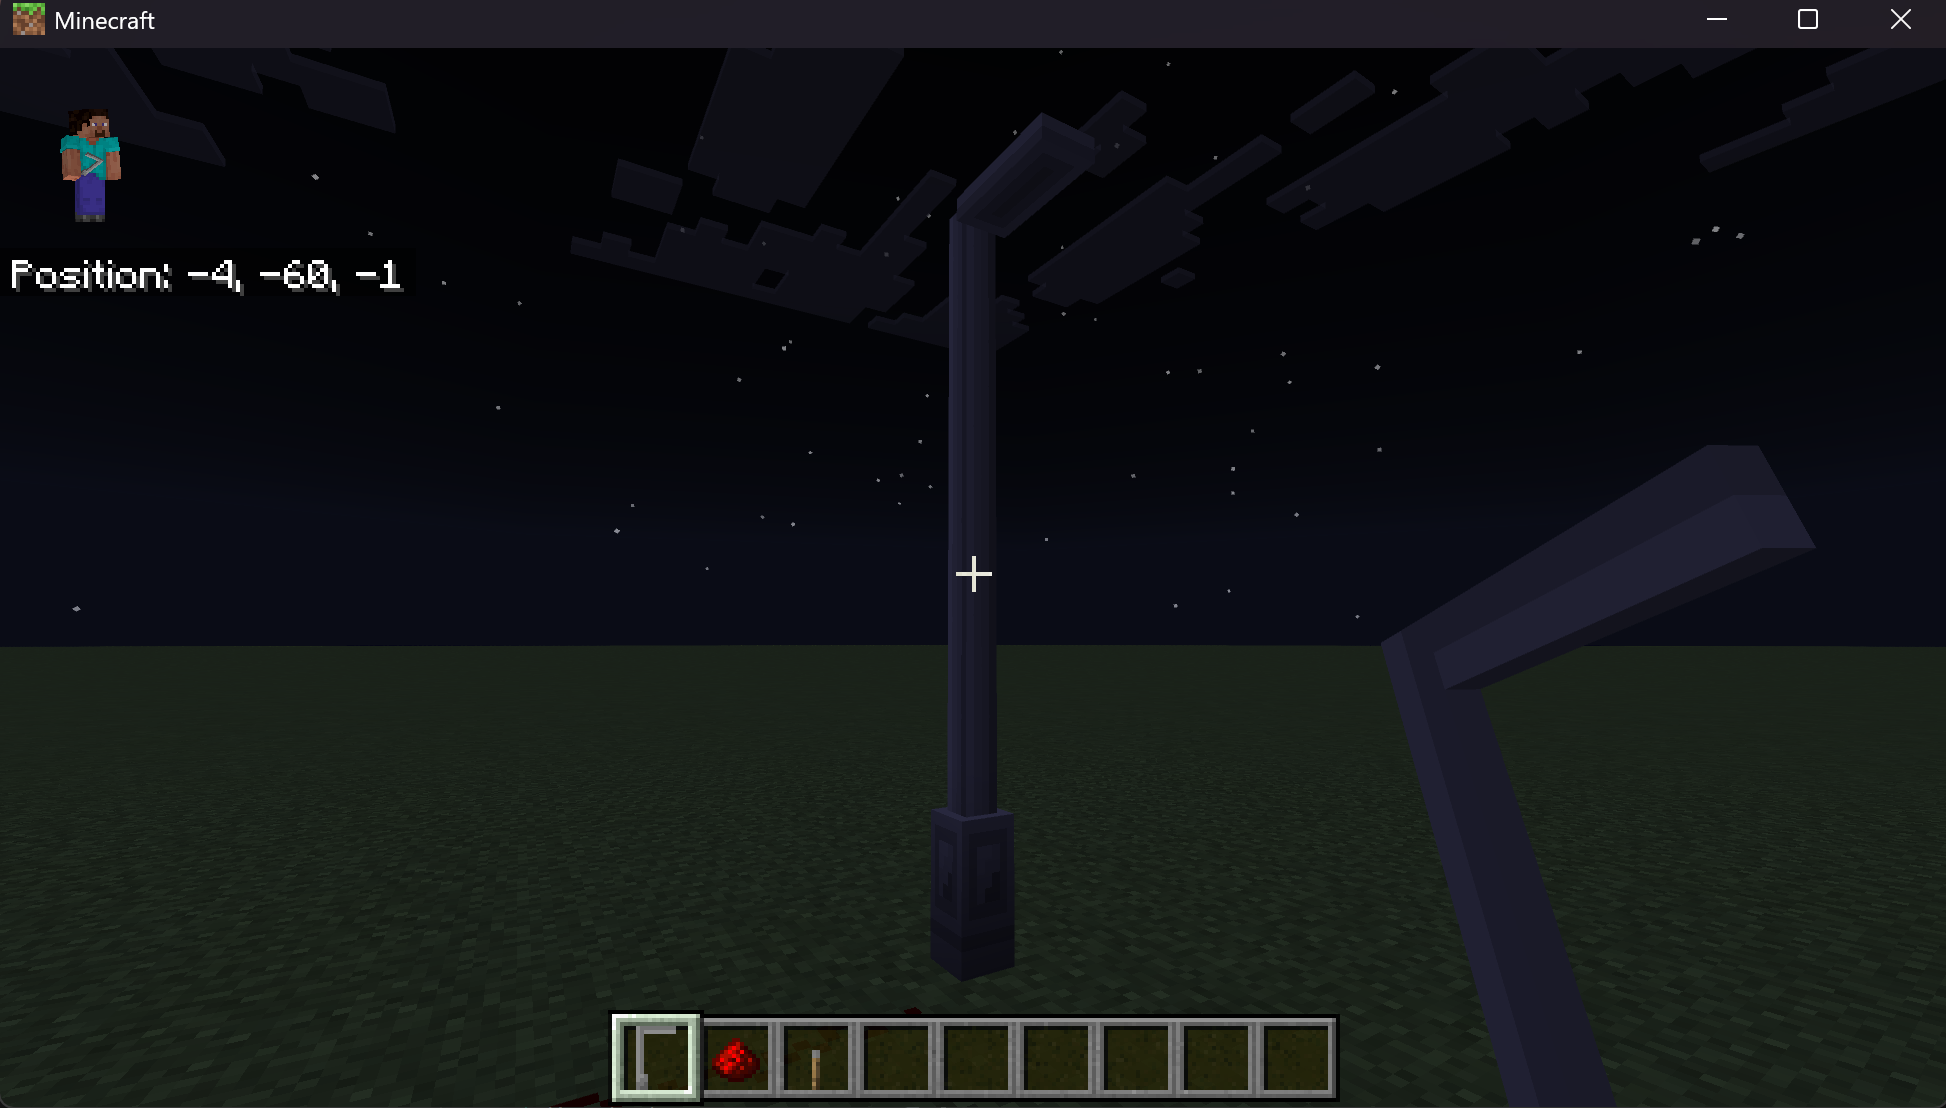 |
With these, we can set up the block parts. We'll also add some other components like collision_box, to let each block have a unique box for per-block collisions, and selection_box to allow cursor selection of the individual blocks in the multi-block. Selecting an individual block will still select the whole multi-block; the boxes are combined together for interaction purposes.
Here's the new block definition. Note that parts 1 and 2 share the same geometry, and part 3 chooses the on or off texture based on the multi_block:light_on state.
{
  "format_version": "1.26.1",
  "minecraft:block": {
	"description": {
	  "identifier": "multiblock:light",
	  "traits": {
		"minecraft:multi_block": {
		  "enabled_states": [
			"minecraft:multi_block_part"
		  ],
		  "parts": 4,
		  "direction": "up"
		}
	  },
	  "states": {
		"multi_block:light_on": [ false, true ]
	  }
	},
	"components": {
	  "minecraft:selection_box": {
		"origin": [-2, 0, -8],
		"size": [5, 12, 5]
	  },
	  "minecraft:geometry": "geometry.light_post_base",
	  "minecraft:material_instances": {
		"*": {
		  "texture": "light_post_off",
		  "render_method": "opaque"
		}
	  }
	},
	"permutations": [
	  {
		"condition": "q.block_state('minecraft:multi_block_part') == 0",
		"components": {
		  "minecraft:collision_box": {
			"origin": [-2, 0, -8],
			"size": [5, 12, 5]
		  },
		  "minecraft:geometry": "geometry.light_post_base"
		}
	  },
	  {
		"condition": "q.block_state('minecraft:multi_block_part') == 1 || q.block_state('minecraft:multi_block_part') == 2",
		"components": {
		  "minecraft:collision_box": {
			"origin": [-2, 0, -7],
			"size": [5, 16, 3]
		  },
		  "minecraft:geometry": "geometry.light_post_pole"
		}
	  },
	  {
		"condition": "q.block_state('minecraft:multi_block_part') == 3 && q.block_state('multi_block:light_on') == false",
		"components": {
		  "minecraft:collision_box": {
			"origin": [-2, 14, -7],
			"size": [5, 4, 15]
		  },
		  "minecraft:geometry": "geometry.light_post_light",
		  "minecraft:material_instances": {
			"*": {
			  "texture": "light_post_off",
			  "render_method": "opaque"
			}
		  }
		}
	  },
	  {
		"condition": "q.block_state('minecraft:multi_block_part') == 3 && q.block_state('multi_block:light_on') == true",
		"components": {
		  "minecraft:collision_box": {
			"origin": [-2, 14, -7],
			"size": [5, 4, 15]
		  },
		  "minecraft:geometry": "geometry.light_post_light",
		  "minecraft:material_instances": {
			"*": {
			  "texture": "light_post_on",
			  "render_method": "opaque"
			}
		  }
		}
	  }
	]
  }
}
Combining block traits
The multi-block trait can be combined with other block traits. For the light post, we'll add the placement_direction trait, which will allow the light post to rotate depending on the direction the player is facing.
Here's the updated definition file, with some parts elided to save a little space. For each cardinal direction state, we use the transformation component to apply a rotation to the block parts.
{
	"format_version": "1.26.1",
	"minecraft:block": {
		"description": {
			"identifier": "multiblock:light",
			"traits": {
				"minecraft:placement_direction": {
					"enabled_states": [
						"minecraft:cardinal_direction"
					]
				},
				"minecraft:multi_block": {
					"enabled_states": [
						"minecraft:multi_block_part"
					],
					"parts": 4,
					"direction": "up"
				}
			},
			"states": {
				"multi_block:light_on": [ false, true ]
			}
		},
		"components": {
			...
		},
		"permutations": [
		...,
		{
			"condition": "q.block_state('minecraft:cardinal_direction') == 'north'",
			"components": {
				"minecraft:transformation": {
					"rotation": [0,0,0]
				}
			}
		},
		{
			"condition": "q.block_state('minecraft:cardinal_direction') == 'south'",
			"components": {
				"minecraft:transformation": {
					"rotation": [0,180,0]
				}
			}
		},
		{
			"condition": "q.block_state('minecraft:cardinal_direction') == 'west'",
			"components": {
				"minecraft:transformation": {
					"rotation": [0,90,0]
				}
			}
		},
		{
			"condition": "q.block_state('minecraft:cardinal_direction') == 'east'",
			"components": {
				"minecraft:transformation": {
					"rotation": [0,270,0]
				}
			}
		}
		]
	}
}
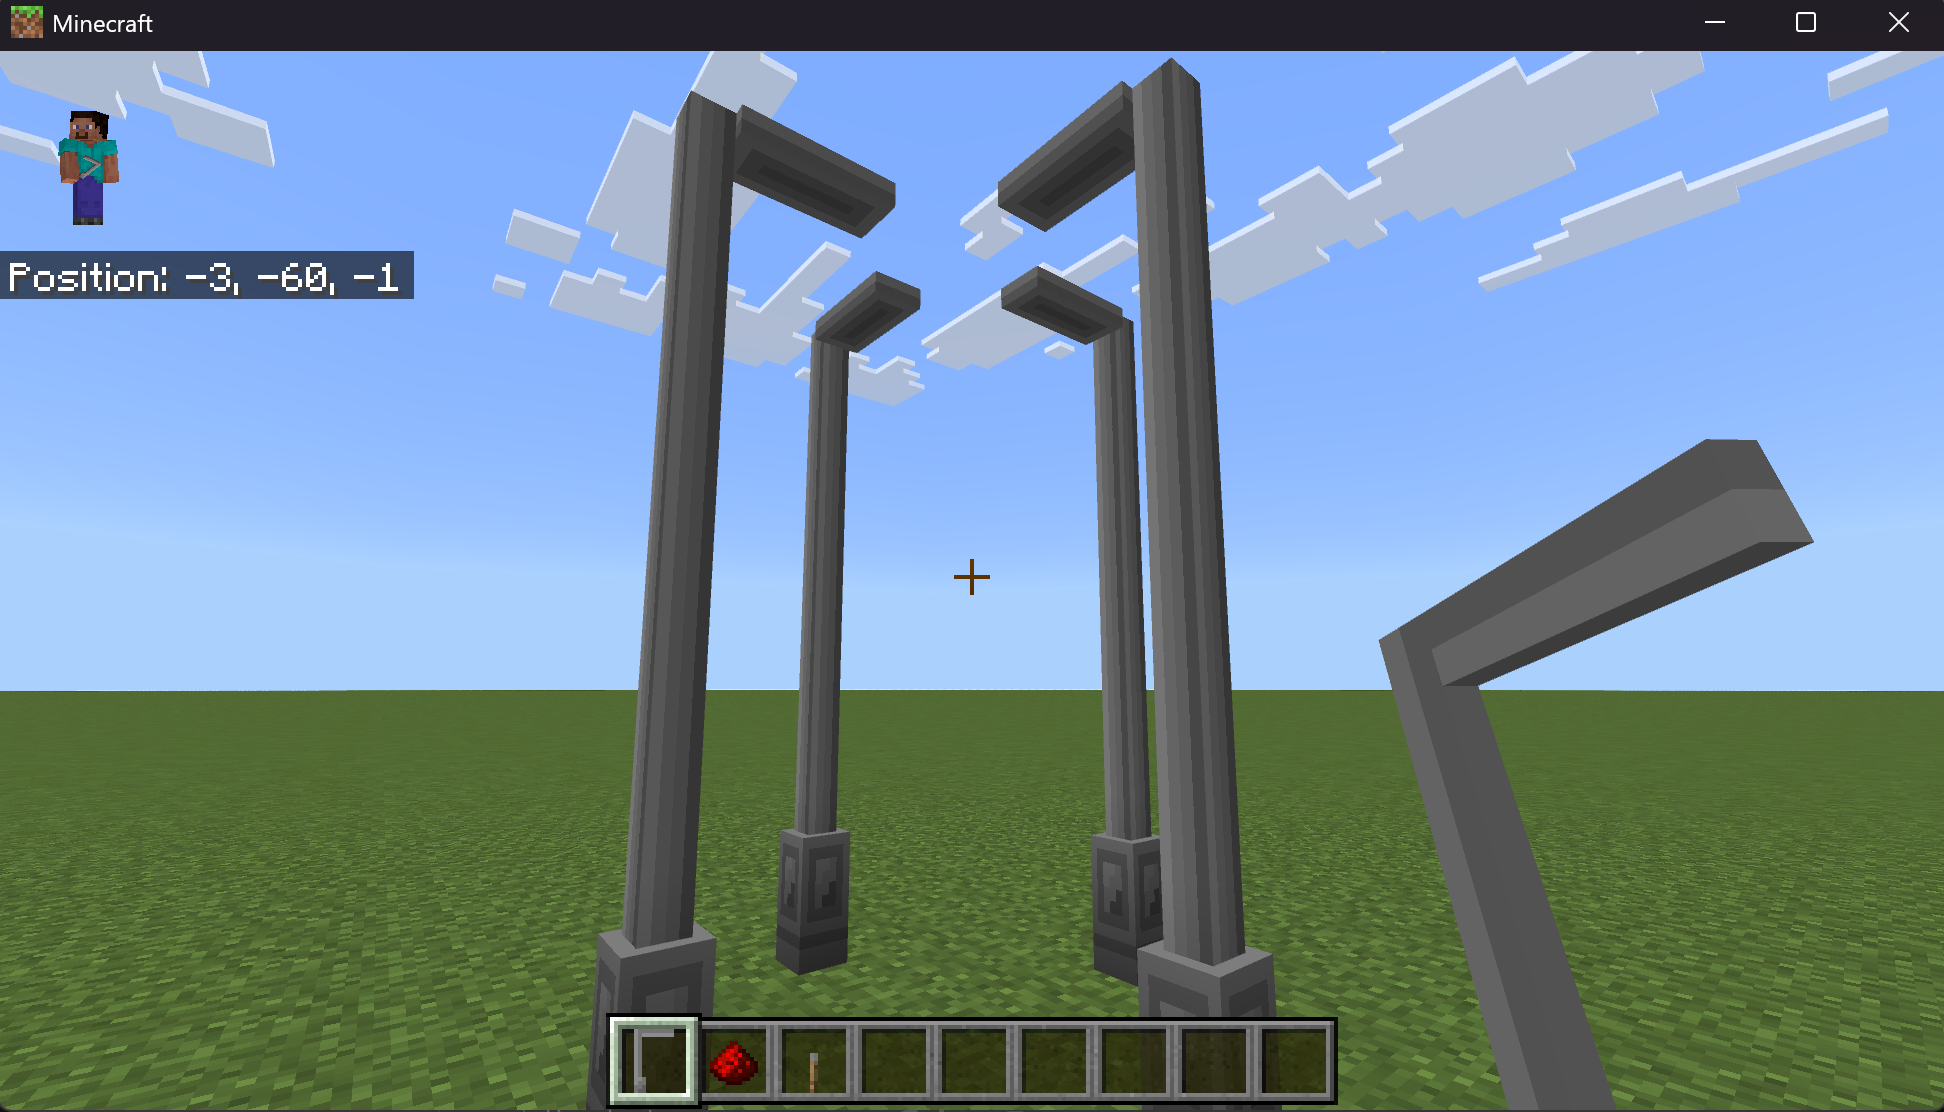
The four directions of the light post look like this:
Creating the item
To place the multi-block light post, let's make a custom item with the block_placer component, along with the icon component to render the item.
{
  "format_version": "1.21.100",
  "minecraft:item": {
    "description": {
      "identifier": "multiblock:light"
    },
    "components": {
      "minecraft:icon": {
        "textures": {
          "default": "light_post_item"
        }
      },
      "minecraft:block_placer": {
        "block": "multiblock:light",
        "replace_block_item": true
      },
      "minecraft:display_name": {
        "value": "light_post"
      },
      "minecraft:max_stack_size": 64
    }
  }
}
And, here's what the item looks like:

Scripts
Light posts need power, so ours can only turn on when Redstone is connected to it. We'll need to do the following:
- Add a
redstone_consumercomponent to the light post. - Add a custom component,
multi_block:light_post_component. - Define the component in a script which listens for Redstone update events to change the
multi_block:light_onstate on all block parts. - Use the
minecraft:light_emissioncomponent to emit light from the end part.
Adding the components
At the end of the components block in the multi-block definition file, we need to add our two new components. We'll also make the light post destructible while we're at it, to give it a bit more flavor.
"components": {
  // ...
  "minecraft:destructible_by_mining": {
    "seconds_to_destroy": 3
  },
  "minecraft:destructible_by_explosion": {
    "explosion_resistance": 3
  },
  "minecraft:movable": {
    "movement_type": "popped"
  },
  "multi_block:light_post_component": {},
  "minecraft:redstone_consumer": {}
}
In the multi-block definition file, the conditions for the end block part need to have the light_emission component added. Change the ones for part 3 to read like this:
{
  "condition": "q.block_state('minecraft:multi_block_part') == 3 && q.block_state('multi_block:light_on') == false",
  "components": {
	"minecraft:collision_box": {
	  "origin": [-2, 14, -7],
	  "size": [5, 4, 15]
	},
	"minecraft:geometry": "geometry.light_post_light",
	"minecraft:material_instances": {
	  "*": {
		"texture": "light_post_off",
		"render_method": "opaque"
	  }
	},
	"minecraft:light_emission": 0
  }
},
{
  "condition": "q.block_state('minecraft:multi_block_part') == 3 && q.block_state('multi_block:light_on') == true",
  "components": {
	"minecraft:collision_box": {
	  "origin": [-2, 14, -7],
	  "size": [5, 4, 15]
	},
	"minecraft:geometry": "geometry.light_post_light",
	"minecraft:material_instances": {
	  "*": {
		"texture": "light_post_on",
		"render_method": "opaque"
	  }
	},
	"minecraft:light_emission": 15
  }
}
And, we'll need a script to power our custom component:
import { system } from "@minecraft/server";

class LightPostComponent {
  static componentName = "multi_block:light_post_component";

  constructor() {
    this.onRedstoneUpdate = this.onRedstoneUpdate.bind(this);
  }
  checkStateIsGood(state) {
    if (state === undefined) {
      return false; // no state
    }
    else if (typeof state !== 'boolean') {
      return false; // bad state
    }
    return true;
  }

  setLight(block, powerLevel) {
    const perm = block.permutation;
    const lightOnState = perm.getState('multi_block:light_on');
    if (this.checkStateIsGood(lightOnState)) {
      if(powerLevel > 0) {
        block.setPermutation(perm.withState('multi_block:light_on', true));
      }
      else {
        block.setPermutation(perm.withState('multi_block:light_on', false));
      }
    }
  }

  onRedstoneUpdate(event) {
    const parts = event.block.getParts();
    if (parts === undefined) {
      return; // not a multi-block
    }

    parts.forEach((part) => {
      this.setLight(part, event.powerLevel)
    });
  }
}

system.beforeEvents.startup.subscribe((initEvent) => {
  initEvent.blockComponentRegistry.registerCustomComponent(LightPostComponent.componentName, new LightPostComponent());
});
Now, our light post will come on when Redstone is connected to it!
Wrapping up
This walk-through of the light post multi-block should give you a good understanding of how multi-blocks are assembled out of individual block parts, from traits to components to event scripting. And, it should be a good starting point for creating your own multi-blocks!