Use Marketo to manage commercial marketplace leads
Important
The Marketo connector has been restored. Update your configurations to receive leads as shown in this article.
This article describes how to set up your Marketo CRM system to process sales leads from your offers in Microsoft AppSource and Azure Marketplace.
Set up your Marketo CRM system
Sign in to Marketo.
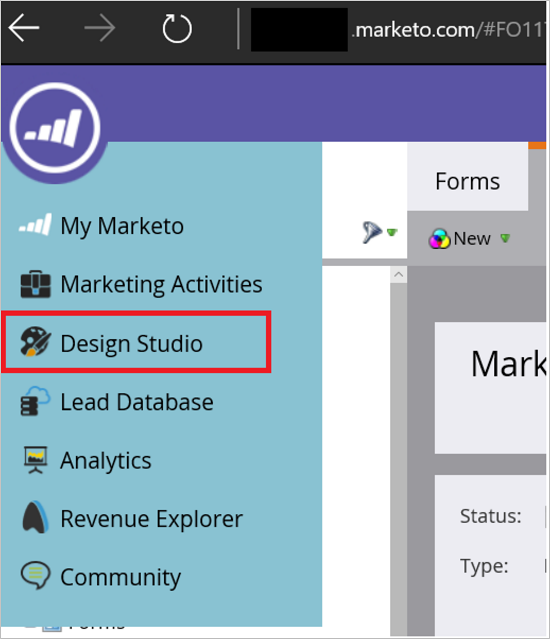
Select Design Studio.
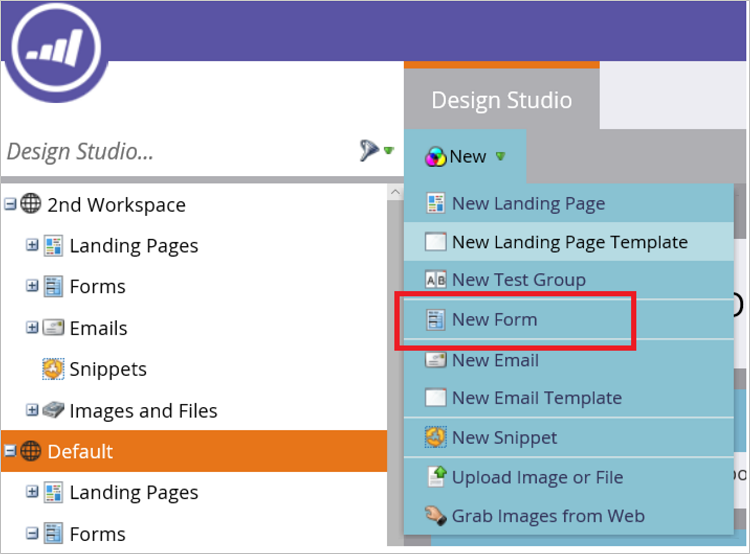
Select New Form.
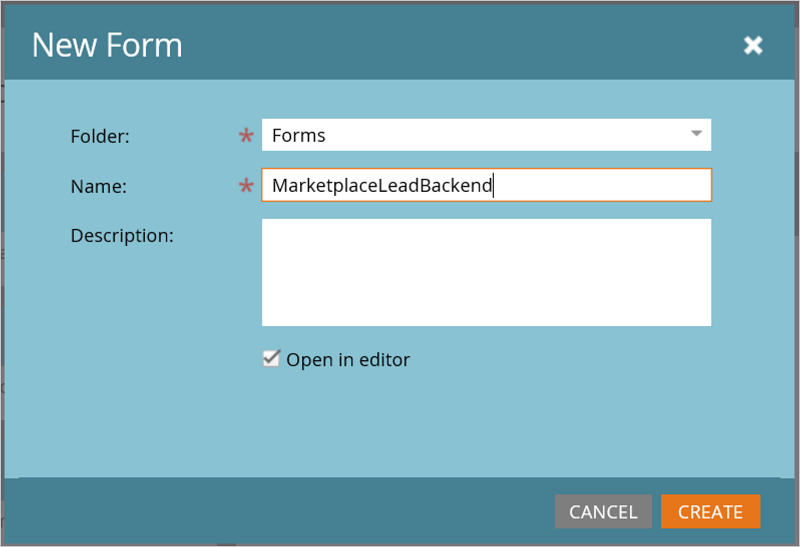
Fill in the required fields in the New Form dialog box, and then select Create.
Ensure that the fields mappings are set up correctly. Here's the list of fields that the connector needs to be entered on the form.
Note
The field with name "Lead Source" is expected to be configured in the form. It can be mapped to the SourceSystemName system field in Marketo or a custom field.

On the Field Details page, select Finish.

Approve and close.
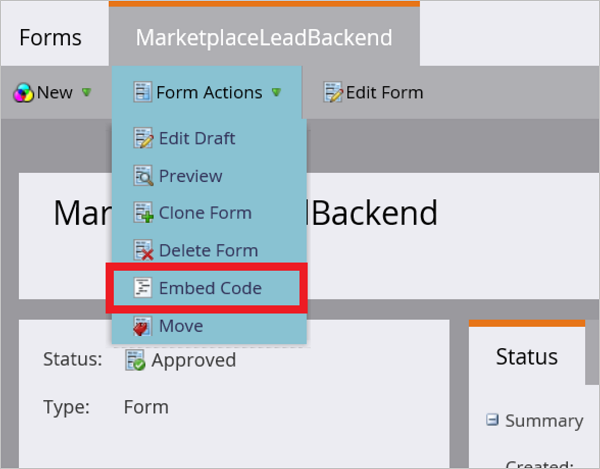
On the MarketplaceLeadBackend tab, select Embed Code.
Marketo Embed Code displays code similar to the following example.
<form id="mktoForm_1179"></form>
<script>MktoForms2.loadForm("("//app-ys12.marketo.com", "123-PQR-789", 1179);</script>
Copy the values for the following fields shown in the Embed Code form. You'll use these values to configure your offer to receive leads in the next step. Use the next example as a guide for getting the IDs you need from the Marketo Embed Code example.
- Munchkin ID = 123-PQR-789
- Form ID = 1179
The following method is another way to figure out these values:
- Get your subscription's Munchkin ID by going to your Admin > Munchkin menu in the Munchkin Account ID field, or from the first part of your Marketo REST API host subdomain (
https://{Munchkin ID}.mktorest.com). - Form ID is the ID of the Embed Code form you created in step 7 to route leads from the marketplace.
Obtain API access from your Marketo Admin
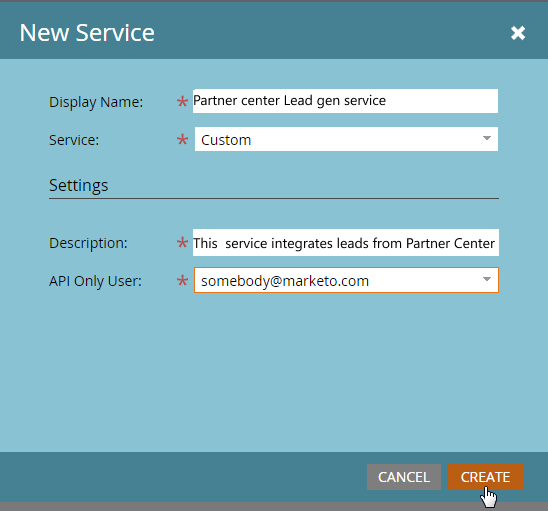
See this Marketo article on getting API access, specifically a ClientID and Client Secret needed for the new Marketo configuration. Follow the step-by-step guide to create an API-only user and a Launchpoint connection for the Partner Center lead management service.
Ensure that the Custom service created indicates Partner Center.
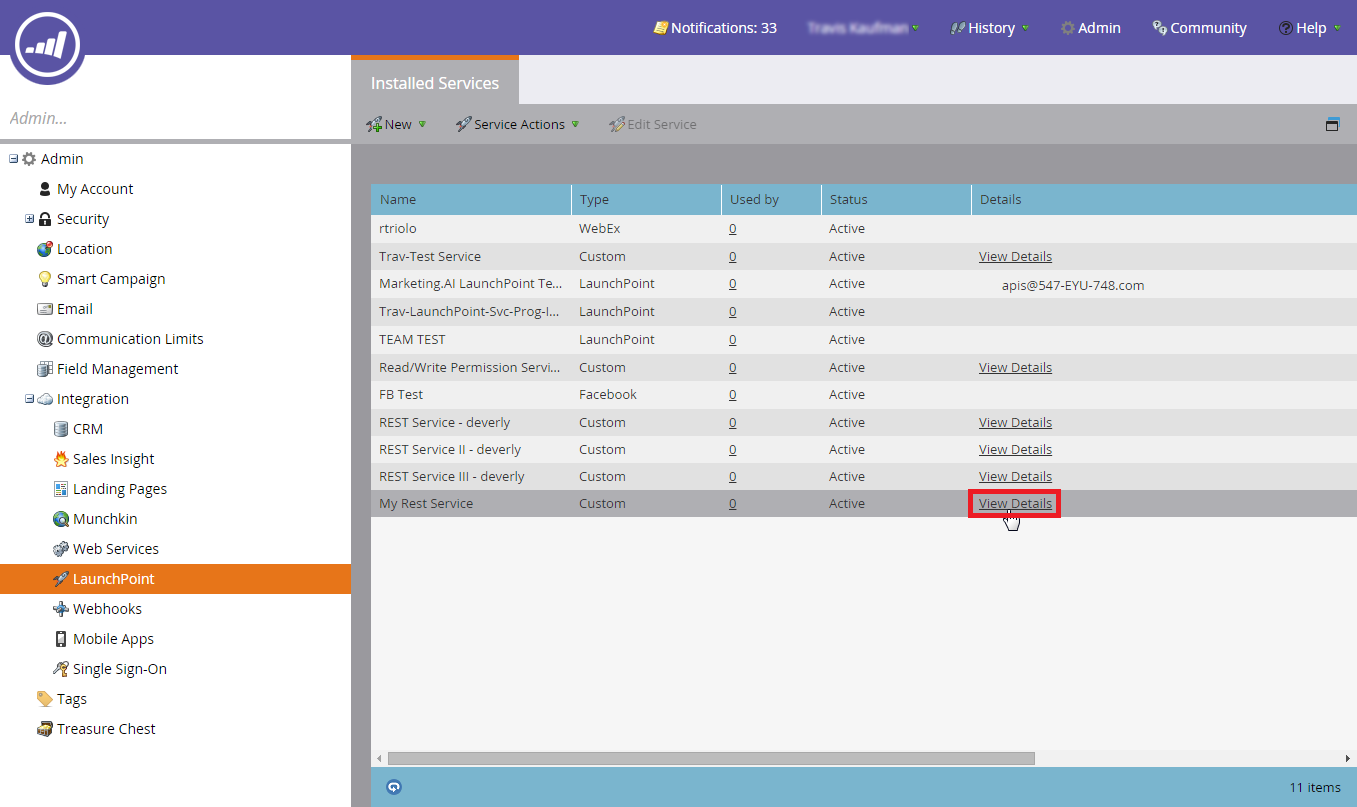
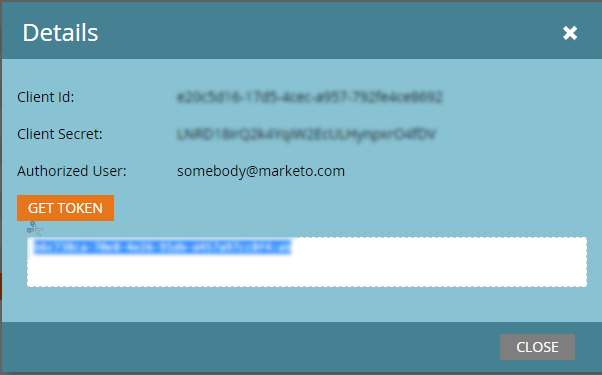
Once you click the View details link for the new service created, you can copy the Client ID and Client secret for use in the Partner center connector configuration.
Configure your offer to send leads to Marketo
When you're ready to configure the lead management information for your offer in the publishing portal, follow these steps.
Sign in to Partner Center and select Marketplace offers.
Select your offer, and go to the Offer setup tab.
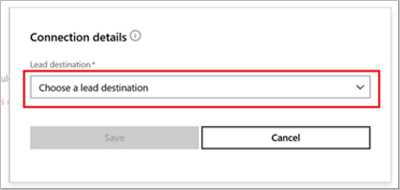
Under the Customer leads section, select Connect.
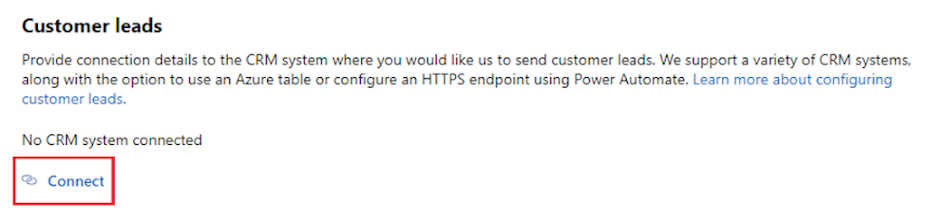
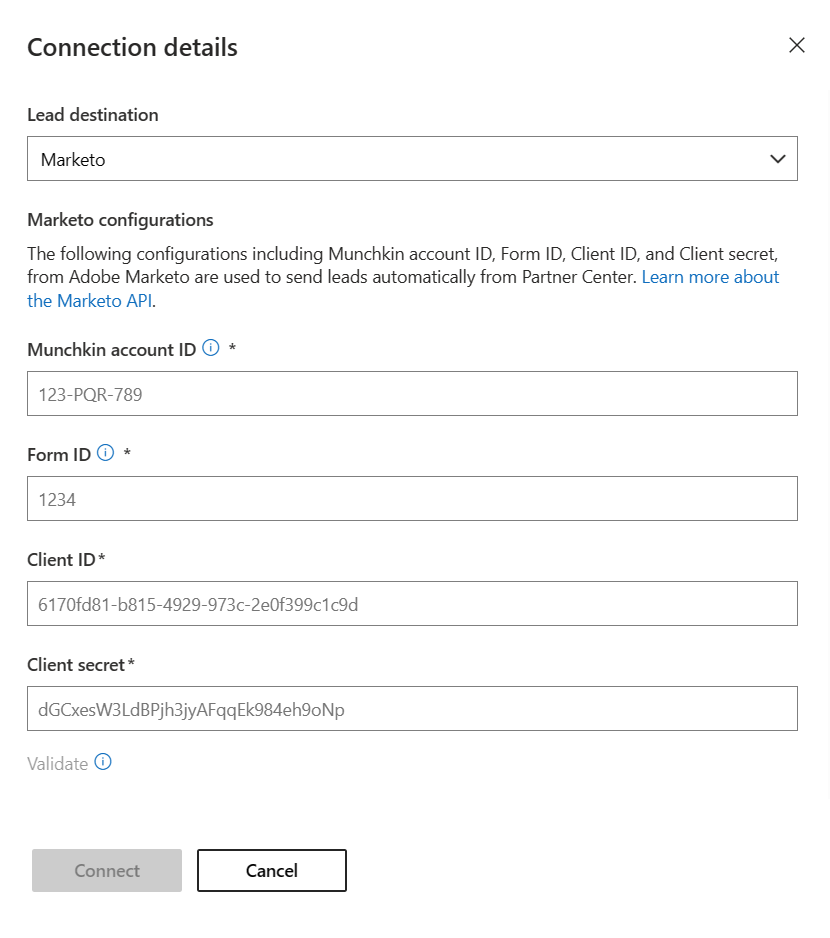
On the Connection details pop-up window, select Marketo for the Lead destination.
Provide the Munchkin ID, Form ID, Client ID and Client Secret fields.
Note
You must finish configuring the rest of the offer and publish it before you can receive leads for the offer.
Select OK.
To make sure you've successfully connected to a lead destination, select Validate. If successful, you'll have a test lead in the lead destination.
Feedback
Coming soon: Throughout 2024 we will be phasing out GitHub Issues as the feedback mechanism for content and replacing it with a new feedback system. For more information see: https://aka.ms/ContentUserFeedback.
Submit and view feedback for