Configure single sign-on with Microsoft Entra ID for Microsoft Copilot Studio bots in Microsoft Teams
Important
Power Virtual Agents capabilities and features are now part of Microsoft Copilot Studio following significant investments in generative AI and enhanced integrations across Microsoft Copilot.
Some articles and screenshots may refer to Power Virtual Agents while we update documentation and training content.
The Microsoft Copilot Studio app in Microsoft Teams supports single sign-on (SSO), which means bots can automatically sign-in users with their Microsoft Teams credentials.
SSO in the Microsoft Copilot Studio app in Teams is only supported when using Microsoft Entra ID. Other service providers, such as Azure AD v1, don't support SSO in the Microsoft Copilot Studio app in Microsoft Teams.
Important
SSO is not supported when your bot is integrated with Dynamics 365 Customer Service.
Note
If you are using Teams SSO authentication with the manual authentication option, and also using the bot on custom websites at the same time, you must deploy the Teams app using the app manifest.
For more information, see Download the bot's Teams app manifest.
Other configurations such as authentications options beside Manual, or through Teams deployment using Microsoft Copilot Studio one-click will not work.
Prerequisites
Configure an app registration
Before configuring SSO for Teams, you'll first need to configure user authentication with Microsoft Entra ID. During this process, you'll create an app registration which you'll use to setup SSO.
- Create an app registration. See the instructions in Configure user authentication with Microsoft Entra ID.
- Add the redirect URL.
- Generate a client secret.
- Configure manual authentication.
Follow the instructions in Configure user authentication with Microsoft Entra ID then return to this article.
Locate your Microsoft Teams channel app ID
In Microsoft Copilot Studio, open the bot that you want to configure SSO for.
In the navigation menu under Settings, select Channels. Select the Microsoft Teams tile.
Select Edit details, expand More, and then copy the App ID by selecting Copy.
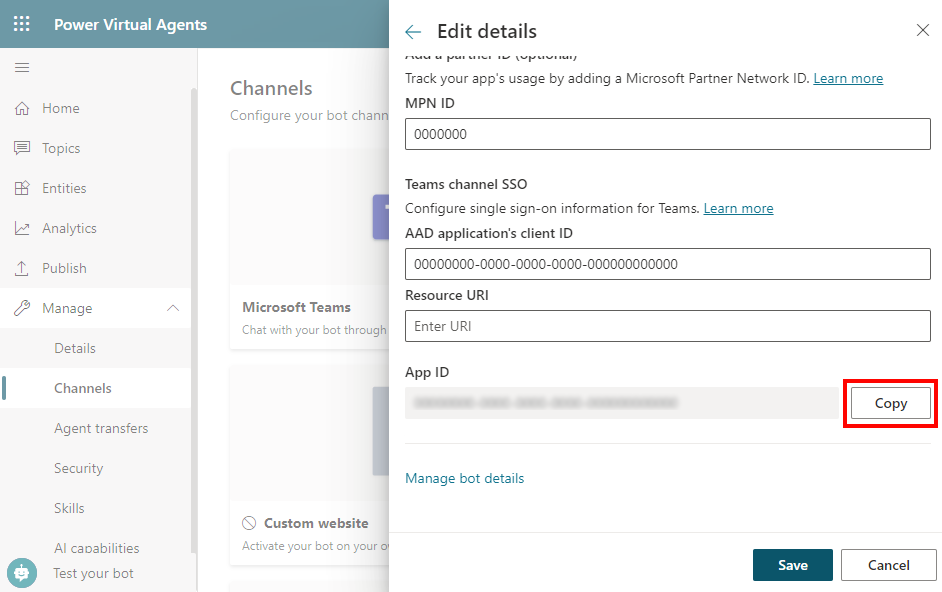
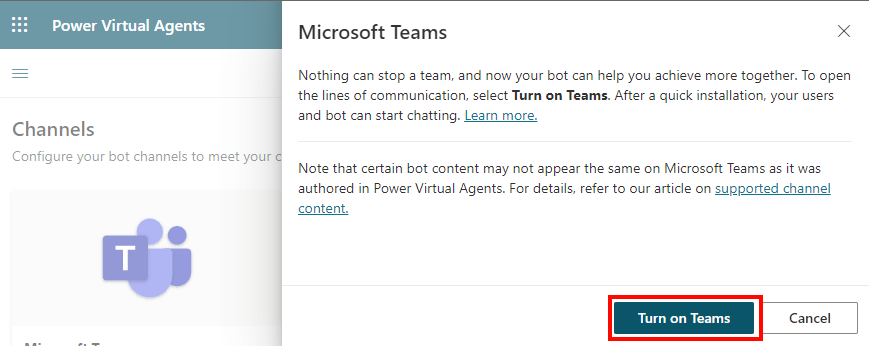
Note
If you haven't already turned on the Microsoft Teams channel, you'll be notified that it's currently turned off. Select Turn on Teams and then re-try step 1 to get the app ID.
Add your Microsoft Teams channel app ID to your app registration
Go to the Azure portal. Open the app registration blade for the app registration you created when you configured user authentication for your bot.
Select Expose an API on the side pane. For Application ID URI, select Set.
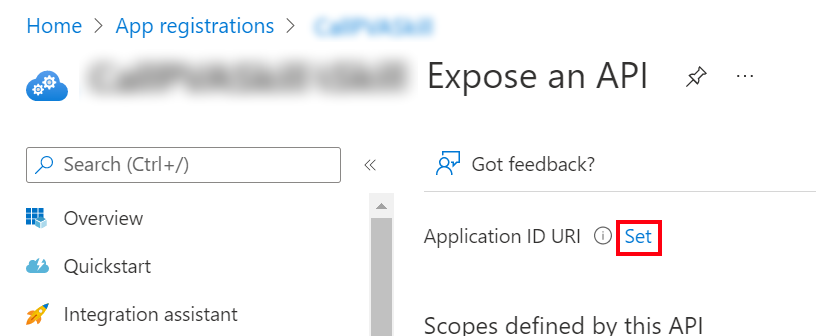
Enter
api://botid-{teamsbotid}and replace{teamsbotid}with your Teams channel app ID that you found earlier.
Select Save.
Grant admin consent
Applications are authorized to call APIs when they are granted permissions by users/admins as part of the consent process. To learn more about consent, see Permissions and consent in the Microsoft identity platform
The admin consent option may be greyed out if it's not enabled by your tenant administrator. However, if it's available, you'll need to grant consent:
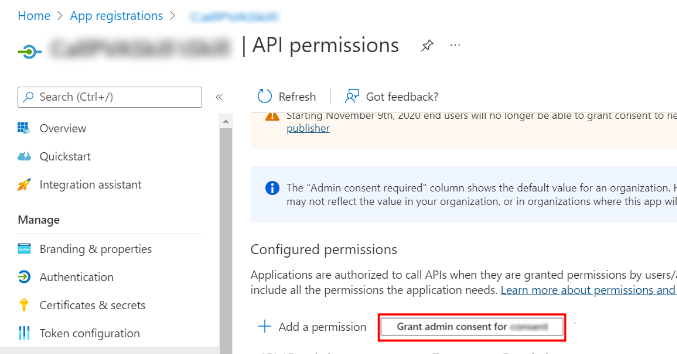
In the Azure portal on your app registration blade, go to API Permissions.
Select Grant admin consent for <your tenant name> and then Yes.
Tip
To avoid users from having to consent to each application, a Global Administrator, Application Administrator, or a Cloud Application Administrator can grant tenant-wide consent to your application registrations.
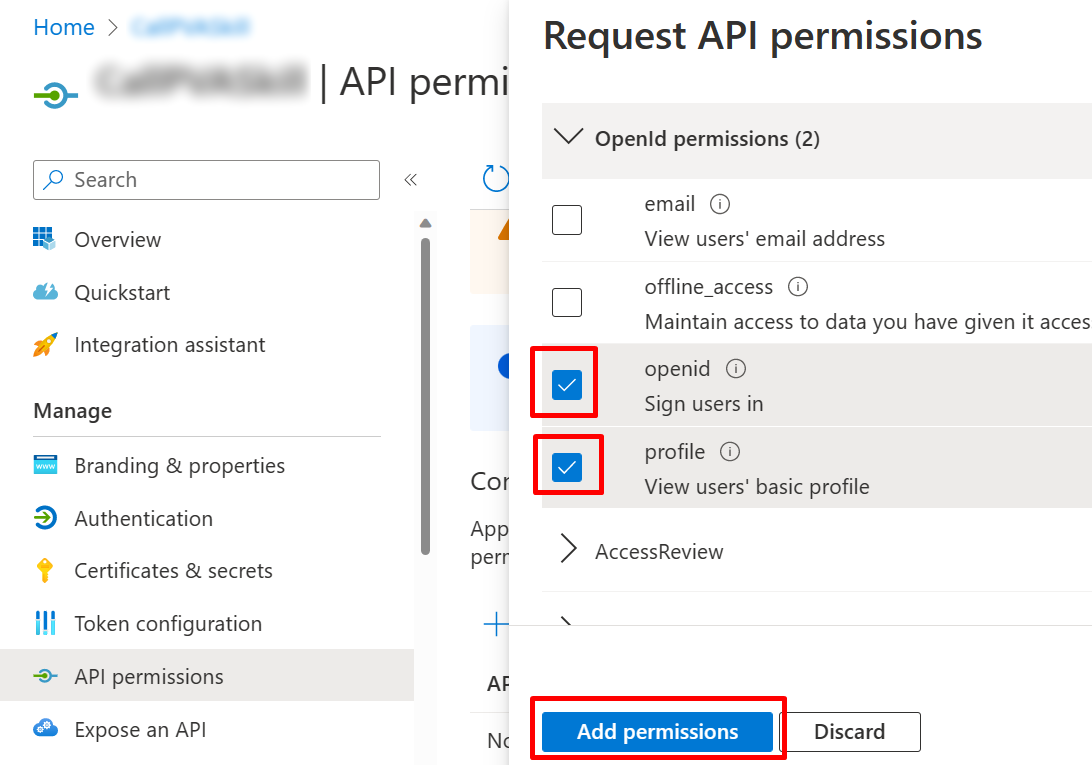
Add API permissions
In the Azure portal on your app registration blade, go to API Permissions.
Select Add a permission and choose Microsoft Graph.
Select Delegated permissions. A list of permissions will appear below. Expand OpenId permissions and turn on openid and profile.
Select Add permissions.
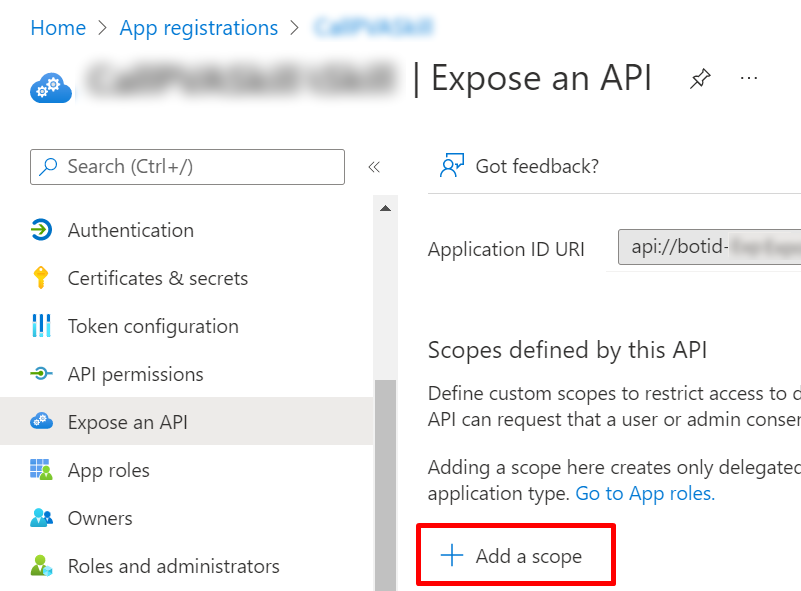
Define a custom scope for your bot
In the Azure portal on your app registration blade, go to Expose an API.
Select Add a scope.
Set the following properties:
Property Value Scope name Enter Test.ReadWho can consent? Select Admins and users Admin consent display name Enter Test.ReadAdmin consent description Enter Allows the app to log in the user.State Select Enabled Note
The scope name
Test.Readis a placeholder value and should be replaced with a name that makes sense in your environment.Select Add scope.
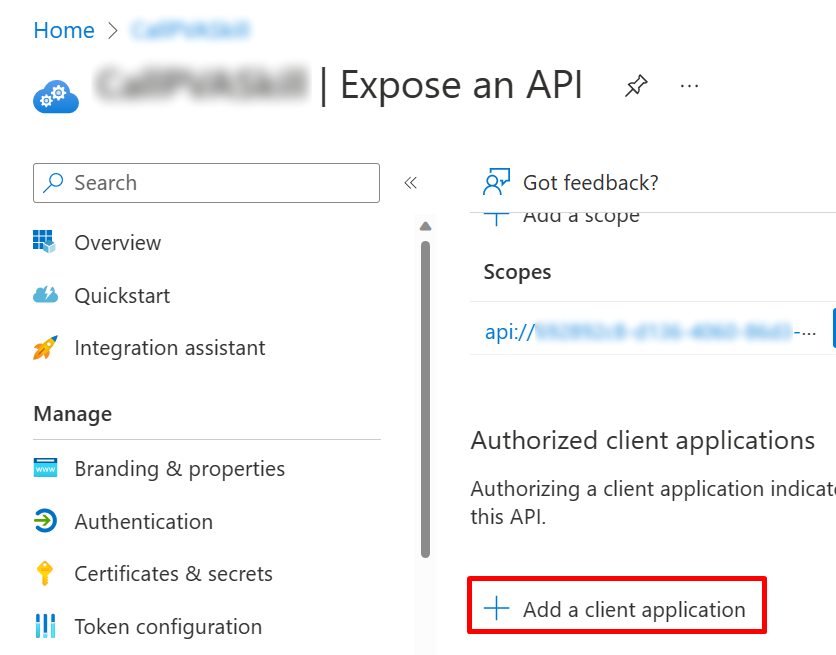
Add Microsoft Teams client IDs
Important
In the following steps, the values provided for Microsoft Teams client IDs should be used literally because they are the same across all tenants.
In the Azure portal on your app registration blade, go to Expose an API and select Add a client application.
In the Client ID field, enter the client ID for Microsoft Teams mobile/desktop, which is
1fec8e78-bce4-4aaf-ab1b-5451cc387264. Select the checkbox for the scope that you created earlier.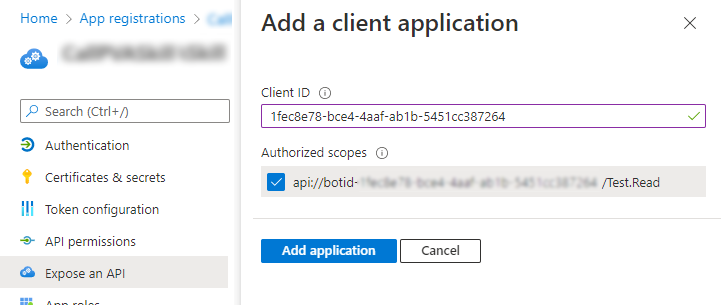
Select Add application.
Repeat the steps above, but for Client ID, enter the client ID for Microsoft Teams on the web, which is
5e3ce6c0-2b1f-4285-8d4b-75ee78787346.Confirm the Expose an API page lists the Microsoft Teams client app IDs.

Add token exchange URL
To update the Microsoft Entra ID authentication settings in Microsoft Copilot Studio, you'll need to add the token exchange URL to allow Microsoft Teams and Microsoft Copilot Studio to share information.
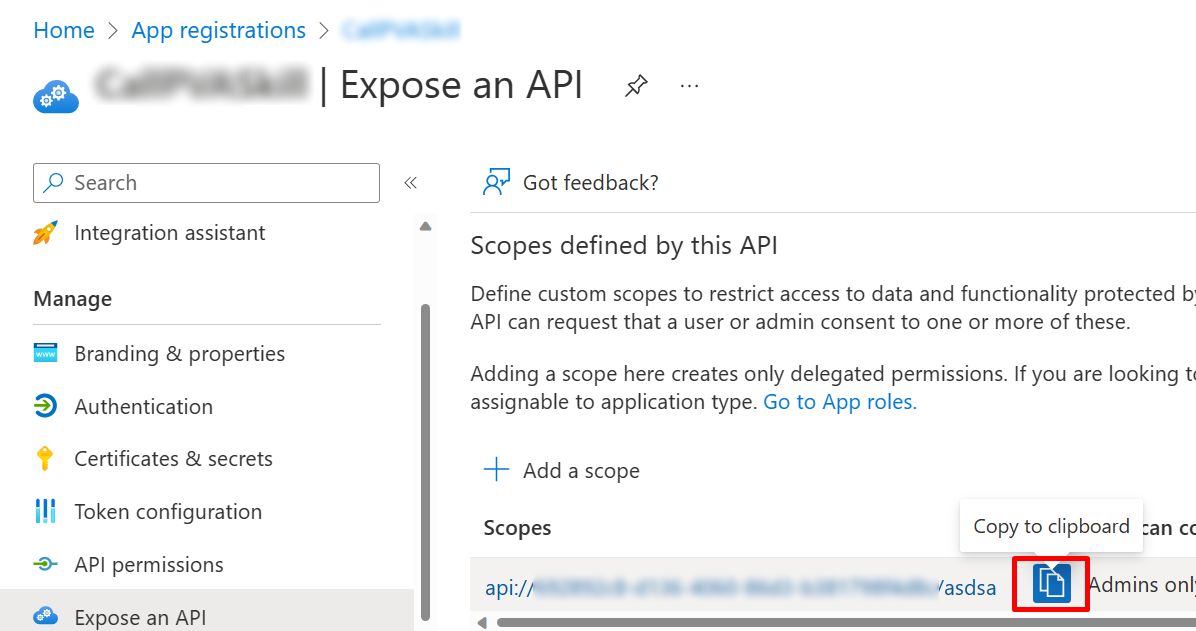
In the Azure portal on your app registration blade, go to Expose an API.
Under Scopes, select Copy to clipboard.
In Microsoft Copilot Studio, in the navigation menu under Settings, select Security, and then select the Authentication tile.
For Token exchange URL (required for SSO), paste the scope you copied earlier.
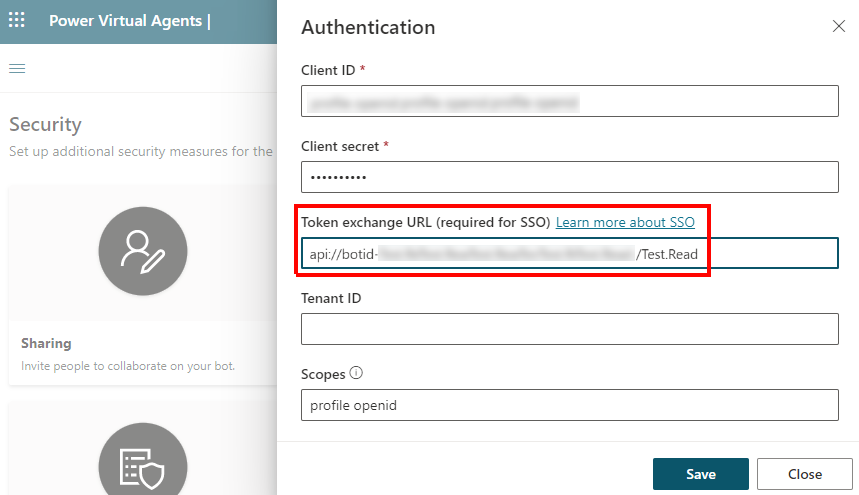
Select Save.
Add SSO to your bot's Microsoft Teams channel
In Microsoft Copilot Studio, in the navigation menu under Settings, select Channels.
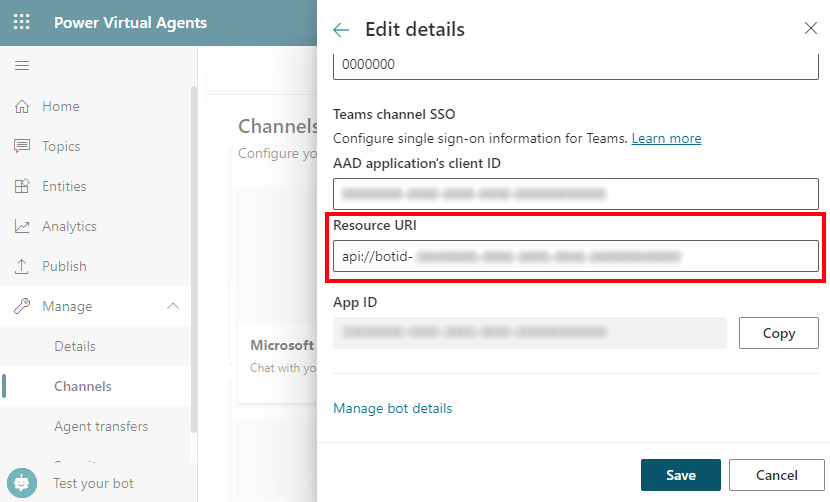
Select the Microsoft Teams tile. Select Edit details and expand More.
For AAD application's client ID, enter the Application (client) ID from your app registration.
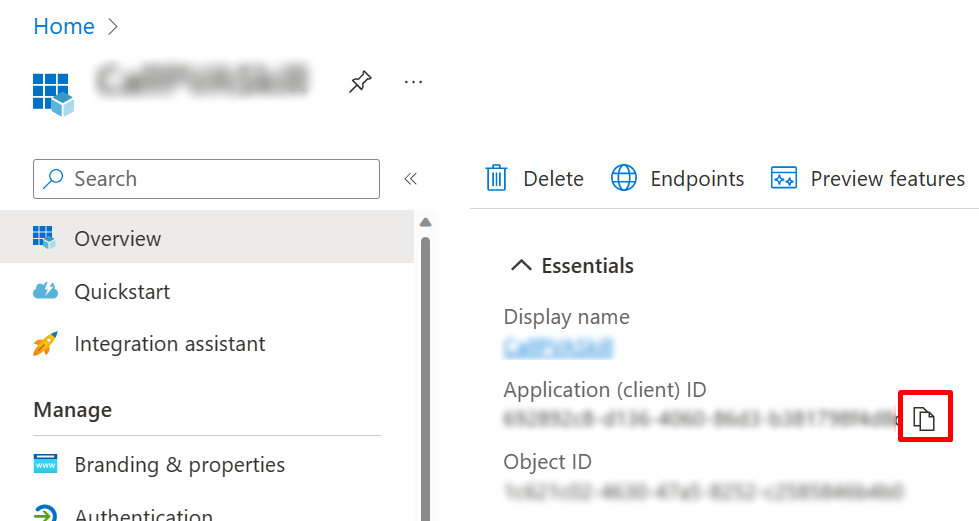
To obtain this value, open the Azure portal. Then on your app registration blade, go to Overview. Copy the value in the Application (client) ID box.
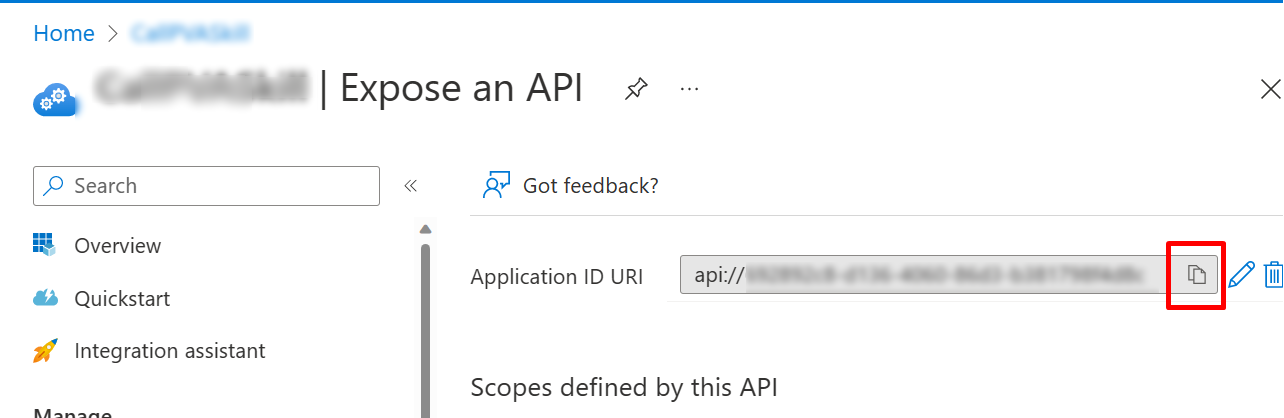
For Resource URI, enter the Application ID URI from your app registration.

To obtain this value, open the Azure portal. Then on your app registration blade, go to Expose an API. Copy the value in the Application ID URI box.
Select Save, and then Close.
In the navigation menu, select Publish.
Select Publish to make the latest bot content available to your customers.
In the navigation menu, under Settings, select Channels.
Select Microsoft Teams, then select Open bot.
Start a new conversation with your bot in Microsoft Teams to test if it automatically signs you in.
Feedback
Coming soon: Throughout 2024 we will be phasing out GitHub Issues as the feedback mechanism for content and replacing it with a new feedback system. For more information see: https://aka.ms/ContentUserFeedback.
Submit and view feedback for