Channel and group tabs in ASP.NET Core with MVC
In this quickstart we'll walk-through creating a custom channel/group tab with ASP.Net Core and MVC. We'll also use App Studio for Microsoft Teams to finalize your app manifest and deploy your tab to Teams.
Prerequisites
.NET Core SDK version 6.0
determine dotnet version
dotnet --versiondev tunnel or Ngrok (For local environment testing) latest version (any other tunneling software can also be used)
Teams Microsoft Teams is installed and you have an account
Run the app (Using Teams Toolkit for Visual Studio)
The simplest way to run this sample in Teams is to use Teams Toolkit for Visual Studio.
- Install Visual Studio 2022 Version 17.8 or higher Visual Studio
- Install Teams Toolkit for Visual Studio Teams Toolkit extension
- In Visual Studio, right-click your project and Select Teams Toolkit > Prepare Teams App Dependencies
- Using the extension, sign in with your Microsoft 365 account where you have permissions to upload custom apps.
- Select Debug > Start Debugging or F5 to run the menu in Visual Studio.
- In the browser that launches, select the Add button to install the app to Teams.
If you do not have permission to upload custom apps (sideloading), Teams Toolkit will recommend creating and using a Microsoft 365 Developer Program account - a free program to get your own dev environment sandbox that includes Teams.
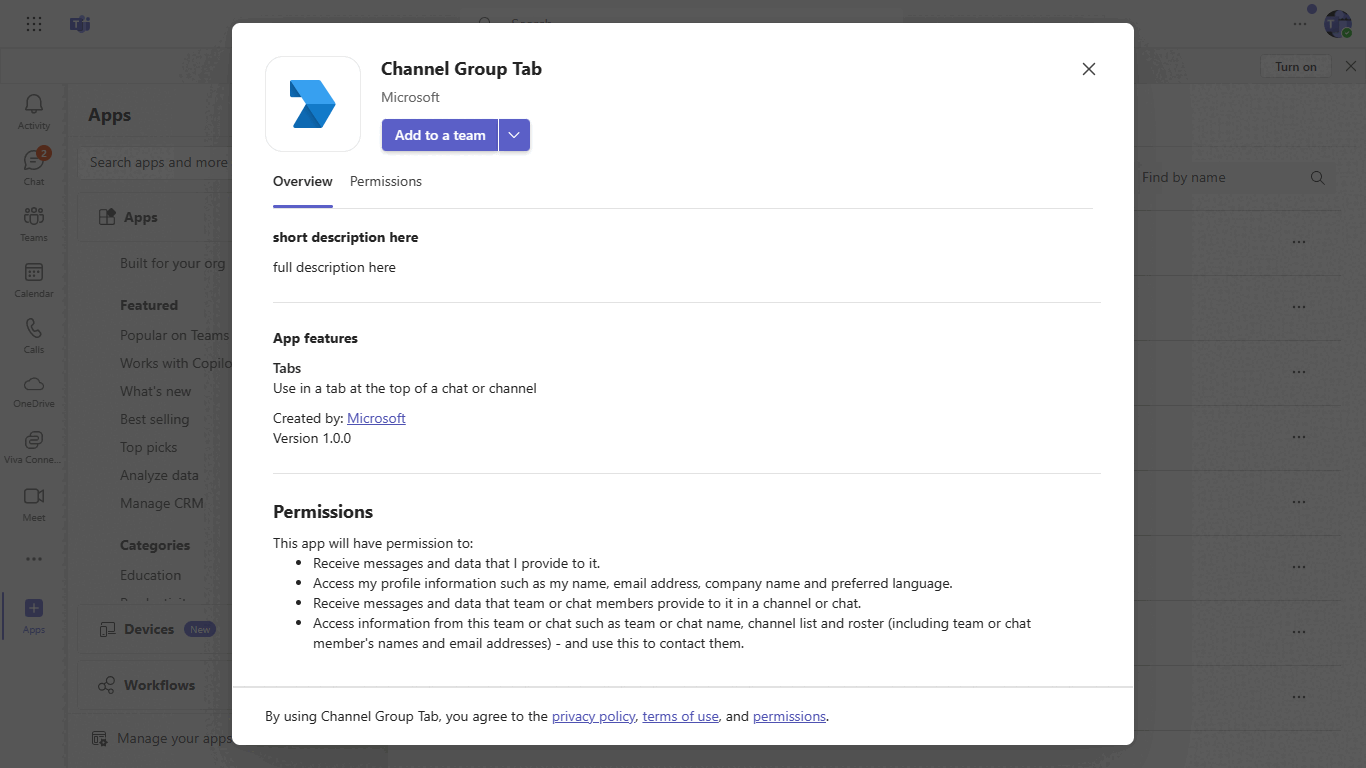
Included Features
- Tabs
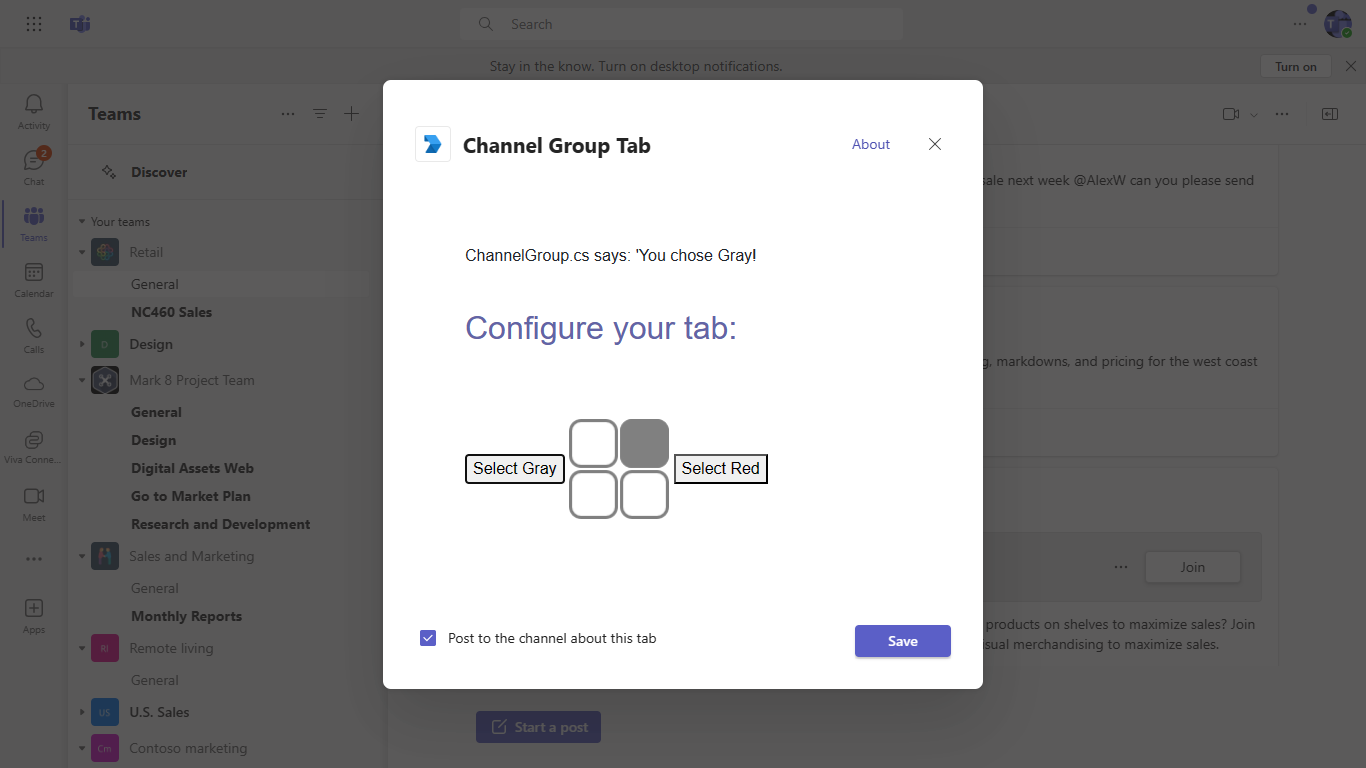
Interaction with app
Try it yourself - experience the App in your Microsoft Teams client
Please find below demo manifest which is deployed on Microsoft Azure and you can try it yourself by uploading the app manifest (.zip file link below) to your teams and/or as a personal app. (Sideloading must be enabled for your tenant, see steps here).
Channel and group tabs in ASP.NET Core with MVC: Manifest
Setup
Run ngrok - point to port 3978
ngrok http 3978 --host-header="localhost:3978"Alternatively, you can also use the
dev tunnels. Please follow Create and host a dev tunnel and host the tunnel with anonymous user access command as shown below:devtunnel host -p 3978 --allow-anonymousClone the repository
git clone https://github.com/OfficeDev/Microsoft-Teams-Samples.gitIf you are using Visual Studio
- Launch Visual Studio
- File -> Open -> Project/Solution
- Navigate to
samples\tab-channel-group\mvc-csharpfolder - Select
ChannelGroupTabMVC.slnfile and open the solution
Modify the
manifest.jsonin the/AppManifestfolder and replace the following details:<<Guid>>with any random GUID.<<Base-url>>with base Url domain. E.g. if you are using ngrok it would behttps://1234.ngrok-free.appthen your domain-name will be1234.ngrok-free.appand if you are using dev tunnels then your domain will be like:12345.devtunnels.ms.validDomainswith base Url domain. E.g. if you are using ngrok it would behttps://1234.ngrok-free.appthen your domain-name will be1234.ngrok-free.appand if you are using dev tunnels then your domain will be like:12345.devtunnels.ms.
Upload the manifest.zip to Teams (in the Apps view click "Upload a custom app")
- Go to Microsoft Teams. From the lower left corner, select Apps
- From the lower left corner, choose Upload a custom App
- Go to your project directory, the ./AppManifest folder, select the zip folder, and choose Open.
Running the sample

Further Reading
Tab-channel-group Create a Custom Channel and Group Tab with ASP.NET Core and MVC