Create or customize a content type
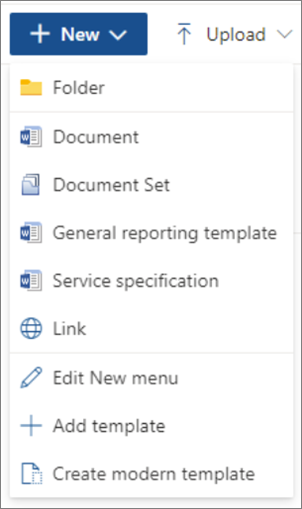
Content types help make it easy to provide consistency across a site. You create or customize a content type with the characteristics that you want, such as a certain template, specific metadata, and so on. For example, when a user chooses an item from the New Item or New Document menu, you can ensure that customized content is used.
Content types created in the SharePoint admin center are saved to the SharePoint content type hub located at /sites/ContentTypeHub.
To learn more about content types, see Introduction to content types and content type publishing.
To understand how the built-in content types relate to each other, see SharePoint in Microsoft 365 default content type hierarchy.
Create a content type
Go to the Content type gallery in the SharePoint admin center, and sign in with an account that has admin permissions for your organization. The Content type gallery page isn't available if you have the global reader role.
Select Create content type. The Create content type panel appears.
On the Create content type panel, provide a name and description for the new content type.
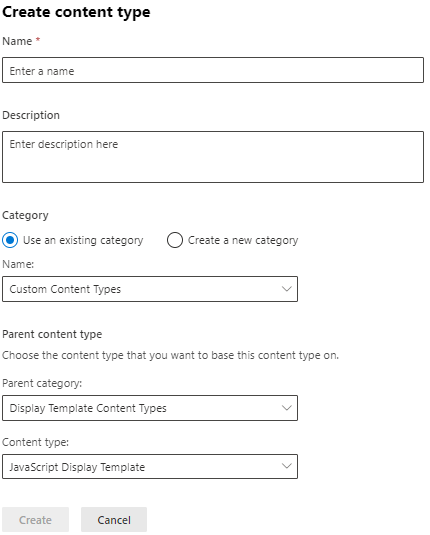
In the Category section, you have two choices:
To put the new content type in an existing category, select Use an existing category, and from the Name dropdown, select a category.
To put the content in a new category, select Create a new category, and in the Category name box, provide a name.
In the Parent content type section, from the Parent category and Content type dropdowns, select the content type that you want to base this content type on.
Select Create.
The new content type appears in the Content type gallery.
Change the name of a content type
Go to the Content type gallery in the SharePoint admin center, and sign in with an account that has admin permissions for your organization. The Content type gallery page isn't available if you have the global reader role.
Under the Site content type column, select the name of the site content type that you want to change.
On the content type page, on the menu bar, select Edit. The Edit content type panel appears.
In the Name text box, change the name of the content type.
Select Save.
Associate a document template with a content type
To make sure that documents have consistent content across a site, you can associate a Word, Excel, or PowerPoint template with a site content type.
For example, you might want employees to use a standard Excel template when they create a weekly time sheet. If you associate the template with a Timesheet content type, every time someone uses the Timesheet content type, the correct template is automatically loaded in the worksheet.
You can make it even easier for users by adding the Timesheet content type to a library. Then, users can open the correct timesheet just by selecting Timesheet on the New Documents menu. To learn how to do this, see Add a content type to a list or library.
To associate a template with a content type
Go to the Content type gallery in the SharePoint admin center, and sign in with an account that has admin permissions for your organization. The Content type gallery page isn't available if you have the global reader role.
Under the Site content type column, select the name of the document-based content type that you want to change by associating a Word, Excel, or PowerPoint template.
In the menu bar, under Settings, select Advanced Settings. The Advanced Settings panel appears.
Enter the location of the template:
If the template is stored on your site, select Use an existing template, and then enter the URL for the template that you want to use. To edit the template, select Edit template.
If the document template is stored on your local computer, select Upload a new document template, and then select Upload. From the explorer page, locate the file that you want to use, select it, and then select Open.
Under Permissions, to select whether the content type can be modified, select either Read or Edit. You can change this setting later from this page by anyone with permissions to edit this content type.
Under Update site and lists, if you want to update all site and list content types that inherit from this content type with the settings on this page, select Enable.
Select Save.
Related topics
Feedback
Coming soon: Throughout 2024 we will be phasing out GitHub Issues as the feedback mechanism for content and replacing it with a new feedback system. For more information see: https://aka.ms/ContentUserFeedback.
Submit and view feedback for