Quickstart: Use Azure Data Studio to connect and query Azure Cosmos DB API for MongoDB (Preview)
This quickstart shows how to use Azure Data Studio to connect to the Azure Cosmos DB API for MongoDB.
Note
While Microsoft Entra ID is the new name for Azure Active Directory (Azure AD), to prevent disrupting existing environments, Azure AD still remains in some hardcoded elements such as UI fields, connection providers, error codes, and cmdlets. In this article, the two names are interchangeable.
Prerequisites
To complete this quickstart, you need Azure Data Studio and an Azure Cosmos DB API account.
- Install Azure Data Studio.
- Install the Azure Cosmos DB API for MongoDB extension for Azure Data Studio.
- Create an Azure Cosmos DB API for MongoDB account.
Connect to an Azure Cosmos DB for MongoDB account
Start Azure Data Studio.
The first time you start Azure Data Studio the Connection dialog opens. If the Connection dialog doesn't open, select the New Connection icon in the SERVERS page:

In the dialog that appears, select Browse, and then select the + icon to sign in to Azure.

Once you're signed in to Azure, select the Azure Cosmos DB account you'd like to access or fill in the Connection Details from fields using the details in this table.
Setting Value Description Connection type Mongo account Set this value to Mongo account to use with Azure Cosmos DB API for MongoDB. Mongo account [cosmos-account-name] Name of Azure Cosmos DB account. Authentication type Azure Active Directory - Universal with MFA support Choose between Microsoft Entra ID or Basic authentication options. Account [current-aad-user-name] Only visible if using Microsoft Entra authentication. Select the Microsoft Entra account that you wish to use for authentication. Microsoft Entra tenant Only visible if using Microsoft Entra authentication. Select the Microsoft Entra tenant the MongoDB instance resides in. Username Only visible if using Basic authentication. Enter the username for authentication. Connection String Only visible if using Basic authentication. Enter the connection string for authentication. Server group <Default> Name (optional) Enter any unique name to use in the SERVERS sidebar. 
Select Connect.
Important
If you selected Microsoft Entra authentication, you may be prompted to select a MongoDB connection string value to use for your connection.


Your server will open in the SERVERS sidebar after you've successfully connected.


Create a database and collection
The following steps will create a database named SourceDatabase and a collection named People:
Open the context menu for your account, and select Create Database.

In the Database and Collection popup dialogs, use the details in this table.
Prompt Value Database name SourceDatabase Collection name People After the operation completes, the new database should appear in the list of databases.
Tip
If the database does not appear in the list, select Refresh.
Expand the SourceDatabase and People nodes in the SERVERS sidebar.


Create a sample collection
The following steps will populate the People collection with a sample data set:
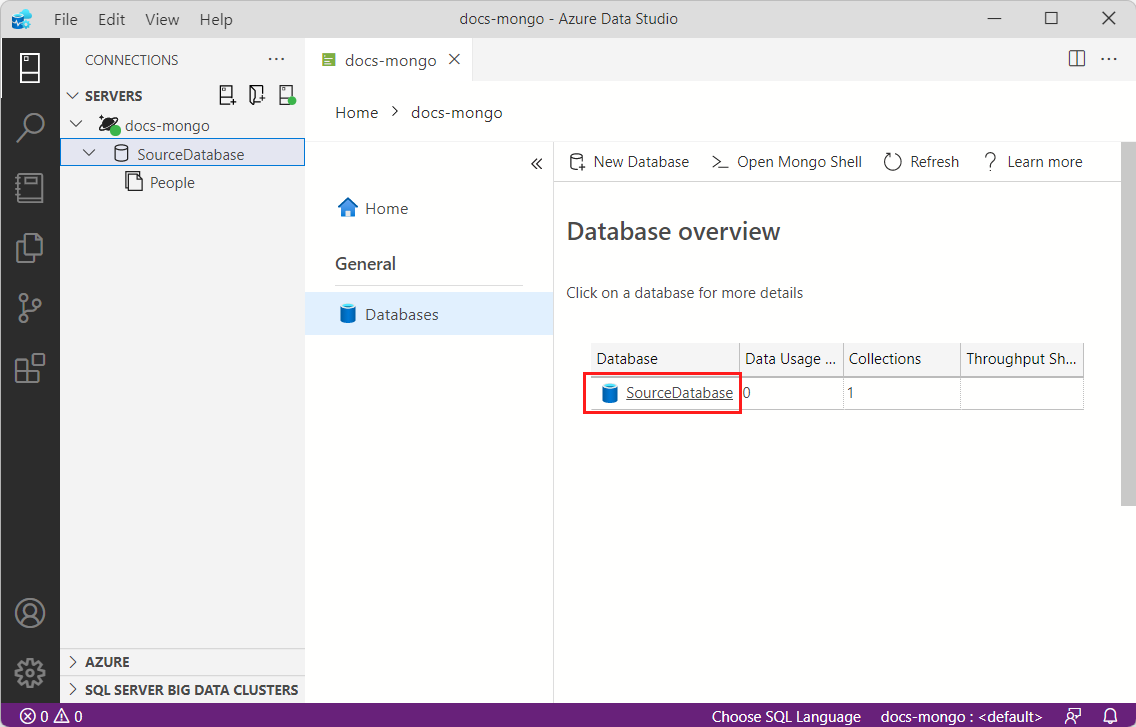
Select Databases to navigate to the list of databases in your account.

Select the SourceDatabase item in the list of databases.
In the header menu, select Import Sample Data. In the confirmation dialog, select Yes.
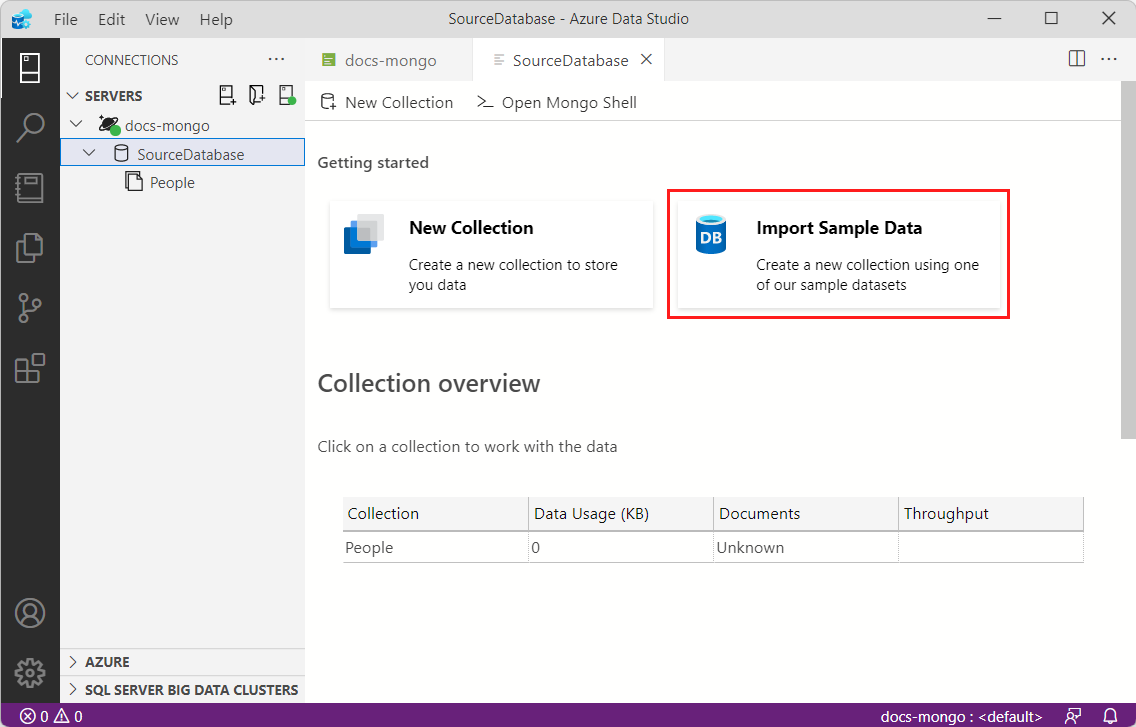
Wait for the import operation to complete.
Tip
The import operation may take a few minutes to finish.


Query the data
The following steps will use the Mongo Shell to execute a query and view the results of the query:
In the menu for your database, select Open Mongo Shell.

Execute the following query in the shell.
db.Persons.find().pretty()Tip
The
pretty()method in Mongo displays the results of a query in a format that's easy to read. To learn more, see the official MongoDB documentation for cursor.pretty.Observe the output of the query within the shell. The output should contain


Next steps
In this quickstart, you've learned how to create an API for MongoDB account, create a database and a collection in Azure Data Studio, and query sample data. You can now use Azure Data Studio to review real data in your database.
- Learn about the extension available for Azure Cosmos DB API for MongoDB.
- Interested in importing MongoDB data into Azure Cosmos DB? See Migrate MongoDB to Azure Cosmos DB's API for MongoDB
- Trying to do capacity planning for a migration to Azure Cosmos DB? You can use information about your existing database cluster for capacity planning.
- If all you know is the number of vCores and servers in your existing database cluster, read about estimating request units using vCores or vCPUs
- If you know typical request rates for your current database workload, read about estimating request units using Azure Cosmos DB capacity planner
Feedback
Coming soon: Throughout 2024 we will be phasing out GitHub Issues as the feedback mechanism for content and replacing it with a new feedback system. For more information see: https://aka.ms/ContentUserFeedback.
Submit and view feedback for