Quickstart: Use Azure Data Studio to connect and query MySQL
This quickstart shows how to use Azure Data Studio to connect to a MySQL server (hosted on-premises, on VMs, on managed MySQL in other clouds or on Azure Database for MySQL - Flexible Server), create a database, and use SQL statements to insert and query data in the database.
Note
While Microsoft Entra ID is the new name for Azure Active Directory (Azure AD), to prevent disrupting existing environments, Azure AD still remains in some hardcoded elements such as UI fields, connection providers, error codes, and cmdlets. In this article, the two names are interchangeable.
Prerequisites
To complete this quickstart, you need Azure Data Studio, the MySQL extension for Azure Data Studio, and access to a MySQL server.
- Install Azure Data Studio.
- Install the MySQL extension for Azure Data Studio.
- A MySQL server. You can either create a managed MySQL server on Azure using Azure Database for MySQL - Flexible Server or install MySQL locally.
Connect to MySQL
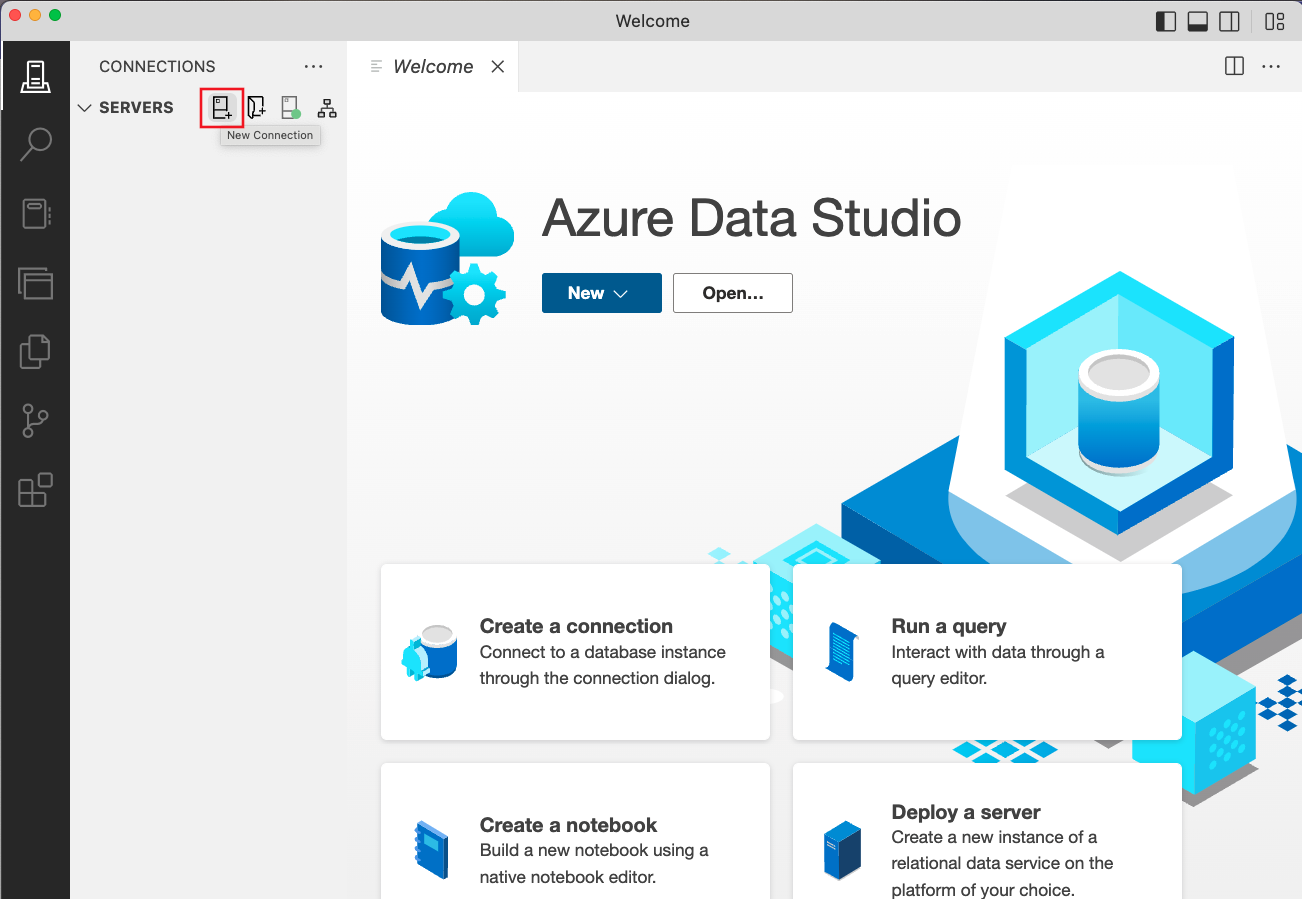
Start Azure Data Studio.
The first time you start Azure Data Studio the Connection dialog opens. If the Connection dialog doesn't open, select the New Connection icon on the SERVERS view in the Connections tab:
In the dialog window that pops up, go to Connection type and select MySQL from the drop-down.
Enter your MySQL server name, select your preferred authentication method and enter the credentials to connect to your MySQL server:
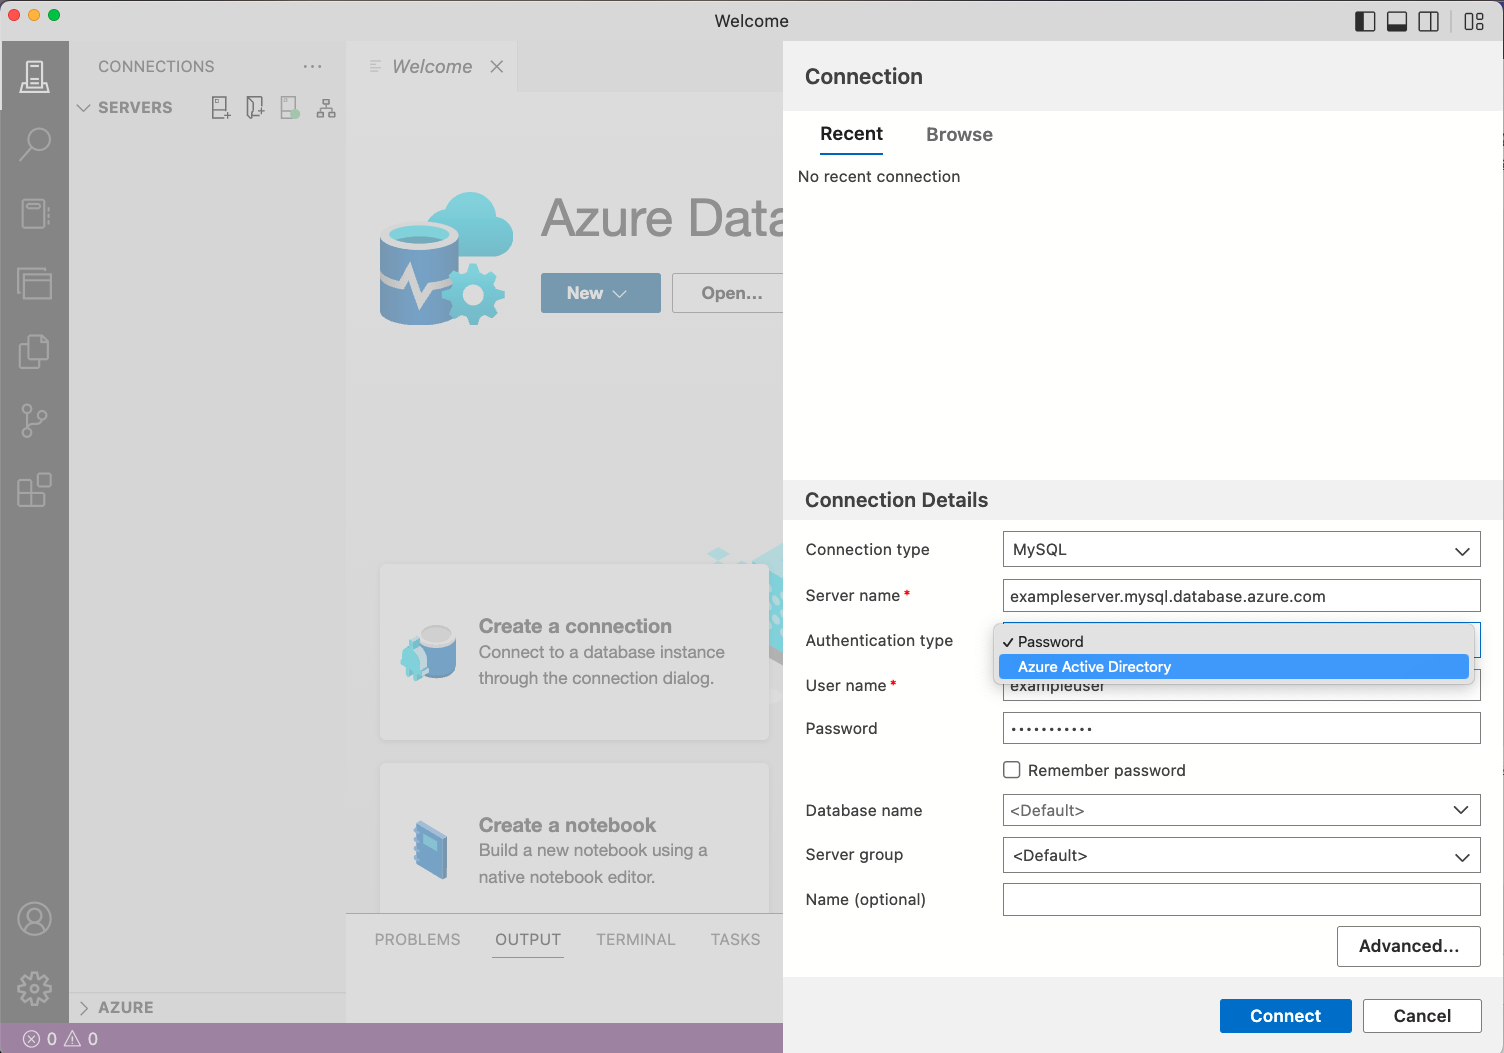
Setting Example value Description Server name localhost / exampleserver.mysql.database.azure.con The fully qualified server name. Authentication type Password The authentication method for accessing your MySQL server. This option lets you choose between MySQL native authentication (Password) and Microsoft Entra (Azure Active Directory) authentication. User name exampleuser The user name you want to sign in with. Password password The password for the account you're logging in with. Remember Password Check Check this box if you don't want to enter the password each time you connect. Database name <Default> Enter a database name if you want the connection to specify a database. Server group <Default> This option lets you assign this connection to a specific server group you create. Name (optional) leave blank This option lets you specify a friendly name for your server. If your MySQL server requires SSL encryptions, navigate to Advanced Properties window by selecting Advanced... button, enter the SSL configuration details and select OK. By default, SSL mode is configured as Require. For more information on SSL encryption and modes, see Configuring MySQL to Use Encrypted Connections.
Review the connection details and select Connect.
Once a successful connection is established, your server opens in the SERVERS sidebar.
Create a database
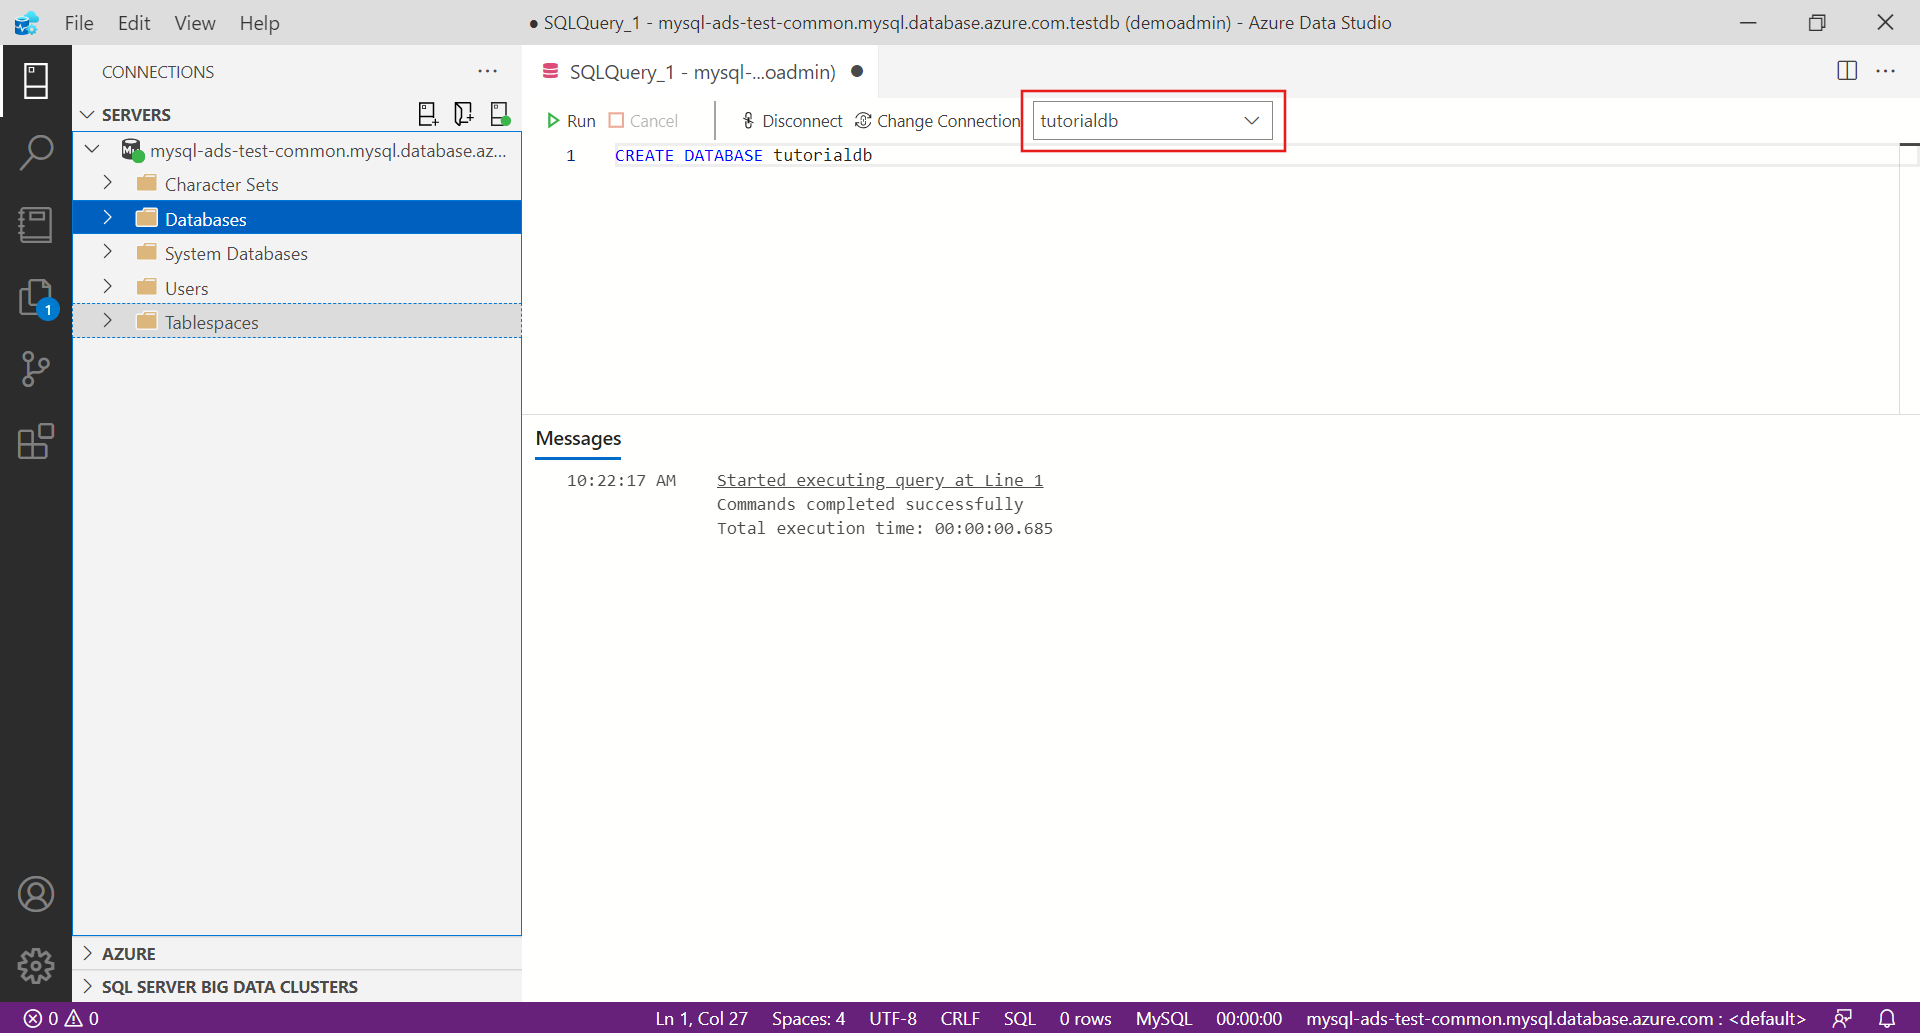
The following steps will create a database named tutorialdb:
Right-click on your MySQL server in the SERVERS sidebar and select New Query.
Paste this SQL statement in the query editor that opens up.
CREATE DATABASE tutorialdb;From the toolbar, select Run to execute the query. Notifications appear in the MESSAGES pane to show query progress.
Tip
You can use F5 on your keyboard to execute the statement instead of using Run.
After the query completes, right-click Databases under your MySQL server in the SERVERS sidebar, and select Refresh to see tutorialdb listed under the Databases node.
Create a table
The following steps will create a table in the tutorialdb:
Change the connection context to tutorialdb using the drop-down in the query editor.
Paste the following SQL statement into the query editor and select Run.
Note
You can either append this or overwrite the existing query in the editor. Selecting Run executes only the query that is highlighted. If nothing is highlighted, selecting Run executes all queries in the editor.
-- Drop the table if it already exists
DROP TABLE IF EXISTS customers;
-- Create a new table called 'customers'
CREATE TABLE customers(
    customer_id SERIAL PRIMARY KEY,
    name VARCHAR (50) NOT NULL,
    location VARCHAR (50) NOT NULL,
    email VARCHAR (50) NOT NULL
);
Insert data
Paste the following snippet into the query window and select Run:
-- Insert rows into table 'customers'
INSERT INTO customers
    (customer_id, name, location, email)
 VALUES
   ( 1, 'Orlando', 'Australia', ''),
   ( 2, 'Keith', 'India', 'keith0@adventure-works.com'),
   ( 3, 'Donna', 'Germany', 'donna0@adventure-works.com'),
   ( 4, 'Janet', 'United States','janet1@adventure-works.com');
Query data
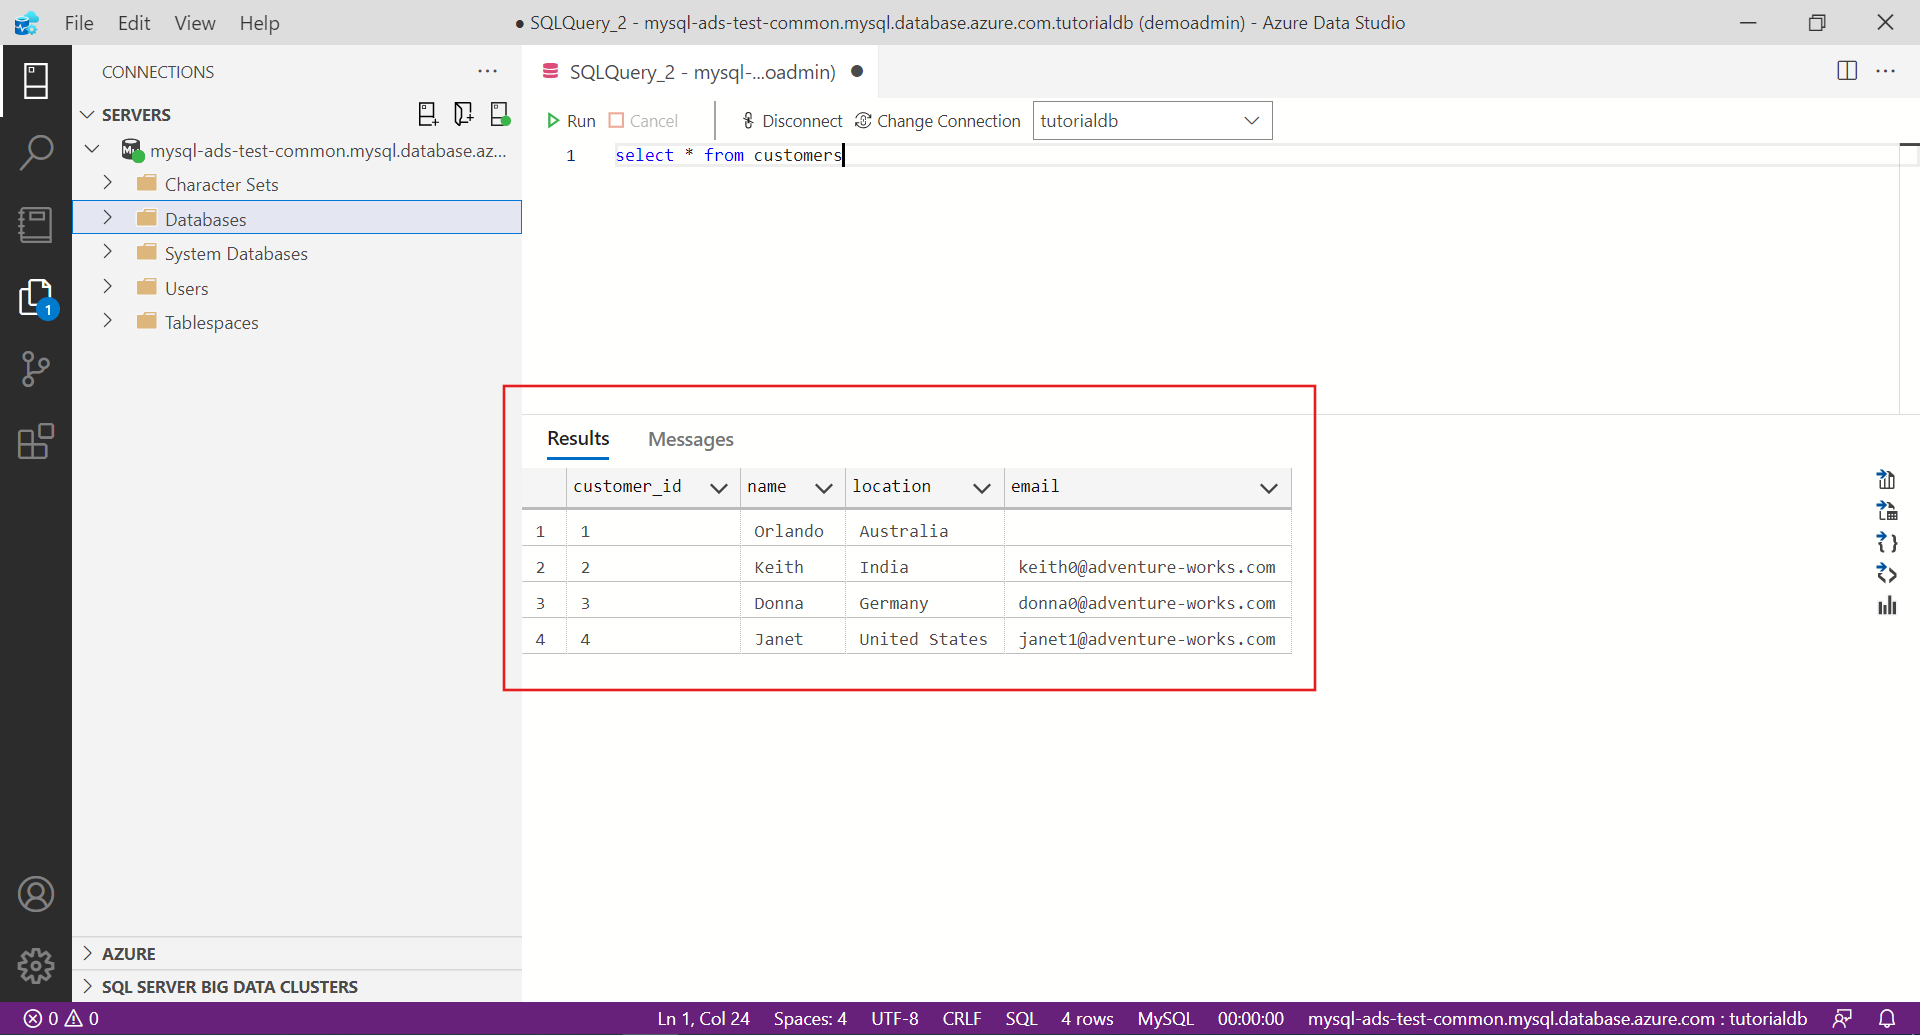
Paste the following snippet into the query editor and select Run:
-- Select rows from table 'customers'
SELECT * FROM customers;
The results of the query are displayed:
Alternatively, in the SERVERS sidebar, navigate down to the customers table, right-click on the table and select Select Top 1000 to query the data.
Next Steps
- Learn about the scenarios available for MySQL in Azure Data Studio.
Feedback
Coming soon: Throughout 2024 we will be phasing out GitHub Issues as the feedback mechanism for content and replacing it with a new feedback system. For more information see: https://aka.ms/ContentUserFeedback.
Submit and view feedback for