Optional Exercise - Access Azure Storage Metrics in Code
You want to start writing code that retrieves metrics about your video app storage account from Azure Monitor. First, you must create a service principal for your app in the Microsoft Entra ID. Then, you configure the correct security information in the app, and write the code that lists metric definitions.
Note
This exercise is optional. If you don't have an Azure account, you can read through the instructions so you understand how to use the Azure Storage .NET API to create applications that can retrieve metrics. If you want to complete this exercise but you don't have an Azure subscription or prefer not to use your own account, you will need to create a free account before you begin.
Create a new console application and add the Azure Monitor API
To begin creating your application, use git to clone the sample application code.
In the Azure portal, select Cloud Shell (>_) on the toolbar at the top of the window, and, if prompted, select the Bash shell option.
Run the following command to create a folder for the new console application in the root of your Cloud Shell.
mkdir ~/metricappTo clone the console app from Git Hub into the new folder, run the following command.
git clone https://github.com/MicrosoftDocs/mslearn-access-blob-storage-metrics-from-code ~/metricappTo change to the app's starter folder, run the following command:
cd ~/metricapp/starter
Create a service principal and access key for the new app
To grant your app permission to access Azure Monitor metrics, you must create a service principal in the Microsoft Entra ID. When your app identifies itself to Azure, it uses an access key. To create a service principal and access key, follow these steps:
Go to the Azure portal, and in the left nav bar, select Microsoft Entra ID.
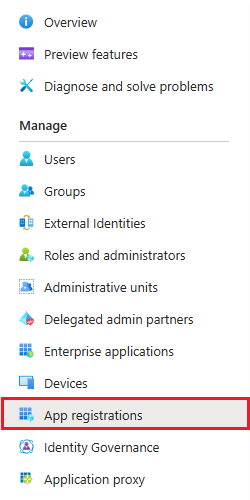
In the left nav bar, under the Manage section, select App registrations
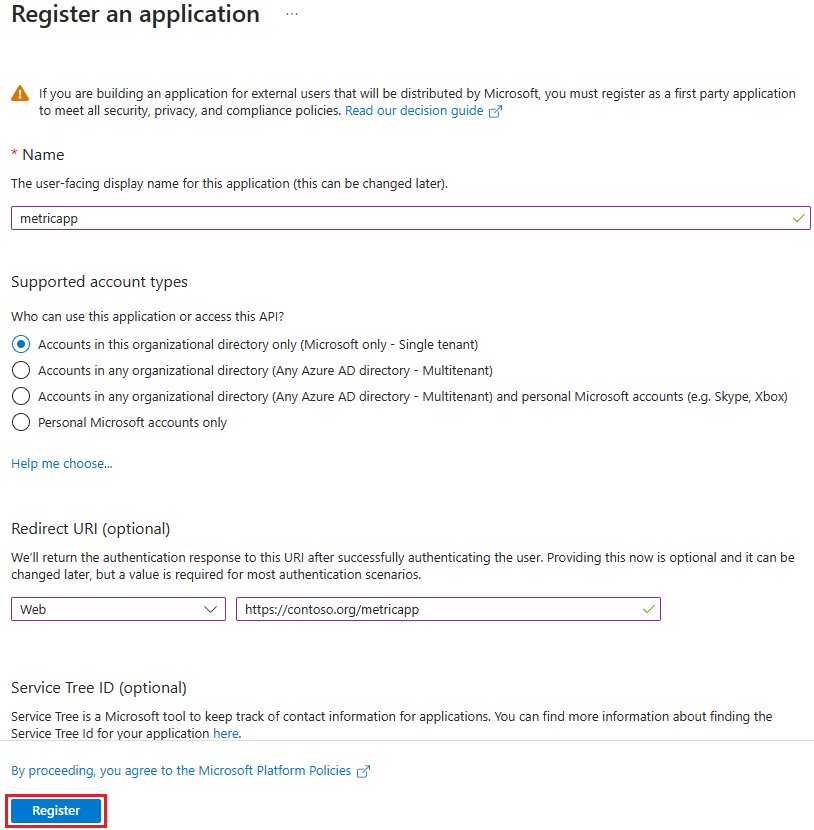
Select + New registration. The Register an application window appears.
In the Name textbox, enter metricapp.
For Supported account types, select Accounts in this organizational directory only (Microsoft only - Single tenant).
For Redirect URI, select Web in the dropdown, and enter https://contoso.org/metricapp for the redirect URI.
Select Register.
On the metricapp registration page, make a note of the Directory (tenant) ID. This GUID uniquely identifies the Active Directory that contains the service principal and is also referred to as the Tenant ID.
Under Manage, select Certificates & secrets.
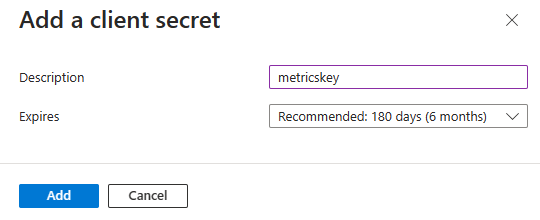
Select + New client secret. In the Add a client secret pane, enter metricskey in the Description textbox.
In the Expires dropdown, select 180 days (6 months).
Select Add.
On the Certificates & secrets screen, be sure and save the Value of the client secret.
Determine the tenant ID for your app
When your app identifies itself to Azure, it also needs to provide a tenant ID, which is also called a directory ID. To determine your tenant ID, follow these steps:
Go to the Azure portal, and in the left nav bar, select Microsoft Entra ID.
Under Manage, select Properties.
Make a note of the Tenant ID value; this value is the tenant ID for your app.
Determine your resource group and subscription IDs and assign the app to a role
You must now add the app service principal to a role, so that the app has permission to access Azure Monitor:
Go to the Azure portal, and in the left nav bar, select Resource Groups, and then select the resource group that you created as part of the optional exercise in unit 3.
On the resource group page, select Overview.
Copy the name of your resource group and your Subscription ID; you use these values when you modify your application code.
In the left nav bar, select Access control (IAM).
Select + Add, and then select Add a role assignment.
In the Role dropdown, select Contributor.
In the Assign access to dropdown, select Microsoft Entra user, group, or service principal.
In the Select textbox, enter metricapp, and then select metricapp.
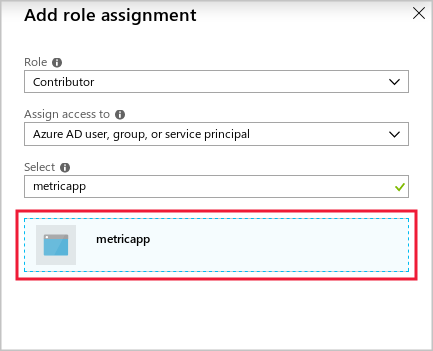
Select Save.
Start coding the app
Now that the app service principal has been created and configured, you can complete the app's code:
In the Cloud Shell, to ensure you are in the correct folder, run the following command, and then press Enter.
cd ~/metricapp/starterTo start the code editor, run the following command, and then press Enter.
code .In the list of files on the left, select Program.cs.
At the top of the code file, add the following lines of code.
using Microsoft.Azure.Management.Monitor;
using Microsoft.Azure.Management.Monitor.Models;
Formulate the resource ID
The app must request metrics by specifying the resource ID. To formulate the resource ID, follow these steps:
In the Main procedure, locate the following line of code, and add the name of the resource group that you determined earlier within the quotes.
string resourceGroupName = "";Locate the following line of code, and add the subscription ID that you determined earlier within the quotes.
string subscriptionID = "";Locate the following line of code, and add the name of the storage account that you created in unit 3 within the quotes.
string storageAccountName = "";
Store the correct security information
Now, you must ensure that the app uses the security details you configured and noted earlier:
Locate the following line of code, and add the directory ID or tenant ID you determined earlier within the quotes.
string tenantID = "";Locate the following line of code, and add the application ID you determined earlier within the quotes.
string applicationID = "";Locate the following line of code, and add the client secret value you determined earlier within the quotes.
string accessKey = "";
Obtain a list of metric definitions
You can now write the code that retrieves a list of metric definitions for the storage account:
In the Program.cs file, within the GetMetricDefinitions method, locate the following comment.
//Evaluate metric definitions hereTo get a list of metric definitions, replace the comment with the following code.
IEnumerable<MetricDefinition> metricDefinitions = await readOnlyClient.MetricDefinitions.ListAsync(resourceUri: resourceURI, cancellationToken: new CancellationToken());To show the list of metrics to the user, on the next lines, enter the following code.
Console.WriteLine("Metric Definitions:");
foreach (var metricDef in metricDefinitions)
{
    Console.WriteLine(metricDef.Name.Value);
}
To save your changes close the code editor, select ... on the right, select Save and then select Close Editor.
To run your application, run the following command, and then press Enter.
dotnet runYour application compiles and executes, and a list of metric definitions in the console window appears.