Exercise - Set up the project
You're a new developer at Tailwind Traders. Before you can start, you need to get your development environment configured. Don't worry, Tailwind Traders has made the onboarding process easy. There are just a few small steps you need to follow to get up and running.
Scaffold the project resources
Activate the sandbox and sign in to Azure Cloud Shell (also known as the Tailwind Traders Production Environment) as indicated at the top of this page.
Copy the following line and paste it into Azure Cloud Shell terminal to the right.
git clone https://github.com/MicrosoftDocs/mslearn-build-api-azure-functions && ./mslearn-build-api-azure-functions/DB_SETUP/CREATE_DATABASE.shThis command creates a new database with product data. This process can take up to 10 minutes. Feel free to continue on with the module. The process continues to run even if you leave this page.
Clone the project in Visual Studio Code
Open Visual Studio Code.
In the top menu bar, select View > Command Palette.
In the prompt, enter Clone.
In the Command Palette, select Git: Clone.
Enter the following repo URL:
https://github.com/MicrosoftDocs/mslearn-build-api-azure-functionsSelect a folder on your local drive where you want the project to be cloned.
When prompted to open the cloned repository, select Open.
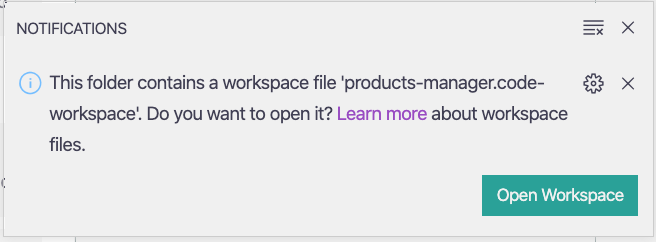
Visual Studio Code detects a workspace file in this project, and asks if you want to open it. Select Open Workspace.
When the workspace opens, two projects appear in Visual Studio Code: frontend and api. The "frontend" project contains the web app. The api project is where you build the serverless API with Azure Functions.
Run the front-end project
To open the integrated terminal in Visual Studio Code, press Ctrl + Shift + `.
Select frontend.
To run the front-end project in the browser, in the integrated terminal, run the
npm startcommand.npm startA small webserver called serve runs in the Visual Studio Code terminal window. It displays the URL where the front-end app is running.
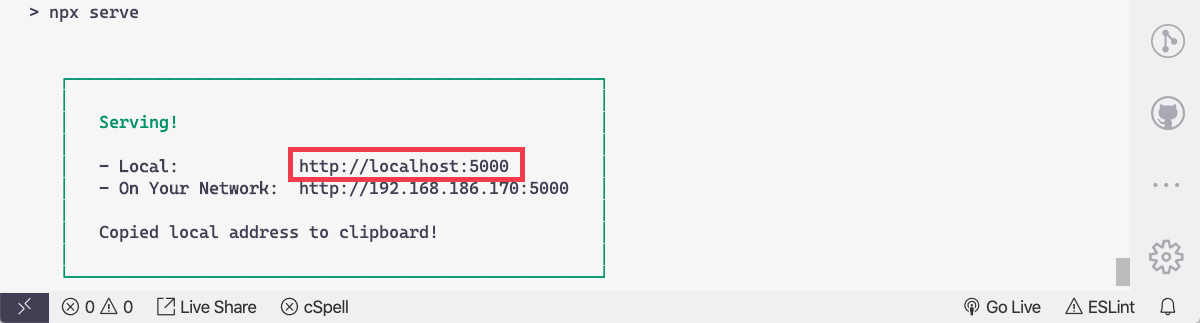
To open the app in the browser, select that URL in the terminal window.
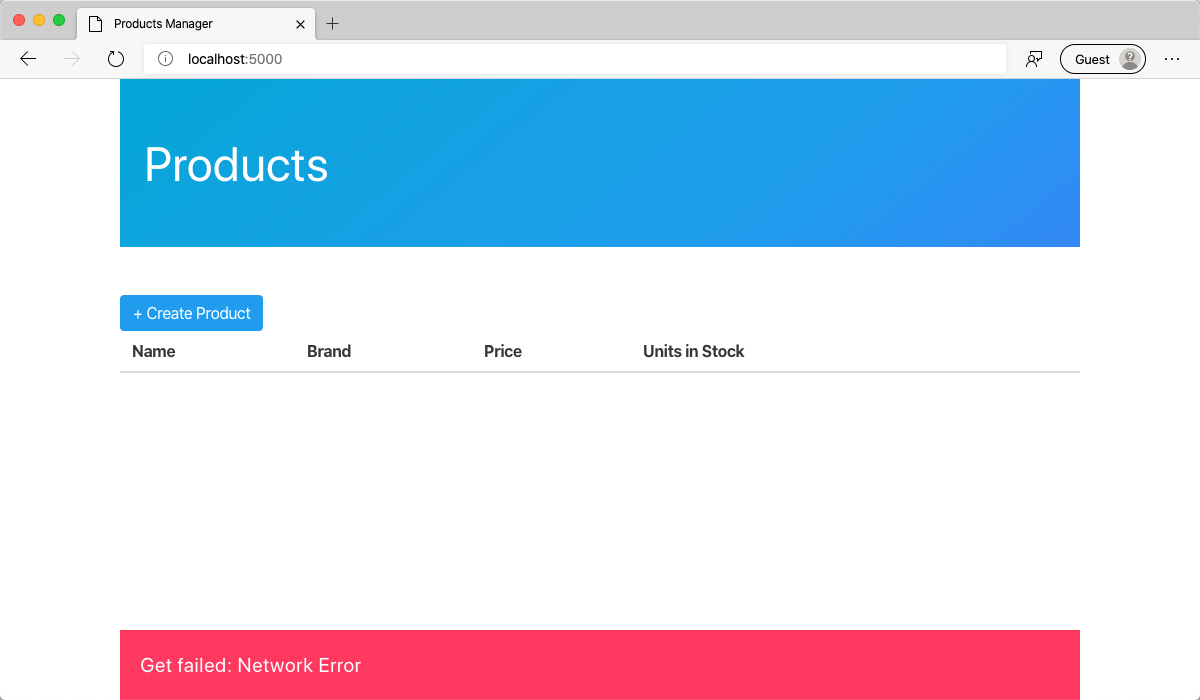
The app loads, but there's no data present because you haven't created the API for this app.
Excellent! You've successfully configured your environment to be a productive developer at Tailwind Traders. That means that it's time to create the Azure Functions project that will serve as the API for the Products Manager application.