Exercise - Create a Cosmos DB instance using Visual Studio Code
In this unit, you'll work in Visual Studio Code with the Databases extension:
- Install the Azure Databases extension for Visual Studio Code.
- Use the extension to connect to your Azure sandbox account.
- Create a Cosmos DB account.
- Add a database and container.
- Create some test documents in the container, then view and delete them.
In the sample scenario, you want to work within Visual Studio Code, both as a development environment for building applications and as a tool for managing your Azure databases. This exercise runs on your desktop computer and uses a free Azure sandbox subscription.
Note
This exercise assumes that you've already installed Visual Studio Code on your desktop computer.
Install the Azure Databases extension for Visual Studio Code
Start Visual Studio Code.
On the View menu at the top, select Extensions to open the extensions pane or use the keyboard shortcut, Ctrl + Shift + X.
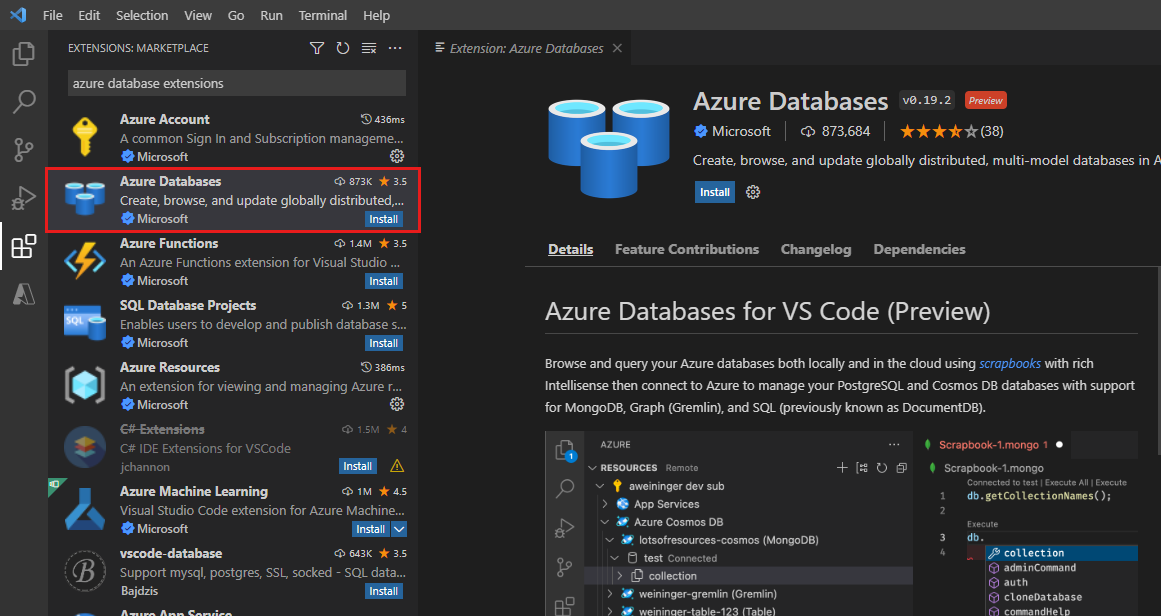
In the Search box, enter Azure Databases, and press Enter.
In the list of extensions, select the Azure Databases extension published by Microsoft, and then select Install.
Wait while the extension is installed.
Sign in to Azure with sandbox subscription
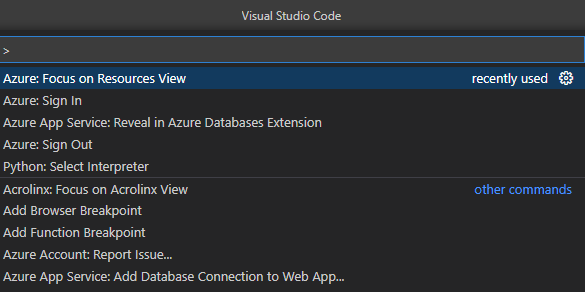
On the View menu, select Command Palette.
In the command palette, enter Azure, and then select Azure: Focus on Resources View, or use the keyboard shortcut, Shift + Alt + A.
The Azure explorer appears (if not already visible).
On the View menu, select Command Palette, and then select Azure: Sign in.
Sign in with the same credentials you used to set up the sandbox, and then close the browser page.
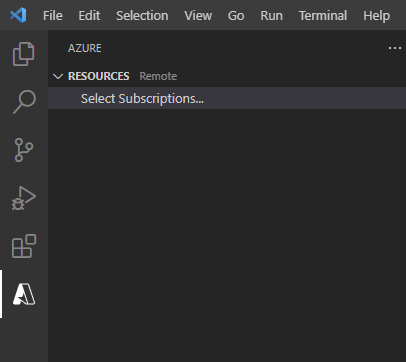
In the Azure explorer, select Select subscriptions.... The Learn sandbox subscription has the following name and tenant ID:
Troubleshooting: If you aren't able to find the Concierge Subscription, you may have to change tenants and sign in again. Use the following tenant ID to complete that:
- Tenant ID: 604c1504-c6a3-4080-81aa-b33091104187
- Name: Concierge Subscription
Select Concierge Subscription and then OK.
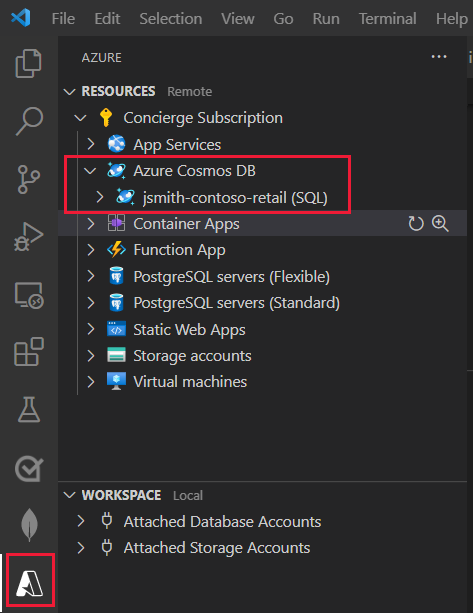
In the Azure explorer, expand Concierge Subscription.
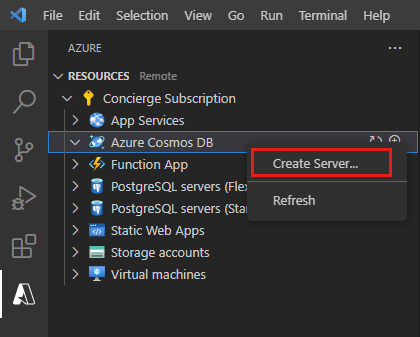
Create a Cosmos DB account in Visual Studio Code
Right-click Azure CosmosDB and then select Create Server.
A wizard starts and prompts you for the details of the new account. Use the following table to complete the prompts:
Prompt Answer Select an Azure Database Server Core (SQL) Account name Enter a globally unique account name; we suggest using something like <your name or initials>-contoso-retail. Select a capacity model Provisioned Throughput - Setting provisioned throughput on a container is the most frequently used option. You can elastically scale throughput for a container by provisioning any amount of throughput by using Request Units (RUs). Select a resource group for new resources Select [sandbox resource group] for the resource group created for you by the Learn sandbox.Select a location for new resources Select a location near you. When the account has been created, in the Azure explorer, expand Concierge Subscription and Azure CosmosDB. Verify that the new Cosmos DB account appears.
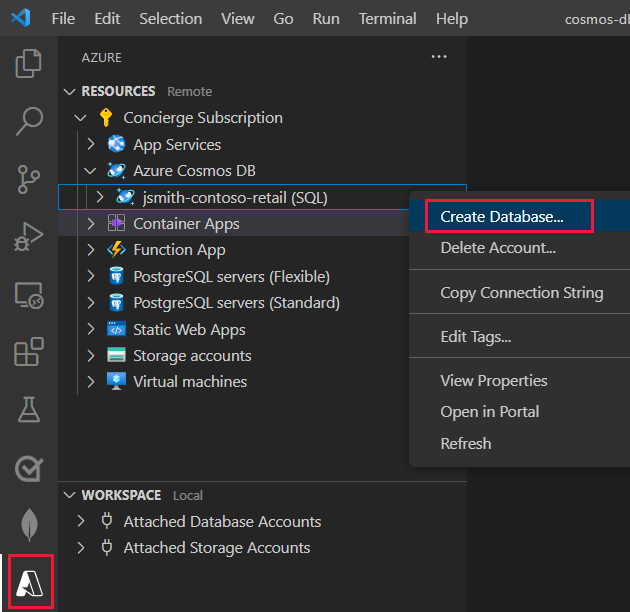
Create a database and container
In the Azure explorer, Shift + Alt + A, right-click the database account you created, then select Create Database.
A wizard starts and prompts you for the details. Use the following table to complete the prompts:
Prompt Answer Database Name ContosoRetail Enter an ID for your Collection Products Enter the partition key for the collection, or leave blank for fixed size categoryName Initial throughput capacity 1000 This container will hold
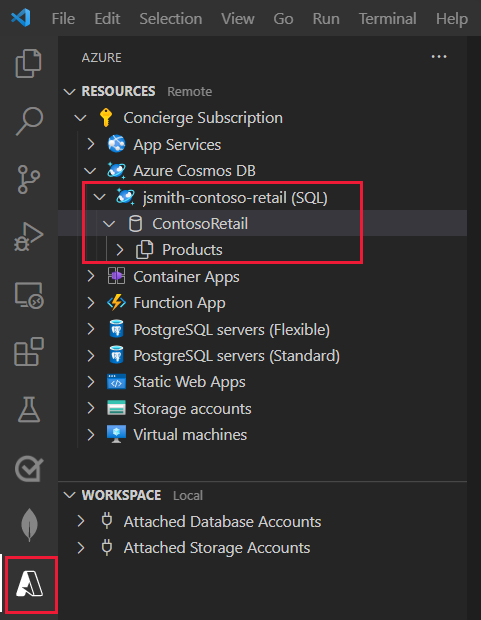
Productsdocuments. Tags and inventory are arrays of subdocuments with each product. The following document is an example of a product.{ "id": "08225A9E-F2B3-4FA3-AB08-8C70ADD6C3C2", "categoryId": "75BF1ACB-168D-469C-9AA3-1FD26BB4EA4C", "categoryName": "Bikes, Touring Bikes", "sku": "BK-T79U-50", "name": "Touring-1000 Blue, 50", "description": "The product called \"Touring-1000 Blue, 50\"", "price": 2384.0700000000002, "tags": [ { "_id": "27B7F8D5-1009-45B8-88F5-41008A0F0393", "name": "Tag-61" } ], "inventory": [ { "location": "Dallas", "inventory": 42 }, { "location": "Seattle", "inventory": 3 }, { "location": "Boston", "inventory": 15 }, { "location": "Miami", "inventory": 89 }, { "location": "San Diego", "inventory": 19 } ] }In the Azure explorer, verify that the ContosoRetail database, containing the Products container, appears.
Create and view documents
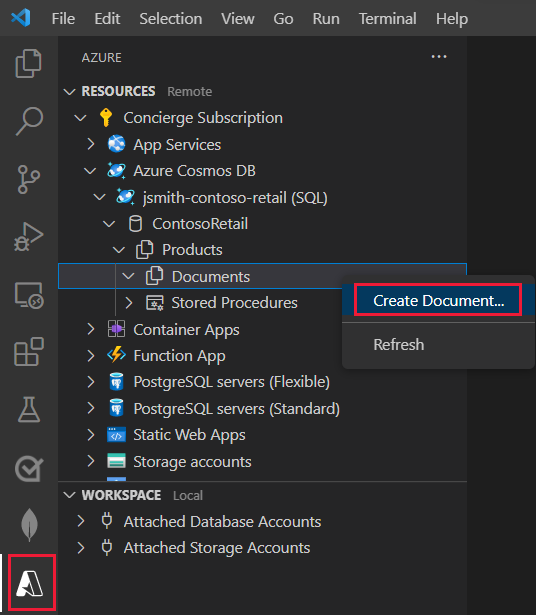
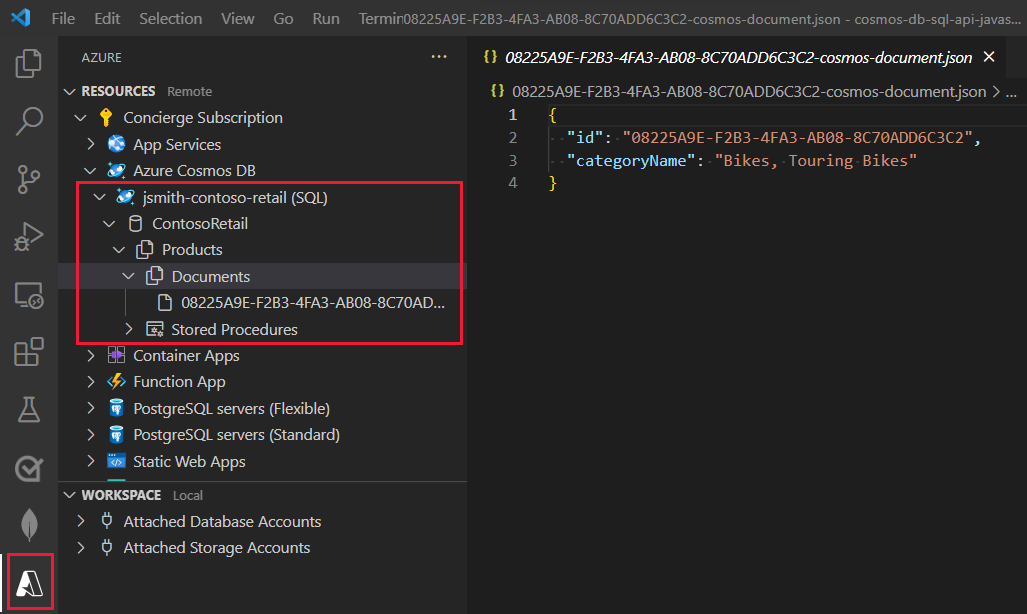
In the Azure explorer, expand the Products container. Two subfolders should appear, named Documents and Stored Procedures.
Right-click the Documents folder, and then select Create Document.
A wizard starts and prompts you for the details. Use the following table to complete the prompts:
Prompt Answer Enter a document ID 08225A9E-F2B3-4FA3-AB08-8C70ADD6C3C2 Partition key Bikes, Touring Bikes The document will be created and appear in Visual Studio Code, in JSON format. The id and categoryName fields will be populated with the values you specified.
Add a second document. In the Azure explorer, right-click the Documents folder again, and select Create Document.
A wizard starts and prompts you for the details. Use the following table to complete the prompts:
Prompt Answer Enter a document ID 0F124781-C991-48A9-ACF2-249771D44029 Partition key Bikes, Mountain Bikes The new document appears.
Edit documents
In the Documents list, select the 08225A9E-F2B3-4FA3-AB08-8C70ADD6C3C2 document.
In the JSON document that appears, move to the end of the id line, and press Enter.
Add the following fields to the document.
"categoryId": "75BF1ACB-168D-469C-9AA3-1FD26BB4EA4C",
"sku": "BK-T79U-50",
"name": "Touring-1000 Blue, 50",
"description": "The product called \"Touring-1000 Blue, 50\"",
"price": 2384.0700000000002,
"tags": [
    {
        "_id": "27B7F8D5-1009-45B8-88F5-41008A0F0393",
        "name": "Tag-61"
    }
],
"inventory": []
The tags property is an array field that contains the tags associated with a product. Using an array makes it possible for a product to have several tags.
On the File menu, select Save.
When prompted to update the entity to the cloud, select Always upload.

The document will be updated in the cloud. The node under the Products container is changed to the name property of the document.
In the Documents list, select the other document, named 0F124781-C991-48A9-ACF2-249771D44029.
Add the following fields to the document after the id field.
"categoryId": "56400CF3-446D-4C3F-B9B2-68286DA3BB99",
"sku": "BK-M68B-42",
"name": "Mountain-200 Black, 42",
"description": "The product called \"Mountain-200 Black, 42\"",
"price": 2294.9899999999998,
"tags": [
    {
        "_id": "4F67013C-3B5E-4A3D-B4B0-8C597A491EB6",
        "name": "Tag-82"
    }
]
On the File menu, select Save.
You have added and edited Cosmos DB documents.
The Documents list now shows readable names, using the
namefield of each object. When you work locally with documents, it's helpful to find documents if they use thenameproperty.
Check your work
- In Visual Studio Code, in the Azure Databases extension you see your Cosmos DB account, database and container.
- When you expand the container node, you see two documents.