Configure banks and bank check layout
This unit explains how to configure banks and bank layouts in Finance.
Bank groups
You use bank groups when several bank accounts share the same address information or routing number. When you create a new bank account and enter the bank group, the bank group information is copied to the account automatically.
For example, you can create a bank group for one financial institution at which five accounts are open.
You can simultaneously update balances for all the banks belonging to the same group by clicking on the Update bank accounts button in the Cash and bank management> Setup > Bank groups page.
Bank accounts
You can enter and maintain all information for the company bank accounts in the Bank accounts page in Cash and bank management > Bank accounts. Use the options on the page to view details for each bank account, such as transactions, current balance, and checks that have been created.
You should name accounts so that they can be easily identified. In Finance, bank accounts are identified by name and account number.

Watch this video to see how to set up a new company bank account.
Set up vendor and customer bank information
To enable electronic payments for customers and vendors, you need to set up the bank information on a vendor and a customer as one of the steps for creating the method of payment as type electronic. The purpose of setting up customer bank accounts is to configure customer payment files that can be used for transactions such as direct debits in the system.
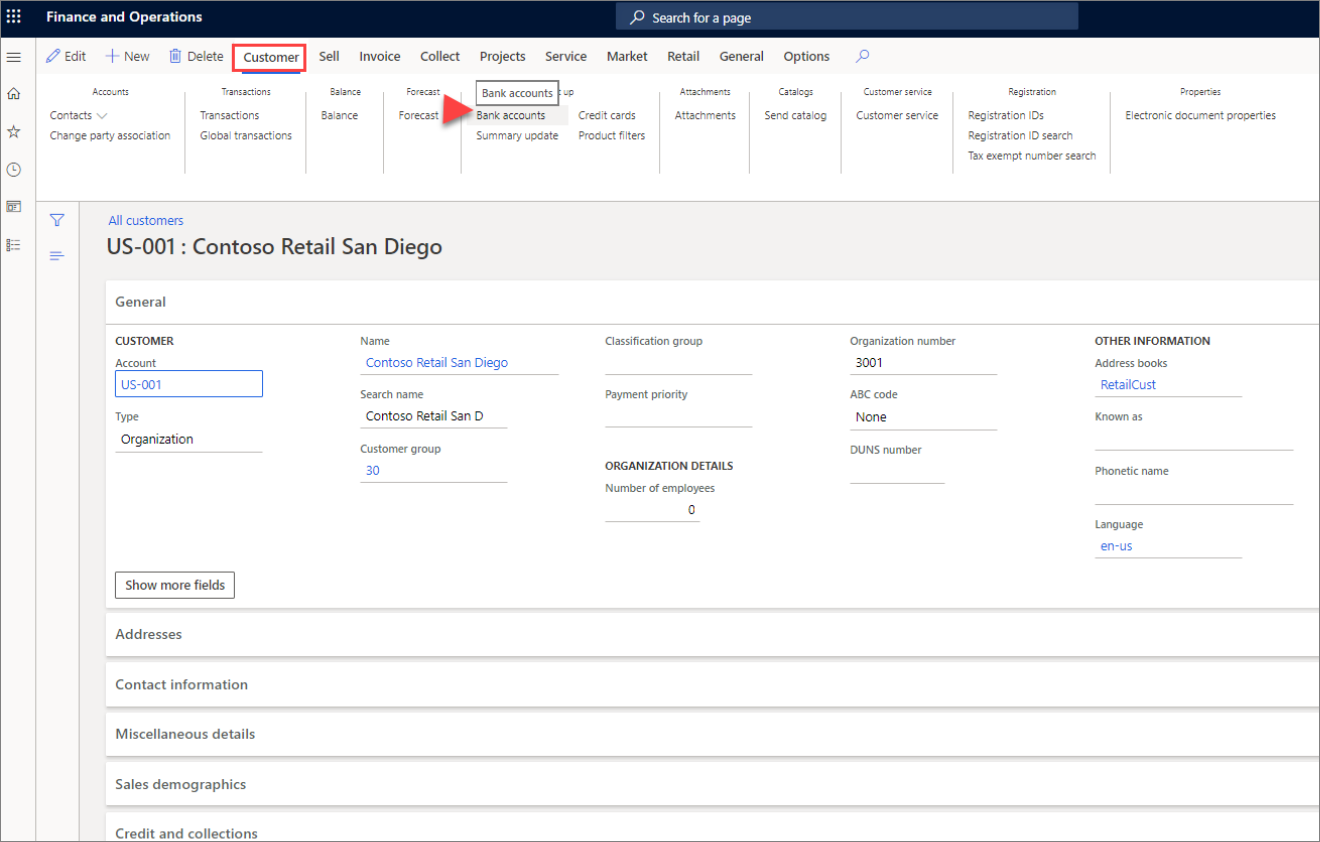
You can set up the vendor or customer bank information from the Credit and Collections module > Customer > All customers > Bank accounts.
Prenotes
Select the Prenote required check box if the bank requires prenotes for electronic transactions. If prenotes are required, specify the number of days that the bank requires to process a prenote in the Prenote response days field.
The bank must process the prenote before electronic payments will be accepted. This field is available only if you selected the Prenote required check box.
Active status
Use the Active fields to enter specific dates when the bank account becomes active. The following two fields are optional and available if the Bank account status field is set to Active for all transactions:
- Active from - Enter the date when the bank account will become active and be available for new transactions. If you do not enter a date, the bank account is immediately available for new transactions.
- Active to - Enter the date when the bank account will no longer be active for new transactions.
Any existing transactions that are not completed by this date, such as pending payments, will still occur as they were originally scheduled. If you do not enter a date, the bank account remains active indefinitely.
You can use the following Bank account status to select the status to use for the bank account:
- Active for all transactions - The bank account is active and available for all transactions.
- Inactive for new transactions - No new transactions can be scheduled for this bank account. Existing transactions that have not yet been completed, such as pending payments, will still occur as they were originally scheduled.
- Inactive for all transactions - No transactions, either new or existing, can be scheduled or processed for this bank account.
Credit limit
If the bank uses credit limits for this account, use the Credit limit field to enter the amount that the bank offers for this account.
Check layout
The Check layout page is where you set up the check layout for the bank accounts. You can define a different check layout for each bank account.
In the Check layout page, and in the Promissory notes and Bill of exchange layout pages, you can select the method to use for generating check numbers from the Check number method list.
You can use one of two methods, which can be changed if the company changes its policy for layouts:
- Fixed - Use this method when you have preprinted checks. Before you can use checks for payment, they must be created by selecting Check numbers from the Setup tab on the Action Pane in the Bank accounts page.
- Free - Use this method when you do not have preprinted checks. Check numbers are automatically proposed when you use checks for payment.
Notice that even though many companies worldwide use electronic payments, some companies or government agencies still use checks as a method of payment for refunds. That is why you need to be familiar with the check layout.
Define MICR options
To save money, many companies print their own checks. They use standard paper, but print the Magnetic ink character recognition code (MICR), which is used to verify the legitimacy or originality of paper documents, such as checks.
Special ink, which is sensitive to magnetic fields, is used in the printing of certain characters on the original documents, such as bank account number, routing number, and check number.
While defining the MICR on the check layout, you have the following options: Leading zeros - Indicates whether the MICR line contains leading zeros. Length of check number - Indicates the number of characters entered in the MICR line for the check number. MICR-line - Enter the complete MICR line, which includes the delimiters.
The check number cannot be entered because it is unique to each check. Designate the place for the check number in the MICR line with the character sequence %1.
The MICR line can be included only if the check is to be printed on blank paper without preprinted information, such as watermarks.
Consider the following scenario to better understand why some companies need to create checks.
Scenario
At the company Adventure Works Cycles, Annie is the bookkeeper that manages the creation, deletion, and voiding of checks and electronic payments. Annie creates check refunds for customers, when required, and processes payments to vendors. Also, when Adventure Works Cycles receives a bank statement, Annie reconciles the statement with the transactions in the application.
After users create a check, they can delete the check if it has not been used. Checks created but not used have the status of Created in the Status field. If you include checks that have a status other than Created in the interval between the From and To fields, no checks are deleted and the Delete checks job is canceled.
After printing or trying to print checks, you might be unable to use them. For example, if a check is damaged while it is printed, you must void the unused checks. If you wish to void a check in the payment journal line, select the Payment status button and then click Rejected. This can be used only if you have not posted the checks.
Bank remittance
Use the Remittance page to view the remittances made to company bank accounts. A remittance is a functionality to create the file that must be sent to the bank with instructions for electronic payment of vendor invoices.