Exercise - Building apps with Copilot
Let's explore using AI to generate a table of data and create a new app within Power Apps using the Copilot tool.
Note
To complete the exercises, you'll need to use a few files. Download the App in a Day files for use in this module. The file folders that are in this download include:
- Completed modules with instructions - Package files to import the completed exercise steps.
- Machine-Order-Data.xlsx - File used in the exercises.
Section 1: Explore AI Copilot within Power Apps
Before beginning the exercise, go to Make Microsoft Power Apps, sign in and confirm that you're in your training environment for the labs.

Note
Within this lab, notice that your results for data may vary from those within the screenshots and images throughout the lab. This is because Power Apps is using Copilot to generate data for the lab that changes daily.
In the center of the Home page within Power Apps, there's a text field in which you can enter a prompt to search for an AI generated table.
Within the text field type the following prompt:
build an app to collect expense reports for employees that purchase microsoft laptops and tabletsThen, select the Send button.

After the AI Copilot generates a table based on your prompt, look through the table to see what columns were created for the start of your table.
Note
Within this lab, notice that your results for data may vary from those within the screenshots and images throughout the lab. This is because Power Apps is using Copilot to generate data for the lab that changes daily.

Note
If you'd like, you can add or modify the existing columns generated within the table by Copilot. But note that there is a pre-built Suggestions section to the left of the screen.


Let's explore further within modifying and adding to the already generated table.
In the text box, at the bottom of the Copilot pane to the right of the screen, you can type a request to add a column. For this example we're going type:
Add a column to track the employee's email addressThen, select the Send button.
Note
You may find that the column added above already exists within your table that was generated by the Copilot. If so, try requesting a different column to be added.

Notice how a new column that we requested and the corresponding data is added to the table.
Note
Remember that the data that is generated in your table may vary from the data shown within the table in the screenshots and images for the lab.
Note
In the bottom left corner of the screen, notice that there is a section titled Suggestions. This section provides you with different suggestions on how you can add to and modify your table.

Notice that to the right of the screen, it appears to look as if you're having a conversation with a Copilot AI bot while adding to and modifying your table. Here's where you can scroll through and view the changes or additions you made to your table.

Select a column name drop down from within the table, and select View column. Here, you can view the columns’ properties and the current status details and data. For the example shown within the following image, the drop-down for the column Category was selected. Every column within the table displays different column properties.

Select the X in the top right corner of the pane to close out.


Let's try adding more data to our table and the existing columns.
Within the Copilot pane text box, type and send:
Add 5 more rows of dataNotice that five more rows of data are added for each of the existing columns within the table.

Note
Remember that the data that is generated in your table may vary from the data shown within the table in the screenshots and images for the lab.

Now, let's try changing the name of a column within our generated table.
Within your generated table, choose a column in which you want to change the name of. For the following example, we're going to choose the column that we added previously; the Employee Email column.
Within the textbox in the Copilot pane, type and send your request to change the column name in which you desire. For this example we type and send:
Change the Employee Email column name to Employee Email Address
You should then see the column name update within the table to the new column name you requested.

Note
Remember that the data that is generated in your table may vary from the data shown within the table in the screenshots and images for the lab.
Now, let's try removing columns within our generated table.
Choose a column that you wish to remove from your table. For this example, we're going to remove the column in which we added and updated previously.
Within the text box of the Copilot pane, type a request to remove a column and select send. For the following example, we remove the column in which we added and updated the name of previously; the Employee Email Address column:
Remove Employee Email Address columnNotice that the column within the table is removed.

Note
Remember that the data that is generated in your table may vary from the data shown within the table in the screenshots and images for the lab.

Now let's change the Report ID column into an Employee ID column.
Within the text box of the Copilot pane, type a request to change the Report ID column name to Employee ID:
Change the Report ID column's name to Employee IDNotice that the Report ID column name is now Employee ID


You can add and make more changes to your table as you wish, but for this lab and example, we keep the table as is.
Let's create the app now.
In the bottom right corner of the screen, select the Create app button.

When the app first loads, a dialog might appear saying: Welcome to Power Apps Studio. If so, select the Skip button.
You should now be viewing the app that was built for you in Edit mode. If the Copilot pane appears to the right of the screen, select the X in the top right corner to close it. That pane is available to you in Edit mode in case there are other changes you wish to make to the app.
Note
Remember that the data that is generated in your table may vary from the data shown within the table in the screenshots and images for the lab.
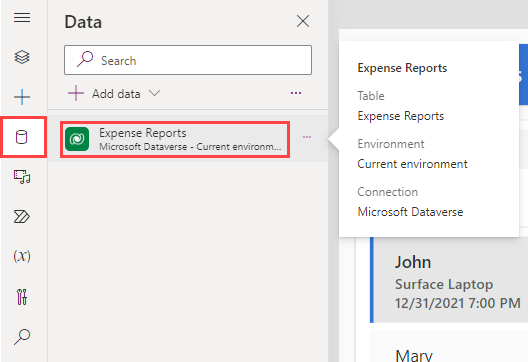
To the left of the screen, select the Data icon from the navigation bar. Notice that a Dataverse table is created by the Copilot and is now in the Environments section.
Note
Copilot is currently only supported for Dataverse. You cannot use any other data access point at this time.


Let's try editing the table now that the app was made.
Within the Data pane, hover over the table. To the right of the table, select the ellipsis (...).
From the menu, select Edit data.

The Edit Table dialog appears. Here's where you can come and add your own columns to the table, or modify existing columns.

Note
Remember that the data that is generated in your table may vary from the data shown within the table in the screenshots and images for the lab.
Locate the Employee ID column within the table. (If you don't have an ID column within your table, navigate back to Copilot and request that the ID column is added to your table.) Select the Employee ID column header from the table.
From the drop-down, select the Edit column option.


In this example, we don't want the Data Type of the column to be a Single line of text. Let's change that.
Within the Edit column pane, from the Date type drop-down select # Autonumber
Select Save.

Select the Close button in the bottom right corner of the Edit table dialog.
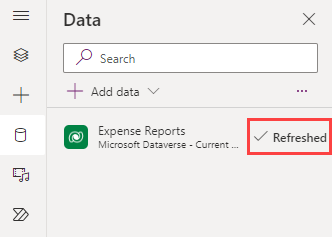
Notice that the table now says Refreshed within the Data pane.


Based on what you learned in all of your other labs, let's add a few of those practices in.
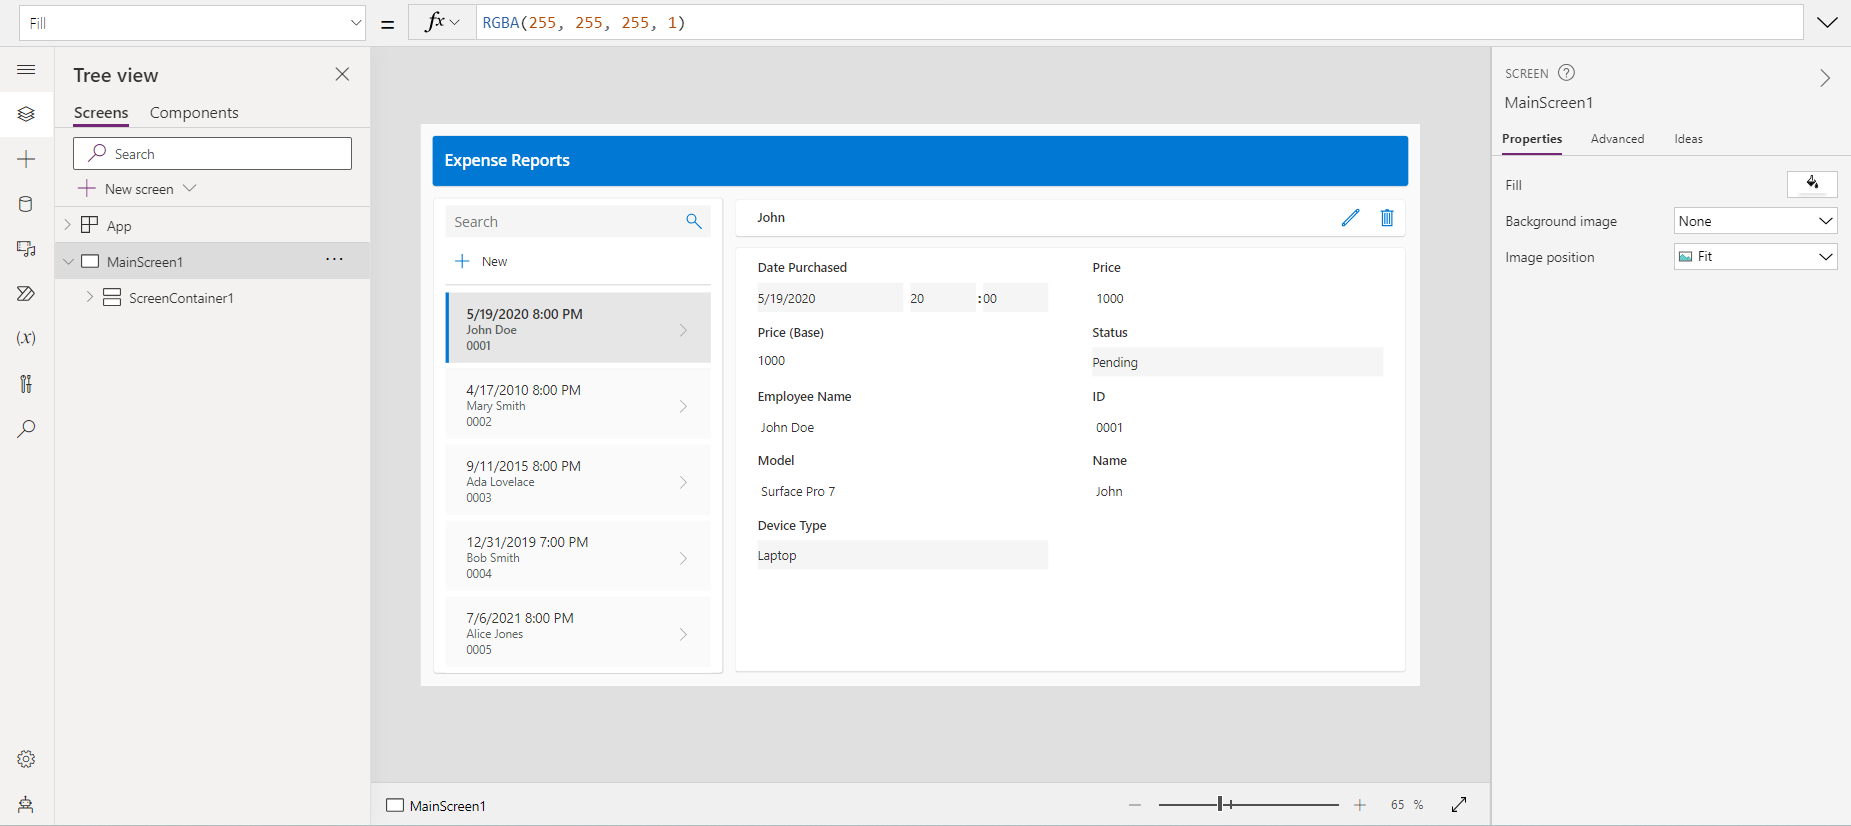
Within the Edit view for the app, select the Form within the app canvas.
Note
Remember that the data that is generated in your app may vary from the data shown within the app in the screenshots and images for the lab.
In the inline actions menu above the form, select the Fields button.
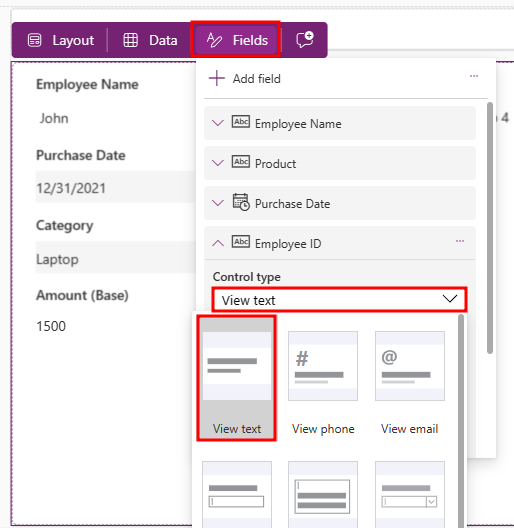
Within the Fields pane, expand the Employee ID field.
From the Control type drop-down, change the type to View text.
Note
Remember that the data generated for you may be different than the data shown in the images. In this case, the order in which the fields are listed may be different for you.
Because we previously changed the ID field to Autonumber, we don’t want the users putting in their own number; Dataverse is going to autonumber it for us.
Select the Fields button again to close out the pane.
Now, let's make and add a new request to the table within the app.
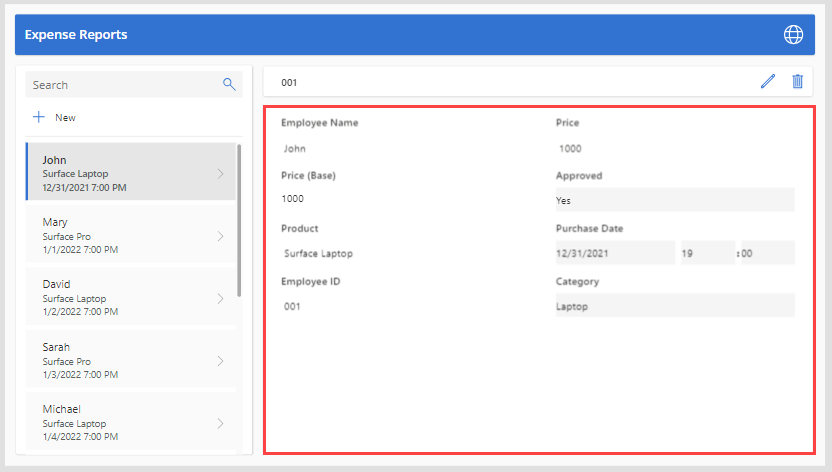
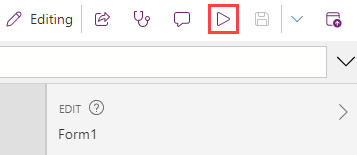
From the top of the screen, select the Play button.
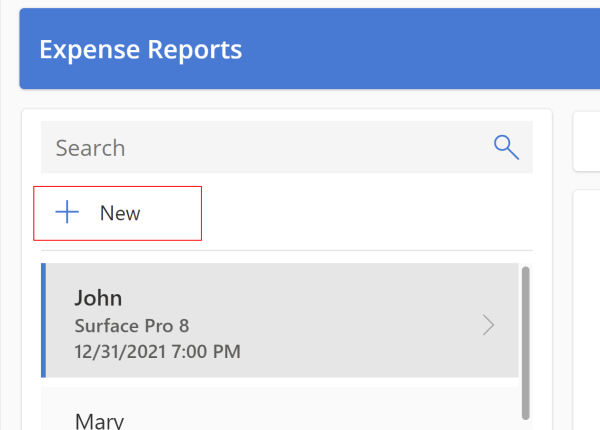
Within the pane to the left of the app, select the +New button.
Note
Remember that the data that is generated for you may be different than the data shown in the images. In this case, the data displayed in the fields of the app may be different for you.
Although you could modify the form to autofill the fields for you, we're going to do so ourselves to show that the app works.
Fill in the following fields with this information:
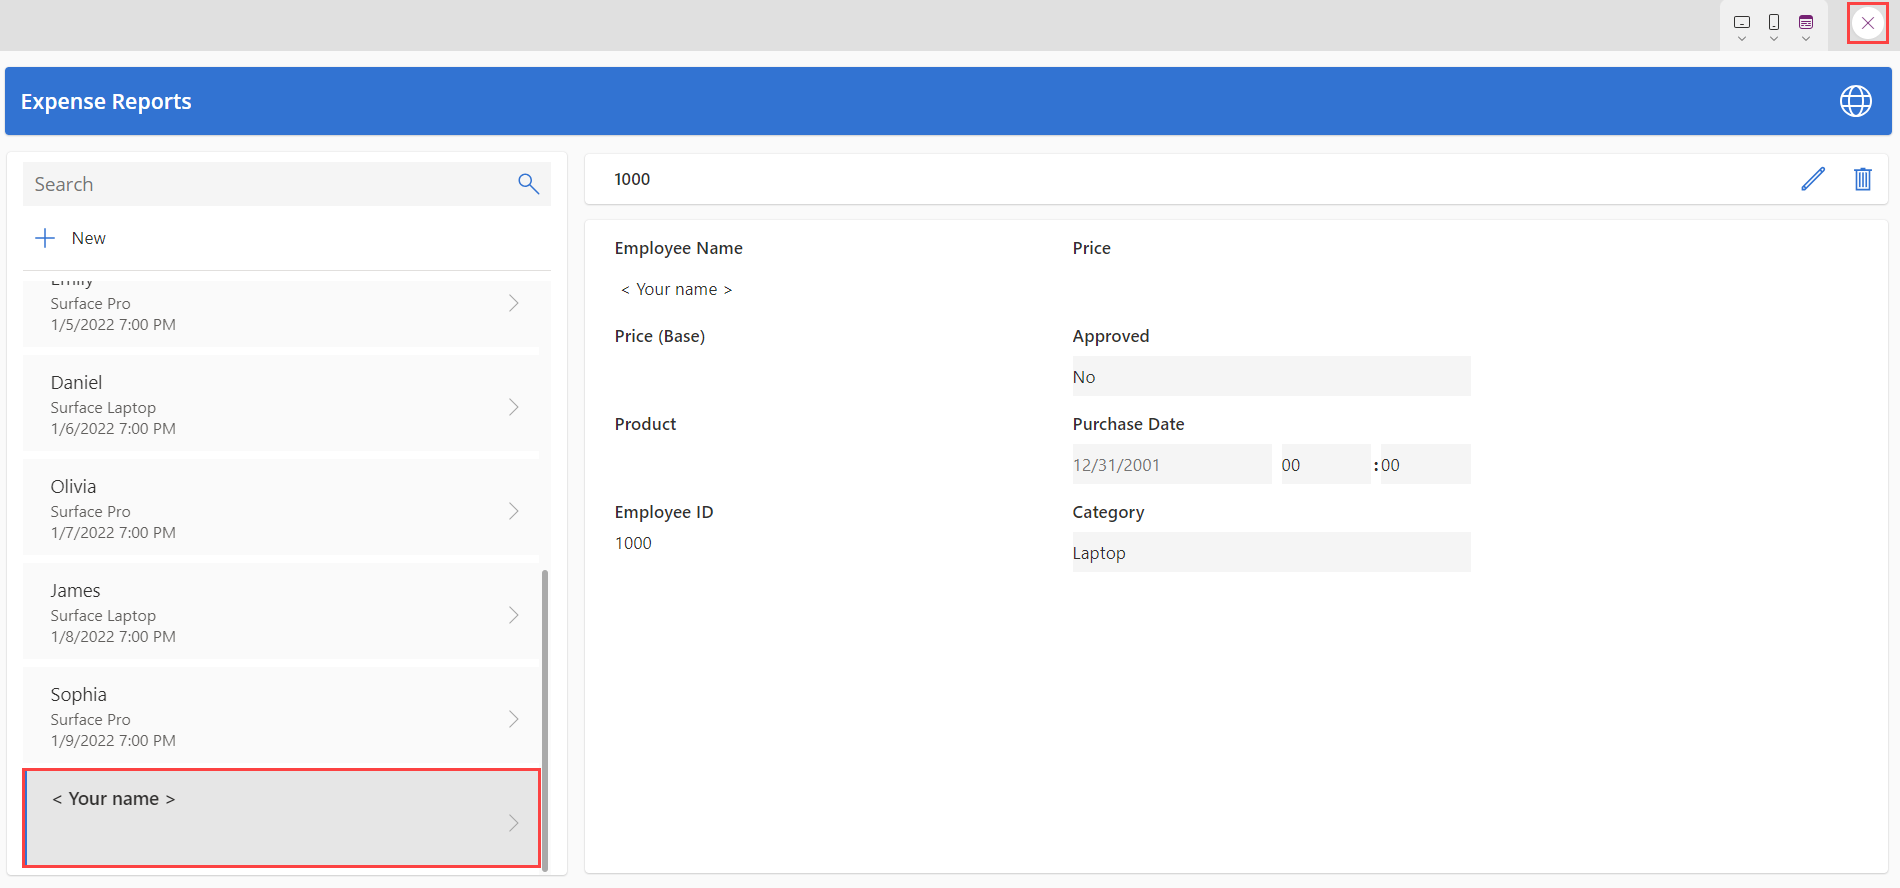
Employee Name:
< Your name >Then, select the checkmark.

Note
Remember that the fields within the app may be in different locations than what you see in your app.
Notice that the new request is added to the list of requests to the left of the app.
Now, select the X in the top right corner to close out of the app.
If a dialog appears saying: Did you know?, select OK.
From the top of your screen, select the Save button to save the new app you created.


Congratulations! You can now use your skills to modify your galleries and modify the form.
Section 2: Responsible AI FAQs for the solution
Responsible AI FAQs are part of a broader effort to put Microsoft AI principles into practice. They aim to provide insights into the workings of AI technology, the decisions that can affect its performance and behavior, and the significance of considering the entire system, including the technology, people, and environment. We recommend that you use these FAQs to gain a deeper understanding of specific AI systems and features developed by Microsoft.
To learn about the AI capabilities and impact of specific features of this solution, see FAQ about using AI responsibly in Power Apps.