Exercise - Create custom tables and columns
In this exercise, you create a new custom table named Machine Order, and you add columns that are necessary for tracking the machine requests. You also create a server-side business rule that defaults the estimated ship date.
Note
To complete the exercises, you'll need to use a few files. Download the App in a Day files for use in this module. The file folders that are in this download include:
- Completed modules with instructions - Package files to import the completed exercise steps.
- Machine-Order-Data.xlsx - File used in the exercises.
Section 1: Create a custom table
In this task, you create a custom table to store machine order requests.
Select Solutions and then open the Contoso Coffee solution.
Select the + New drop down from the tool bar at the top of the page, hover over the Table option and then choose Table.

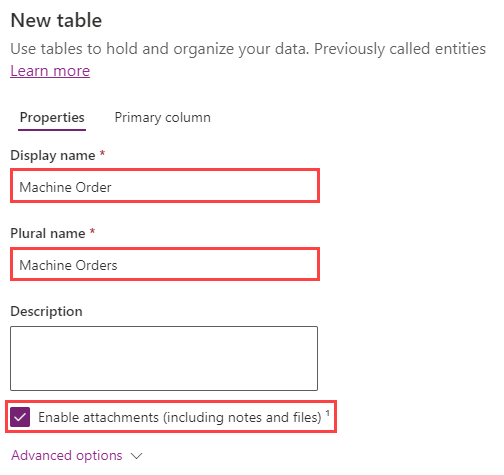
Enter
Machine Orderin the Display name field. The Plural name field automatically populates based on your entry in the Display name field. These fields are editable if you need to make changes. The system uses the plural name by default whenever a set of rows are shown.Select the Enable attachments option because it allows you to create notes on the machine order.
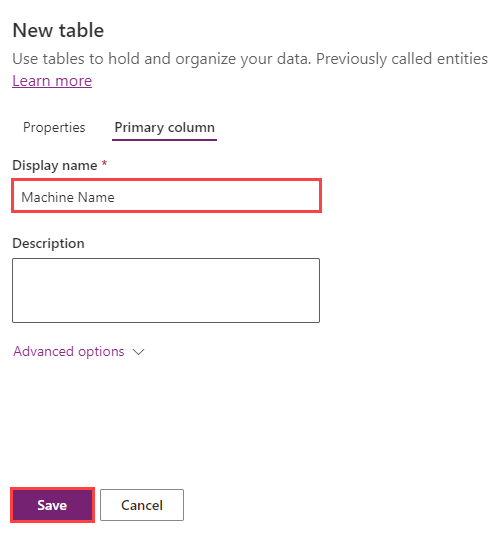
Select the Primary column tab.
Change the Display name field to
Machine Name. The Primary column defaults to being named Name. For some scenarios, that label might not be the best one, so you can customize it if needed. However, the Primary column is always a text column that isn't changeable.Select Save.

Section 2: Create custom columns
In this task, you create custom columns for the Machine Order table. It might take a few minutes for your new Machine Order table to provision. Begin these steps after it finishes.
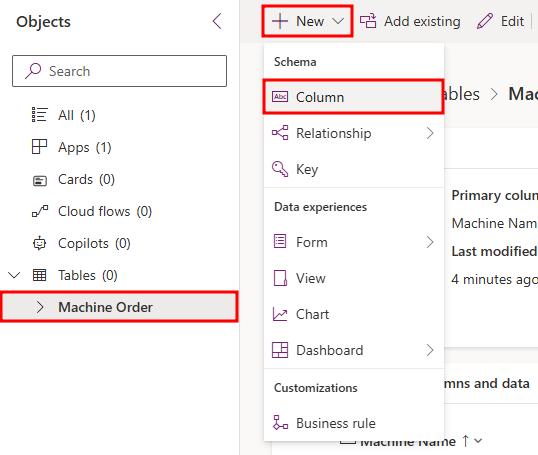
Within the Objects pane to the left of the screen, select to open the Machine Order table that you created.
Select the + New drop down and then choose Column.
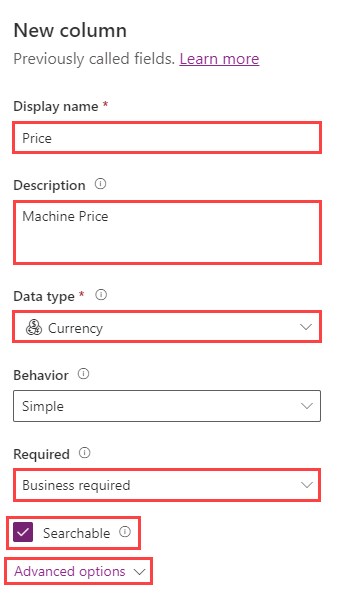
Enter
Pricein the Display name field, enterMachine Pricein the Description box, and then select Currency from the Data type dropdown menu. From the Required dropdown menu, make the column Business Required. Select the Searchable option and then select Advanced options.Note
Currency is a special data type that allows you to build multi-currency solutions. For each currency column that you add, another currency column will be added with the prefix _Base on the name. This column stores the calculation of the value of the currency column that you added and the base currency. For more information, see Using currency fields.
Enter
0in the Minimum value field, enter50000in the Maximum value field, and then select Save.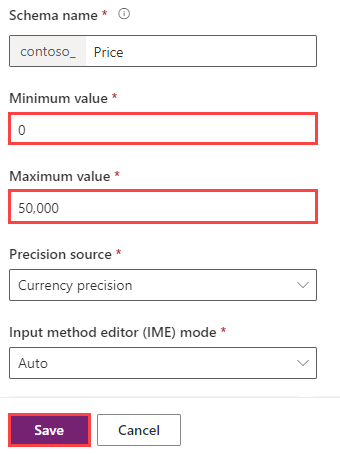
Select the + New drop down, and then choose Column again.
Enter
Requested Byin the Display name field, select Single line of text from the Data type dropdown menu, choose Email from the Format dropdown menu, ensure that the column is Searchable, and then select Save.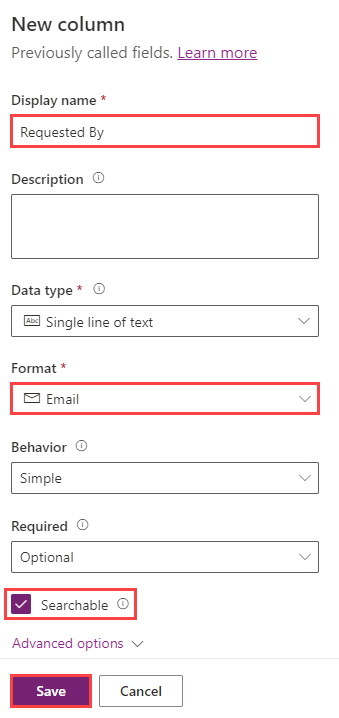
Repeat the Add column process and add the following columns:
Display name Data type Format Request Date Date and time Date only Approver Single line of text Email Comments Multiple lines of text Text Estimated Ship Date Date and time Date only Approved Date Date and time Date only Now, you create the Approval Choice. You're adding it as a choice (as opposed to a two-option) because users likely have more than Yes/No options to choose from. Select the + New drop down and then choose Column.
Enter
Approval Statusin the Display name field, select Choice from the Data type dropdown menu, choose No beneath the Sync with global choice section, enterApprovein the Label field, and then select + New choice.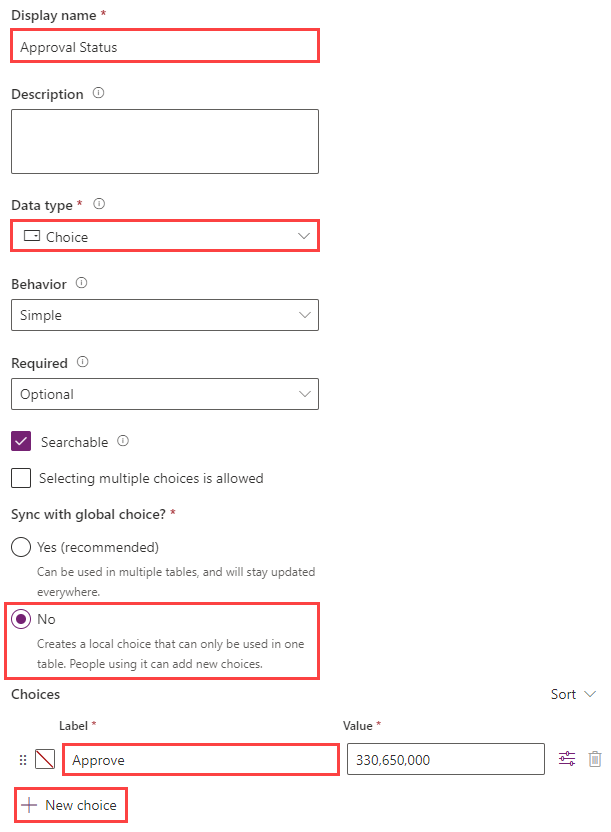
Enter
Rejectin the Label field and then select Save.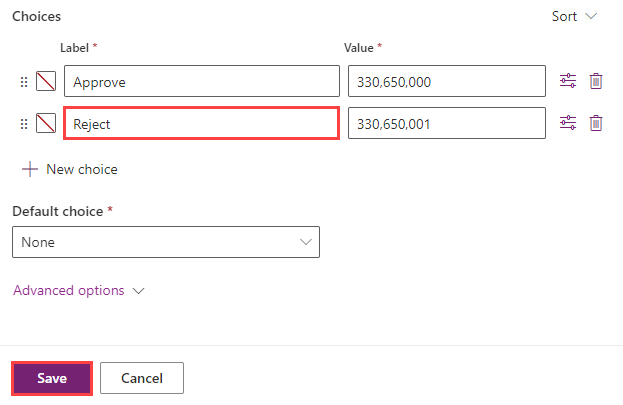
Section 3: Create a formula column
In this task, you add a Department Contribution column using the formula data type and set its value to 10 percent of the price. In this scenario, this amount comes from the department manager's budget. In Dataverse, the "Formula" column refers to a column where the values are calculated based on a formula defined by the user. This formula can be created using a syntax specific to Dataverse, often similar to Excel formulas.
Select the + New drop down from the top of the page and then choose Column.
Enter
Department Contributionin the Display name field, select Formula from the Data type dropdown menu.In the formula box, enter the formula
Decimal(Price)*.1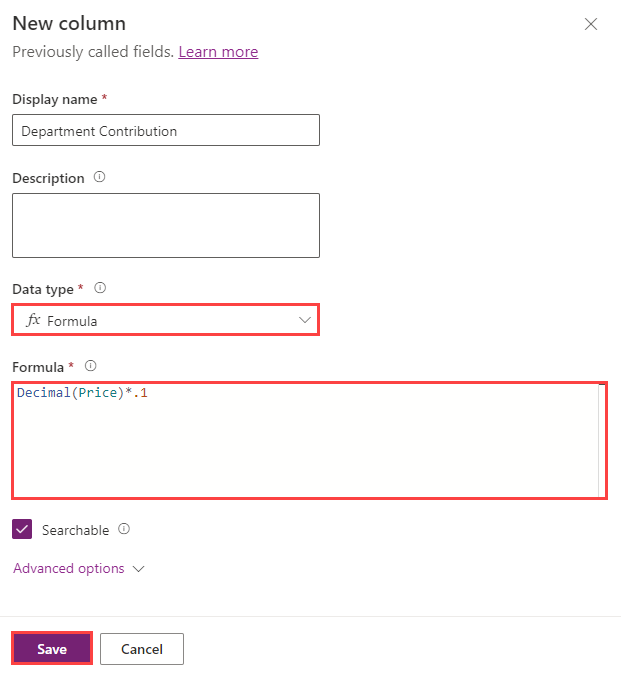
Section 4: Create a business rule
In this task, you'll create a business rule that sets the Estimated Delivery Date to 14 days after the order is approved.
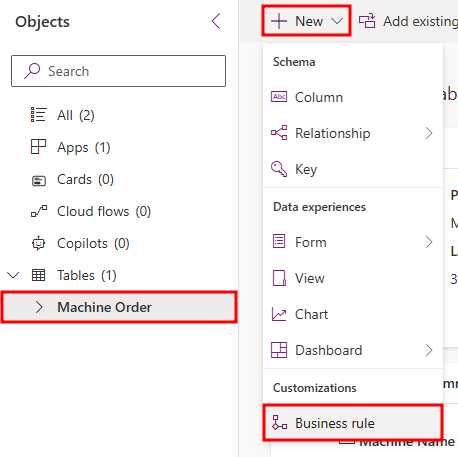
Select the + New drop down located at the top of the page and then choose Business rule.
Select the drop-down arrow to Show Details.

Change the Business rule name to
Calculate Ship Date. You can add a description as well likeSet the ship date to 14 days. Then select the arrow to Hide Details.
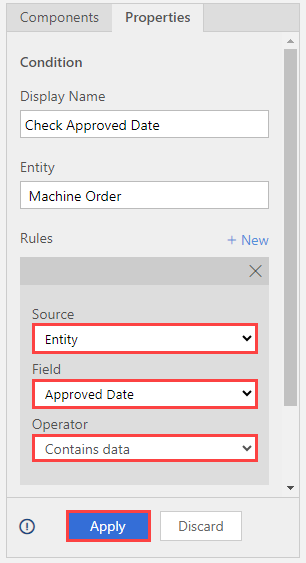
Select the Condition, and then change the Display name to
Check Approved Date.
In the Rules section, select Entity from the Source dropdown menu, choose Approved Date from the Field dropdown menu, select Contains data from the Operator dropdown menu, and then choose Apply.
Note
You might need to scroll down to the bottom of all scroll bars for the Apply button. Make sure that you select Apply after any change to the properties; otherwise, they will revert to the prior value. The Business Rule (Text View) will automatically update after you select Apply when you're done modifying the rule.
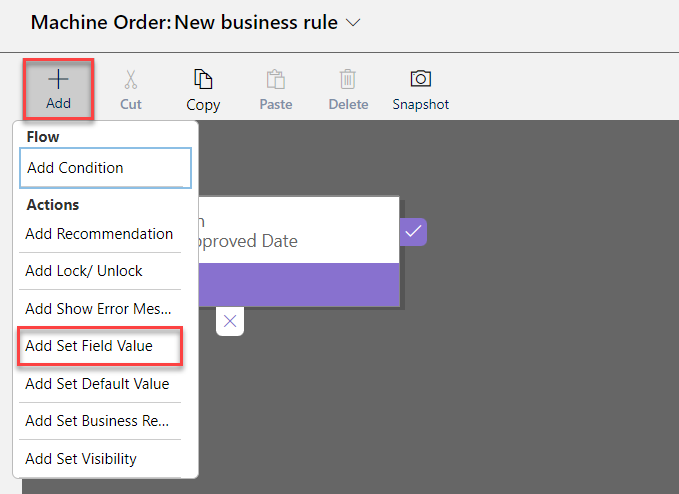
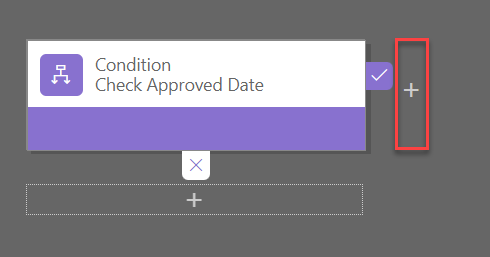
Select + Add from the tool bar at the top of the page and then choose Add Set Field Value.
Select the true side of the condition.
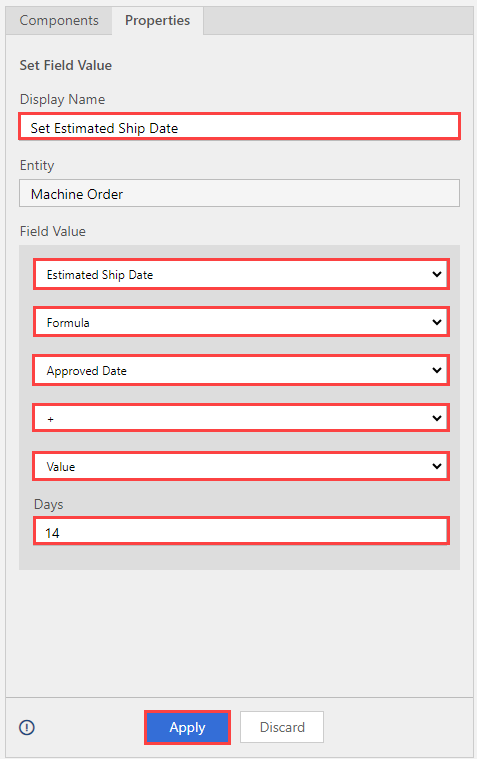
Enter the following information in the Set Field Value Properties pane:
- Display name: Set Estimated Ship Date
- Field: Estimated Ship Date
- Type: Formula
- Second Field: Approved Date
- Operator: plus (+) sign
- Second Type: Value
- Days: 14
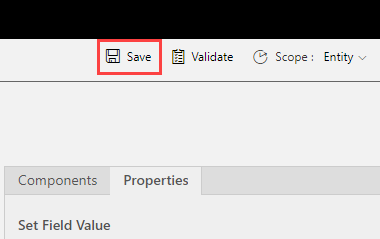
Select Apply when you're finished.
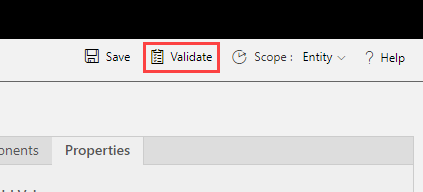
From the top right hand corner of the page, select Validate.
Make sure that the validation succeeds.
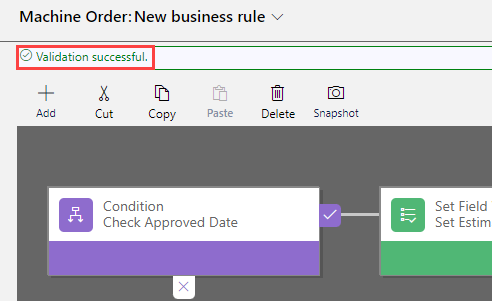
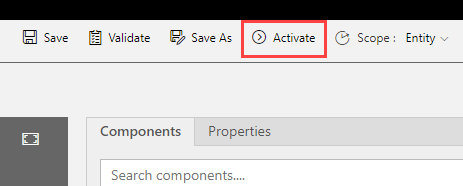
Select Save.
Select Activate.
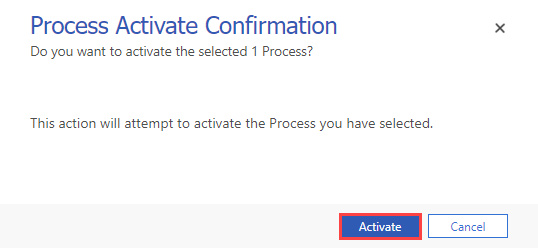
Confirm activation. Business rules only run when they're activated. In the future, to make changes to rules, you need to deactivate them, make the change, and then reactivate the rule.
Close the process editor browser window or tab.
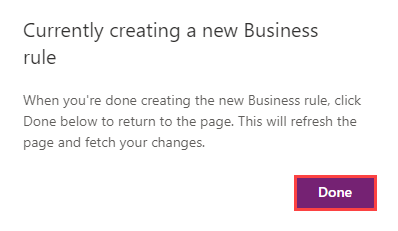
Select Done. The list should refresh and show the business rule that you created.

Important
Don't navigate away from this page.