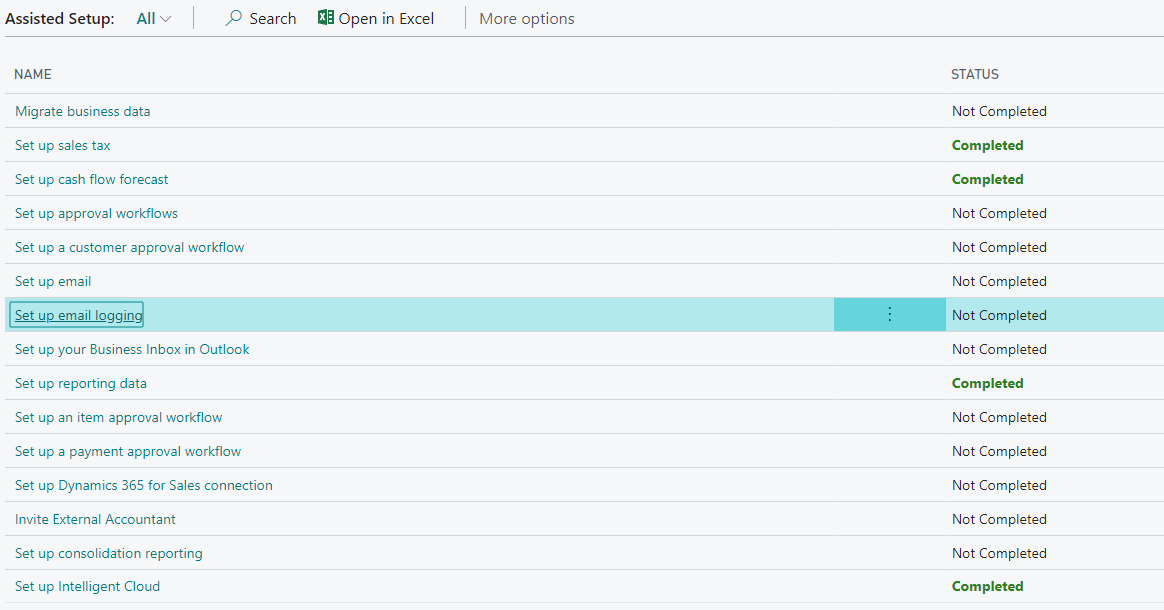
Set up email logging
To help you get control over email communications with customers, and maximize their business value, Business Central and Exchange Online help you track email communications automatically in opportunity management. You can set up Exchange public folders and rules, so that incoming and outgoing email can log interactions.
You can do this by:
Setting up email interaction logging
Setting up email addresses for salespeople and contacts
Turning the interactions you track into opportunities.
Set up email interaction logging
The first thing to do is create a connection to your Microsoft 365 subscription, more specifically, to Exchange Online, which handles email communications. To do that, follow these steps:
On the Business Manager Role Center, open assisted setup and run the Set up email logging assisted setup guide.

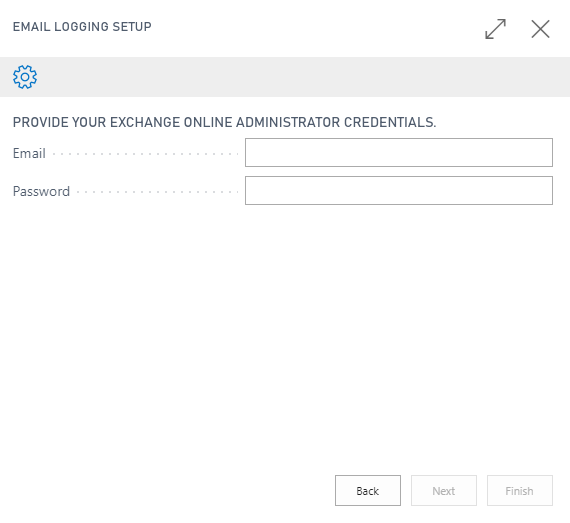
Use your administrator account to sign into Microsoft 365, and then accept the default settings on the remaining steps to finish the setup guide.
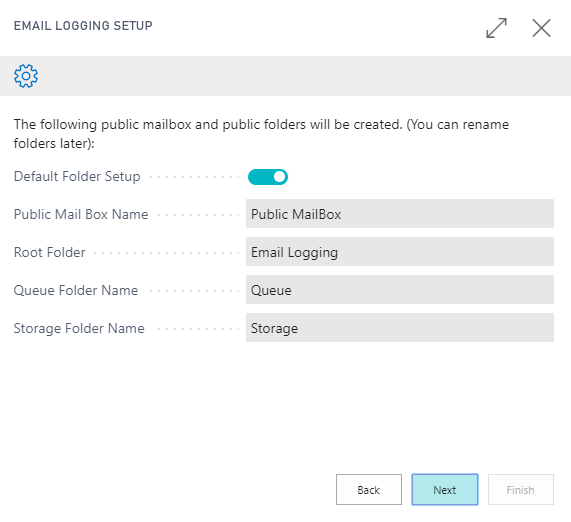
In the next window use the default settings and select Next.
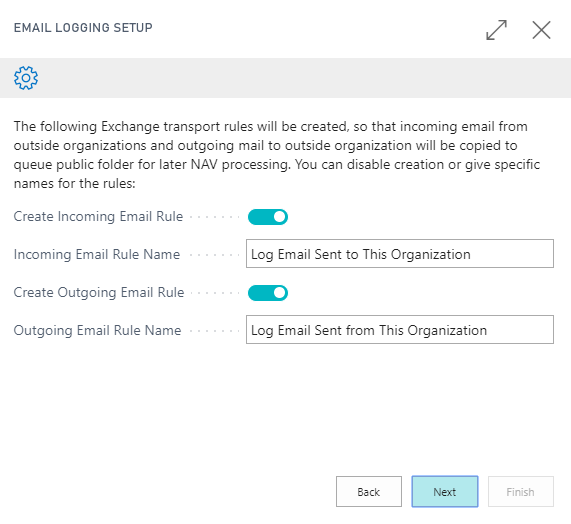
In the next window use the default settings and select Next.
In the next window use the default settings and select Finish.

To verify that the setup for email login works, search for marketing setup, choose Actions, Functions, and then Validate Email Logging Setup.
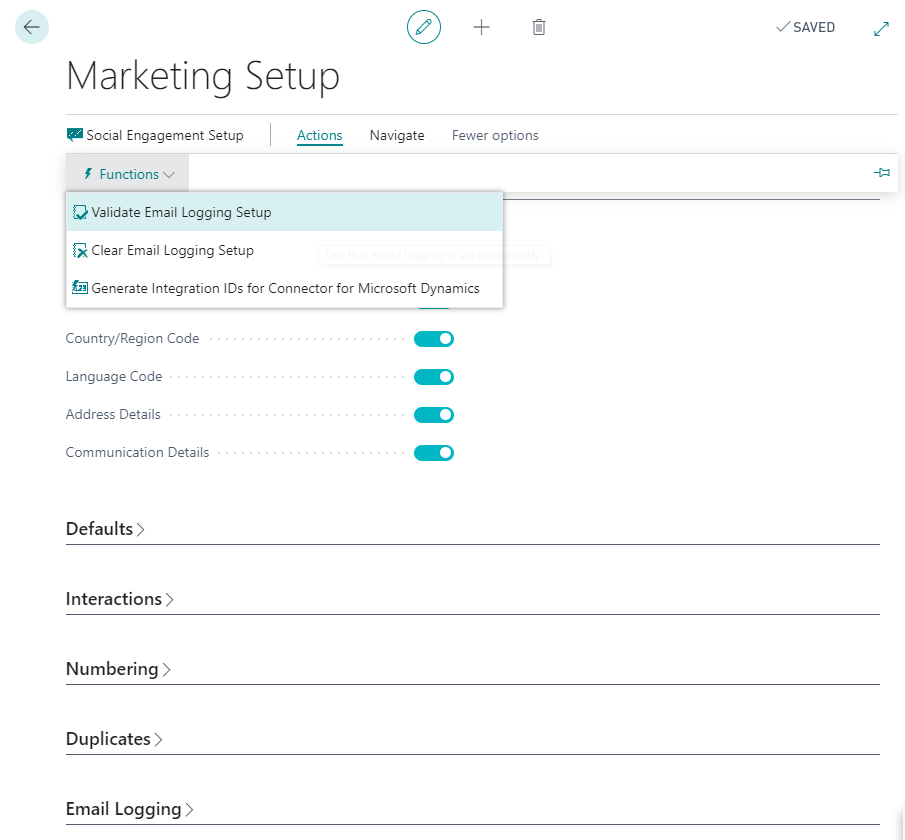
If everything is working you will see a message with the following text: Email logging setup was successfully validated and completed.
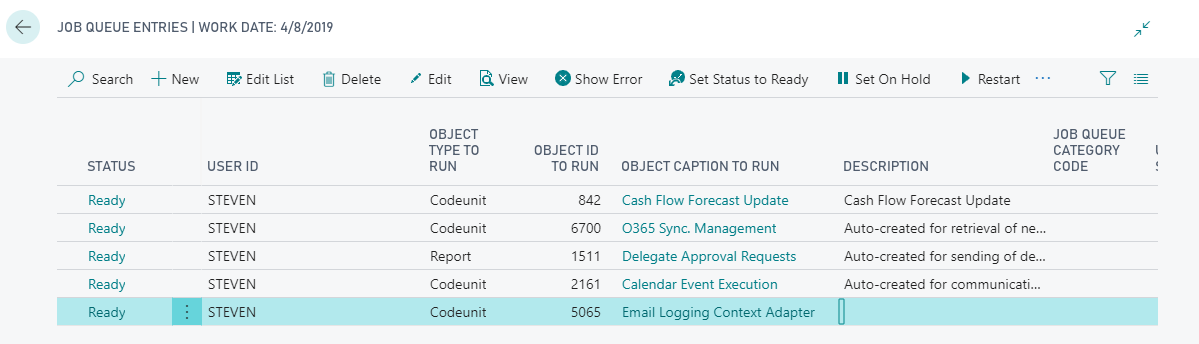
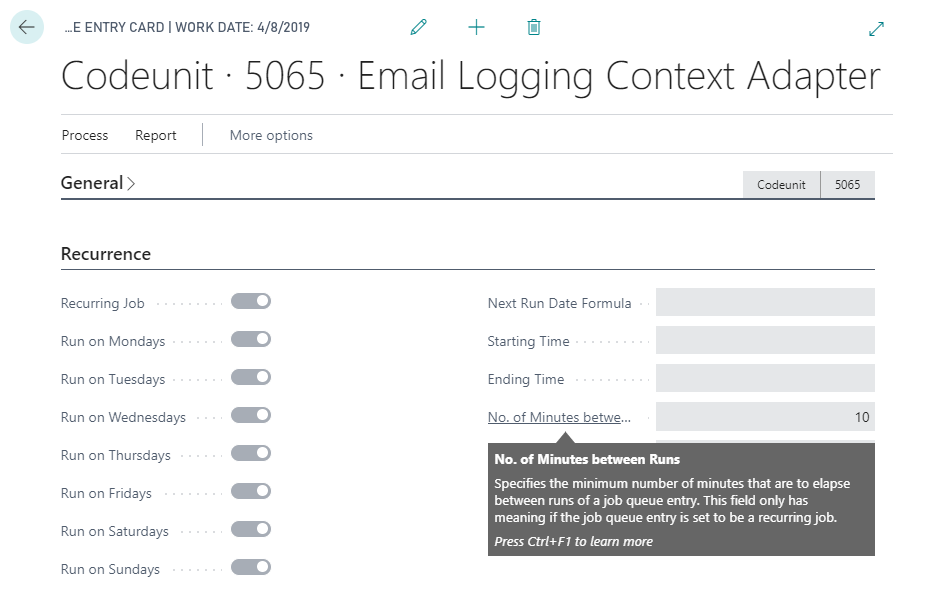
You can also schedule how frequently you want Business Central to log email interactions. To do that search for Job queue entries, and then set the recurrence of the email logging context adaptive job to run more frequent or less frequent. By default, the job runs every 10 minutes.
Set up email addresses
You now have a connection between Business Central and email in Microsoft 365. Next you need to set up email addresses for salespeople. These are key for Business Central to track the interactions between salespeople and potential and existing customers that are of interest for relationship management in your business.
- From the Sales and Relationship Manager Role Center, on the navigation bar, open the Salespersons list, choose a person to add an address for, and then enter their address.
- Do the same thing for contacts on the contacts list page. Now you are ready to track email interactions.
Check interactions
Any email exchange that happens between a contact and a salesperson for whom an email address is registered will be logged in the list of interactions. All you need to do is check interactions for a salesperson or contact person.
- Go to the Contacts or Salespersons lists, choose the contact or salesperson, and then choose Navigate, Salesperson, and then Interaction Log Entries.
- The Interaction Log Entries list shows all interactions that your company had with a potential or existing customer.
There are a few things you can do from the list. If you find something that looks particularly promising then you can convert it to an opportunity and start the opportunity management process, which will guide you through a series of states in the sales cycle to complete the sale. To start that process, choose the interaction, and then choose Create Opportunity. In case you are interested in seeing the content of a logged email, select Show Attachment.