Exercise - Promote a package
Important
Have access to an existing Azure DevOps project and the connected package feed from the previous demo Create a package feed.
Steps to demonstrate the views on package feeds in Azure Artifacts
Go to dev.azure.com and open your team project.
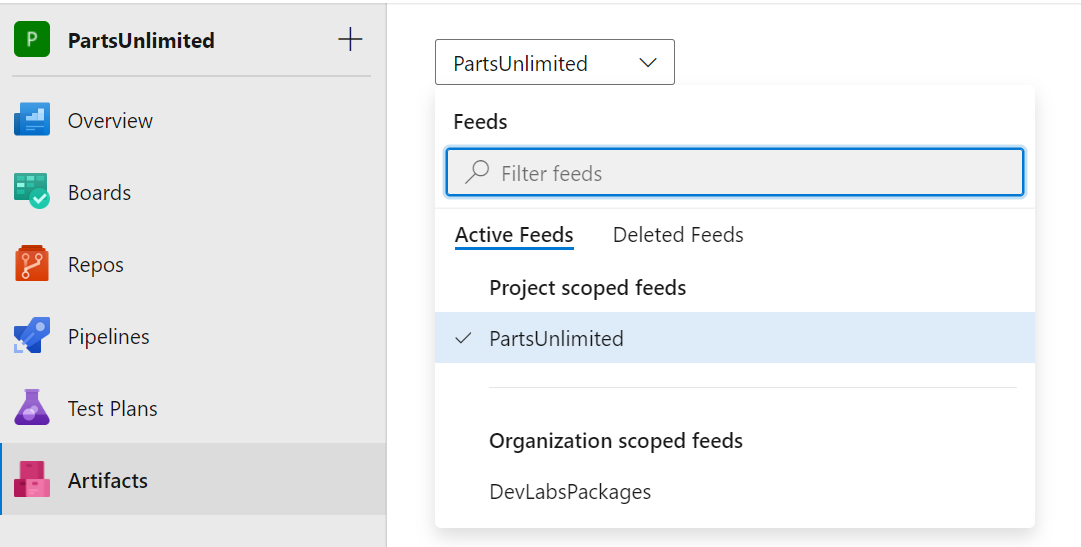
Open Artifacts and select the feed PartsUnlimited.
Go to Artifacts and click Feed Settings.

Open the Views tab. By default, there will be three views. Local: includes all packages in the feed and all cached from upstream sources. Prerelease and Release. In the Default view column is a check behind Local. It's the default view that will always be used.
Steps to use the release view instead
- Open Visual Studio and open NuGet Package Manager.
- Click the settings wheel and check the source address for the PartsUnlimited feed. If you want to use a different view than the local view, you need to include that in the Source URL of your feed by adding @Release.
- Add
@Releaseto the source URL../PartsUnlimited@Release/nuget/..And click Update. - Refresh the Browse tab. You'll see there are No packages found in the Release feed. Before any packages appear, you need to promote them.
Steps to promote packages to views
- Go back to your feed in Azure Artifacts.
- Click on the created NuGet Package PartsUnlimited.Security.
- Click Promote.
- Select the feed you want to use, in this case, PartsUnlimited@Release, and Promote.
- Go back to the Overview. If we look again at our package in the feed, you'll notice a Release tag is now associated with this package.
- Go back to Visual Studio, NuGet Package Manager.
- Refresh the Browse tab. You'll see that your version is promoted to this view.
- Select PartsUnlimited.Security and click Update and OK. The latest version of this package is now used.