Exercise - Configure Unity for Windows Mixed Reality
We'll start by creating a new Unity project and configuring it for Windows Mixed Reality development. Unity offers some behaviors that are specific to mixed reality and those behaviors can be modified with project settings.
Create a new Unity project
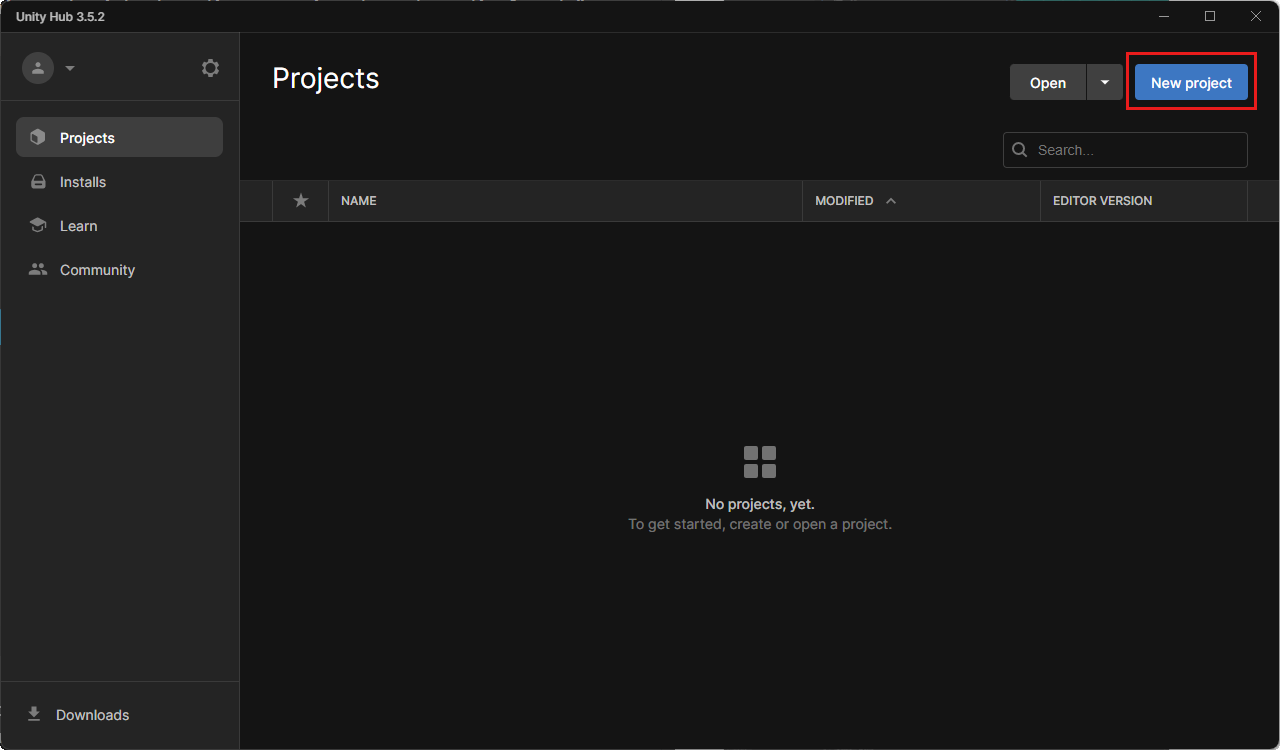
Launch the Unity Hub.
In the Projects tab, select New Project.
Select the drop-down underneath New project and then choose the Editor version you want.
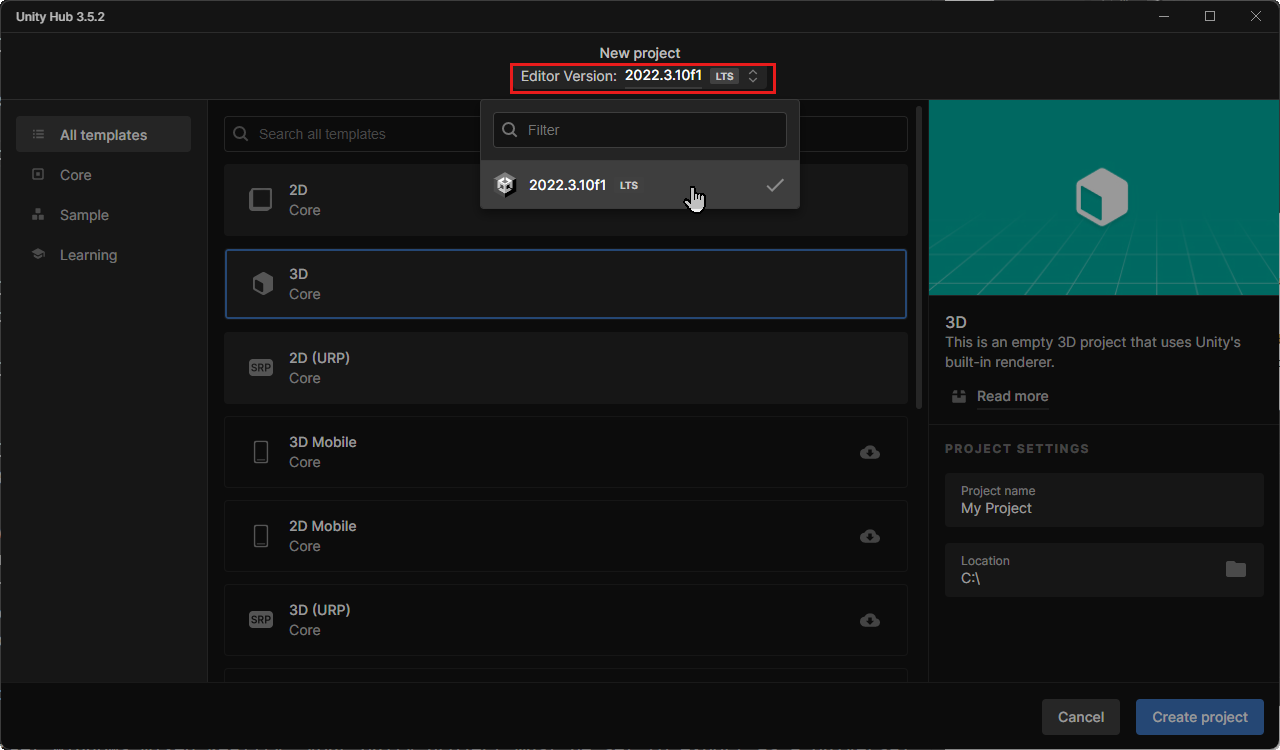
Ensure the chosen template is 3D Core.
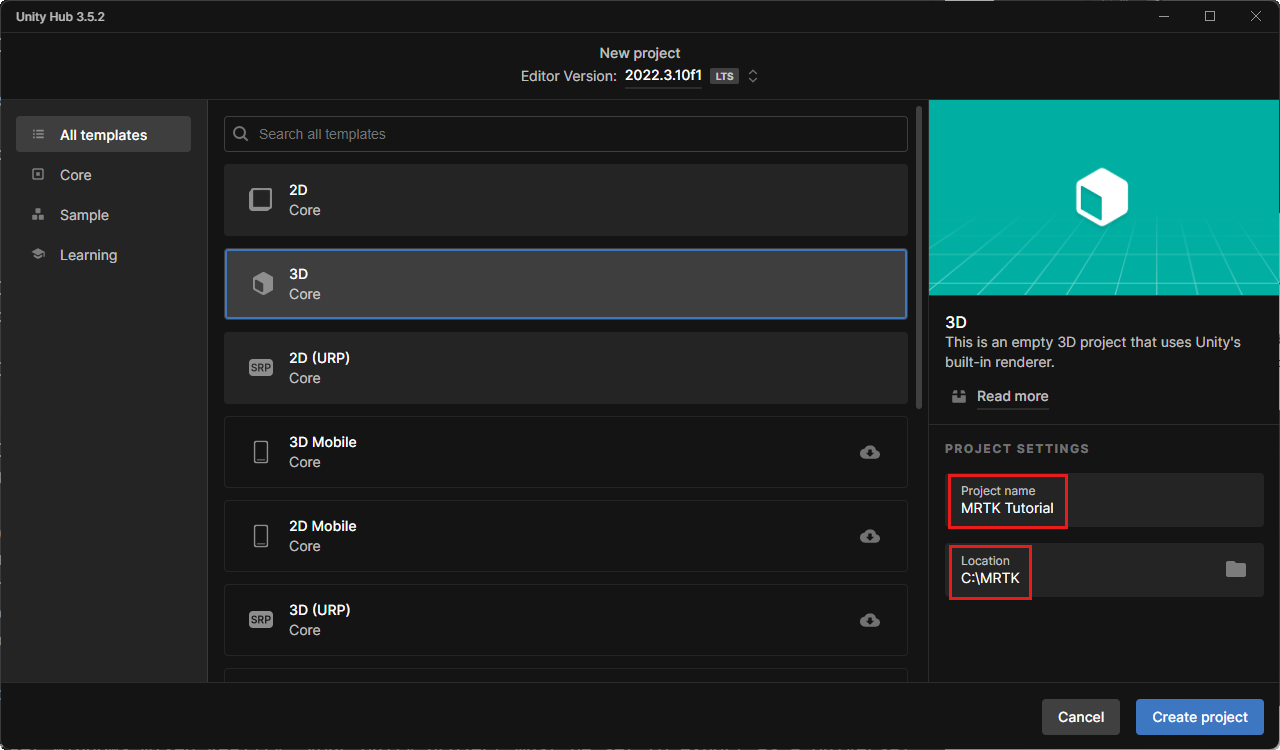
In the Project name box, enter a name for your project - for example, "MRTK Tutorial."
In the Location box, select the folder icon, and then navigate to the folder where you want to save your project and select it. You can also create a new folder.
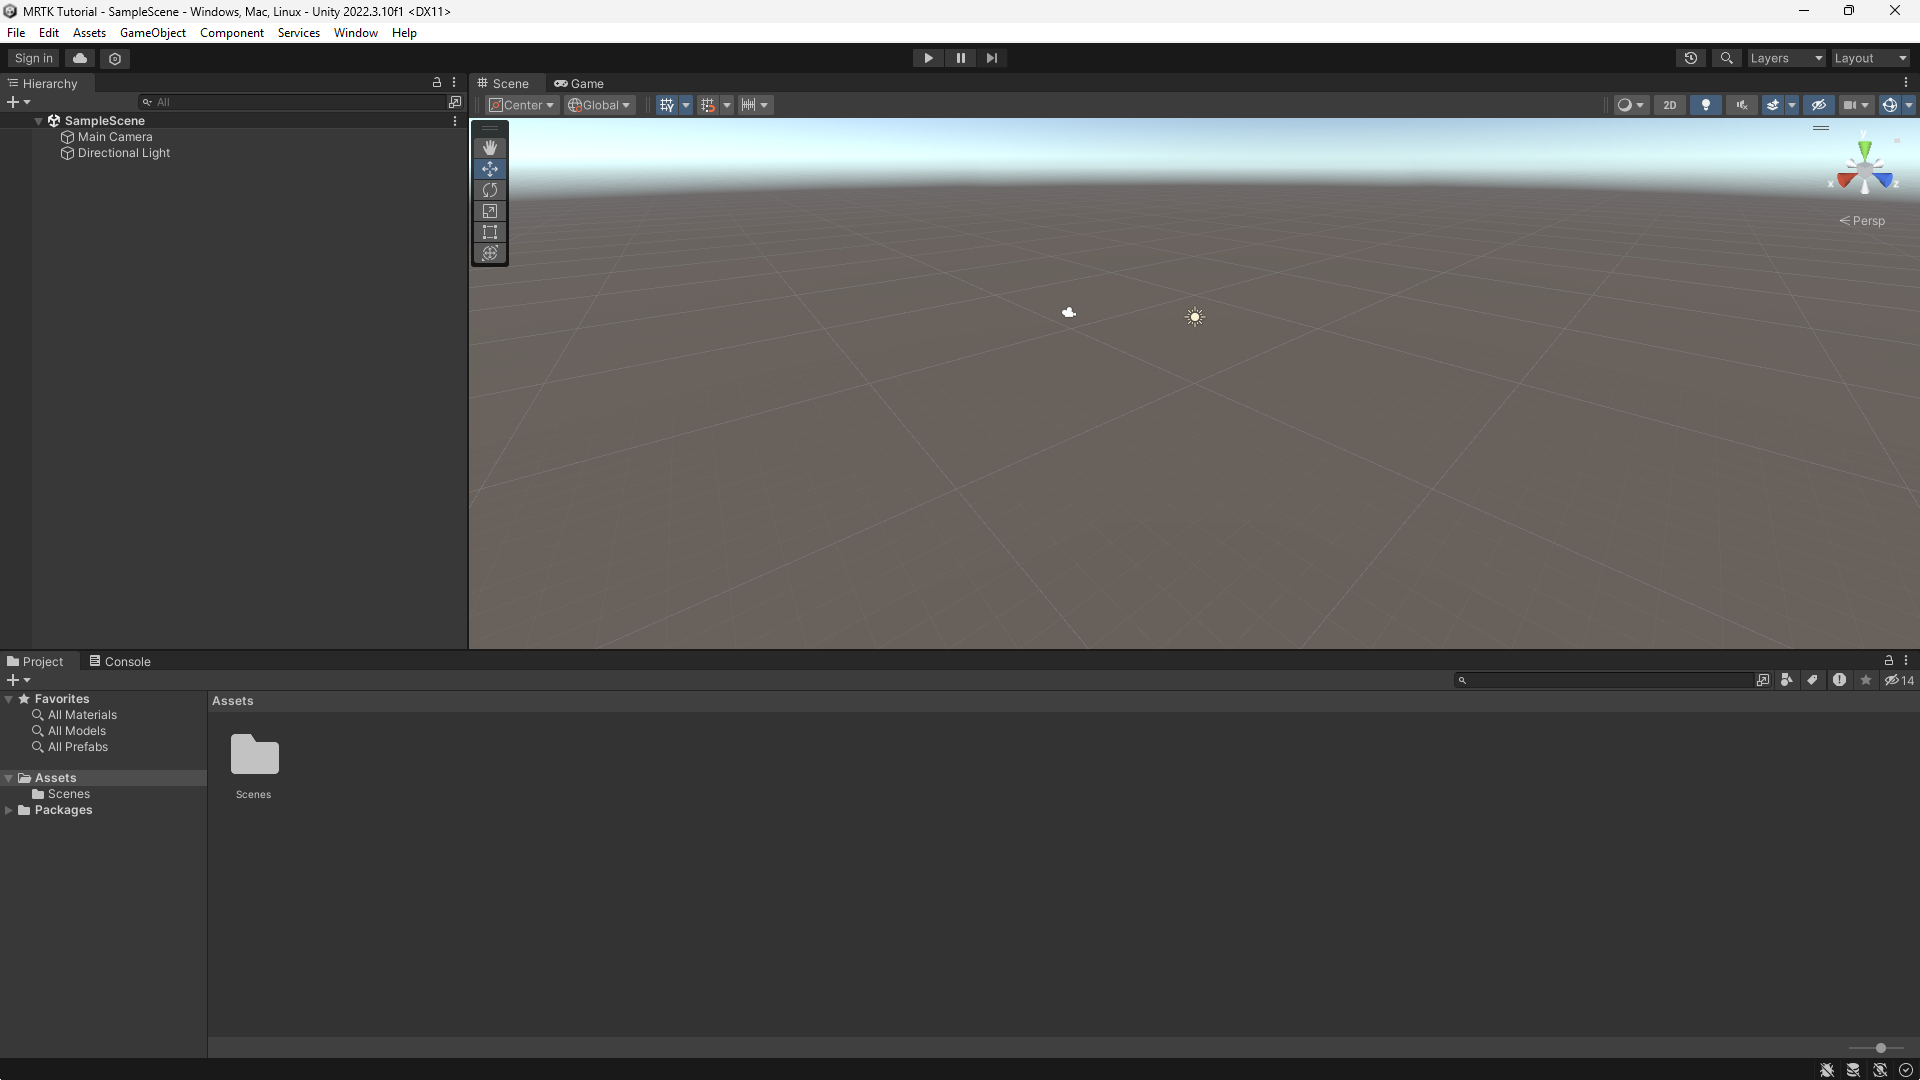
Select Create Project. This opens your project in Unity.

Caution
When working on Windows, there is a MAX_PATH limit of 255 characters. Unity is affected by these limits and may fail to compile if any file path is longer than 255 characters. Therefore, we recommend that you store your Unity project as close to the root of the drive as possible.
Switch Build Platform
To target Windows Mixed Reality, your Unity project must be set to export as a Universal Windows Platform app. By default, the build settings for the Universal Windows Platform target any device, including immersive headsets. However, you can select a specific device using the Target Device drop down.
In the menu bar, select File > Build Settings....
In the Build Settings window, select Universal Windows Platform. If you see a message "No Universal Windows Platform module loaded.", select Install with Unity Hub.
Make sure the following settings are active:
Architecture: ARM 64-bit
Build Type: D3D Project
Target SDK Version: Latest Installed
Minimum Platform Version: 10.0.10240.0
Visual Studio Version: Latest installed
Build and Run on: Local Machine
Build configuration: Release (there are known performance issues with Debug)
Select the Switch Platform button. Unity displays a progress bar while it switches platforms.
After the switch platform process is finished, close the Build Settings window.