Customize the Azure Virtual Desktop workspace
Now that we've deployed a desktop and remote application to a workspace, let's customize the workspace and see how to configure RDP settings. We'll then install Azure Virtual Desktop Client for Windows to see how to access the workspace directly from your device.
To complete the exercise, you'll need the credentials for the user account that you assigned to the RemoteApp application group.
Change the name of your workspace
Sign in to the Azure portal.
Use the search box to find Azure Virtual Desktop.
Select Workspace.
Select the workspace you want to customize.
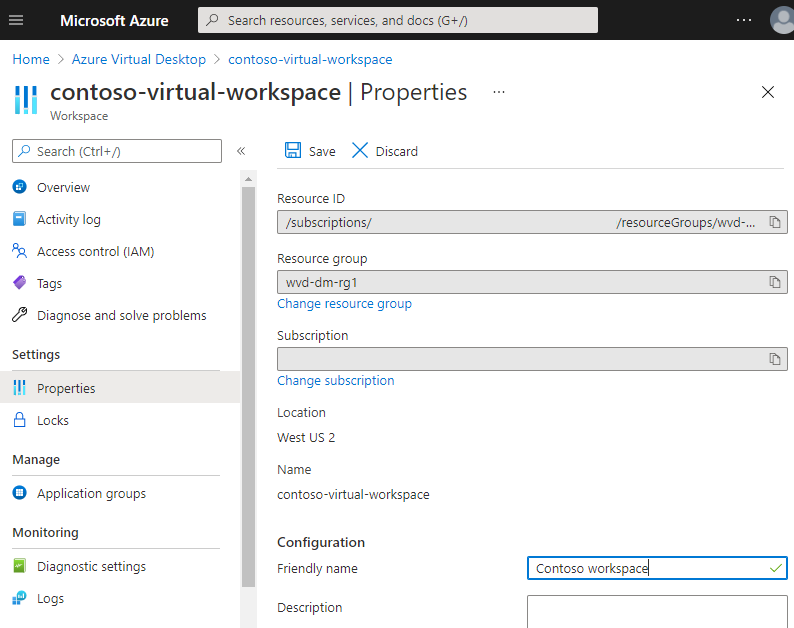
Under Settings, select Properties.
Update the Friendly name.
Select Save.
Change the name of your virtual desktops
In Azure Virtual Desktop, select Application groups.
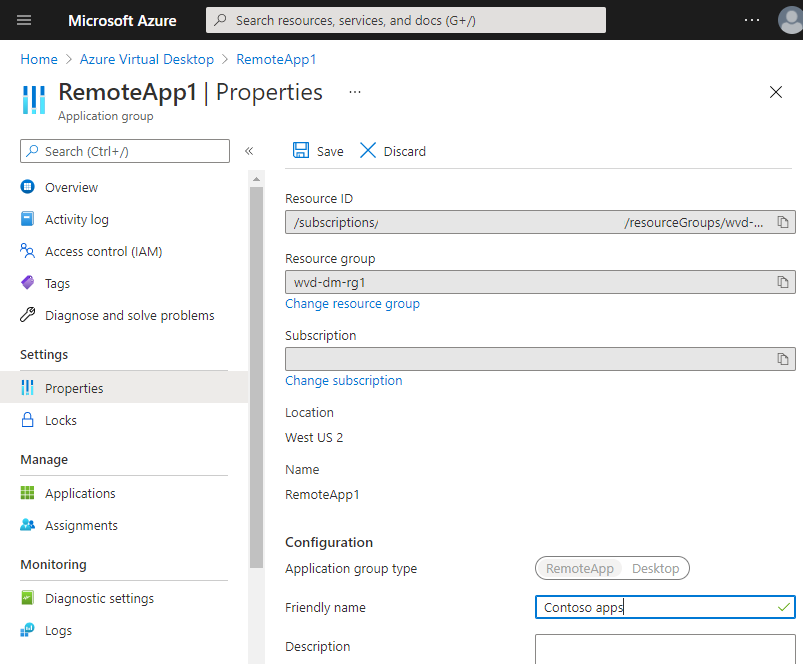
Select the application group you want to customize.
Under Settings, select Properties.
Update the Friendly name.
Select Save.
Configure RDP properties
In Azure Virtual Desktop, select Host pools.
Select the host pool you want to configure.
Under Settings, select RDP Properties.
Browse through the tabs Session behavior, Device redirection, and Display settings. Update the RDP properties as needed for your users.

When you're done, select Save.
Install the Azure Virtual Desktop Client for Windows
In the previous units, we used the browser to connect to the Azure Virtual Desktop workspace. Now we'll install and run the Azure Virtual Desktop client directly from your device.
Download the Azure Virtual Desktop Client and install it.
Launch the Azure Virtual Desktop client app.
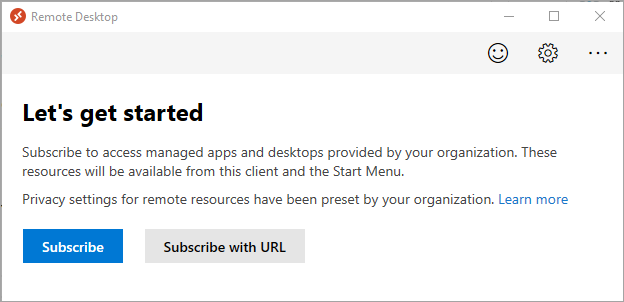
Select Subscribe with URL.
Enter the URL
https://rdweb.wvd.microsoft.com/api/arm/feeddiscovery.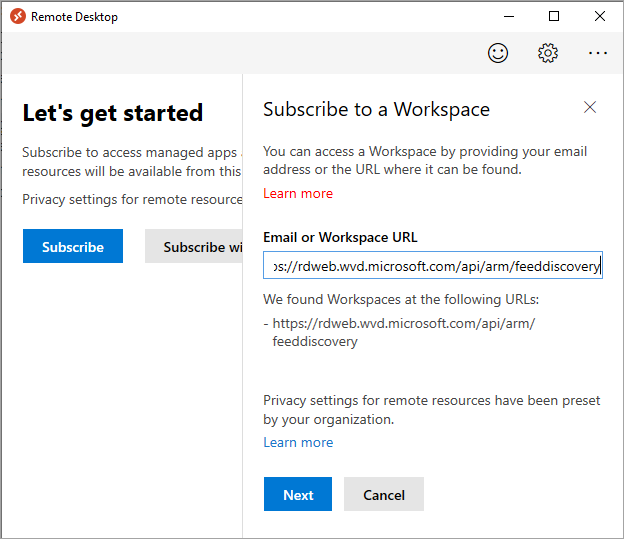
Select Next.
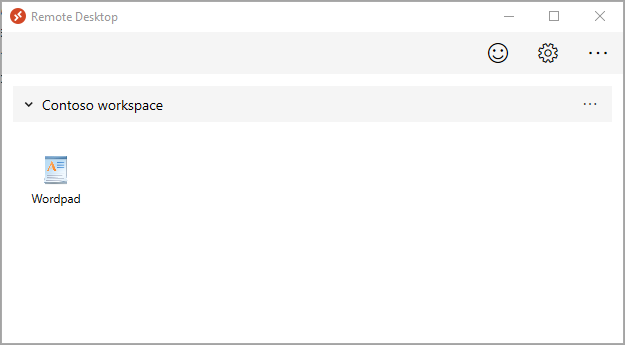
Use the sign-in credentials for the account that has the RemoteApp application group assigned.
You should see the app you added to the RemoteApp application group.