Exercise - Display user files
In this exercise, you'll extend the app to display a list of files in the user’s OneDrive for Business root folder.
Get the list of files
Start by adding a Microsoft Graph call into the application.
Open Startup.cs in your editor and take a moment to explore the Microsoft Identity, Microsoft Graph, and ASP.NET Core middleware that is defined in
ConfigureServices().Locate the following code in the
ConfigureServices()method. This code enables dependency injection for custom objects named GraphProfileClient and GraphFilesClient. The objects are scoped to the HTTP request, which means they’ll be created once per request to the server.services.AddScoped<GraphProfileClient>(); services.AddScoped<GraphFilesClient>();Open Graph/GraphFilesClient.cs and take a moment to explore the existing code. Note the following features:
- Two
readonlyfields named_loggerand_graphServiceClientare included in the class. Objects injected into the constructor will be assigned to these fields. - The class contains
GetFiles(),DownloadFile(),UploadFile(), andUploadLargeFile()methods.
- Two
Remove the existing code in the constructor.
Modify the constructor to inject
ILogger<GraphFilesClient>andGraphServiceClientand assign the parameter values to the associated fields:public GraphFilesClient( ILogger<GraphFilesClient> logger, GraphServiceClient graphServiceClient) { _logger = logger; _graphServiceClient = graphServiceClient; }Locate the
GetFiles()method. Within thetryblock, replace the existing code with the following code to use_graphServiceClientto retrieve files from the user’s account.return await _graphServiceClient.Me.Drive.Root.Children .Request() .Select(file => new { file.Id, file.Name, file.Folder, file.Package }) .GetAsync();Locate the
DownloadFile()method and replace the existing code in thetryblock with the following code to retrieve a file based on its ID.return await _graphServiceClient .Me.Drive.Items[fileId].Content .Request() .GetAsync();Save the GraphFilesClient.cs file before continuing.
Open Pages/Files.cshtml.cs and take a moment to explore the existing code. Note the following features:
- The
FilesModelclass contains several fields and properties such as_logger,_graphFilesClient,UploadedFile, andFiles. GraphFilesClientis injected into the constructor and assigned to the_graphFilesClientfield.OnGetAsync(),OnPostAsync(), andOnGetDownloadFile()methods are defined.
- The
Locate the
OnGetAsync()method and replace the existing code with the following code:Files = await _graphFilesClient.GetFiles();This code uses the
GraphFilesClientinstance to retrieve user files and assigns them to theFilesproperty.Locate the
OnGetDownloadFile()method and replace the existing code in the method with the following code:var stream = await _graphFilesClient.DownloadFile(id); return File(stream, MediaTypeNames.Application.Octet, name);This code does the following tasks:
- It calls the
_graphFilesClient.DownloadFilemethod, which accepts the file ID as a parameter. - Once the file stream is returned,
OnGetDownloadFile()returns a newFileobject from the Razor page. This step allows the file to be downloaded in the user's browser.
- It calls the
Save the Files.cshtml.cs file before continuing.
Display and download files in the app
The next step is to show the user's files in a webpage and allow them to be downloaded.
Open the Files.cshtml file in your editor.
Take a moment to look through the HTML and Razor code and notice that it handles the following tasks:
- Ensures that the user is authenticated.
- Checks the
Model.Filesproperty to see if there are any files to iterate through and display in the page.
Locate the
@* Add foreach here *@comment in the file and replace it with the following code:@foreach(var file in Model.Files) {Locate the
@* Add foreach closing bracket here *@comment and replace it with a closing bracket for theforeachstatement added in the previous step.Add the following code in the
foreachloop:if (file.Folder == null && file.Package == null) { <li> <a asp-page-handler="DownloadFile" asp-route-name="@file.Name" asp-route-id="@file.Id">@file.Name</a> </li> }This code does the following tasks:
- Checks that the file object isn't a folder or package.
- Uses Razor syntax to create a hyperlink. When the user selects the link, the file name and file ID will be passed to the
FilesModel'sDownloadFilemethod that you modified earlier.
Save the Files.cshtml file before continuing.
Run the app
Before running the application, ensure that the account used to sign in has some files in OneDrive. It's time to run your application and try it out!
Perform the following step based on your code editor:
Visual Studio
Press F5 to build and run the project.
Visual Studio Code or another code editor
Open a terminal window in the Begin folder and run the following command:
dotnet run
Open a browser and visit
https://localhost:5001.Sign in using the Microsoft 365 developer tenant that you used earlier when registering the Microsoft Entra Application.
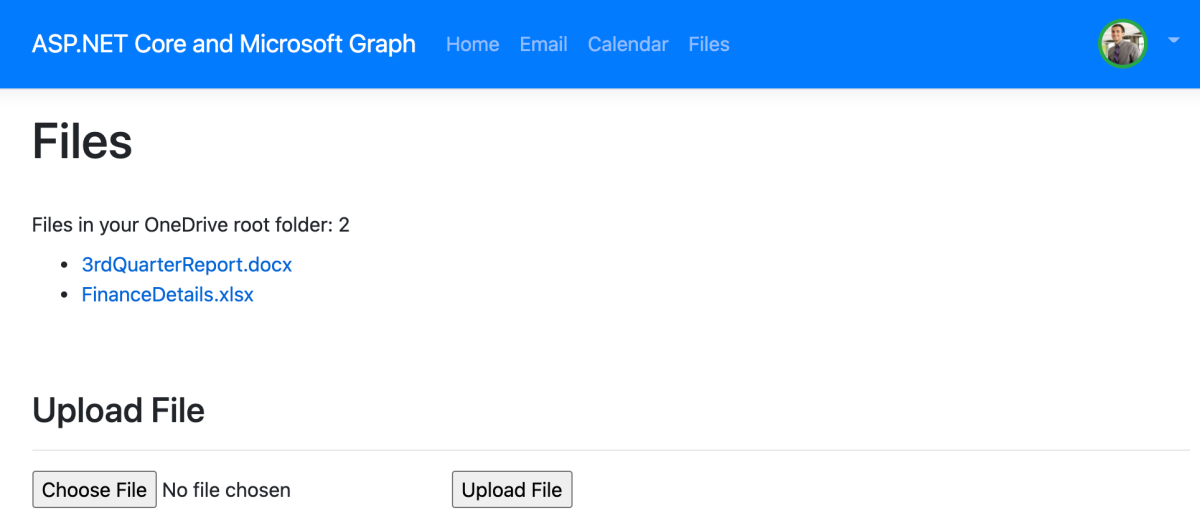
Select the Files link in the header to view the user’s OneDrive files.
Note
If you’re not seeing any files, please ensure that the user has files in OneDrive.
Select a file in the list to download it to your machine.
Close your browser and press CTRL+C in the terminal window to stop the server before continuing.
Note
If you’ve opened the project in Visual Studio, you can close the browser or select SHIFT+F5 in Visual Studio to stop the server. Close the terminal window Visual Studio created if it's still open.
You’ve successfully demonstrated how to access, display, and download files for a signed in user using Microsoft Graph and ASP.NET Core!