Manage UI elements and images
Automating tasks usually requires interaction with third-party software, application windows, web pages, or other on-screen elements. In order to identify such elements, information about them is stored within a flow – Controls, which are used to interact with UI elements and web pages, and Images, which can be used in image recognition-related actions.
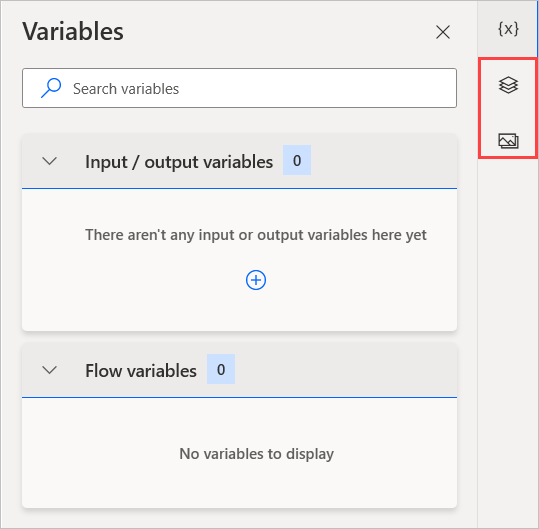
Both are located on the top-right of the designer window; selecting one of the appropriate tabs opens the respective list of elements:
UI elements
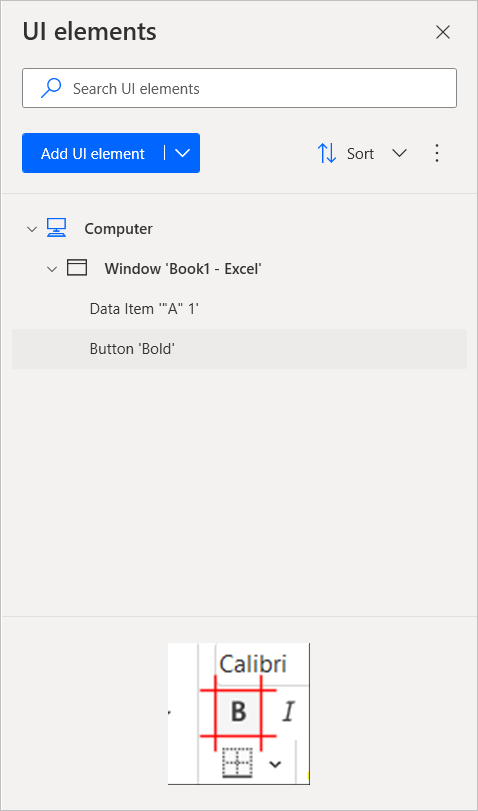
UI elements are used by Power Automate for desktop to identify application windows and their components.
For example, suppose that a flow has to select a cell and make the text inside it bold. To achieve this functionality, you need to extract two UI elements, one for the cell and one for the bold button.
In the UI elements tab, select Add UI element to launch the tool that Power Automate for desktop uses to extract UI elements. When you hover an element with the cursor, it gets automatically highlighted.
Clicking while pressing down the Ctrl button will capture the highlighted element. For this example, you need to capture one UI element for the bold button and one for the cell.
![]()
When all the required elements are captured, press Done. The captured elements will be visible in the UI elements pane.
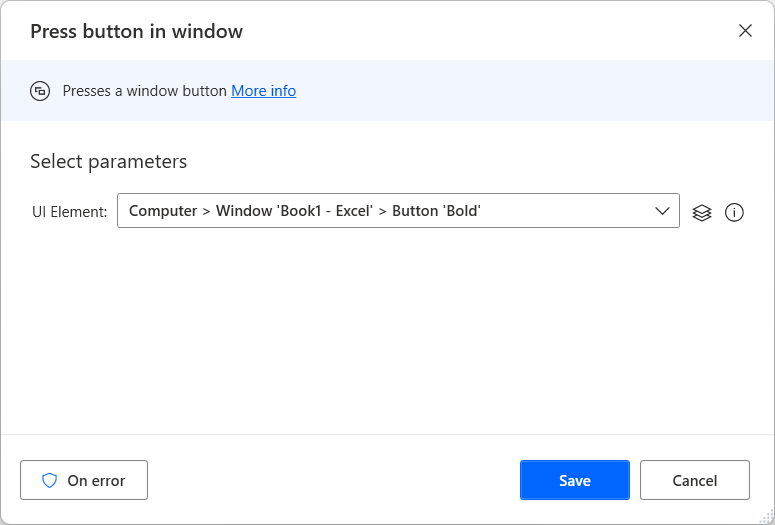
Add two Press button in window actions, and select the UI elements you captured on the previous steps.
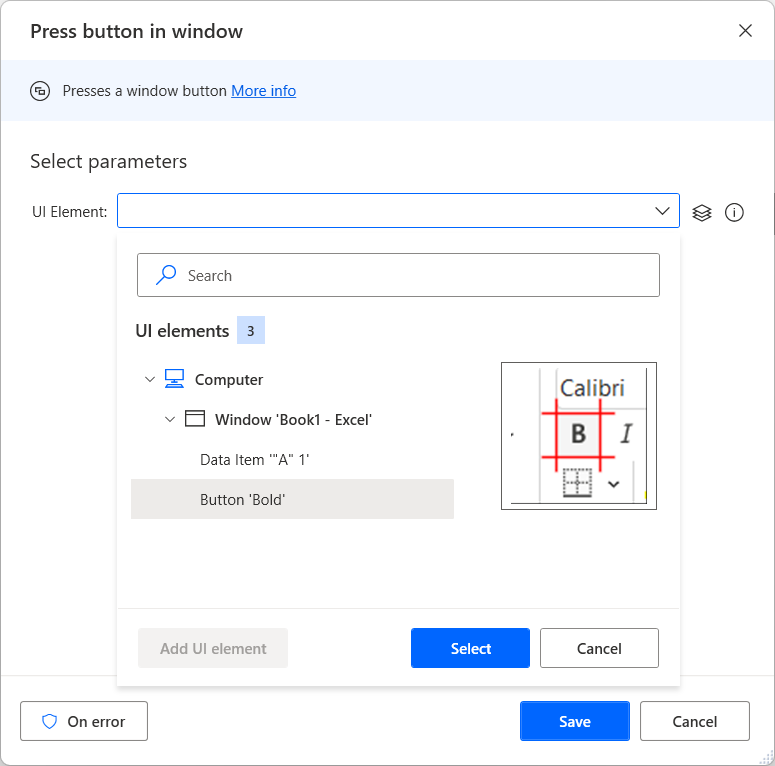
After selecting the appropriate UI elements, the actions are configured to press the cell and the button, respectively.
Images
Like UI elements, images can be added to the flow, and used in related actions.
When clicking the Capture new image button, the cursor changes, enabling users to select an image to extract in detail:
After the image is given a name, it can be used in image recognition Actions, like Move mouse to image:
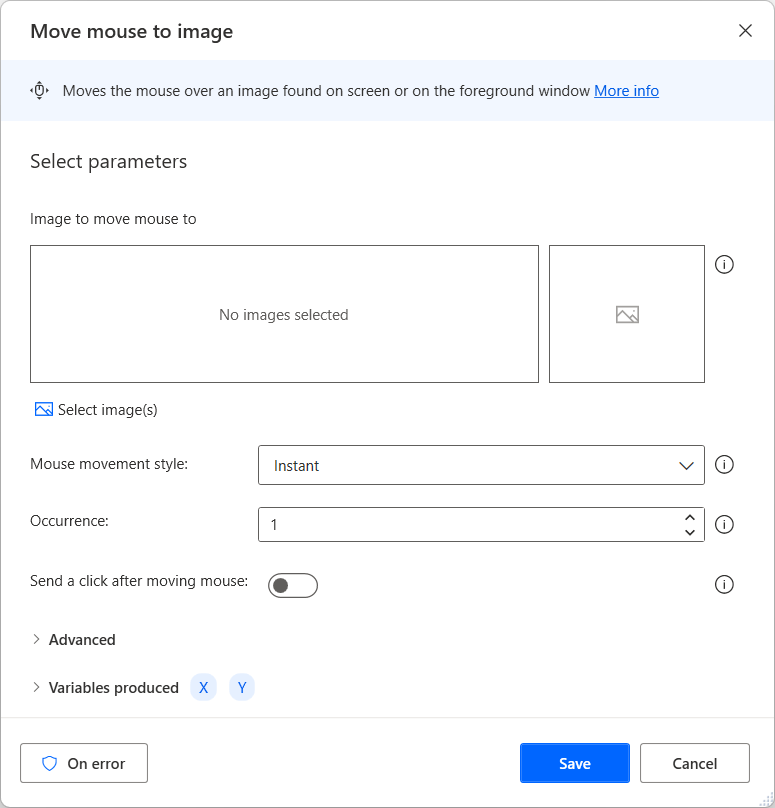
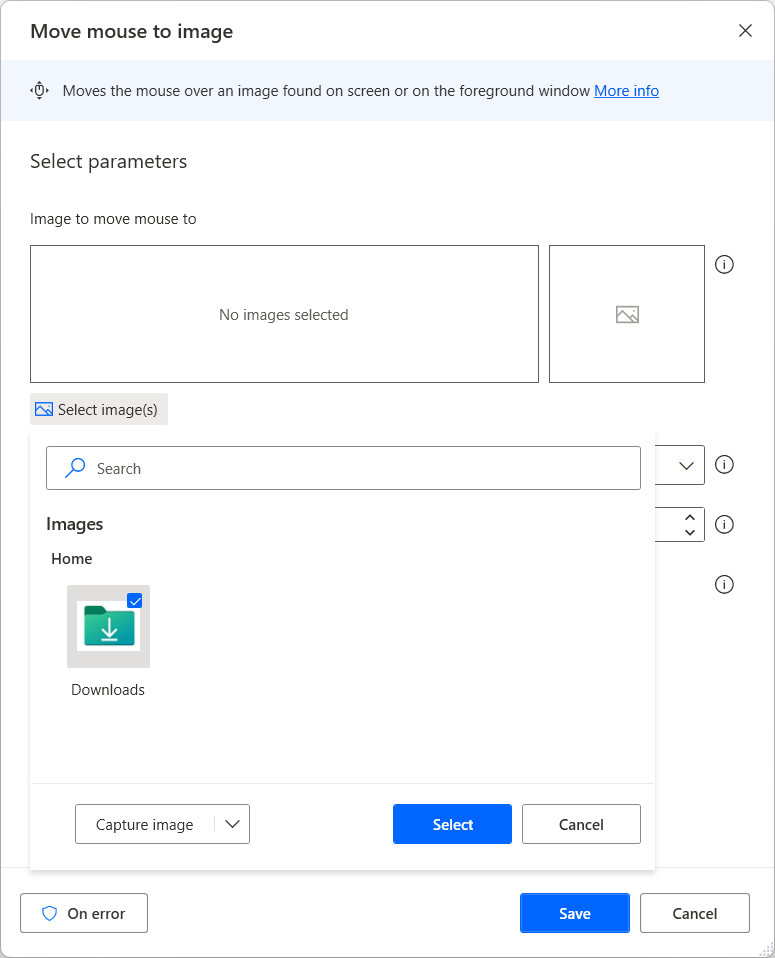
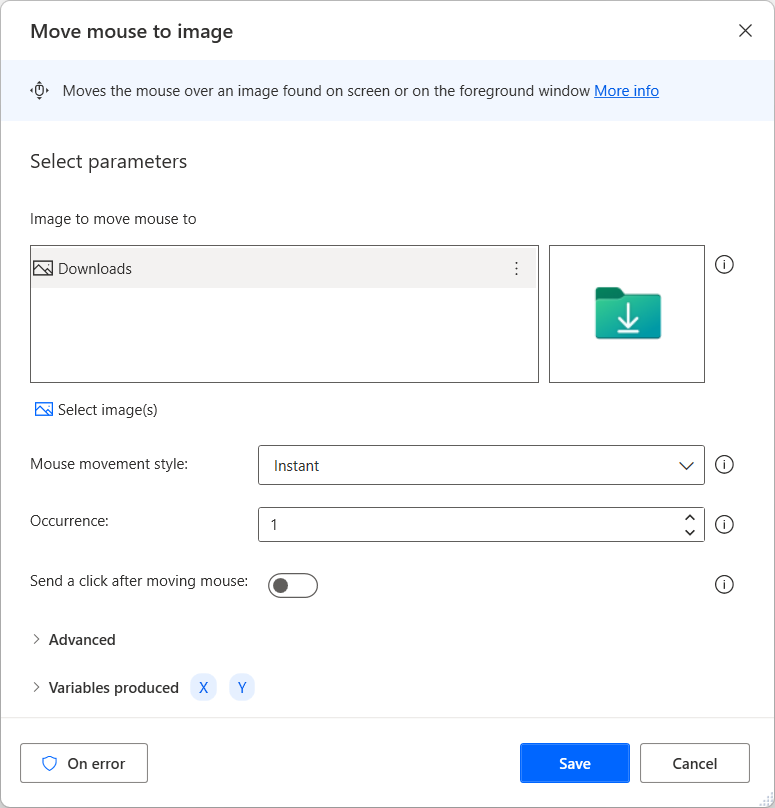
Thus configured, the action will search for a matching image on the display, then move the mouse cursor to it.