Handle web pages and forms
Power Automate for desktop enables you to interact with any web application through UI elements. You can consider UI elements as web components, such as buttons and text fields.
To specify a UI element, you have to create Cascading Style Sheets (CSS) selectors that pinpoint the specific component you want to interact with.
When you create a new UI element, the platform store it in the UI elements pane, located on the right side of the flow designer.

All the actions that handle specific components in web pages require UI elements as input parameters. To create a UI element, follow the following steps:
Under the Actions properties on the left, expand Browser automation and select Click link on web page.
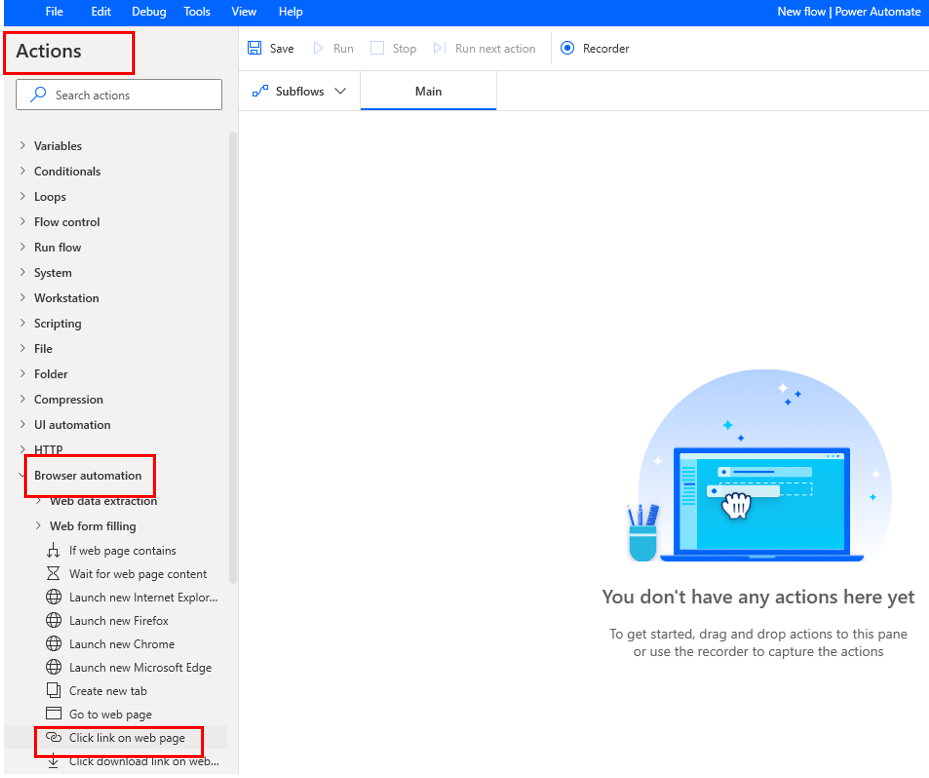
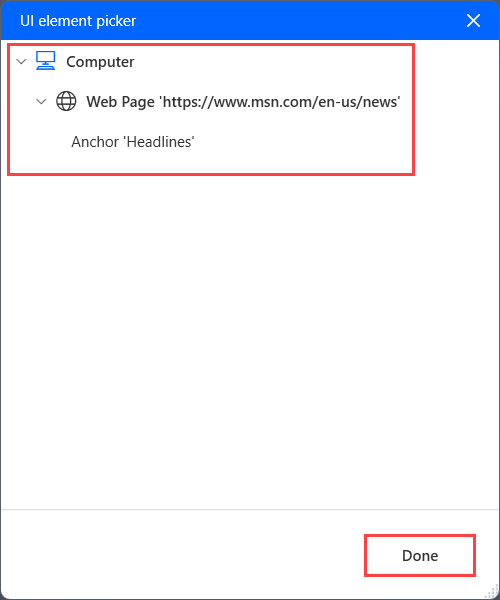
Select one of the already created UI elements or create a new one through the Add UI element button.
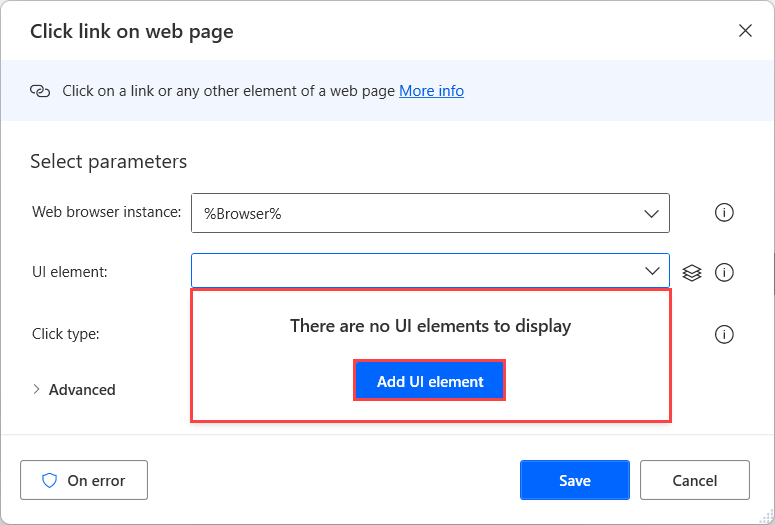
If you choose to create a new one, use the Live helpers (red boxes) to select the desired component.

Press Ctrl + left-click while the desired component is selected to create a new UI element for it.
Confirm the selection in the Tracking session dialog.
In the next part of the unit, we'll describe the functionality of all the web actions that use UI elements as input parameters.
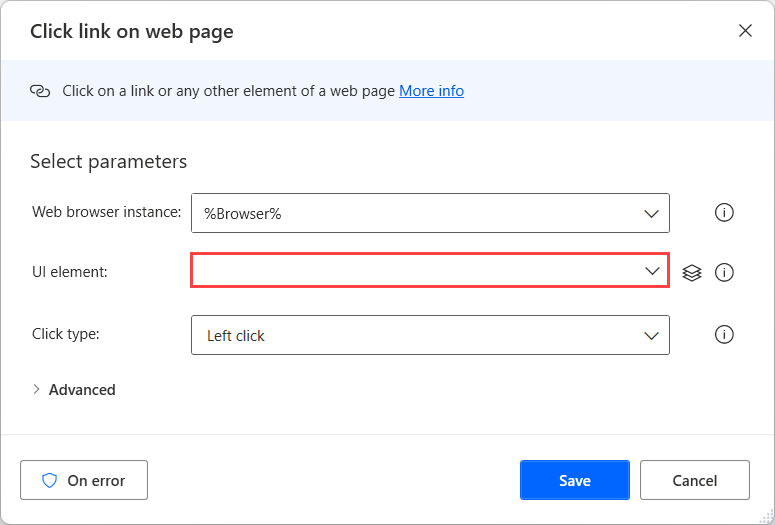
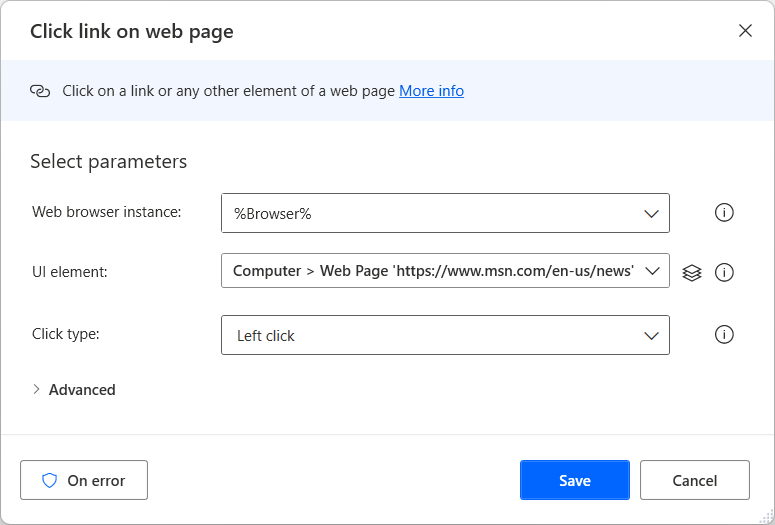
Click link on web page
In some cases, you might need to navigate manually to a web page by clicking a link instead of using the Go to web page action. In these cases, you can use the Click link on web page action that enables you to select links or other clickable components on web pages.
In the action's properties, you have to populate a UI element describing the exact component to select and a browser instance.
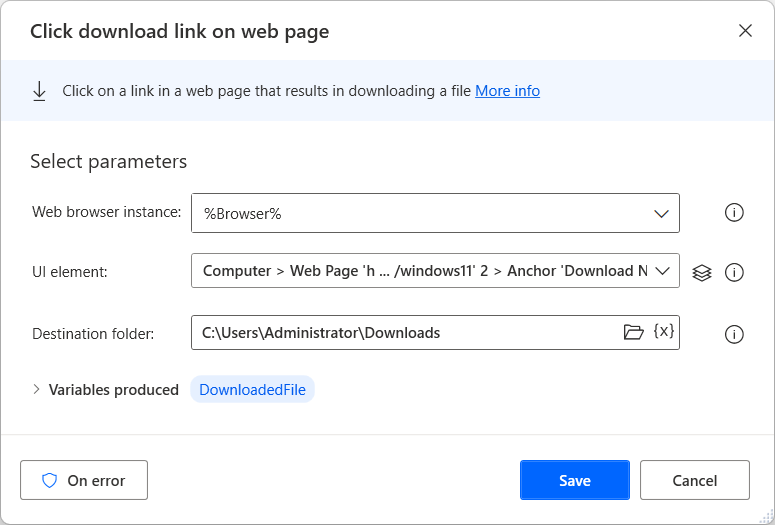
Click download link on web page
If you want to click a download link, you can use the Click download link on web page action instead of the Click link on web page action. Apart from the link selection itself, this action automatically handles the pop-up dialog boxes and saves the downloaded file in a specified folder.
Like the Click link on web page action, the Click download link on web page action requires a browser instance and a UI element describing the link.
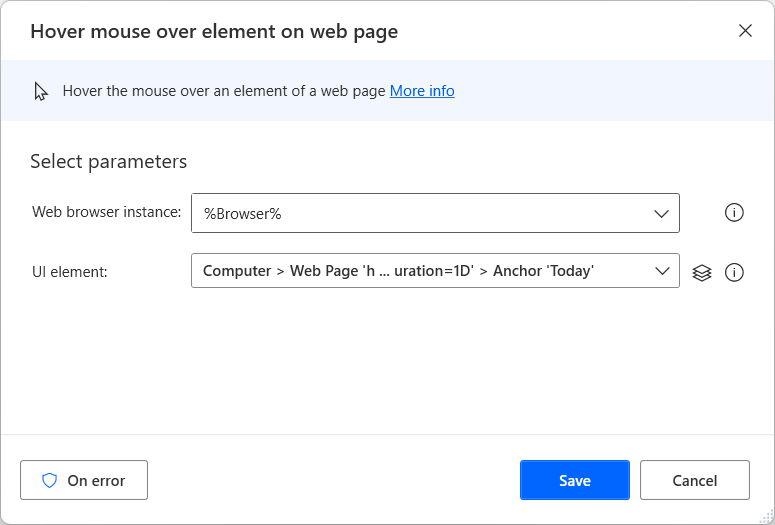
Hover mouse over element on web page
While automating business procedures, you might want to relocate the mouse pointer to a specific element on a web page. A typical case where you need this functionality is the expansion of hoverable menus.
To achieve this functionality, you can use the Hover mouse over element on web page action. Inside the action, you have to specify the browser instance and a UI element describing the component to hover over.
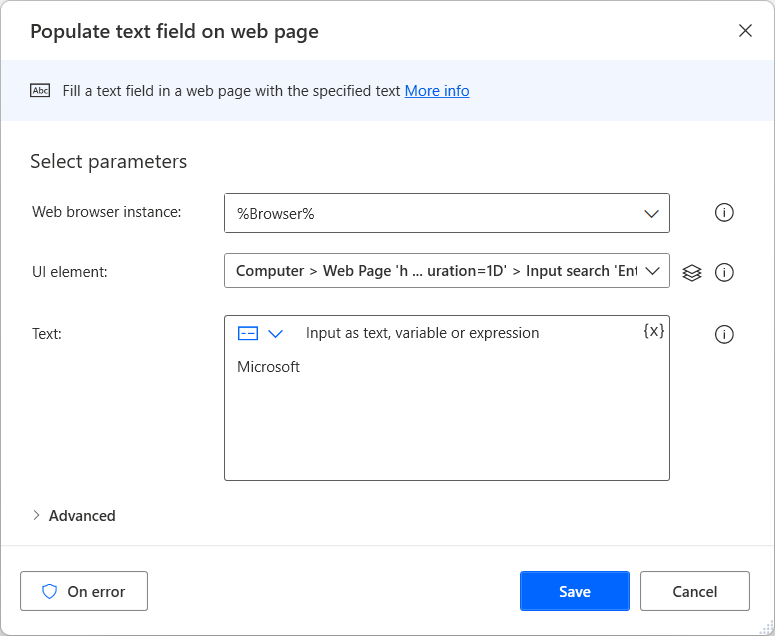
Populate text field on web page
While filling forms, it is common to populate text fields. To automate procedures that populate these kind of fields, you can use the Populate text field on web page action.
In the action's properties, you have to set the text to write, the browser instance, and the UI element describing the text field. Additionally, you can determine whether the action will emulate typing.
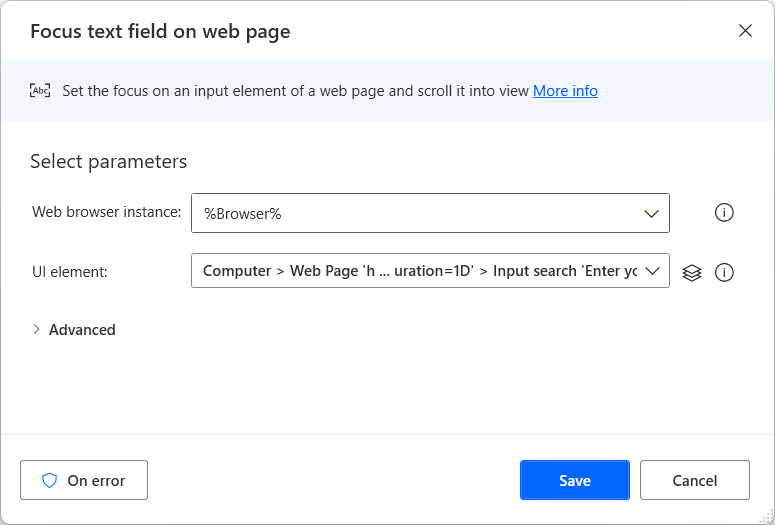
Focus text field on web page
Although Power Automate for desktop provides an action to populate text fields automatically, you might want to just set the input focus on them.
The platform enables you to do that through the Focus text field on web page action. In the action's properties, you have to populate a UI element describing the text box and a browser instance.
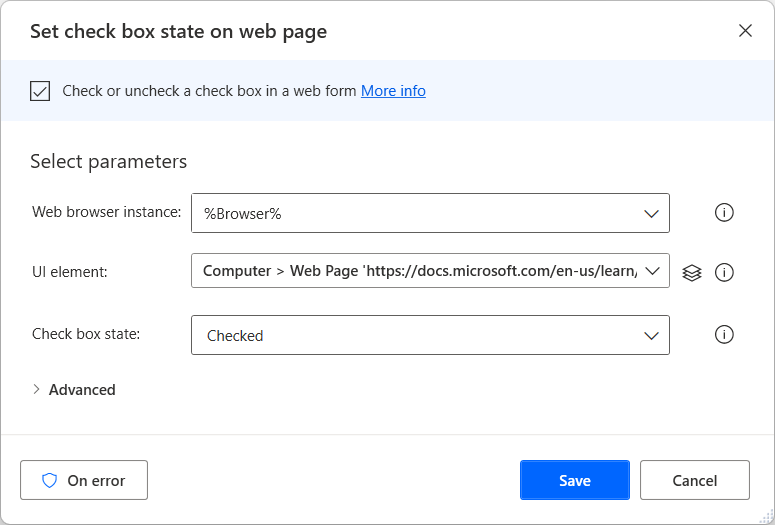
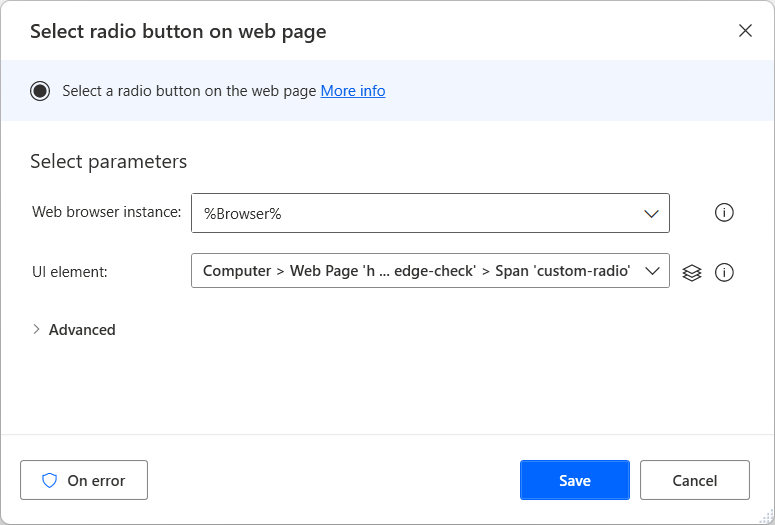
Set checkbox state on web page and select radio button on web page
Except for text fields, the majority of the web forms contain checkboxes and radio buttons.
To enable or disable checkboxes, you can use the Set checkbox state on web page action. This action requires the checkbox's desired state, a browser instance, and a UI element describing the check box.
To select a radio button, use the Select radio button on web page action. Like the Set checkbox state on web page action, you have to define a browser instance and a UI element describing the button.
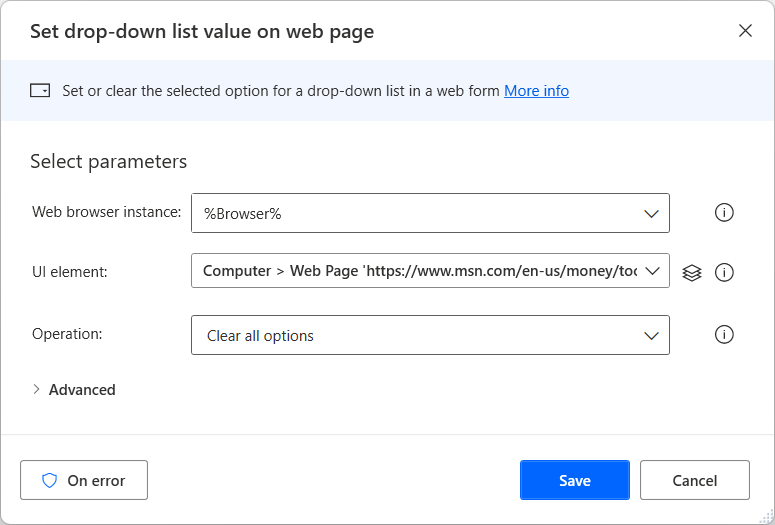
Set drop-down list value on web page
Some relatively common components in webpages and web forms are the drop-down lists. Drop-down lists allow you to select a single option from a provided list of options. To automate these components, you can use the Set drop-down list value on web page action.
This action enables you to select the desired option through its name or index. In the action's properties, you have to populate a browser instance and a UI element describing the drop-down list.
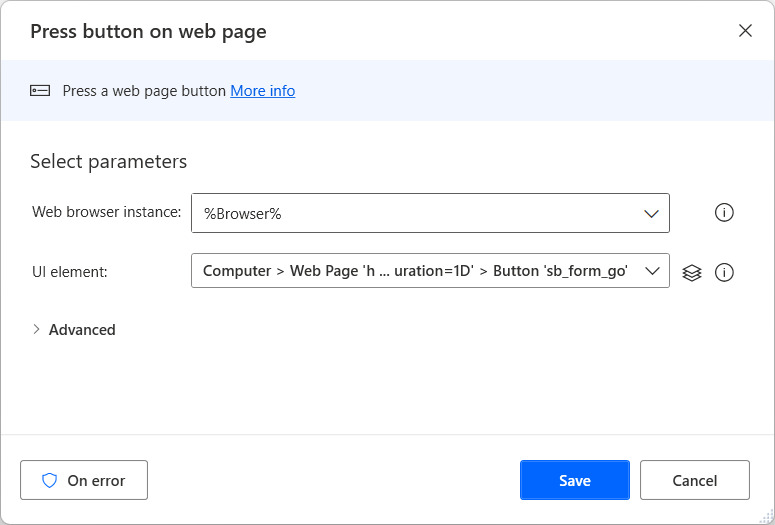
Press button on web page
The last action to handle web forms is the Press button on web page action. Through this action, you can press buttons on web pages. To specify the button to press, you have to create a UI element, while the action also requires a browser instance.