Exercise - Experience escalation into Patient Service Center
In this exercise, you test the end-to-end escalation experience that you set up for the Patient Service Center agent. This process starts from when the patient signs in to the portal website and continues with a Health Bot conversation. Then, it ends with an escalation to a human agent who provides proper care by using agent scripts and knowledge articles from Dynamics 365.
The following screen shows Patient Service Center after a patient call is escalated to a call agent. This exercise shows how the call agent can use the agent setup to give personalized experiences with proposed insights directly in the application.

Task: Sign in to Healthcare Patient Portal and Patient Service Center
In this task, you sign in to Healthcare Patient Portal and Patient Service Center.
Go to Power Apps and open Healthcare Patient Portal.
Sign in to the Lamna Healthcare Patient Portal as Casey Jensen by using the credentials that you created.
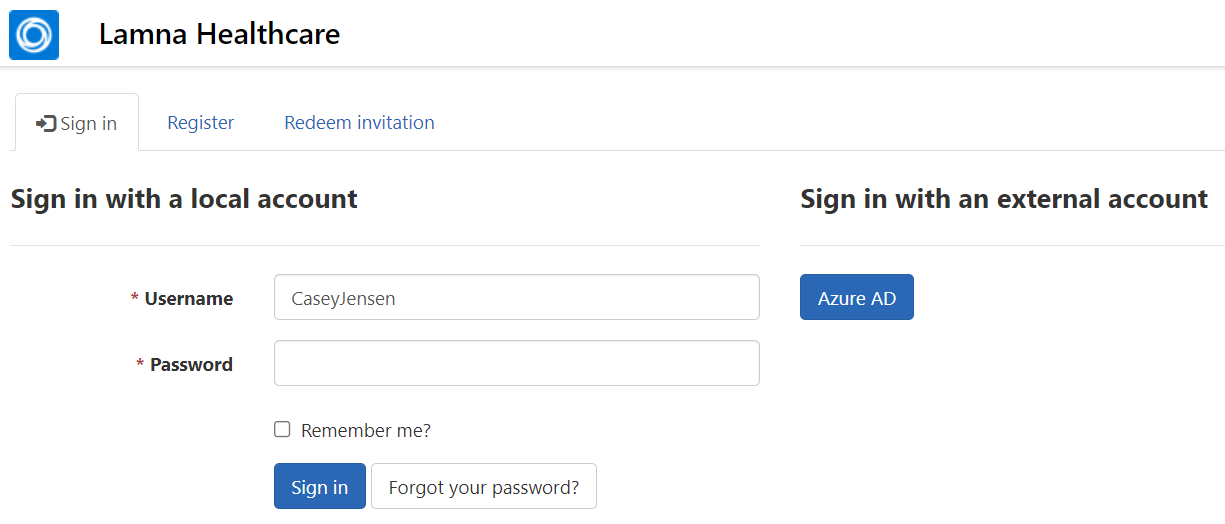
You should be directed to the home page. If you're on the profile page, select the Lamna Healthcare name/logo in the upper-left corner to go to the home page.
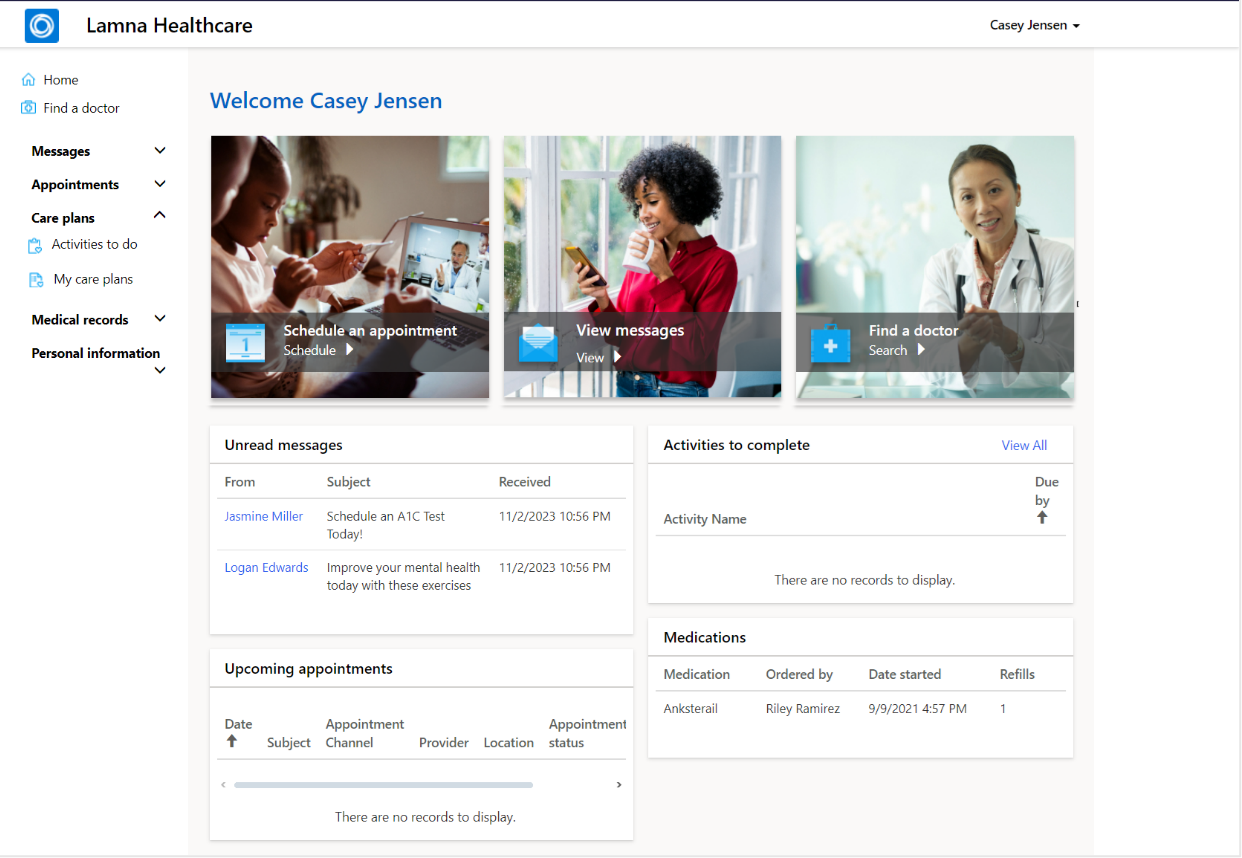
Your patient is ready in Healthcare Patient Portal. Now, you ensure that an agent is available for the patient when the Health Bot needs to escalate.
Note
Before opening Patient Service Center, make sure that you've already added the Omnichannel agent role to your user, as shown in the Azure Health Bot lab.
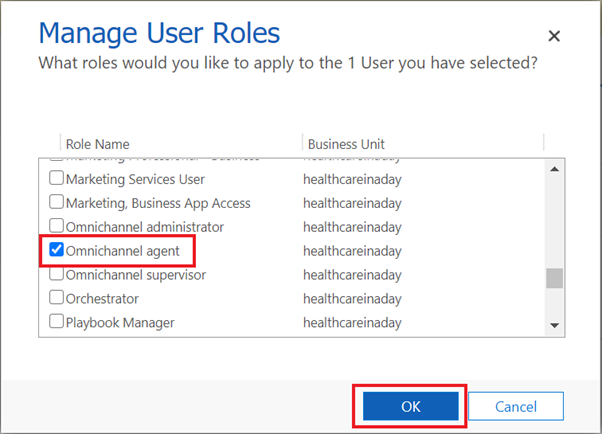
If you didn't assign the Omnichannel agent role in the Azure Health Bot lab, go to Users in Dynamics 365, select your user, select Manage Roles, assign the Omnichannel agent role, and then select OK. Changes might take 15 minutes to reflect properly.
Switch back to Power Apps Portal. Go to the Apps list in Power Apps and open the Omnichannel for Customer Service app.
In the Omnichannel for Customer Service, a loading screen displays that goes through percentages. This process ensures that the live agent status is captured properly.
If the loading screen doesn't appear and/or the presence indicator continuously spins or appears dimmed, then escalation into the Patient Service Center app from the Health Bot won't work properly. If so, refresh again, or close and reopen Patient Service Center until the loading screen appears. You might need to close all other apps or close the InPrivate or Incognito window and then sign in again.
If you assigned the Omnichannel agent role, it might take up to 15 minutes to apply and for the presence to show for your user.


When your presence indicator is green, you're ready to accept patient escalations.

You successfully signed in as the patient and the live agent. Now, you can start the Health Bot conversation.
Task: Patient escalates through Azure Health Bot to live agent
In this task, you experience the patient call escalation through the Azure Health Bot to a live agent.
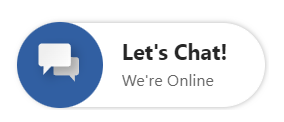
Switch back to your Patient Portal. Select the Azure Health Bot Let's Chat widget in the lower-right corner of the portal.

The Health Bot should go through the same conversation that you created in the Azure Health Bot lab. If the conversation doesn't start, check the following factors:
a. Make sure that you set the automatic welcome message in the Health Bot portal.
b. Verify the settings that you made in the Azure Health Bot lab (Microsoft Teams and human handoff enabled). Also, make sure that you added the widget snippet to the Patient Healthcare chat widget code in Portal Management.
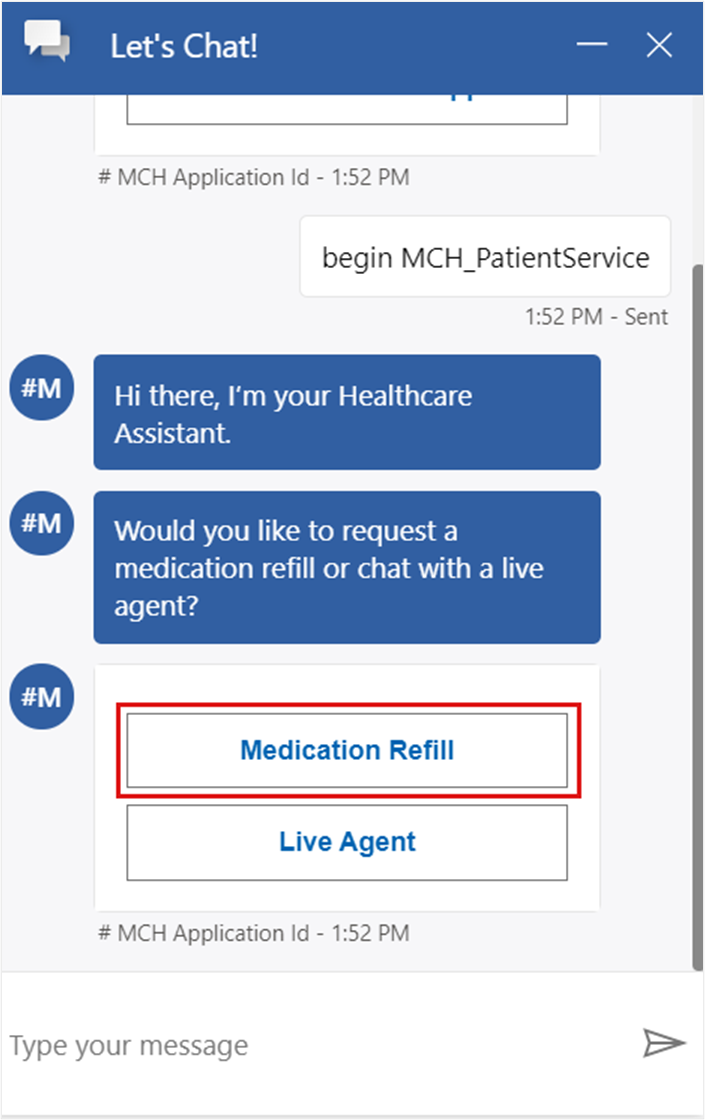
Select the Lamna Healthcare Support button to start a support conversation.

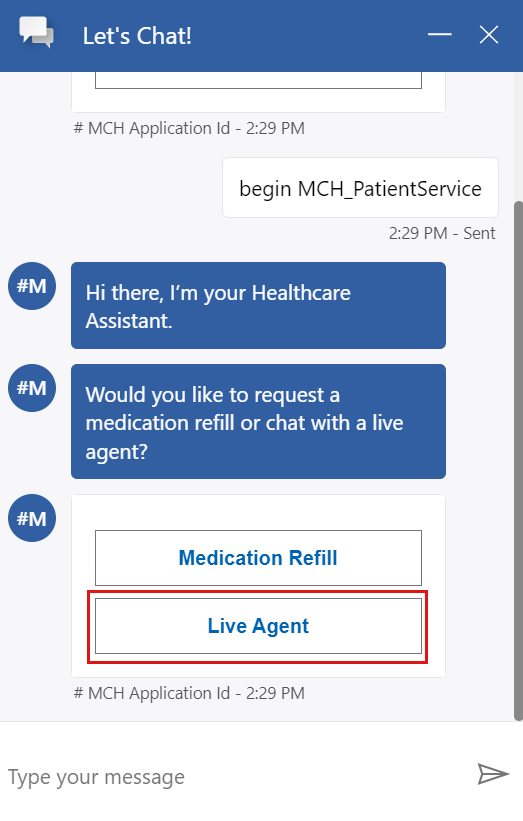
The Health Bot responds with options to refill a medication or escalate to a live agent. Select Medication Refill because Casey wants to refill the inhaler medication.
Fill in Casey Jensen's name and email information and then enter Albuterol inhaler in the Medication Requested field.
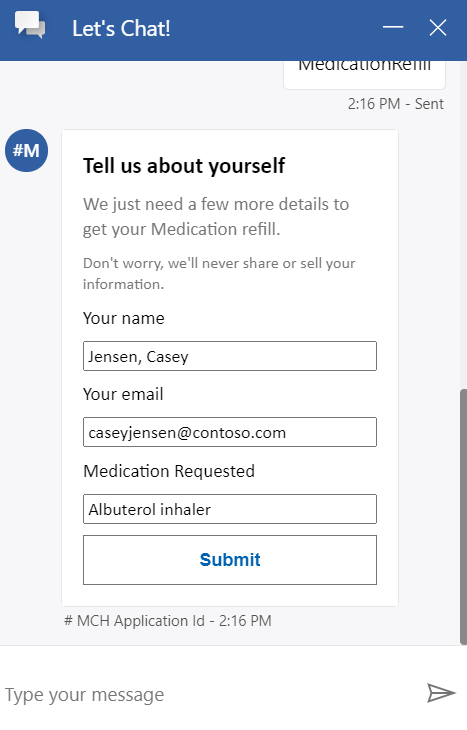
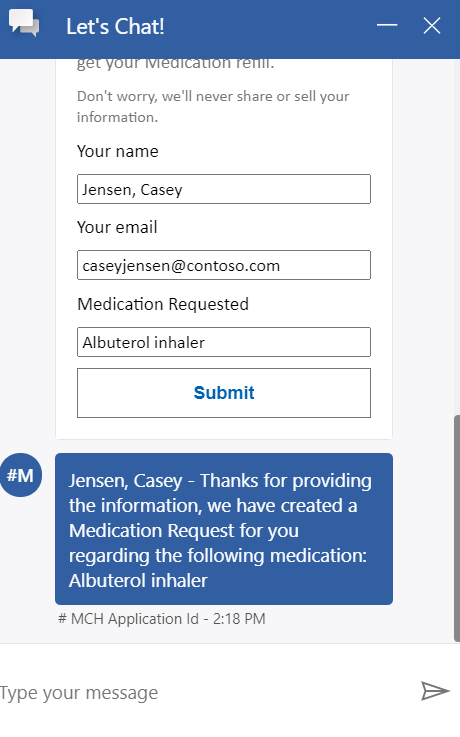
Select Submit, and you receive a response that confirms your request.
In the next steps, assume that Casey is out of medication refills. Therefore, you test the process of escalating to a live agent to refill Casey's medication another way.
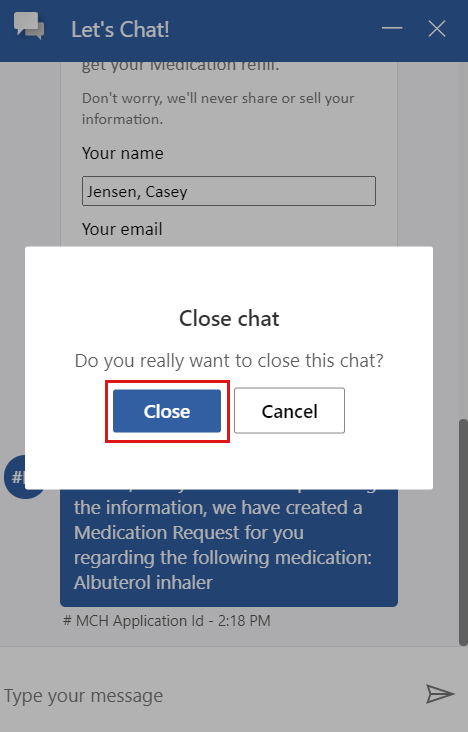
Close the Azure Health Bot chat.
Select Let's Chat to open a new Health Bot conversation.
Select Lamna Healthcare Support.
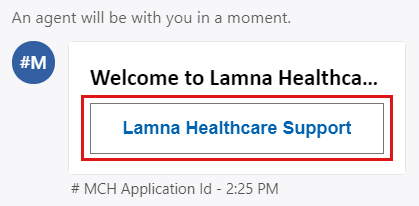
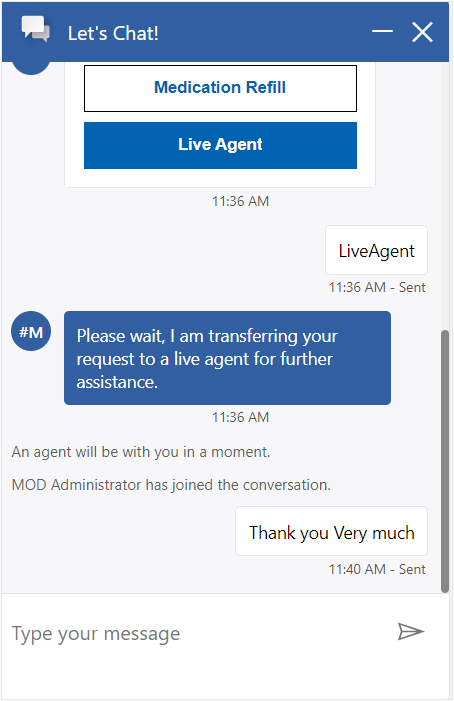
Select Live Agent in the next prompt to escalate to an agent.
The chat soon notifies you that An agent will be with you in a moment.

Switch to the Omnichannel for Customer Service app so that you can accept the escalation as an agent.
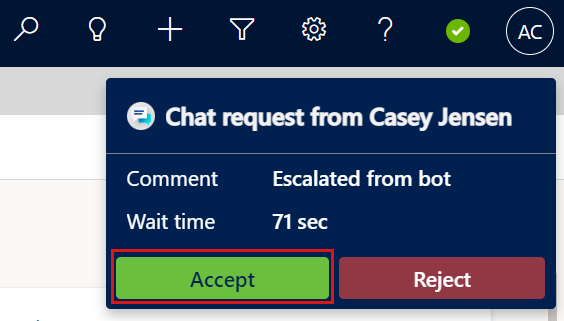
The upper-right corner shows a notification indicating that you have a Chat request from your user.
Select Accept to start a conversation with the patient.
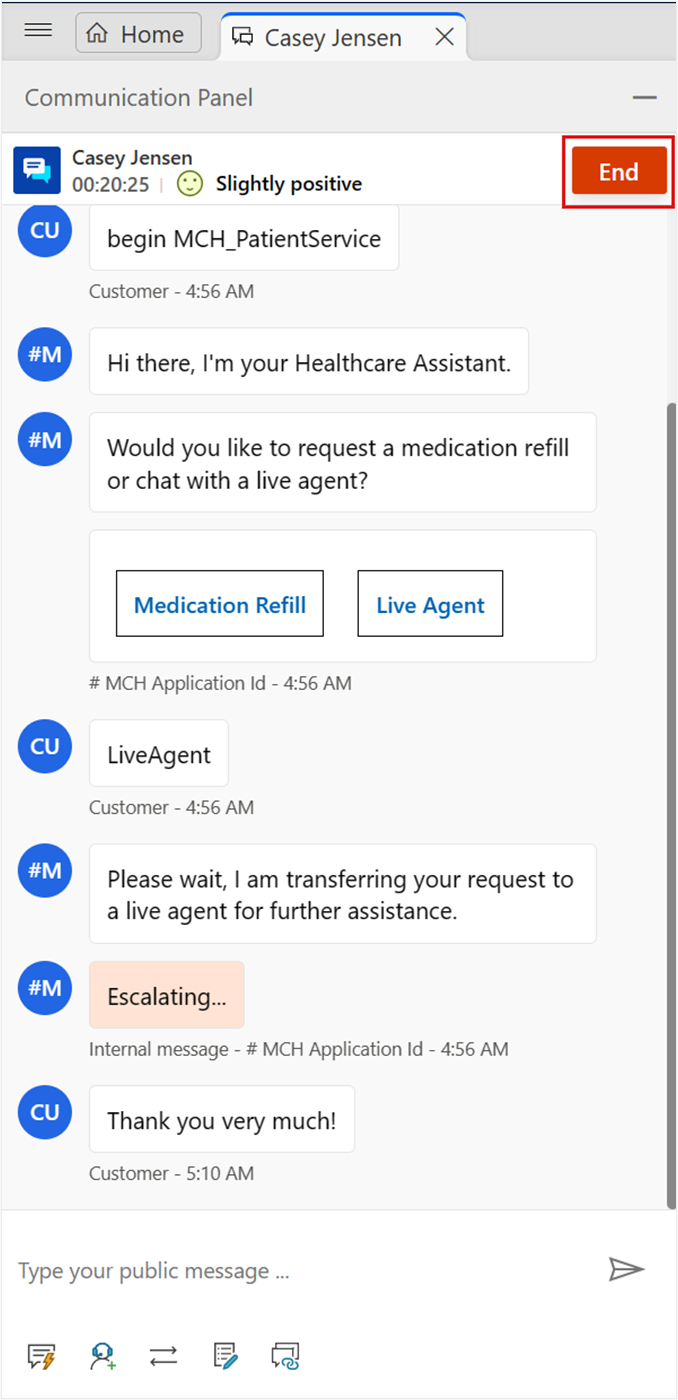
The page should reload and show the patient record, active chat, and Productivity pane, as shown in the following screenshot. Your status should now show as red (busy).
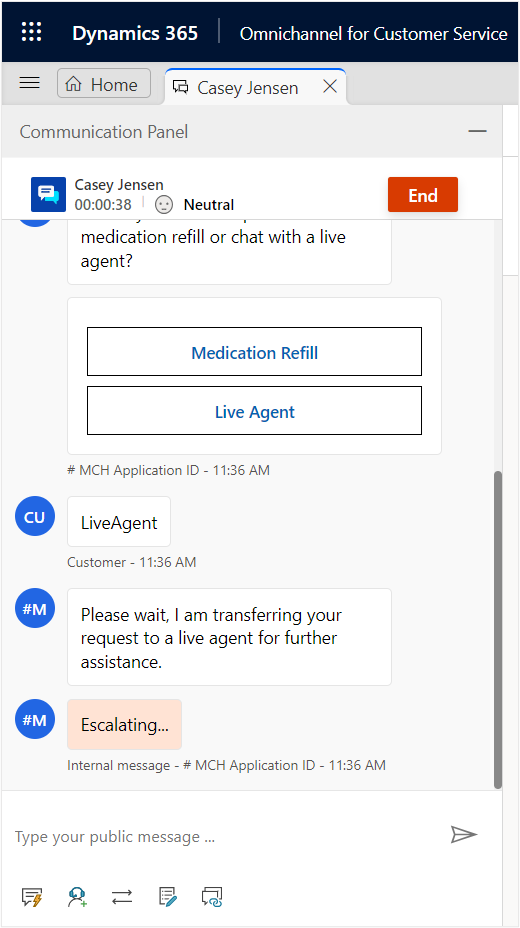
The chat is directly embedded in the window. Explore the command bar in the chat to try various options, such as adding a note that is associated with the patient.
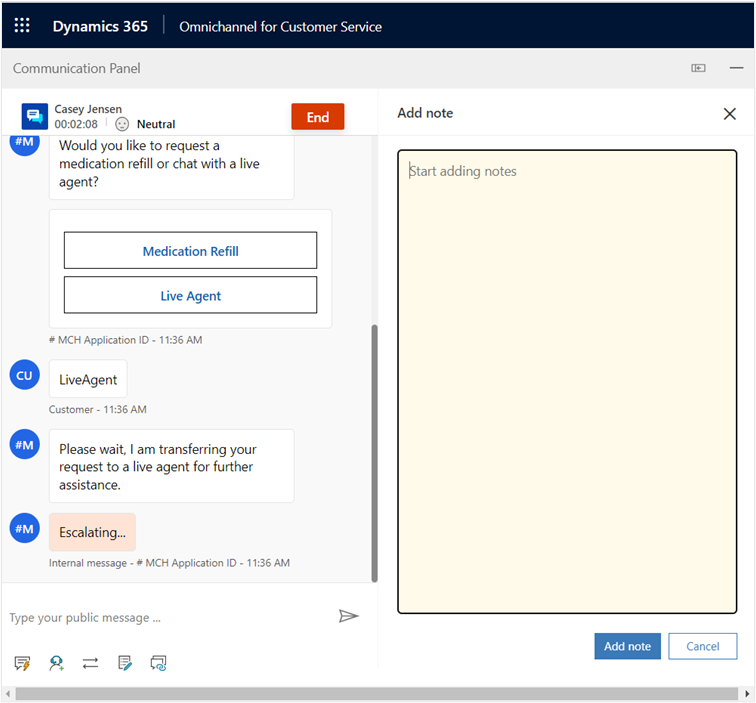
Notice that the patient sentiment analysis in the chat indicates Neutral.

Go to the Lamna Healthcare Patient Portal. Acting as Casey, type Thank you very much! in the chat.
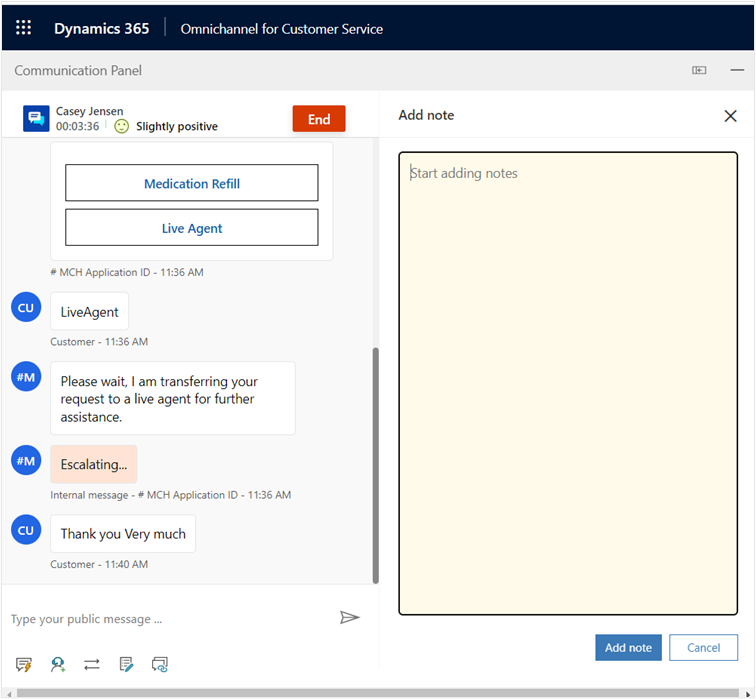
Return to Patient Service Center and notice that the patient sentiment analysis changed from Neutral to Slightly positive from the patient feedback in the chat.

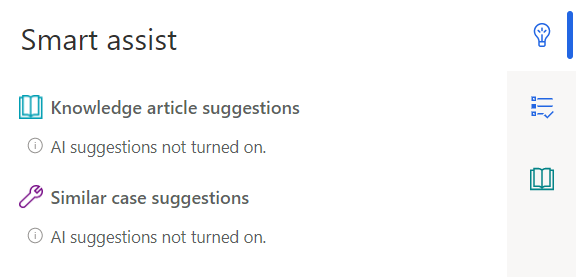
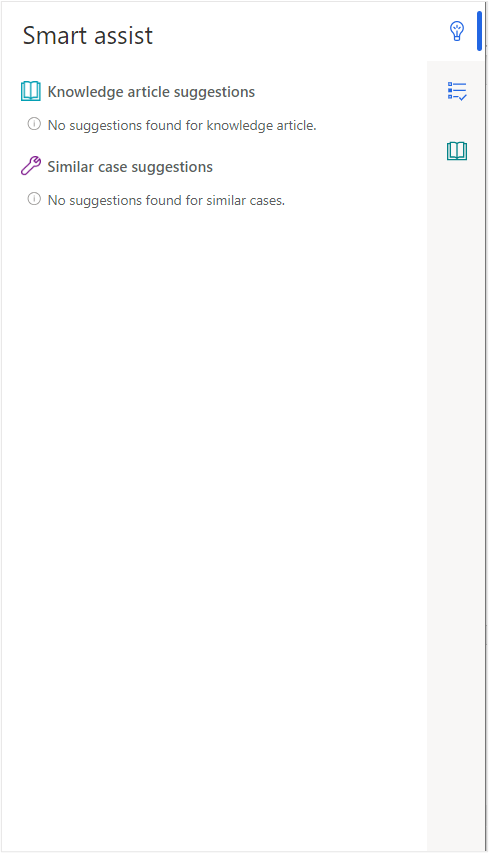
Go to the Productivity pane on the right side of the screen, which includes Smart assist, agent scripts, and knowledge articles. You can expand and collapse this panel as needed.

The Smart assist tab shows suggested articles and cases based off the chat discussion. Because you have not set up the Smart assist option, these articles won't show at this time. When this training is expanded, steps for this functionality will be added.
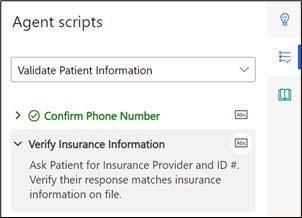
Select the Agent script tab and complete the steps by selecting the button to the right of the step name. The text turns green, and a check mark appears to the left of the step name.
Go to the Knowledge Article tab and search for breath or inhaler. Notice that your article appears.

Select the knowledge article in the list to open in the larger tab.

When completed with the conversation, the agent can select End to stop the conversation.
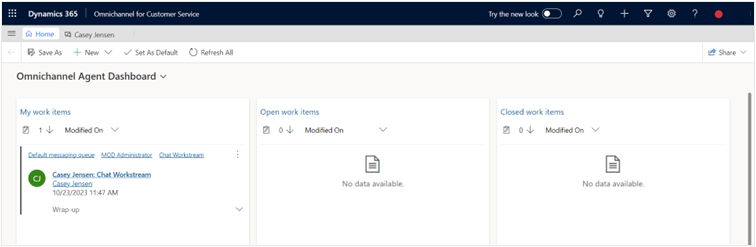
Close the session.
After closing the session, you'll be directed to the Omnichannel Agent Dashboard and your status will turn green (available).


You completed the full experience from signing in as a patient to the portal, conversing with the Health Bot, and escalating into Patient Service Center to navigate the features as a live agent.