Exercise - Back up an Azure virtual machine
Your company runs a combination of Windows and Linux workloads. You're asked to prove that Azure Backup is a good fit for both kinds of virtual machines (VMs). By using a combination of the Azure CLI and the Azure portal, you help protect both kinds of virtual machines with Azure Backup.
Azure Backup can be quickly enabled for virtual machines in Azure. You can enable Azure Backup from the portal, from the Azure CLI, or by using PowerShell commands.
In this exercise, you create a virtual machine (VM), set up a backup, and start a backup.
Note
This exercise is optional. If you don't have an Azure account, you can read through the instructions so you understand how to back up virtual machines by using Azure Backup. If you want to complete this exercise, but you don't have an Azure subscription or you prefer not to use your own account, create a free account before you begin.
Create a backup for Azure virtual machines
Set up the environment
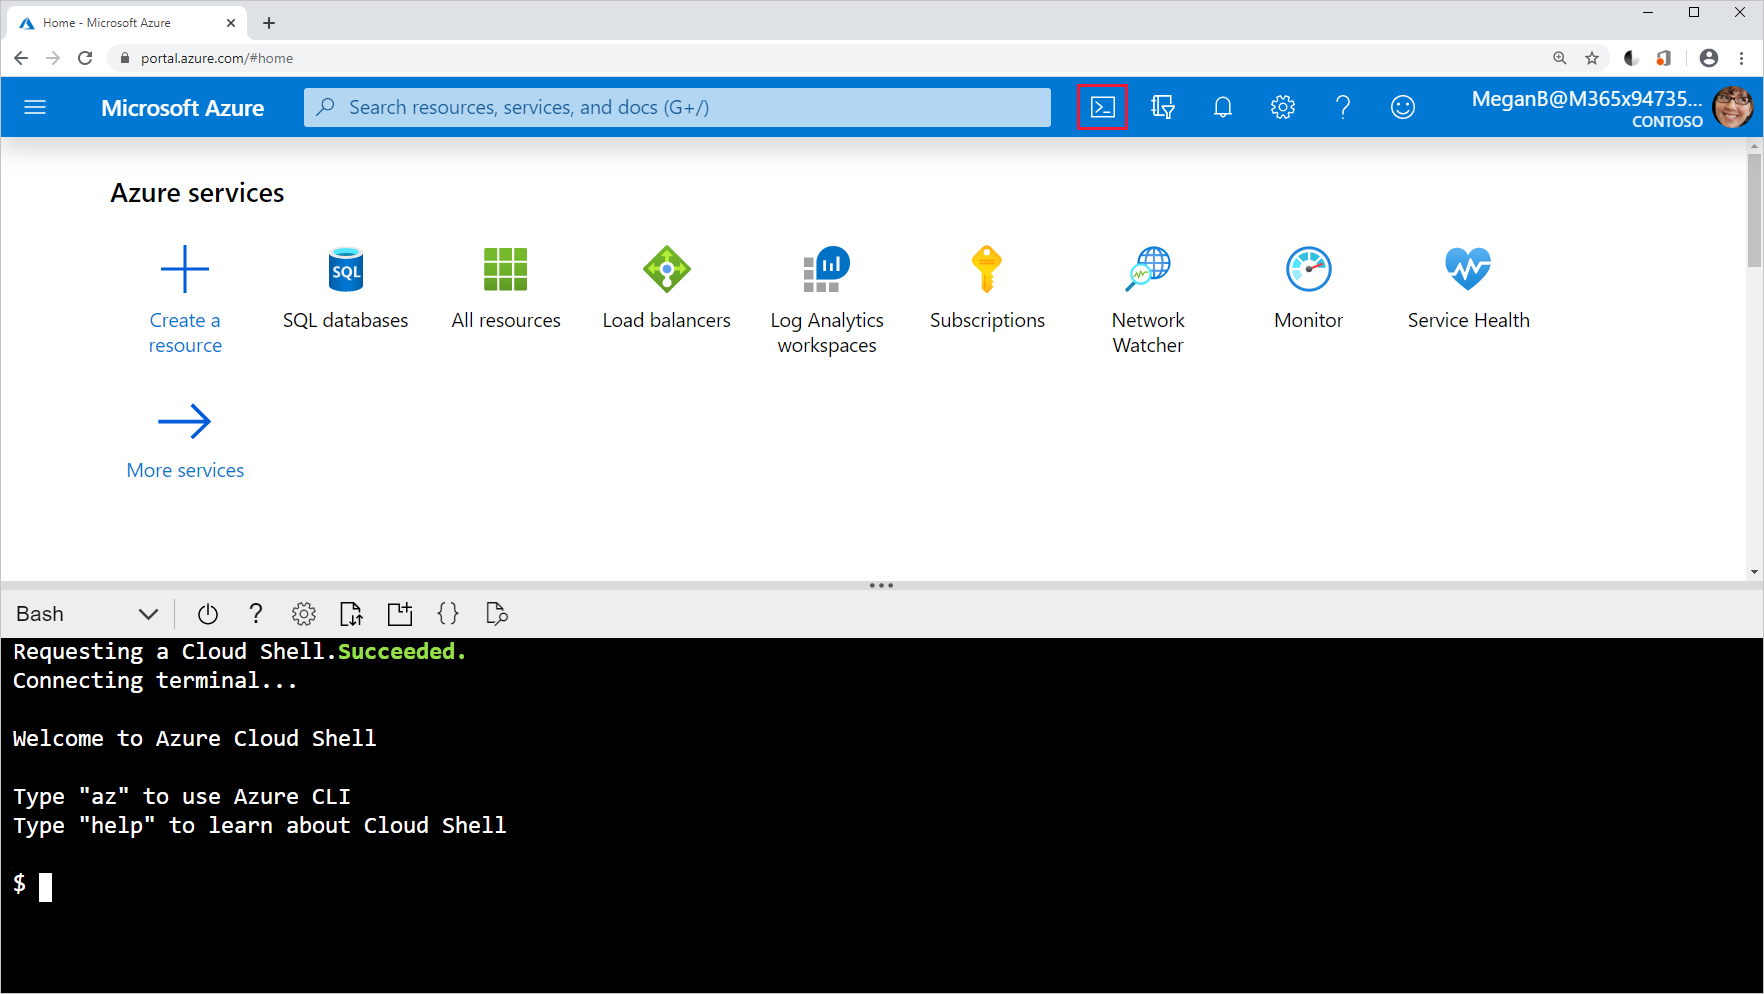
Sign in to the Azure portal, and select the icon to open Azure Cloud Shell.
Create a resource group to contain all the resources for this exercise.
Azure CLIRGROUP=$(az group create --name vmbackups --location westus2 --output tsv --query name)Use Cloud Shell to create the NorthwindInternal virtual network and the NorthwindInternal1 subnet.
Azure CLIaz network vnet create \ --resource-group $RGROUP \ --name NorthwindInternal \ --address-prefixes 10.0.0.0/16 \ --subnet-name NorthwindInternal1 \ --subnet-prefixes 10.0.0.0/24
Create a Windows virtual machine by using the Azure CLI
Create the NW-APP01 virtual machine by running the following command. Replace <password> with a password of your choice, enclosed in double quotes. For example, --admin-password "PassWord123!".
az vm create \
    --resource-group $RGROUP \
    --name NW-APP01 \
    --size Standard_DS1_v2 \
    --public-ip-sku Standard \
    --vnet-name NorthwindInternal \
    --subnet NorthwindInternal1 \
    --image Win2016Datacenter \
    --admin-username admin123 \
    --no-wait \
    --admin-password <password>
Create a Linux virtual machine by using the Azure CLI
Create the NW-RHEL01 virtual machine by running the following command.
az vm create \
    --resource-group $RGROUP \
    --name NW-RHEL01 \
    --size Standard_DS1_v2 \
    --image RedHat:RHEL:8-gen2:latest \
    --authentication-type ssh \
    --generate-ssh-keys \
    --vnet-name NorthwindInternal \
    --subnet NorthwindInternal1
The command can take a few minutes to complete. Wait for it to finish before moving on to the next step.
Enable backup for a virtual machine by using the Azure portal
In the Azure portal, search for and select Virtual machines.
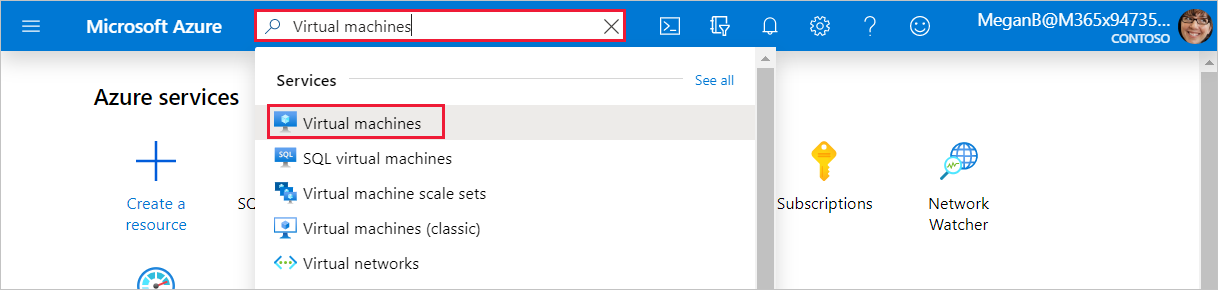
The Virtual machines pane appears.
From the list, select the NW-RHEL01 virtual machine that you created.
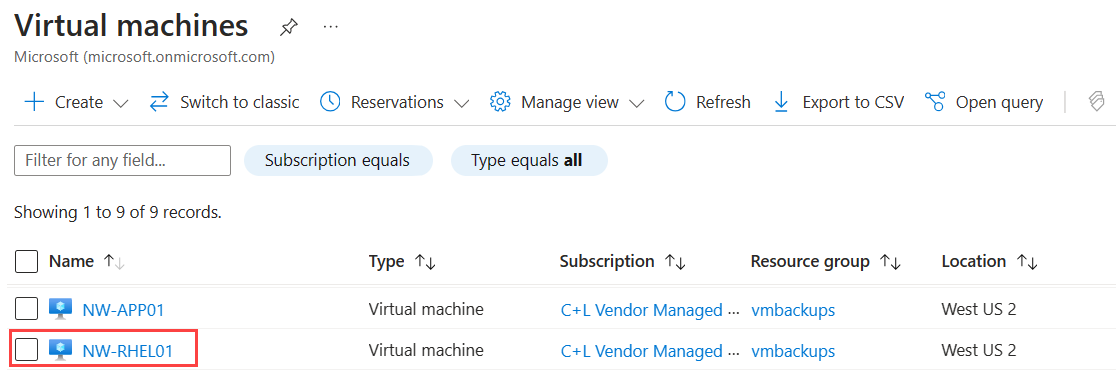
The NW-RHEL01 virtual machine pane appears.
In the middle menu pane, select the Capabilities tab, then scroll down to and select Backup. The Backup pane for the NW-RHEL01 virtual machine appears.
Select the radio button for Standard. You can accept the defaults for the following options:
- Backup vault: vaultXXX for the name.
- Backup policy: DailyPolicy-xxxxxxxx, which creates a daily backup at 12:00 PM UTC with a retention range of 180 days.
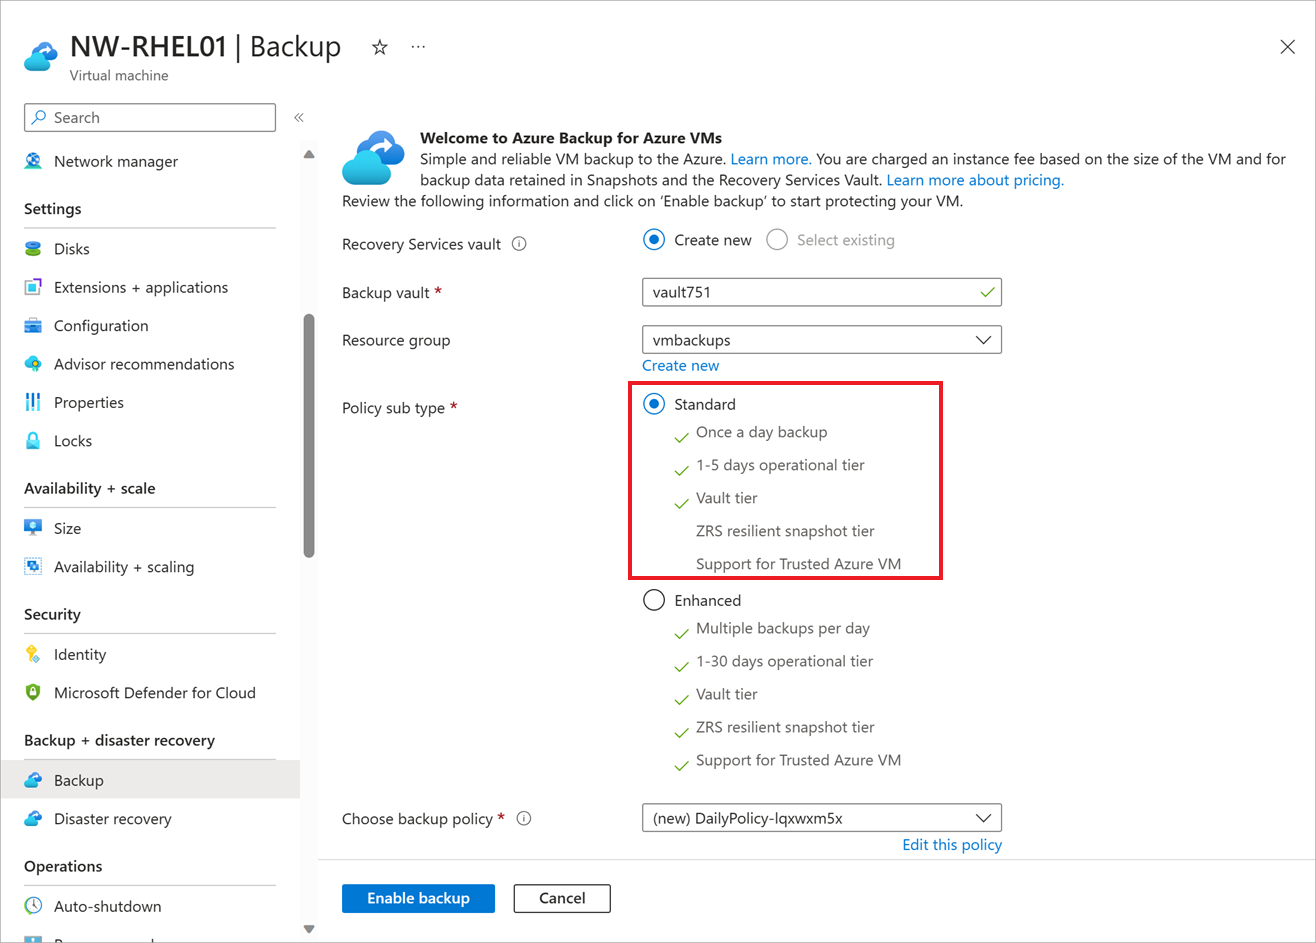
Select the Enable backup button.
Once deployment completes, go back to the NW-RHEL01 virtual machine, select the Capabilities tab, then scroll down to and select Backup. The Backup pane for the NW-RHEL01 virtual machine appears.
To perform the first backup for this server, in the top menu bar, select Backup now.
The Backup Now pane for NW-RHEL01 appears.
Select OK.
Enable a backup by using the Azure CLI
First, create the azure-backup vault by using Cloud Shell:
Azure CLIaz backup vault create \ --resource-group vmbackups \ --location westus2 \ --name azure-backupUsing Cloud Shell, enable a backup for the NW-APP01 virtual machine.
Azure CLIaz backup protection enable-for-vm \ --resource-group vmbackups \ --vault-name azure-backup \ --vm NW-APP01 \ --policy-name EnhancedPolicyMonitor the progress of the setup using the Azure CLI.
Azure CLIaz backup job list \ --resource-group vmbackups \ --vault-name azure-backup \ --output tableKeep running the preceding command until you see that
ConfigureBackupis finished.OutputName Operation Status Item Name Start Time UTC Duration ------------------------------------ --------------- ---------- ----------- -------------------------------- -------------- a3df79b4-be4f-4cc9-8b2c-a5ead44a6a12 ConfigureBackup Completed NW-APP01 2019-08-01T06:19:12.101048+00:00 0:00:31.305975 5e1531a9-8b3d-4983-a642-86ee982f7036 Backup InProgress NW-RHEL01 2019-08-01T06:18:35.955118+00:00 0:01:22.734182 860d4dca-9603-4a4e-9f3b-93f242a0a64d ConfigureBackup Completed NW-RHEL01 2019-08-01T06:13:33.860598+00:00 0:00:31.256773Do an initial backup of the virtual machine, instead of waiting for the schedule to run it.
Azure CLIaz backup protection backup-now \ --resource-group vmbackups \ --vault-name azure-backup \ --container-name NW-APP01 \ --item-name NW-APP01 \ --retain-until 18-10-2030 \ --backup-management-type AzureIaasVMThere's no need to wait for the backup to finish, because the next section shows you how to monitor the progress in the portal.
Monitor backups in the portal
View the status of a backup for a single virtual machine
On the Azure portal menu or from the Home page, select All resources.
Enter Virtual machines in the search field at the top of the page and select Virtual machines from the results.
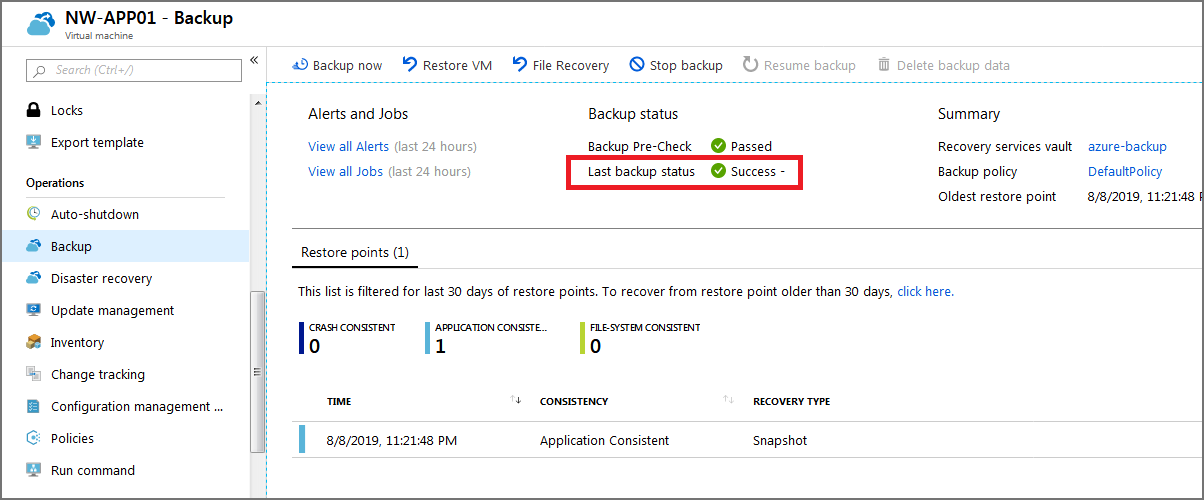
Select the NW-APP01 virtual machine. The NW-APP01 virtual machine pane appears.
In the middle menu pane, select the Capabilities tab, then scroll to and select Backup. The Backup pane for the NW-APP01 virtual machine appears.
Under the Backup status section, the Last backup status field displays the current status of the backup.
View the status of backups in the Recovery Services vault
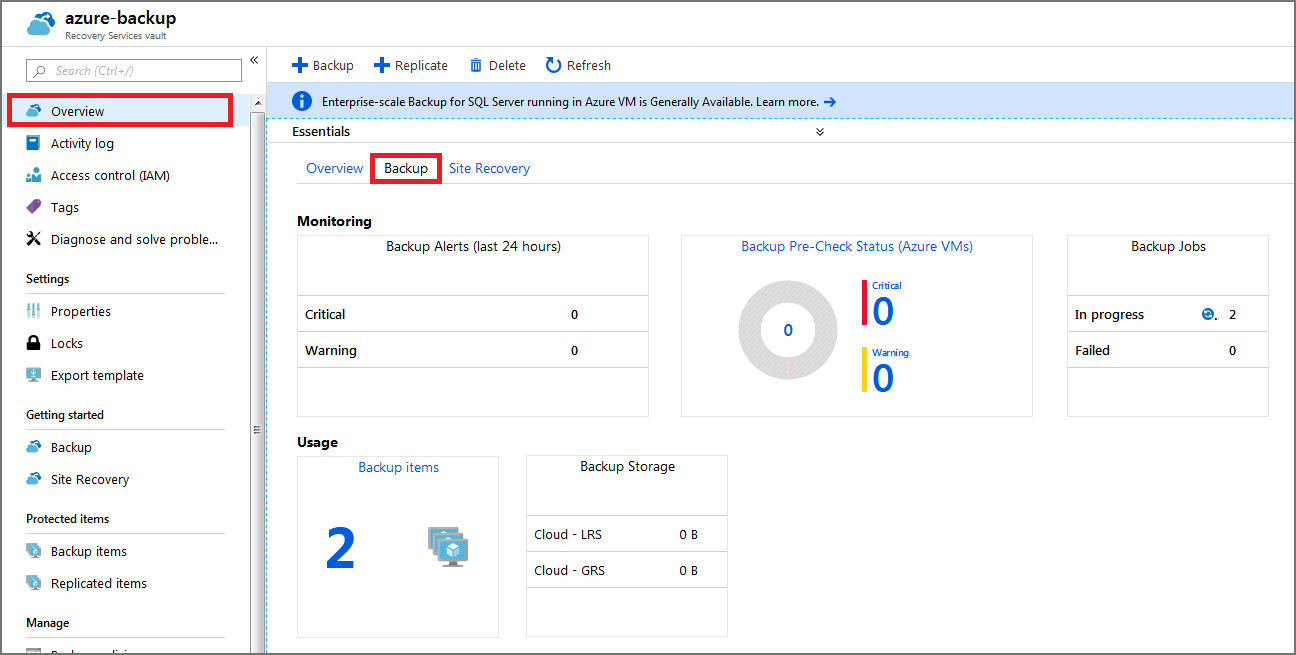
On the Azure portal menu or from the Home page, select All resources.
Sort the list by Type, and then select the azure-backup Recovery Services vault. The Azure-backup recovery services vault pane appears.
On the Overview pane, select the interior Backup tab to display a summary of all the backup items, the storage being used, and the current status of any backup jobs.
Next unit: Restore virtual machine data
Having an issue? We can help!
- For issues related to this module, explore existing questions using the #azure training tag or Ask a question on Microsoft Q&A.
- For issues related to Certifications and Exams, post on Certifications Support Forums or visit our Credentials Help.