Exercise - Create an Azure Functions app and refactor the code
In this exercise, you create a serverless Azure Functions application that runs the APIs instead of the Express application. You then migrate the application logic from the Node.js Express application to the Functions application. You don't have to rewrite the code. You need only a few small code changes to make the transition.
Create a new Azure Functions app
Make sure you have the Visual Studio Code Extension for Azure Functions installed.
In Visual Studio Code, open the command palette by pressing F1
Type and select Azure Functions: Create New Project.
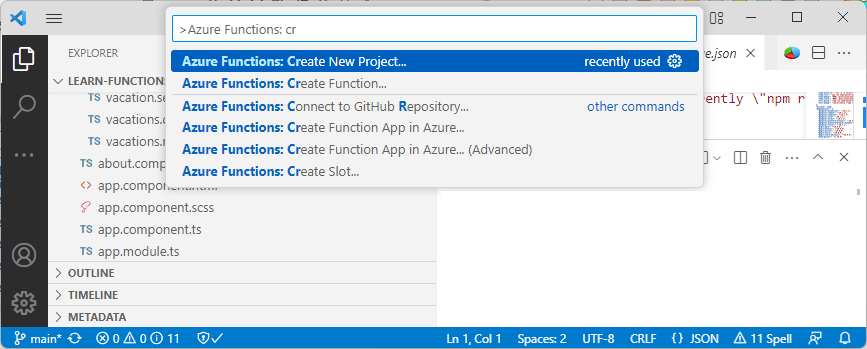
Select the root of the repository as the location for the new project.
When prompted, enter the following values.
Name Value Language TypeScript Select a TypeScript Programming Model Model V4 Template HTTP trigger Name getVacations
The Functions app is now created to serve the application's API endpoints. In the next unit, you create the functions that list, add, update, and delete vacations.
Note
You created the Functions app in a functions folder, which separates it from the Angular app. You can decide how to structure your applications, but for learning purposes it helps to see both apps in one place.
Copy and refactor the route handler code
All the Node.js Express logic that returns data is in the server/services folder. You can copy this code from the Node.js Express application to the Functions application, and then do some minor refactoring to make the code work with Functions instead of Node.js Express.
The following table lists the main differences between the Node.js Express application and the Functions application:
| Component | Node.js Express | Functions |
|---|---|---|
| Imported npm package to serve the application | express |
@azure/functions |
| Request and response objects | req and res |
request and context |
First you refactor the code to import the appropriate npm package. Then you refactor to handle the differences between how Express and Functions pass the request and response objects.
Copy over existing code from Express project
In Visual Studio Code, copy the following subfolders from the server folder in the Express application and paste it into the functions/ folder:
- data
- models
- services
You don't need to copy the routes folder because you're going to create new functions for each route in the Azure Functions app.
Continue to the next unit to create the functions and refactor the endpoints and routes.
Next unit: Exercise - Create functions for the Azure Functions app
Having an issue? We can help!
- For issues related to this module, explore existing questions using the #azure training tag or Ask a question on Microsoft Q&A.
- For issues related to Certifications and Exams, post on Certifications Support Forums or visit our Credentials Help.