Exercise - Enable Viva Connections in your Microsoft 365 tenant
In the following exercise, you'll enable Microsoft Viva Connections in your Microsoft 365 tenant.
To enable Viva Connections in your tenant, you'll need a SharePoint communication site with the global navigation enabled. You'll also need to enable this site as the home site in your tenant.
Create a communication site
To start, go to the SharePoint admin center and create a new communication site.
Tip
If you have an existing communication site that you want to use, you can skip these steps.
To go to the SharePoint admin center in your tenant:
- In a web browser, go to the Microsoft 365 admin center of your Microsoft 365 tenant and sign in as an administrator.
- From the side menu, select Show all.
- From the list of admin centers, select SharePoint.
To create a new communication site:
- In the SharePoint admin center, from the side menu, open the Sites section and select Active sites.
- Select Create.
- From the list of types of sites to create, select Communication site.
- Provide the required information:
- Site name: Home site. (If the generated site address isn't available in your tenant, enter a different name.)
- Site owner: Your user account.
- Select a language: English for this module.
- Select Finish to confirm your changes.
Wait for the site to be created. After it's created, you'll see it in the list of active sites. In the next section, you'll need the URL of the newly created site. To copy it, open the shortcut menu on the site's URL and select Copy Link.
Configure the home site
The next step is to configure the newly created communication site as the home site in your tenant. Viva Connections will use this site to drive its experiences. This site will be opened as the default site when users go to the root of your Microsoft 365 tenant, such as https://contoso.sharepoint.com.
- In the SharePoint admin center, from the menu, select Settings.
- In the list of settings, select Home site.
- In the URL of site you want to use box, paste the URL of the newly created communication site that you previously copied.
- To confirm the changes, select Save.
Enable global navigation
The last piece of configuration is to enable the global navigation. This procedure will allow you to show links to different resources from your Microsoft 365 tenant in Viva Connections.
- In a web browser, go to the newly created communication site.
- From the top bar, select the Settings (gear) icon.
- On the Settings panel, select Global navigation.
- Switch the Enable global navigation toggle to On.
- To confirm the changes, select Save.
Create the Viva Connections dashboard
An important part of Viva Connections is the dashboard, where employees can find useful resources and actionable tasks. This dashboard is driven by a special dashboard page that you create on the home site in your Microsoft 365 tenant.
To create the Viva Connection dashboard:
In a web browser, go to the home site that you configured previously.
From the suite bar, select the Settings (gear) button.
On the Settings panel, from the SharePoint section, select Set up Viva Connections.
On the Set up Viva Connections panel, select Create Dashboard.
On the dashboard page, select Add a card.
From the list of available cards, select Web link.
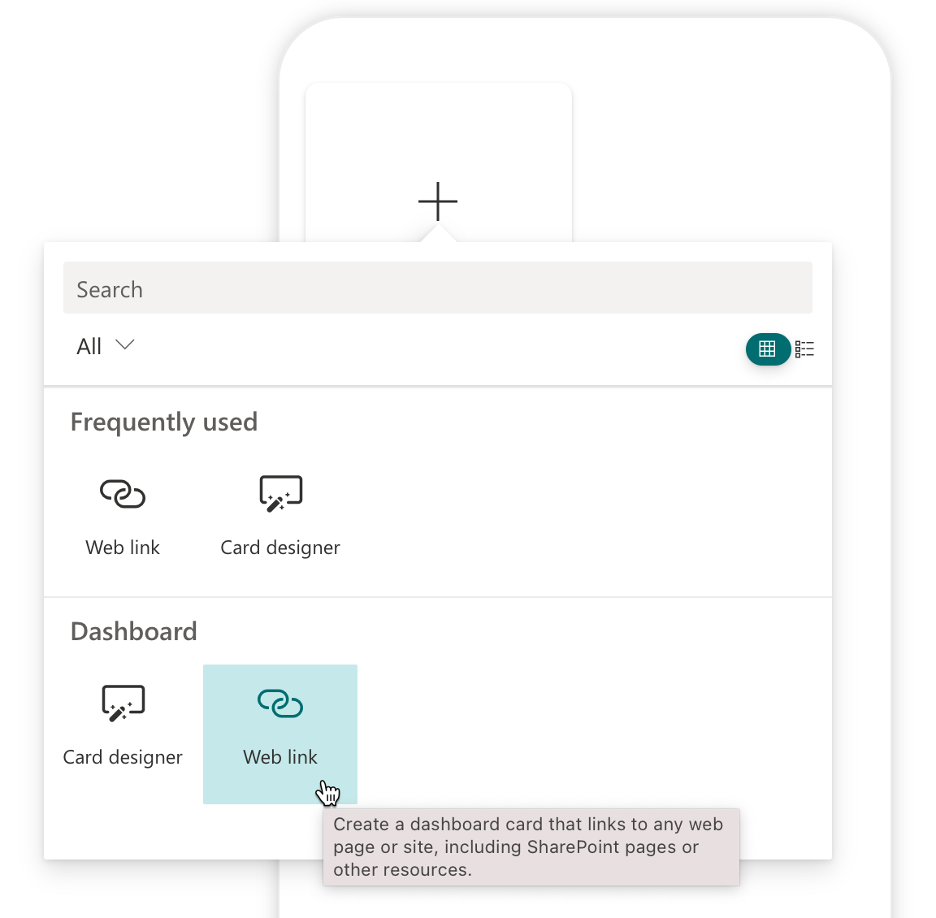
For now, let's leave the web link card as is. You'll use it to confirm that the Viva Connections dashboard is properly working on desktop and mobile.
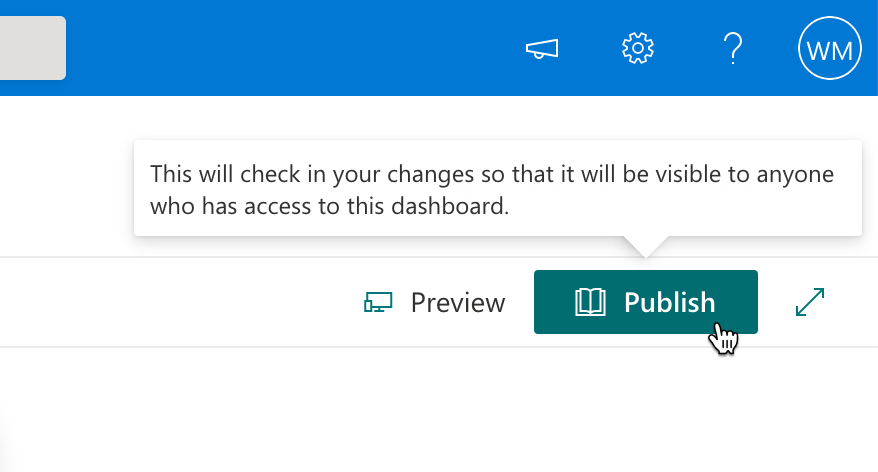
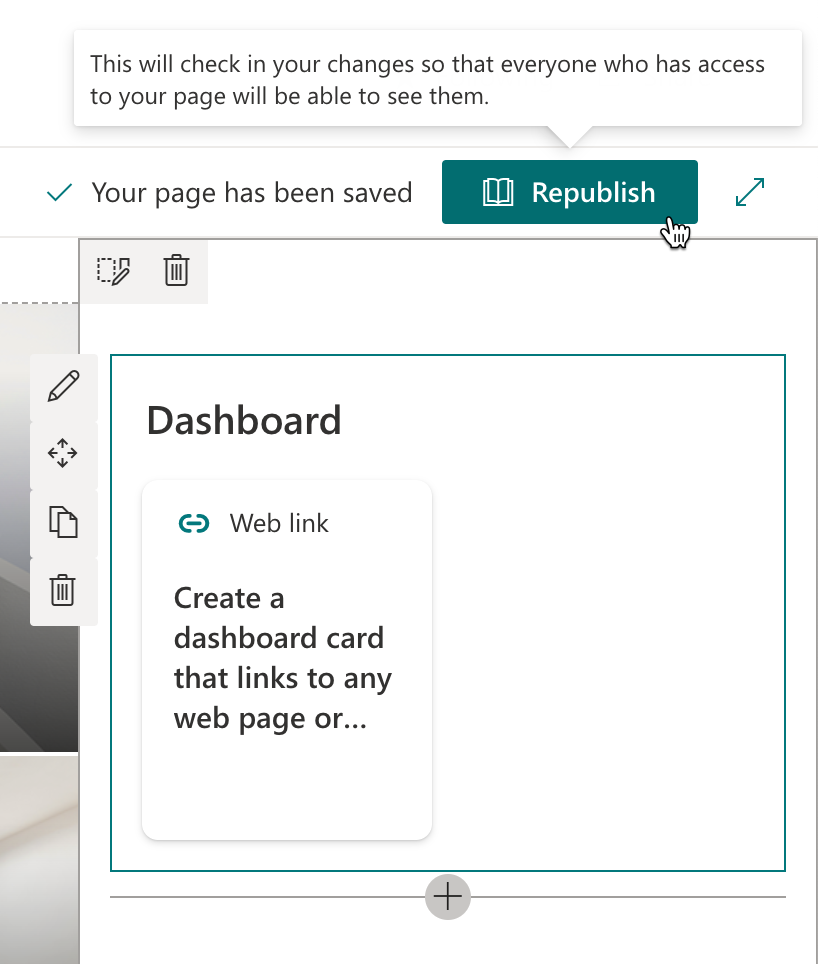
To save your changes and publish the dashboard, from the toolbar, select Publish.
By default, the dashboard is visible only in the Viva Connections mobile experience. To also show it in the desktop experience, you can edit the home page and add the dashboard web part:
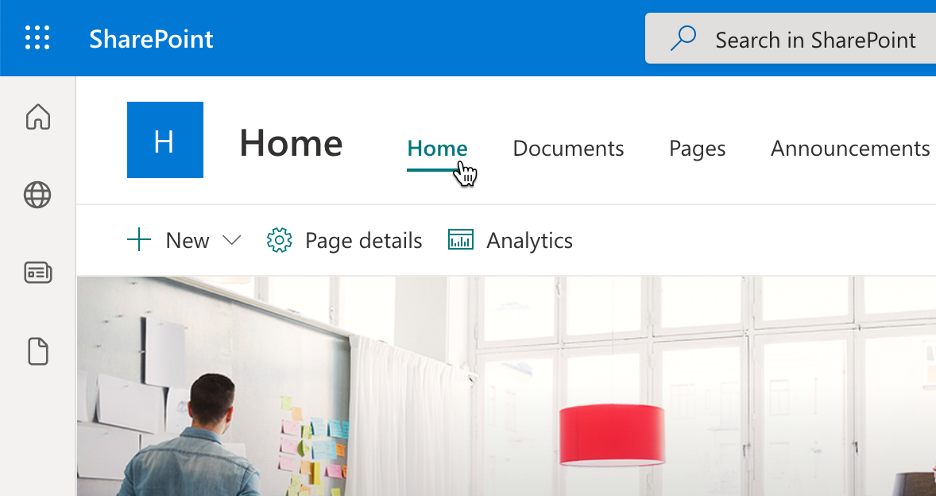
In a web browser, go to the home site that you configured previously.
To ensure that you're on the home page of the site, on the top menu, select Home.
From the page's toolbar, select Edit.

In edit mode, select the Add a new section button. From the list of sections, select Vertical section.

Tip
If you don't see the section, expand your browser window. SharePoint pages use responsive layout. If the browser window is too narrow, some elements on the page will be displayed differently.
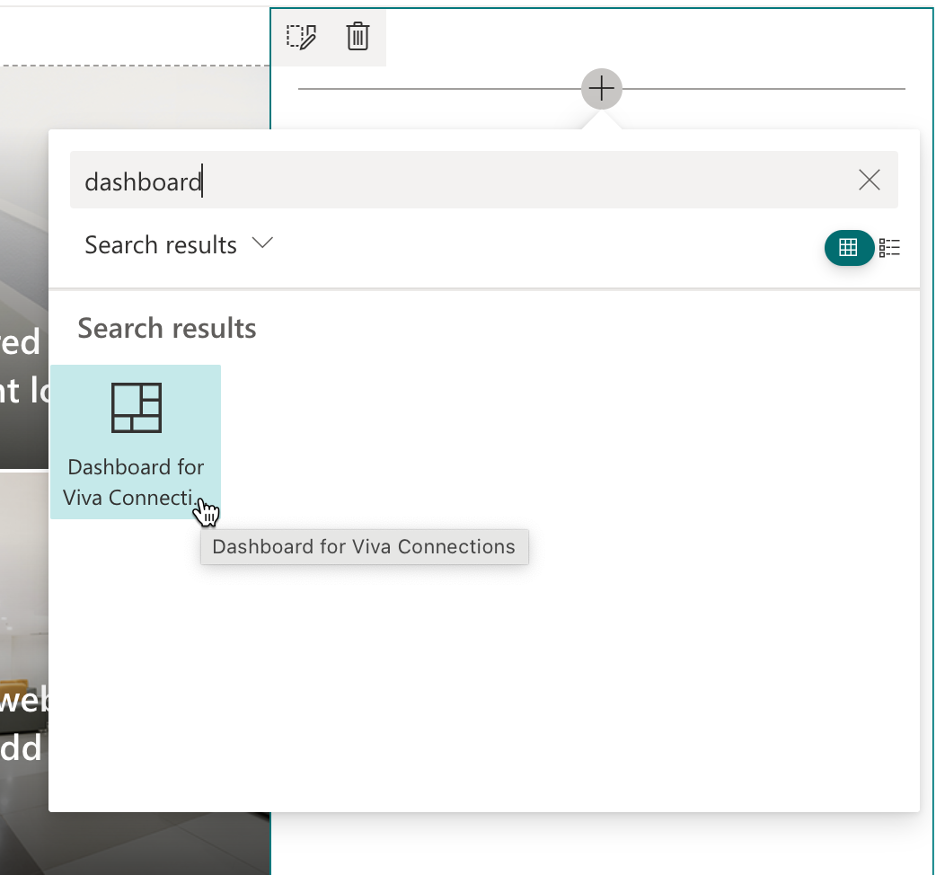
To add the dashboard to the page, open the web part toolbox by using the + (plus) icon.
In the toolbox, to filter the list of available web parts, search for dashboard.`
From the list of web parts, select Dashboard for Viva Connections.
To save the changes, from the page's toolbar, select Republish.
Install the Viva Connections Teams app
After you create and configure the home site in your Microsoft 365 tenant, you can enable Viva Connections. The following steps show you how to enable the Viva Connections desktop and mobile experience for all users in your tenant. Enabling the app for all users is a convenient way for you and your team to test your Viva Connections extensions in a shared Microsoft 365 tenant.
Go to the Microsoft Teams admin center:
- In a web browser, go to the Microsoft 365 admin center.
- From the side menu, select Show all.
- From the list of admin centers, select Teams.
Before you enable the Viva Connections app in your Microsoft 365 tenant, you can change its name and branding to match your organization's requirements. To customize the Viva Connection app:
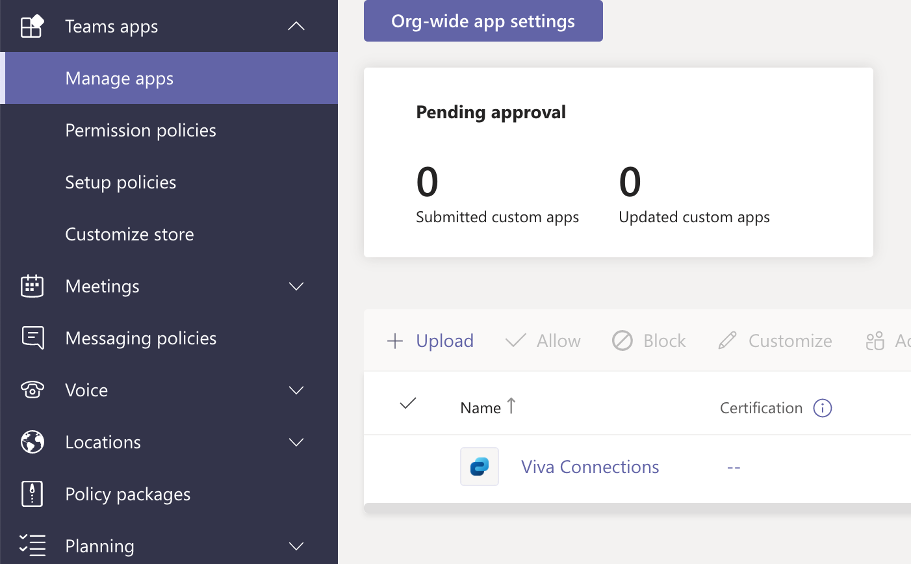
From the side menu, expand the Teams apps section and select Manage apps.
In the list of apps, search for Viva Connections and select it.
Next to the information about the app, select Actions > Customize.
Customize the app's information:
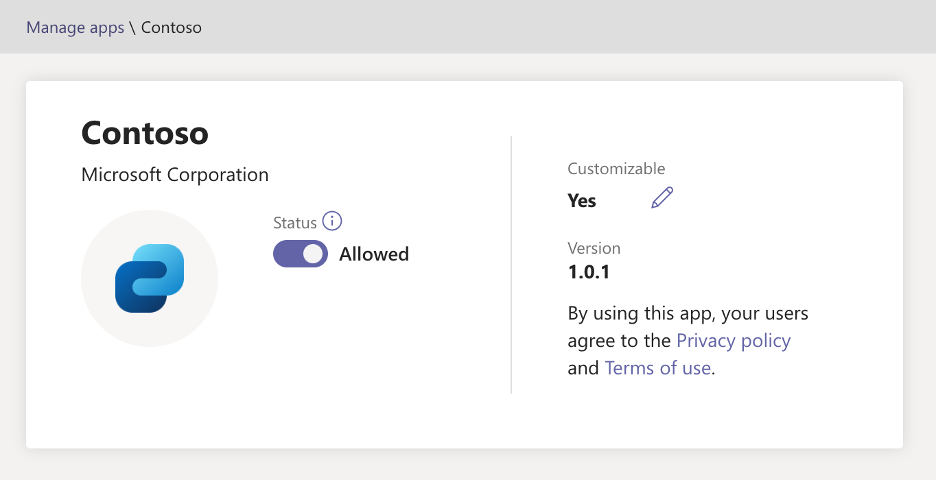
- Short name: Enter Contoso.
- Short description: Enter Stay engaged with Contoso.
Note
Although you've just changed the display name of the Viva Connections app to Contoso to match your organization's branding, in this module we'll keep referring to the app as Viva Connections.
To confirm the changes, select Apply.
To confirm that you want to publish the changes to the app, select Publish.
Verify that the app status is set to Allowed. If it's not, turn on the toggle.
The easiest way to enable Viva Connections in your Microsoft 365 tenant is to install it for all users:
In the Teams admin center, from the side menu, expand the Teams apps section and select Setup policies.
From the list of policies, select Global (Org-wide default).
In the Installed apps section, select Add apps.
On the Add installed apps pane, search for Contoso.
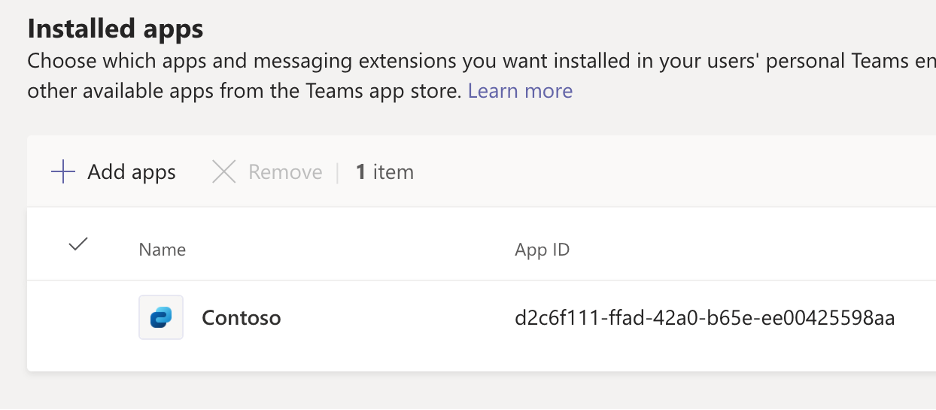
To select Viva Connections, select Add.
To confirm the installation, select Add at the bottom of the pane.
Users can install many different apps in Microsoft Teams. To help them quickly access Viva Connections, you can add it to the list of pinned apps so it will appear on the menu bar in Microsoft Teams:
In the Pinned apps section, from the toolbar, select Add apps.
On the Add pinned apps pane, search for Contoso.
To choose the app, select Add.
To confirm pinning the app, select Add at the bottom of the pane.
In the list of pinned apps, select Viva Connections. From the toolbar, select Move up to move the app to the top of the list.
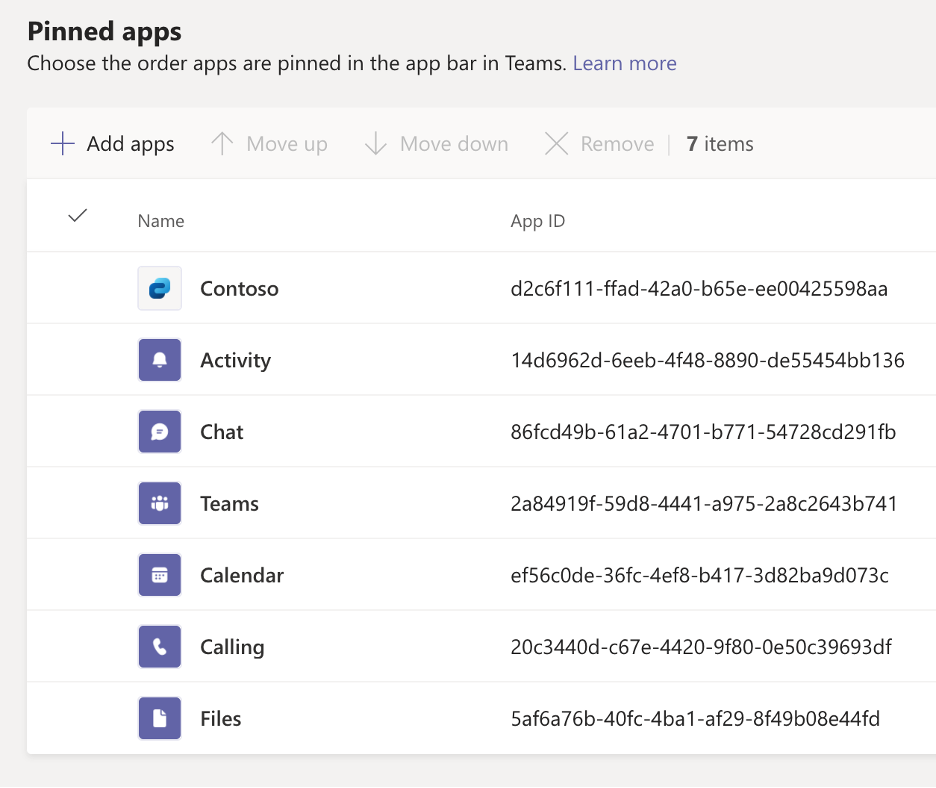
To confirm your changes, select Save.
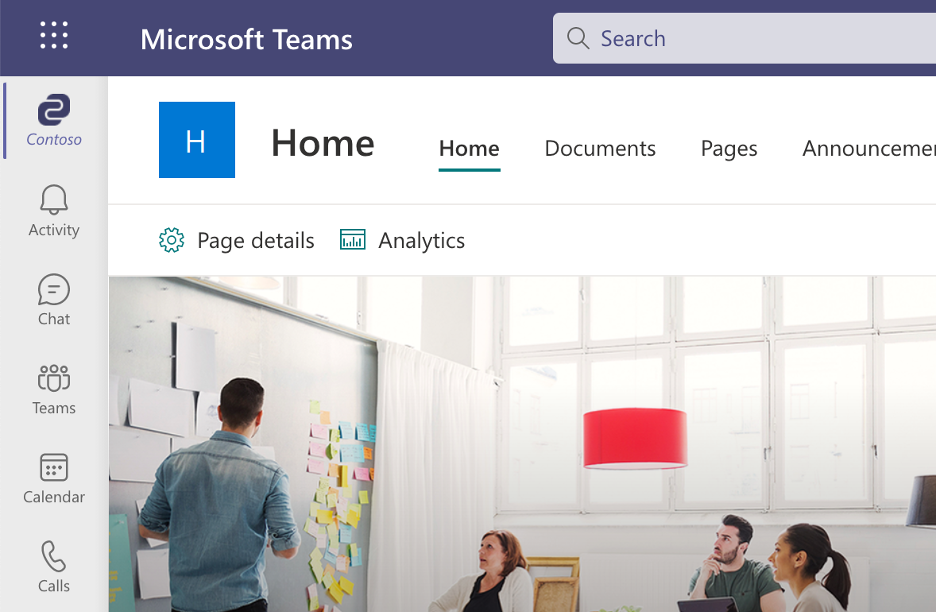
Verify that Viva Connections desktop is correctly configured:
In a web browser, open Microsoft Teams.
On the left rail, you should see the Contoso app pinned on top.
Open the Contoso app. You should see the home site open in Microsoft Teams.
Tip
If you don't see the Contoso app pinned, it's likely because the changes that you just applied are still being propagated. You can try to refresh the changes by signing out from Microsoft Teams and signing in again. If you still don't see the Contoso app, wait a few hours for the changes to be applied.
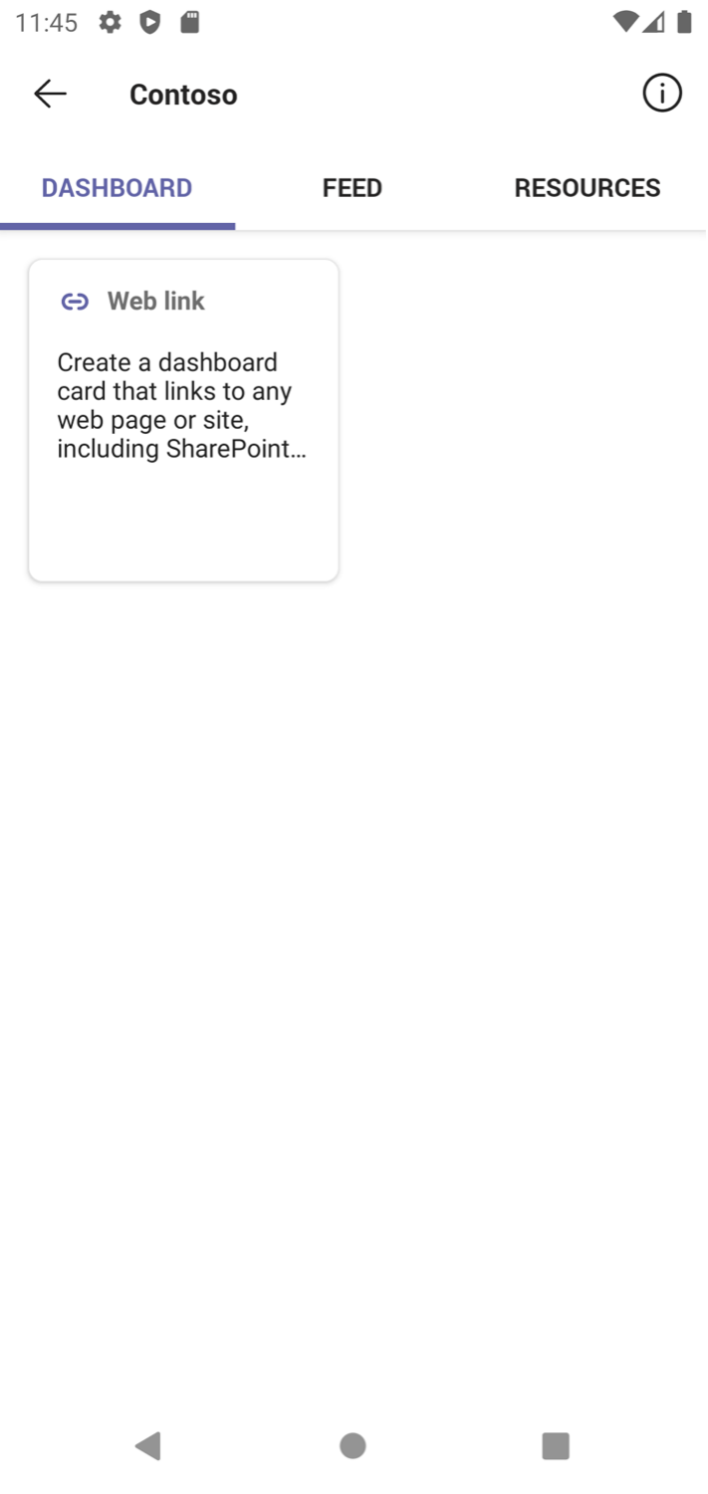
To complete the configuration, verify that Viva Connections mobile is working correctly:
On your mobile device, open Microsoft Teams and sign in as a user in your Microsoft 365 tenant.
On the bottom, from the list of apps, select Contoso. You should see the Viva Connections dashboard that you configured previously.