Manage a voyage
When you've created a voyage, whether from a purchase order or from the All voyages page, you can add containers and folios to the voyage by using the Voyage editor.
Voyage editor
The Voyage editor allows you to add or remove purchase lines for a voyage. Additionally, you can create new containers and modify details of the voyage. You can open Voyage editor from the Action Pane on a voyage, or the Voyage editor page will display when you create a new voyage from a purchase order.
Follow these steps to add a purchase order and purchase order lines to a voyage by using the Voyage editor:
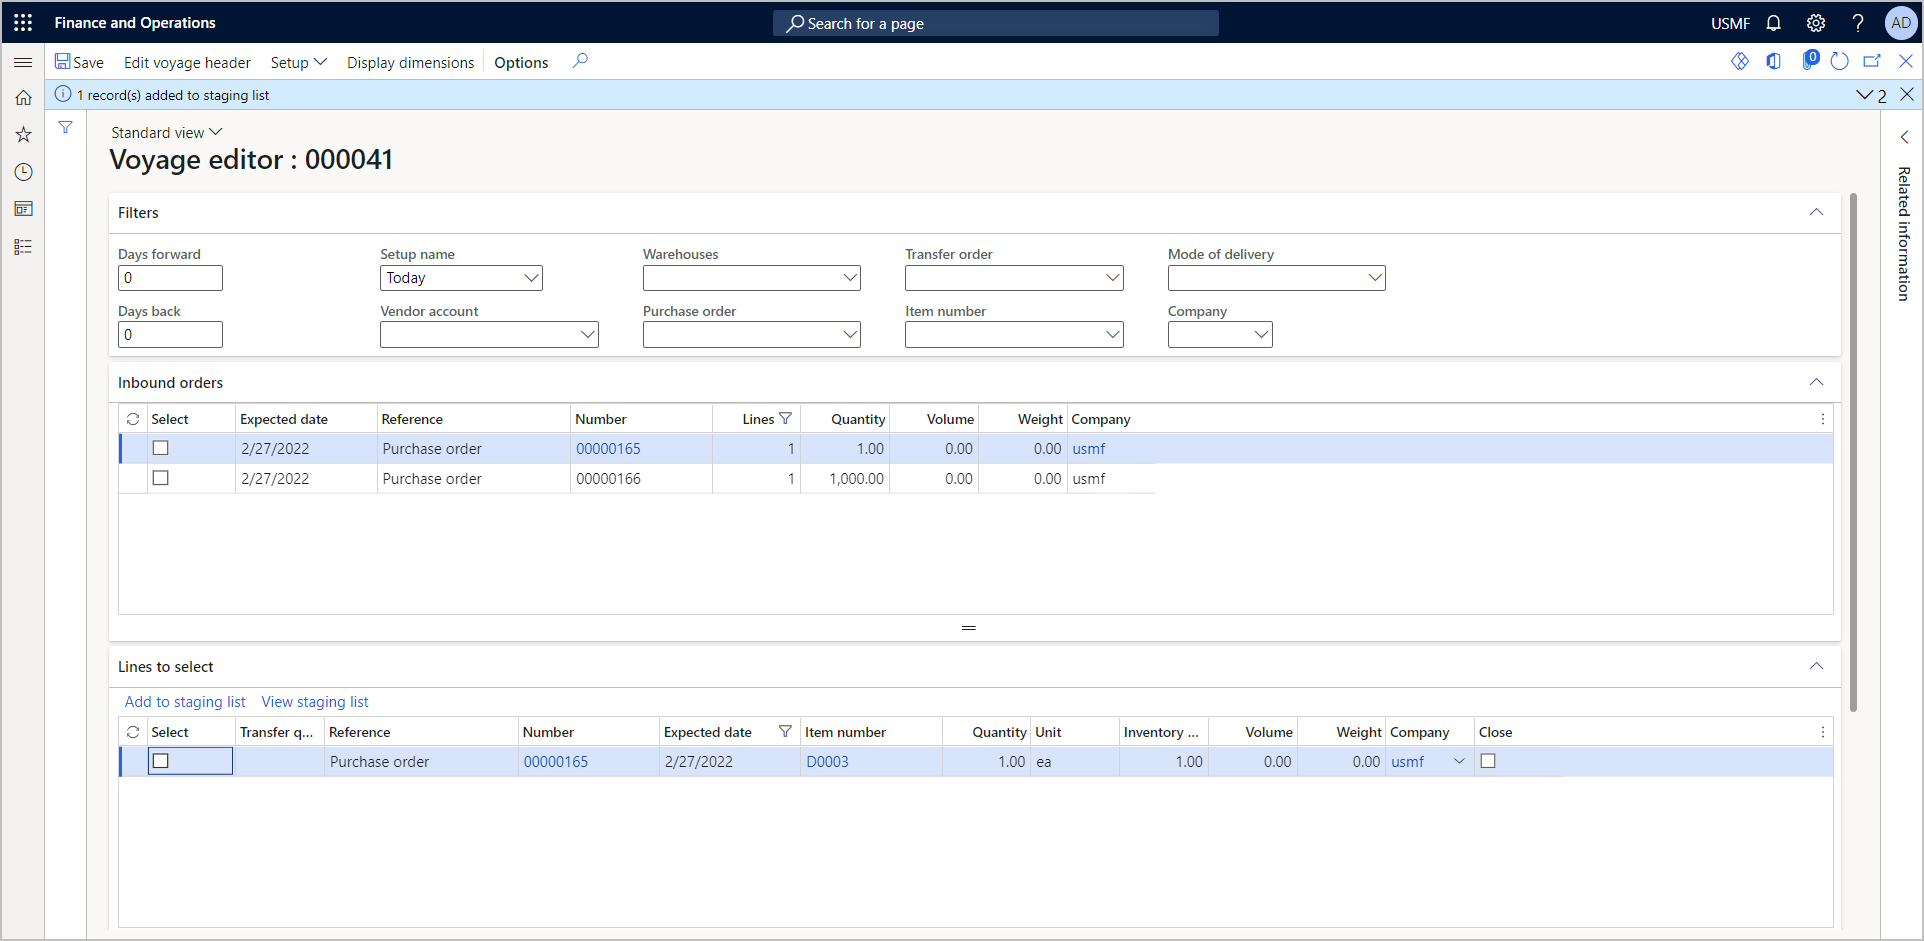
With a voyage open, select Voyage editor on the Action Pane.
On this page, you can add filters to display purchase orders to link to the voyage, such as vendor, mode of delivery, or warehouse.
In the Setup name dropdown list, select Today.
Orders and order lines will display that have an Expected date of today's date.
Note
You can update the quantity of an item in the lines that you select. For example, if not all items for a purchase order line have been produced by the vendor in time for the shipment, you might need to update the purchase order line to only include the count of completed items that will be part of the voyage. If you change the quantity of an item on this page, Dynamics 365 will automatically split the line on the purchase order.
Select one or multiple records to attach to the voyage, and then select Add to staging list in the Lines to select FastTab.
Select View staging list to view the records that were added.
In the Add staging list to shipping container page, select Add to new shipping container.
In the Create a shipping container dialog, specify the Shipping container (you can enter this information by using free text, or you can select the container from the dropdown menu, Journey template, and ship date).
Important
The shipping container type field and the selection that you made will determine the capacity, volume, and weight of the container.
Select OK and then close the Add staging list to shipping container page.

Your voyage will now have voyage lines added for the container.

Voyage updates
In the Voyage update group on the Manage tab, you can update a voyage.

With the Documents received task, you can set the Documents received toggle to Yes for several voyages at the same time. Use the Filter settings to define the set of voyages that you want to update. When you select this option, the Documents received toggle in the Voyage header will change to Yes.
When you select the In transit button on the Action Pane, the Voyage status field to the in-transit status that is established on the Landed cost parameters page for several voyages will be updated.
Purchase order transactions for a voyage
From the Action Pane on the Manage tab, you can manage transactions that are related to a purchase order for your voyage on the Voyages page. Additionally, you can post a receipts list, a product receipt, and an invoice.

Watch the following video to observe how a voyage is created and managed in the application.