VM startup is stuck on "Getting Windows ready. Don't turn off your computer" in Azure
This article describes the "Getting ready" and "Getting Windows ready" screens that you may encounter when you start a Windows virtual machine (VM) in Microsoft Azure. It provides steps to help you collect data for a support ticket.
Note
Was this article helpful? Your input is important to us. Please use the Feedback button on this page to let us know how well this article worked for you or how we can improve it.
Symptoms
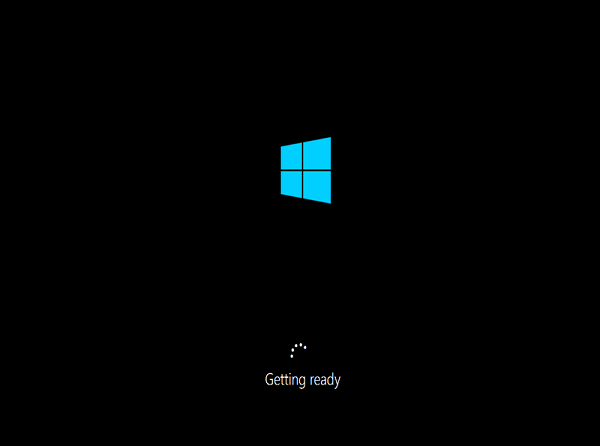
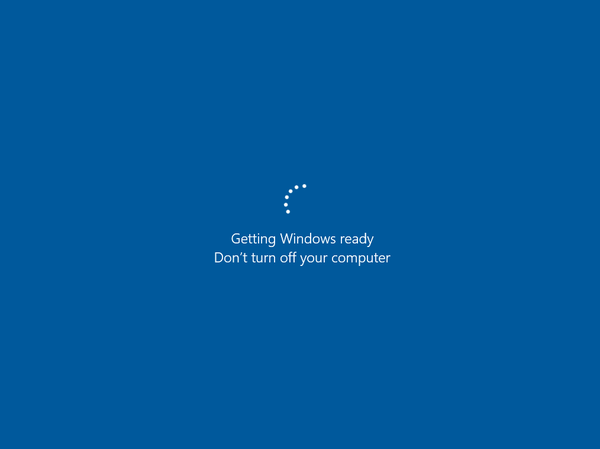
A Windows VM doesn't start. When you use Boot diagnostics to get the screenshot of the VM, you may see that the VM displays the message "Getting ready" or "Getting Windows ready".
Cause
Usually, this problem occurs when the server does the final restart after the configuration is changed. The configuration change might be initialized by Windows updates or by the changes on the roles or feature of the server. For Windows Update, if the updates were large, the operating system needs more time to reconfigure the changes.
Solution 1: Restore the VM from a backup
If you have a recent backup of the VM, you can try restoring the VM from the backup to fix the startup problem.
Solution 2: Collect an OS memory dump file
If restoring the VM from backup isn't possible or doesn't resolve the problem, you have to collect a memory dump file so that the crash can be analyzed.
Step 1: Collect the dump file directly
Part 1: Attach the OS disk to a recovery VM
Take a snapshot of the OS disk of the affected VM to create a backup. For more information, see Create a snapshot of a virtual hard disk.
Use remote desktop protocol (RDP) to connect remotely to the recovery VM.
If the OS disk of the affected VM is encrypted, turn off encryption before you go to the next step. For more information, see Decrypt the encrypted OS disk.
Part 2: Locate the dump file and submit a support ticket
On the recovery VM, go to the Windows folder on the attached OS disk. For example, if the drive letter that's assigned to the attached OS disk is F, go to F:\Windows.
Locate the Memory.dmp file, and then submit a support ticket and attach the dump file.
If you can't find the dump file, go to the next steps to enable the dump log and the serial console, and then trigger the memory dump process.
Step 2: Enable the dump log and the serial console
Important
This section, method, or task contains steps that tell you how to modify the registry. However, serious problems might occur if you modify the registry incorrectly. Therefore, make sure that you follow these steps carefully. For protection, back up the registry before you modify it so that you can restore it if a problem occurs. For more information about how to back up and restore the registry, see How to back up and restore the registry in Windows.
To enable the dump log and the serial console, run the following script:
Open an elevated command prompt session as an administrator.
Run the following BCDEdit commands using the /ems and /emssettings options:
Enable the serial console:
bcdedit /store <volume-letter-containing-the-bcd-folder>:\boot\bcd /ems {<boot-loader-identifier>} ON
bcdedit /store <volume-letter-containing-the-bcd-folder>:\boot\bcd /emssettings EMSPORT:1 EMSBAUDRATE:115200
Verify that the free space on the OS disk is larger than the memory size (RAM) on the VM.
If there isn't enough space on the OS disk, change the location where the memory dump file is created, and refer that location to any data disk attached to the VM that has enough free space. To change the location, replace
%SystemRoot%with the drive letter of the data disk, such asF:, in the following commands.To enable the OS dump file, run the following load, add, and unload commands to implement the suggested configuration using the reg tool:
Load the registry hive from the broken OS disk:
reg load HKLM\<broken-system> <volume-letter-of-broken-os-disk>:\windows\system32\config\SYSTEMEnable on ControlSet001:
reg add "HKLM\<broken-system>\ControlSet001\Control\CrashControl" /v CrashDumpEnabled /t REG_DWORD /d 1 /f
reg add "HKLM\<broken-system>\ControlSet001\Control\CrashControl" /v DumpFile /t REG_EXPAND_SZ /d "%SystemRoot%\MEMORY.DMP" /f
reg add "HKLM\<broken-system>\ControlSet001\Control\CrashControl" /v NMICrashDump /t REG_DWORD /d 1 /f
Enable on ControlSet002:
reg add "HKLM\<broken-system>\ControlSet002\Control\CrashControl" /v CrashDumpEnabled /t REG_DWORD /d 1 /f
reg add "HKLM\<broken-system>\ControlSet002\Control\CrashControl" /v DumpFile /t REG_EXPAND_SZ /d "%SystemRoot%\MEMORY.DMP" /f
reg add "HKLM\<broken-system>\ControlSet002\Control\CrashControl" /v NMICrashDump /t REG_DWORD /d 1 /f
Unload the broken OS disk:
reg unload HKLM\<broken-system>
Make sure that there's enough space on the disk to allocate as much memory as the RAM, which depends on the size that you're selecting for this VM. If there isn't enough space or this is a large size VM (G, GS or E series), you can change the location in which this file is created and refer that to any other data disk that's attached to the VM. To do this, you have to modify registry keys, as shown in the following code:
reg load HKLM\BROKENSYSTEM F:\windows\system32\config\SYSTEM

REG ADD "HKLM\BROKENSYSTEM\ControlSet001\Control\CrashControl" /v DumpFile /t REG_EXPAND_SZ /d "<DRIVE LETTER OF YOUR DATA DISK>:\MEMORY.DMP" /f
REG ADD "HKLM\BROKENSYSTEM\ControlSet002\Control\CrashControl" /v DumpFile /t REG_EXPAND_SZ /d "<DRIVE LETTER OF YOUR DATA DISK>:\MEMORY.DMP" /f

reg unload HKLM\BROKENSYSTEM
Step 3: Trigger the memory dump process
Detach the OS disk and then Re-attach the OS disk to the affected VM.
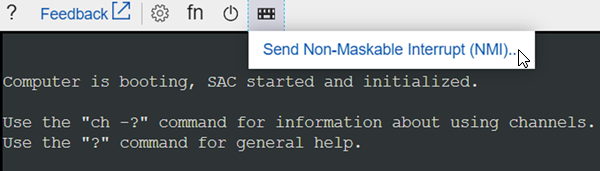
Start the VM and access the serial console.
Select Send Non-Maskable Interrupt(NMI) to trigger the memory dump.
Follow the instructions in Step 1: Collect the dump file directly again.
Contact us for help
If you have questions or need help, create a support request, or ask Azure community support. You can also submit product feedback to Azure feedback community.
Feedback
Coming soon: Throughout 2024 we will be phasing out GitHub Issues as the feedback mechanism for content and replacing it with a new feedback system. For more information see: https://aka.ms/ContentUserFeedback.
Submit and view feedback for