How to deploy a Windows language pack as an application in Configuration Manager
This article describes how to deploy a Windows language pack as an application in Configuration Manager, including logs that you can use to track the deployment.
Original product version: Configuration Manager (current branch)
Original KB number: 4468362
Deploy a language pack as an application
To deploy a language pack as an application in Configuration Manager, follow these steps:
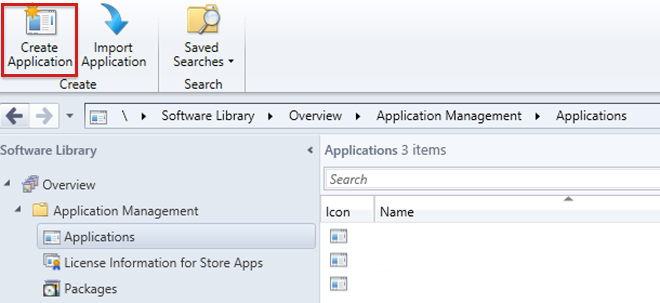
In Configuration Manager console, go to Software Library > Application management > Applications, and then select Create Application.
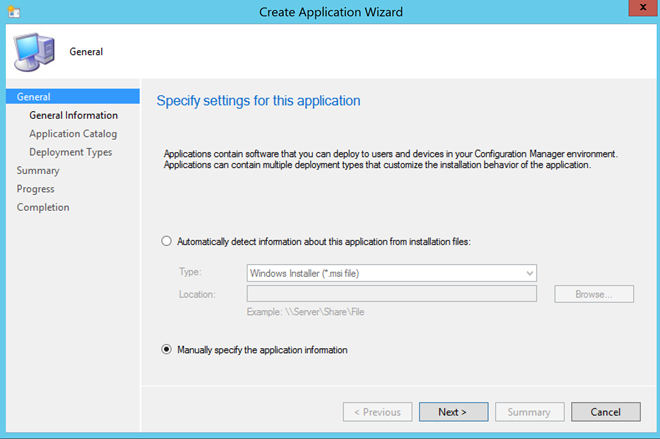
On the General page of the Create Application Wizard, select Manually specify the application information, and then select Next.
On the General Information page, specify information about the application, such as the application name and comments, and then select Next.

On the Application Catalog page, specify information about how to display the application to users in the Application Catalog, and then select Next.
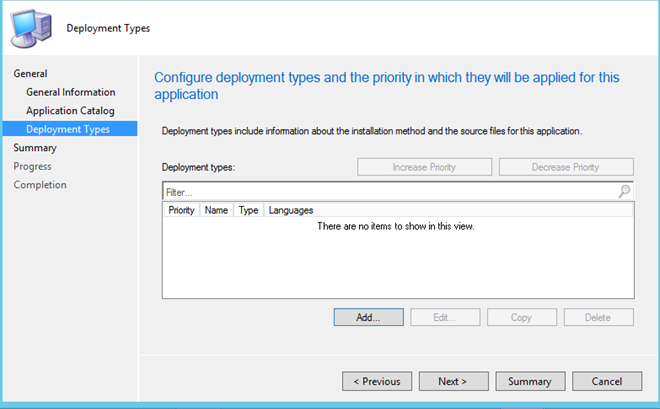
On the Deployment Types page, select Add to open the Create Deployment Type Wizard.
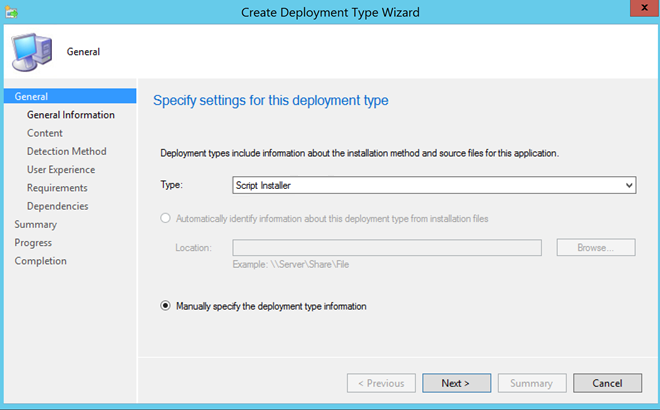
On the General page, select Script Installer from the Type list, and then select Next.
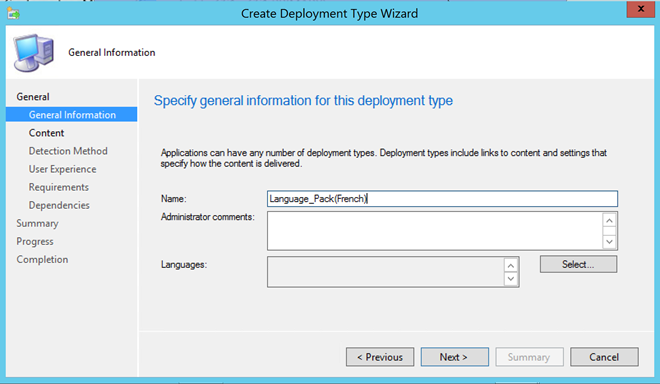
On the General Information page, enter application name, and then select Next.
On the Content page, specify the content location, enter the following for Installation program, and then select Next.
DISM /Online /Add-Package /PackagePath:.\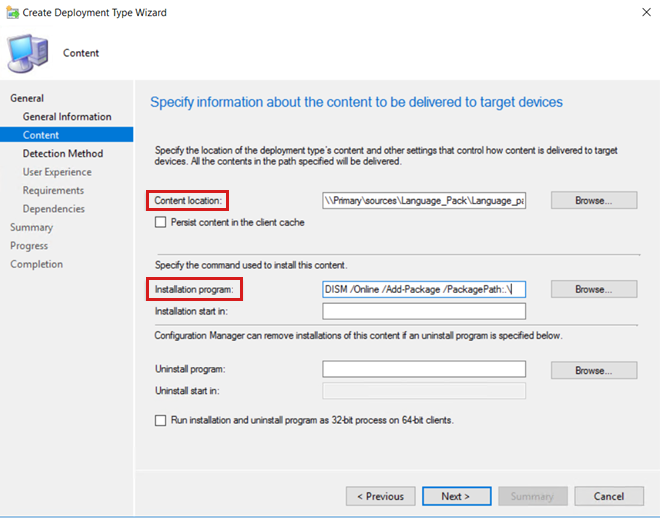
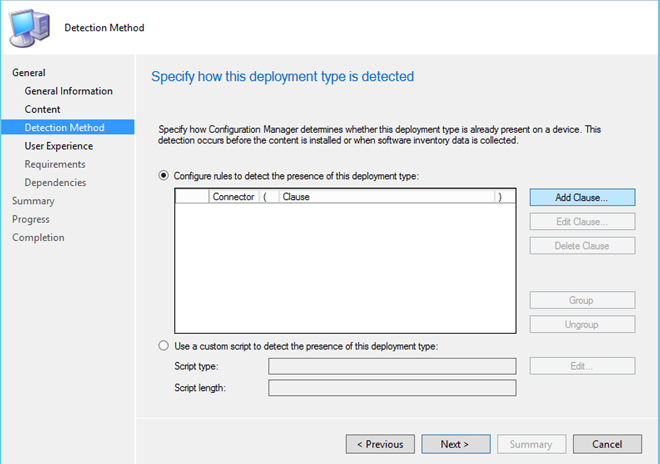
On the Detection Method page, select Add Clause.
For Detection Rule, select Registry from the Setting Type drop-down list, select HKEY_LOCAL_MACHINE for Hive, enter
SYSTEM\CurrentControlSet\Control\MUI\UILanguages\<language name>in Key, (for example,SYSTEM\CurrentControlSet\Control\MUI\UILanguages\fr-FR), and then select OK.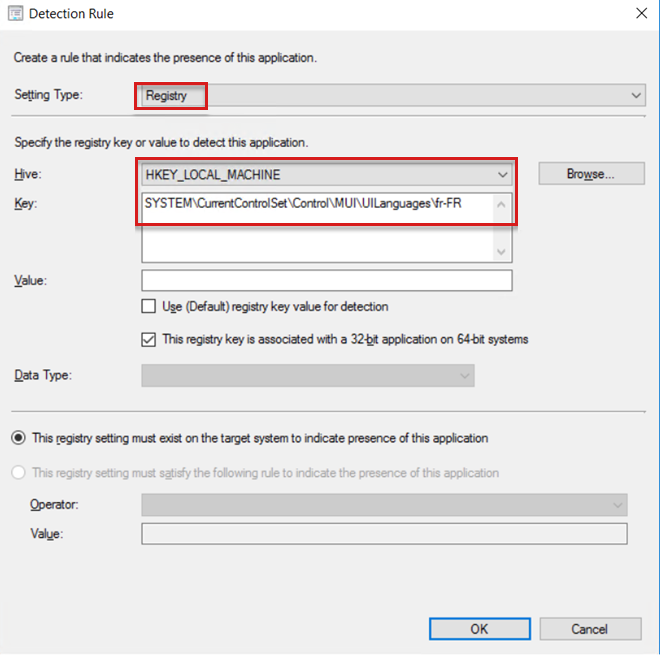
Select Next.
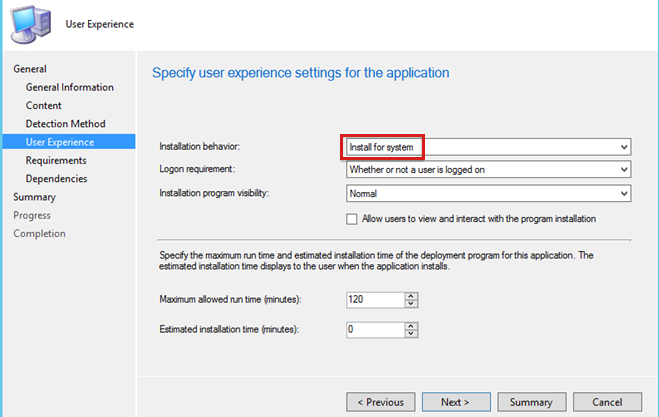
On User Experience page, select Install for system from the Installation behavior drop-down list, specify a Logon requirement, and then select Next.
On the Requirements page, you can specify installation requirements by clicking Add.
The following example requires deploying the language pack on Windows 10 version 1803.
Note
Language packs are specific to OS versions. Therefore, for example, Windows 10 version 1803 language packs only work in version 1803, but not other versions.
Example
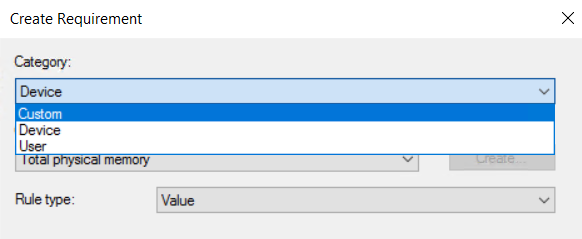
Select Custom for Category, and then select Create.
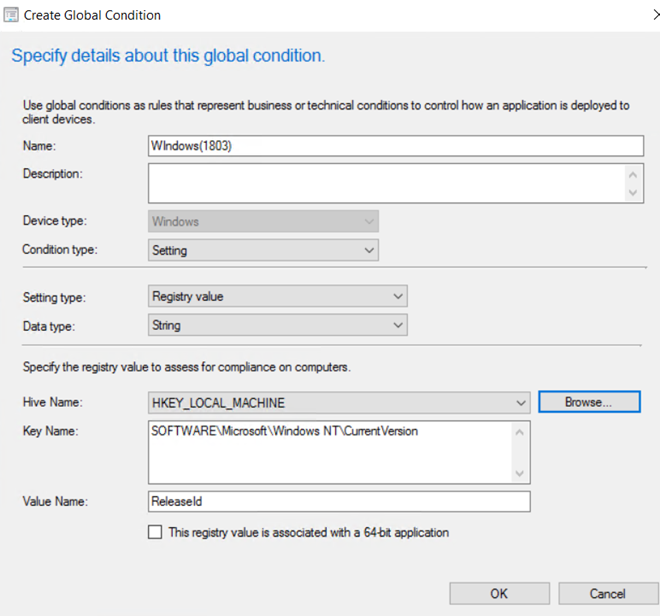
Specify details at Create Global Condition.
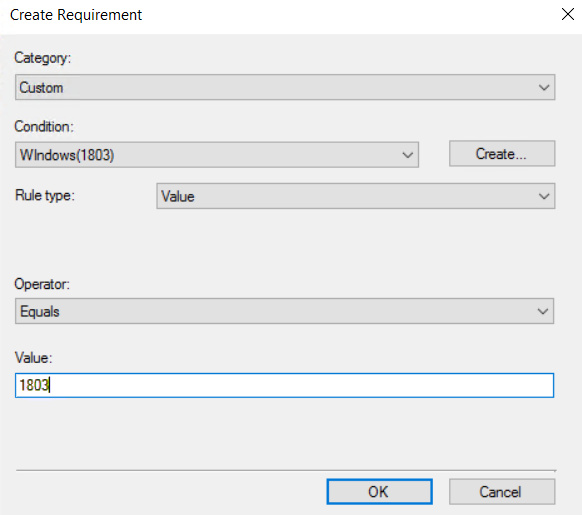
Enter 1803 for Value, and then select OK.
On Summary page, confirm the settings, and then select Next.
Wait for the wizard to complete, and then select Close to exit the wizard.
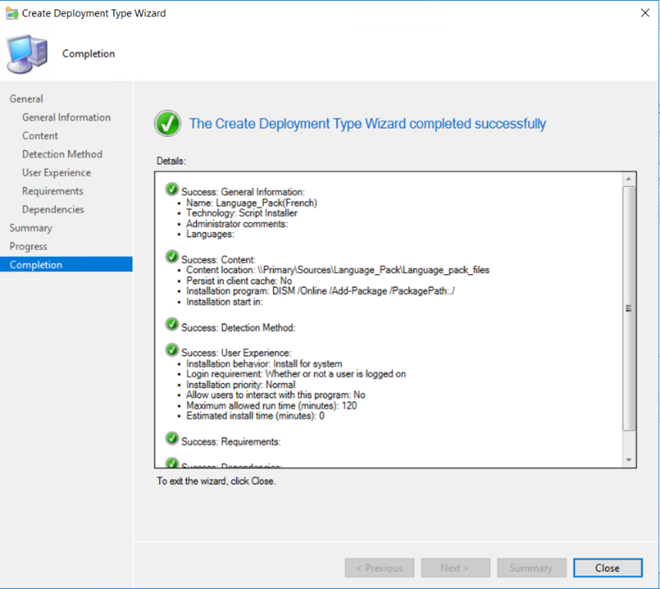
Select Next.

On Summary page, confirm the settings for the application, and then select Next.
Wait for the wizard to complete, and then select Close to exit the wizard.
After the application is created successfully, deploy it to the required collections.
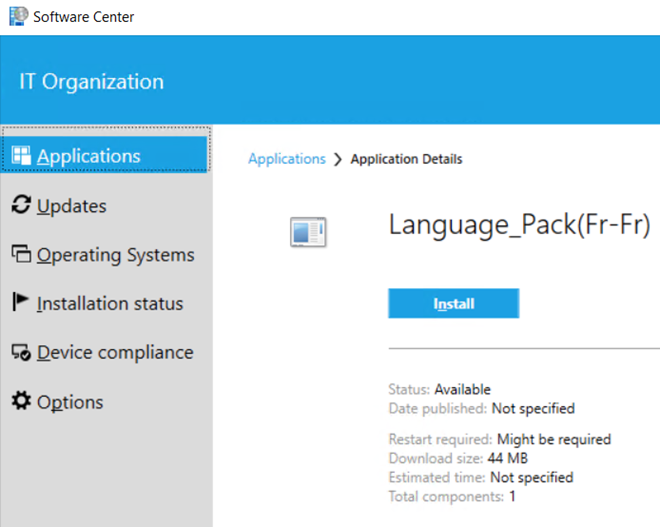
On the client device, open Software Center, select the application, and then select Install.
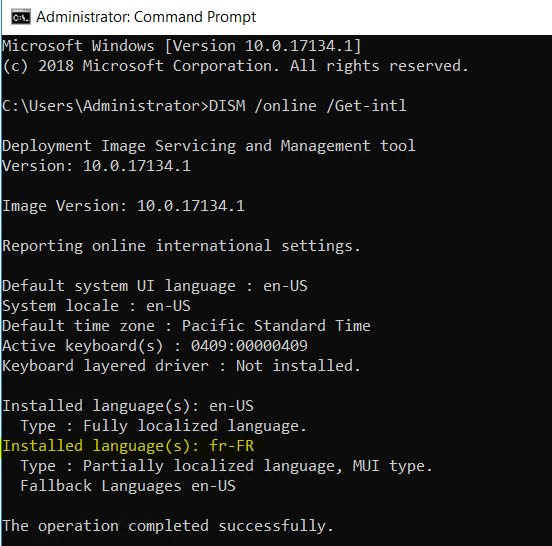
Verify that the language pack was installed successfully by running the following command from an elevated command prompt:
DISM /online /Get-intlThe following is sample output:
Use logs to track policy and application installation
You can use the following logs to track policy and application installation:
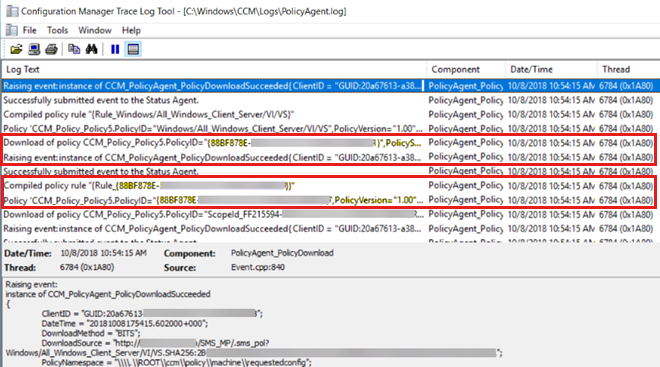
Use PolicyAgent.log to check whether a policy is downloaded or not. In the following example, 88BF878E... is the deployment ID.
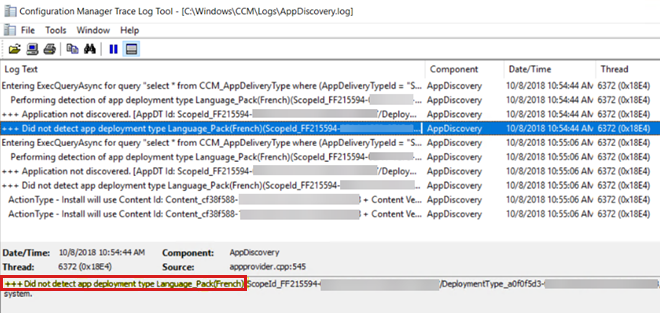
Use AppDiscovery.log to check the discovery or detection of an application on client devices.
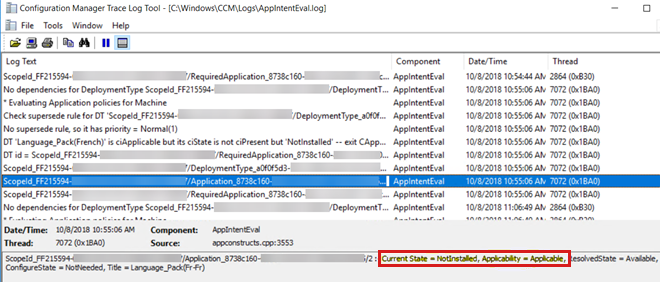
Use AppIntentEval.log to check the current state of the application and its applicability.
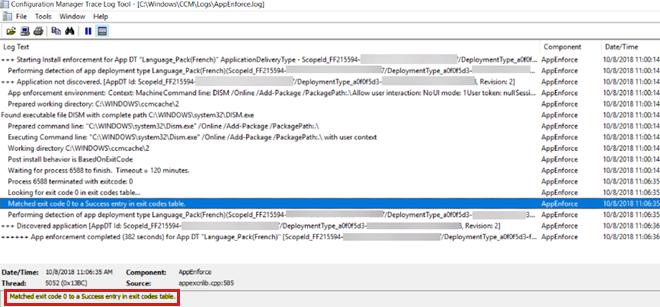
Use AppEnforce.log to track application installation on the client and to check the exit code to verify that installation completed successfully.
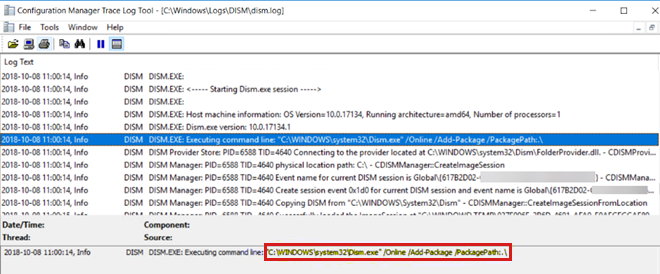
Use DISM.log to determine whether installation started.
Feedback
Coming soon: Throughout 2024 we will be phasing out GitHub Issues as the feedback mechanism for content and replacing it with a new feedback system. For more information see: https://aka.ms/ContentUserFeedback.
Submit and view feedback for