Deploy an app into a container in Azure or Docker Hub
You can deploy a .NET 7 or later app without Docker Desktop or a Dockerfile. Visual Studio provides a deployment option that handles this conveniently for you.
Prerequisites
- Install Visual Studio 2022 version 17.5 or later.
- A .NET 7 or later project
- For Azure targets, an Azure subscription. Sign up for a free trial.
- For Docker Hub, a Docker account. If you don't have one, you can sign up.
You don't need Docker Desktop.
Deploy to Docker Hub
Right-click on the project node and choose Publish.
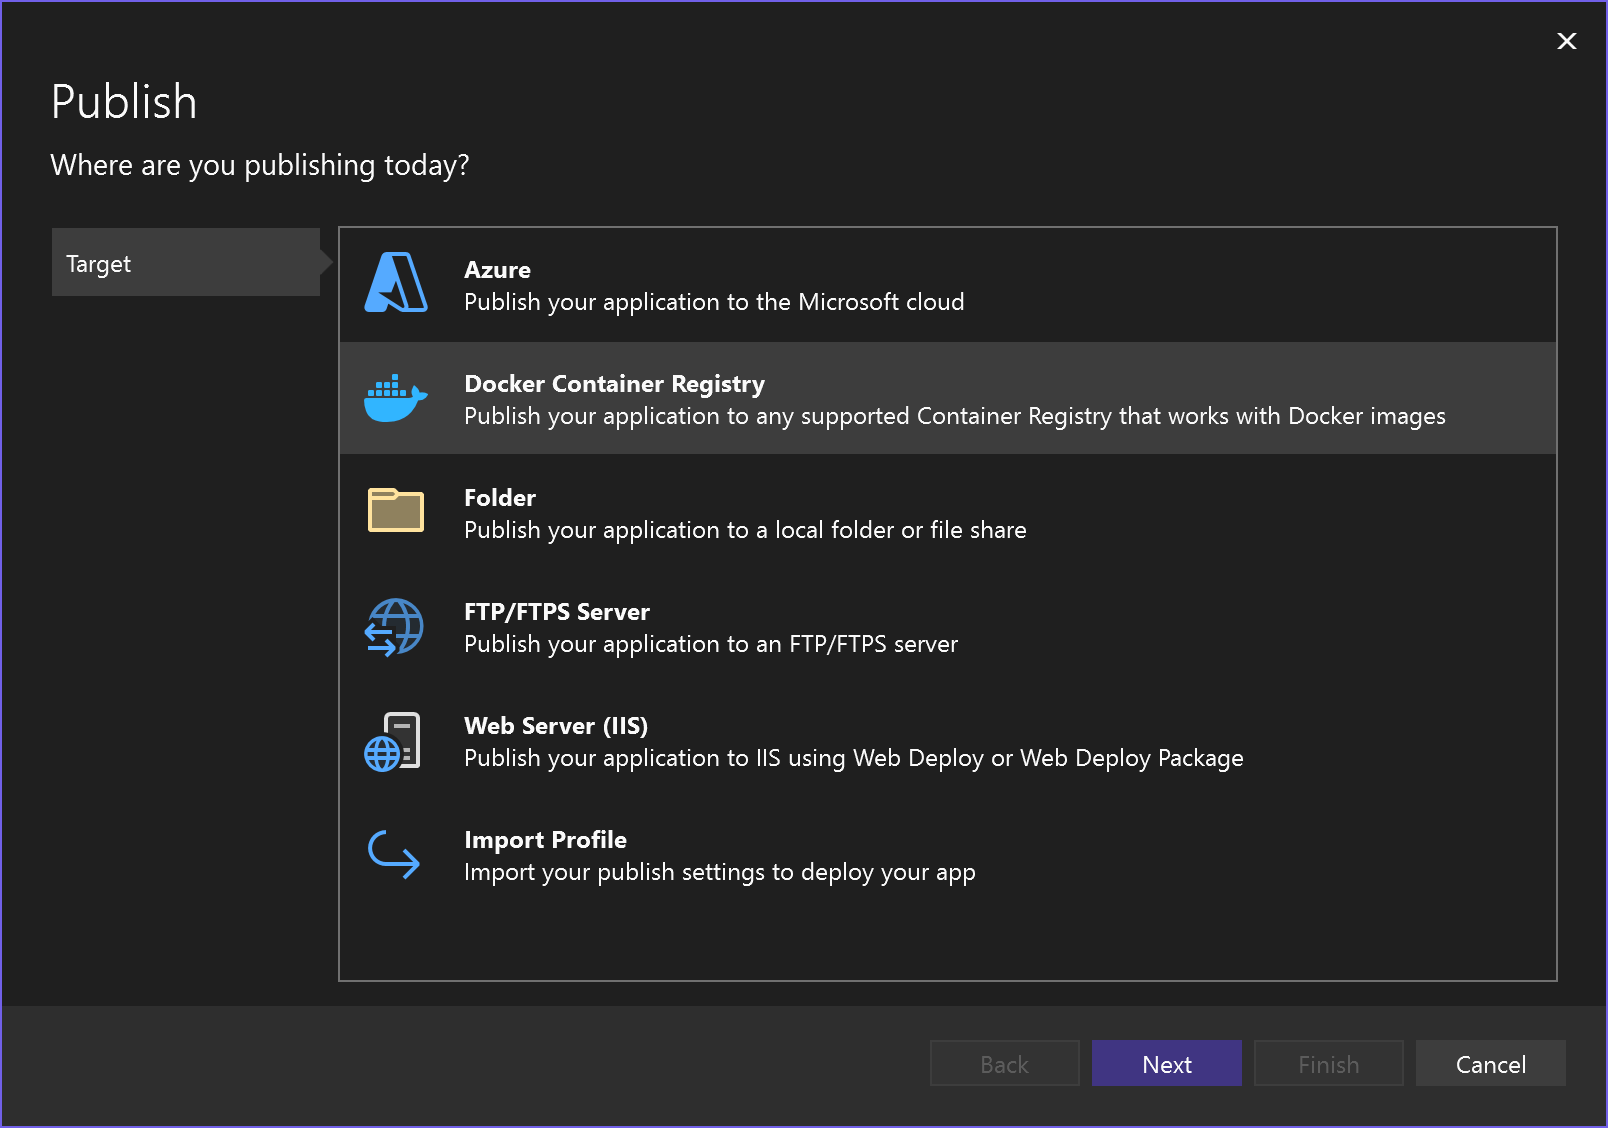
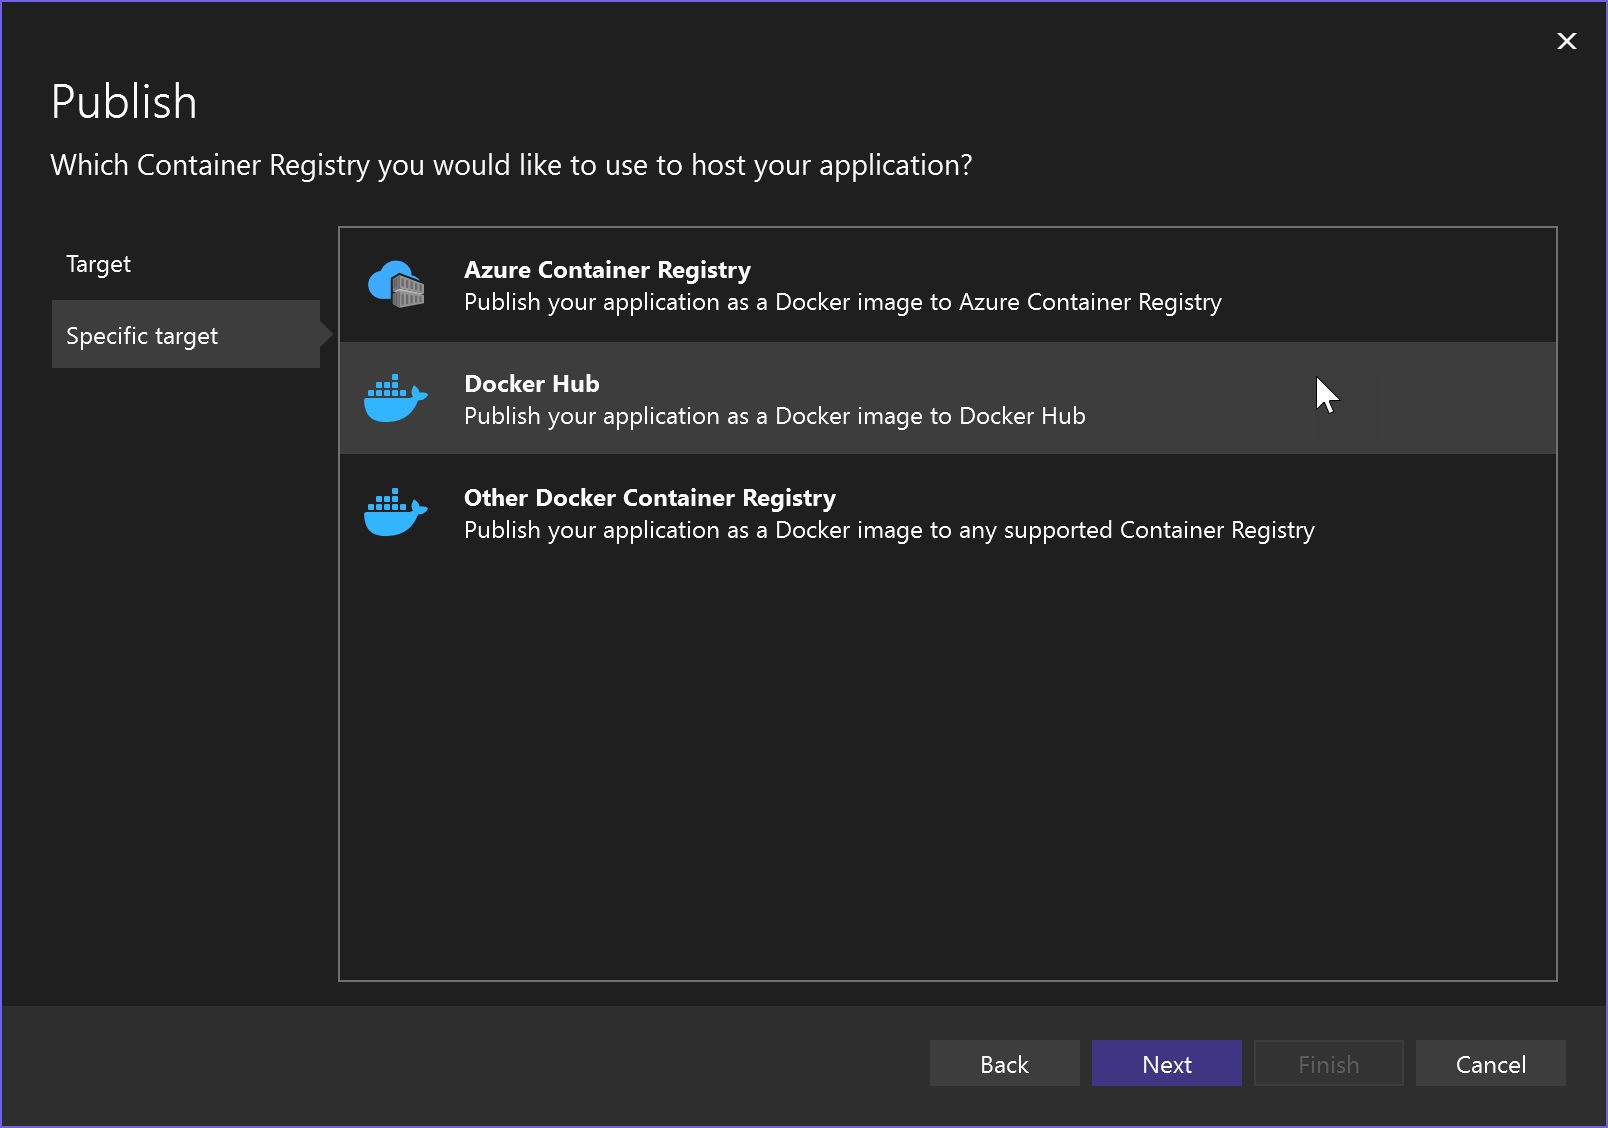
Choose Docker Container Registry, and then Docker Hub.
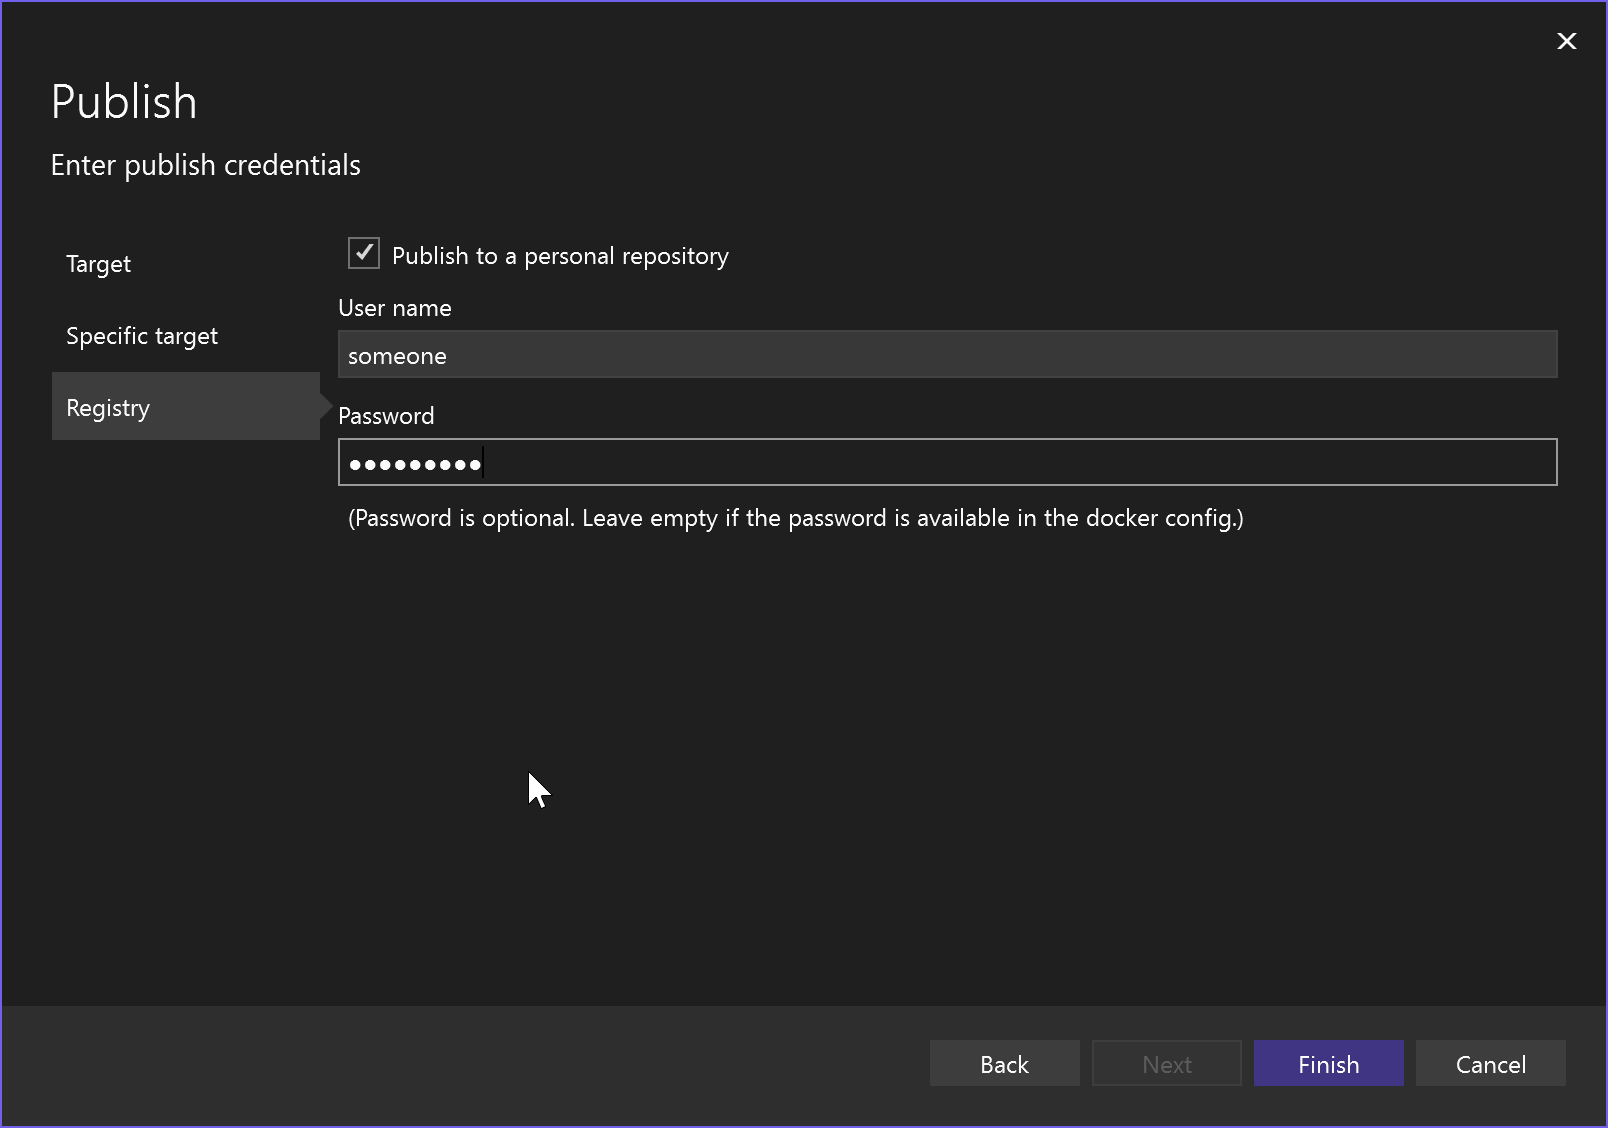
Provide your Docker username and password. You can skip the password, if it's in the docker.config file.
Deploy to Azure Container Registry
Right-click on the project node and choose Publish.
Choose Docker Container Registry, and then Azure Container Registry.
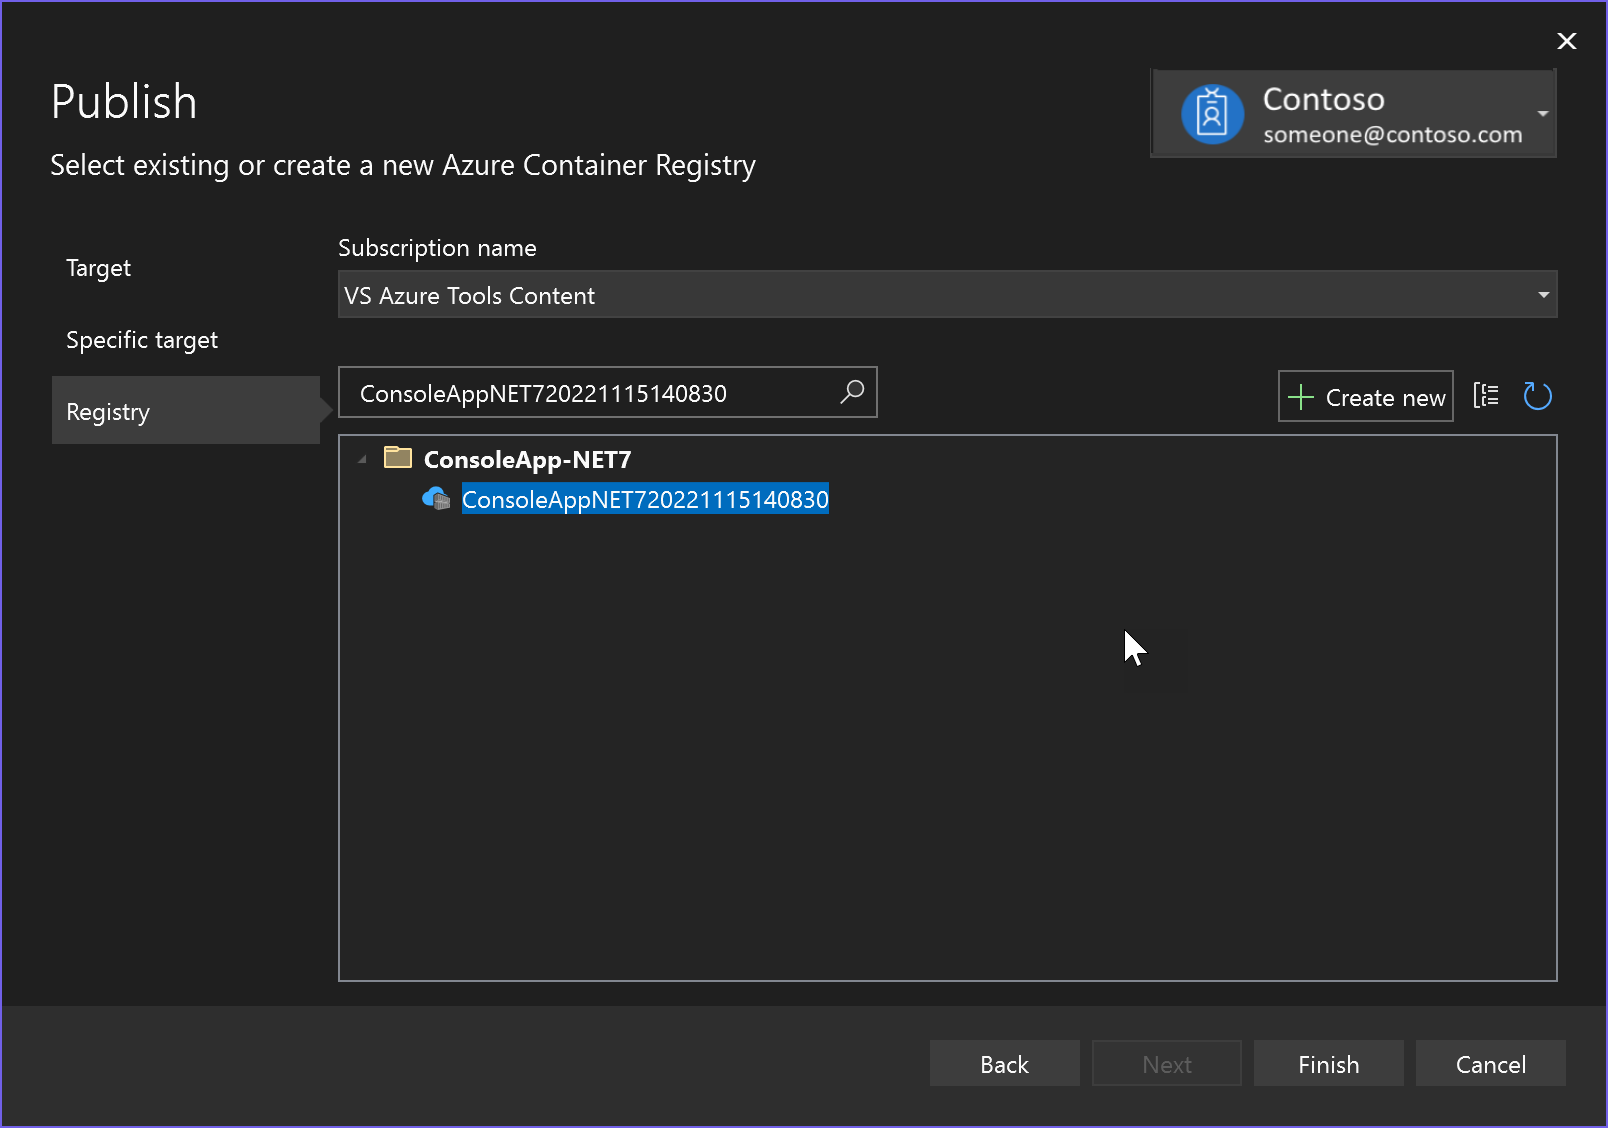
The app is deployed to Azure Container Registry, and Visual Studio creates a publish profile for the selected deployment target.
Deploy to Azure Container Apps
If you have an ASP.NET Core 7 or later project, you can deploy it to Azure Container Apps.
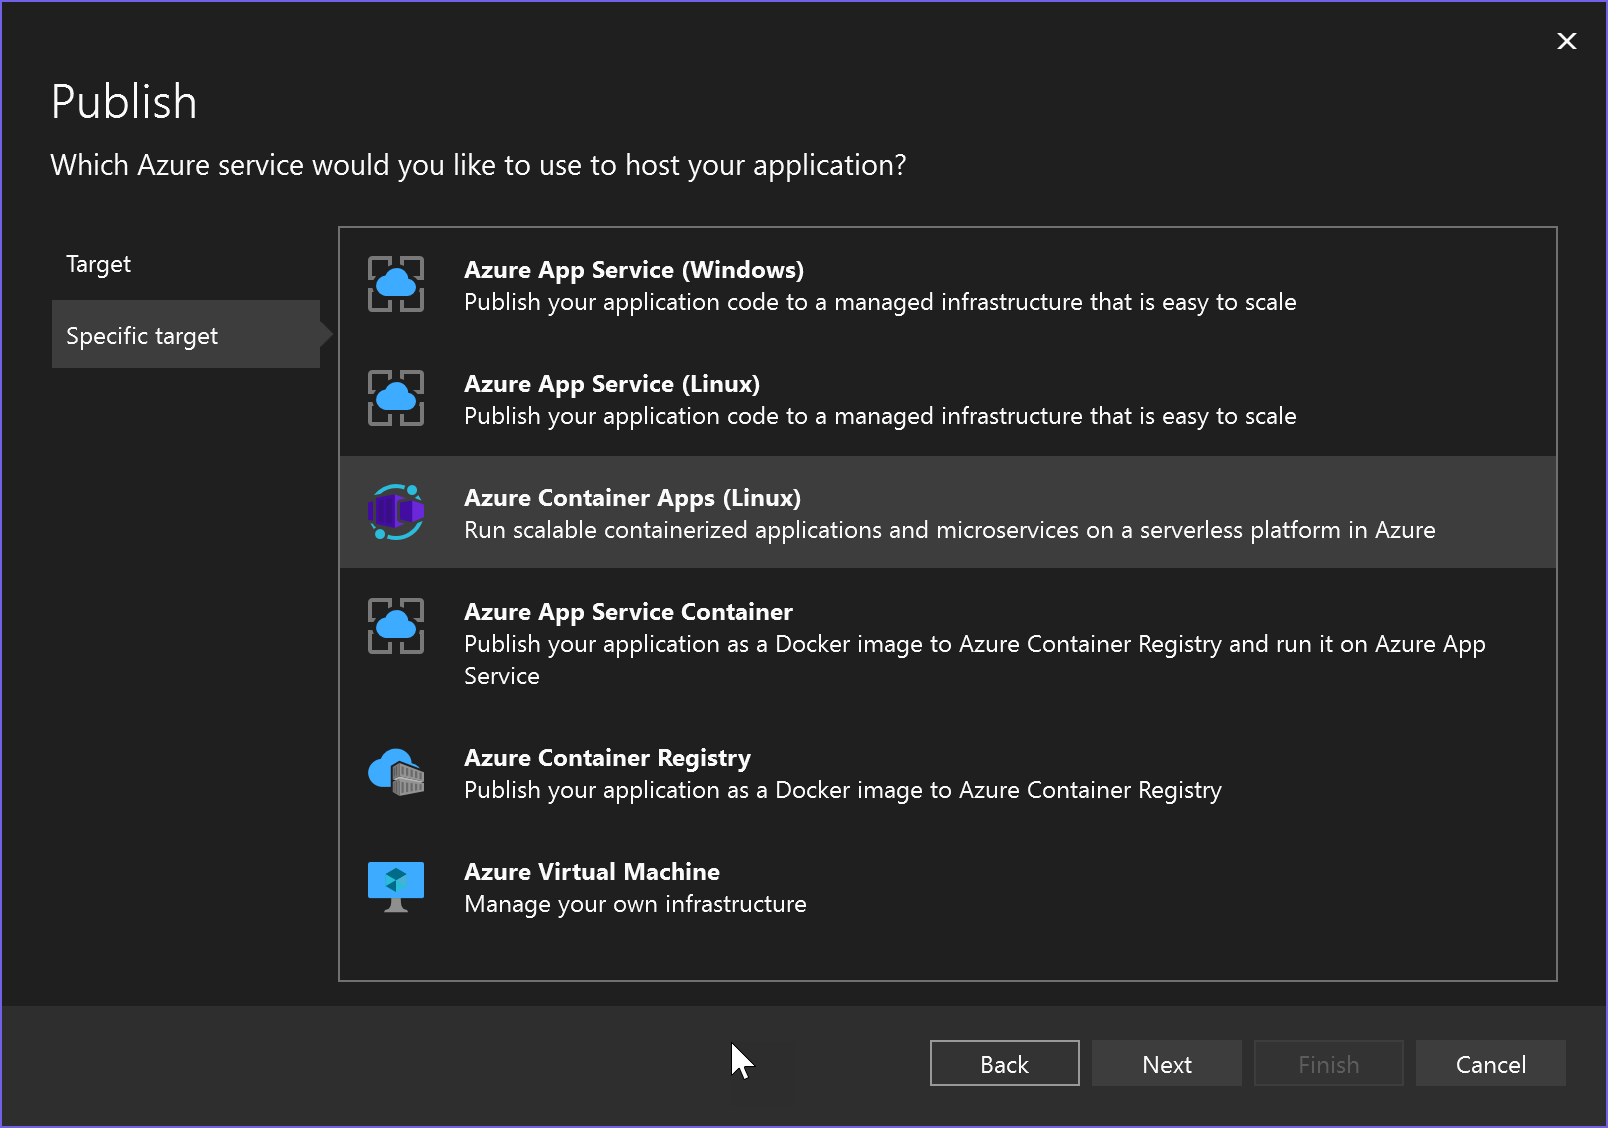
Right-click on the project node and choose Publish, then Azure.
Choose Azure Container Apps (Linux).
Choose an existing container app or create a new one.
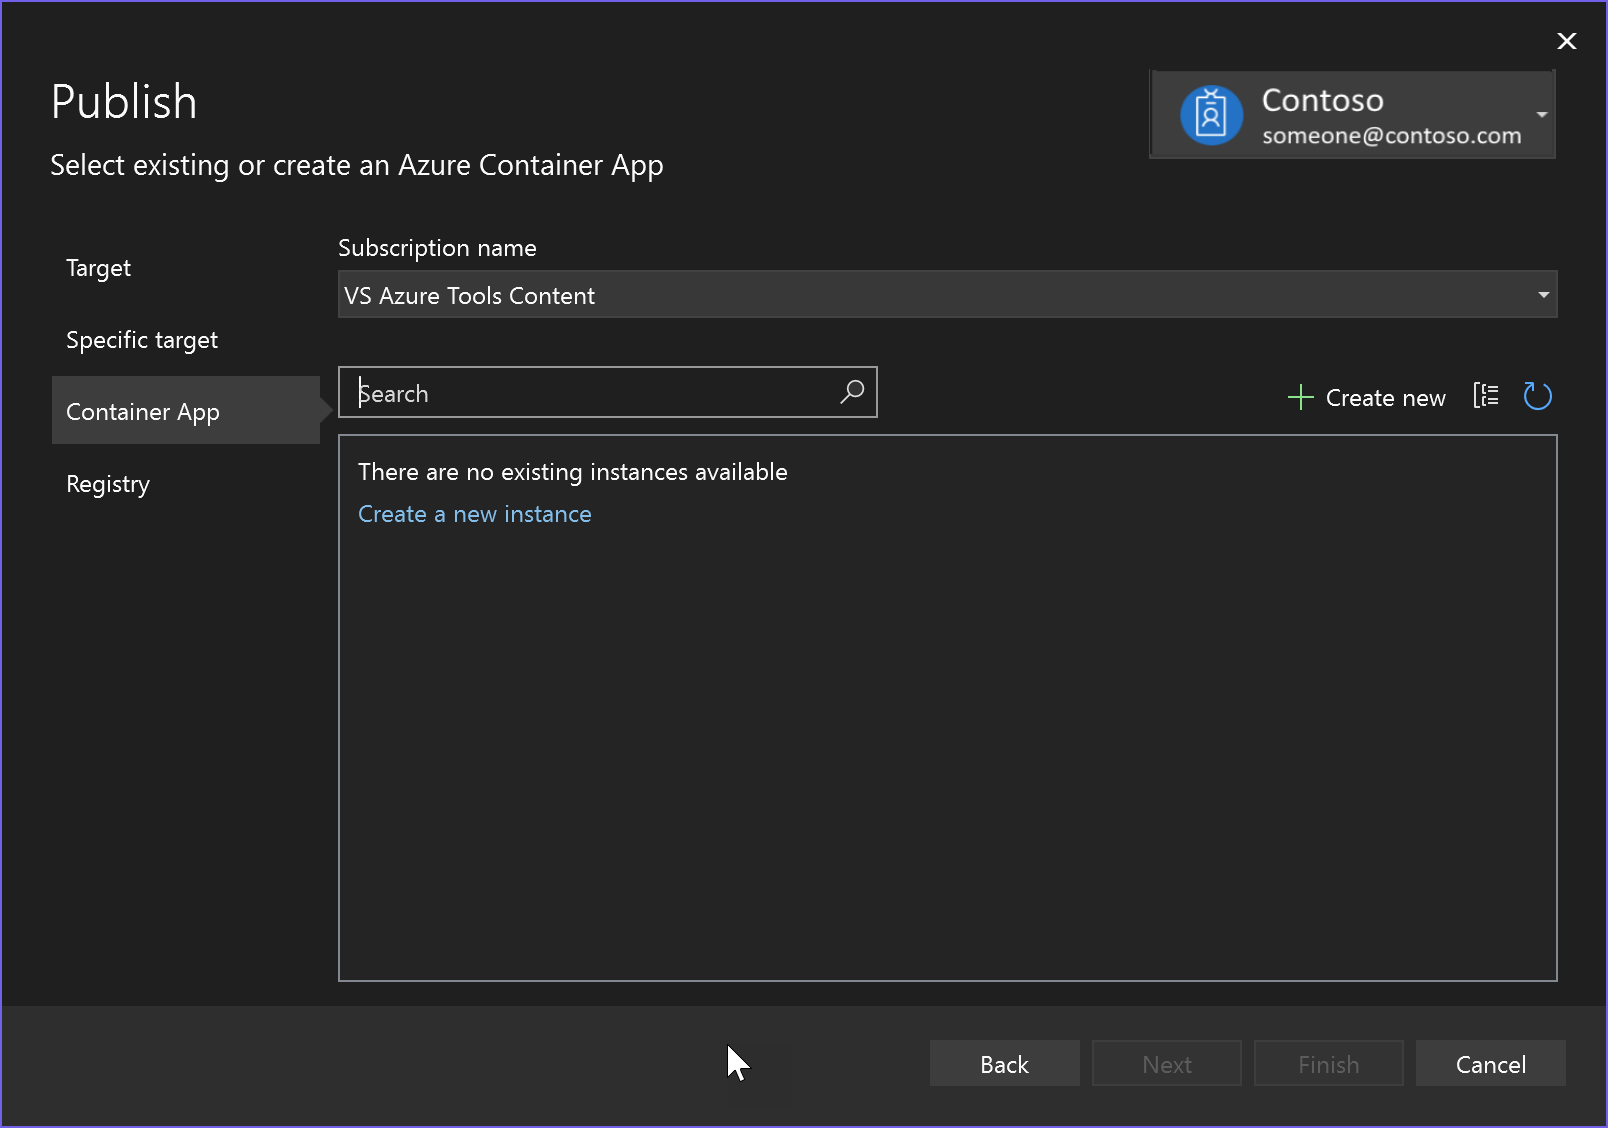
If you create a new one, review and modify the default app name, resource group, location, environment, and container name, and choose Create. It might take some time to create the resources in Azure.

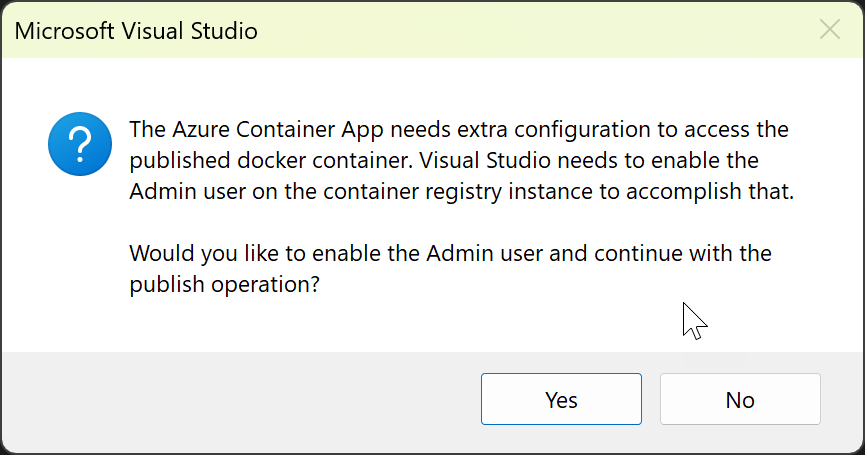
Choose Finish and wait for the container app to be created. If you see a message box about enabling the Admin user on the container instance, you'll need to accept this to continue.
When the container app has been created, Visual Studio creates a publish profile (.pubxml file) and displays the settings on the Publish tab.
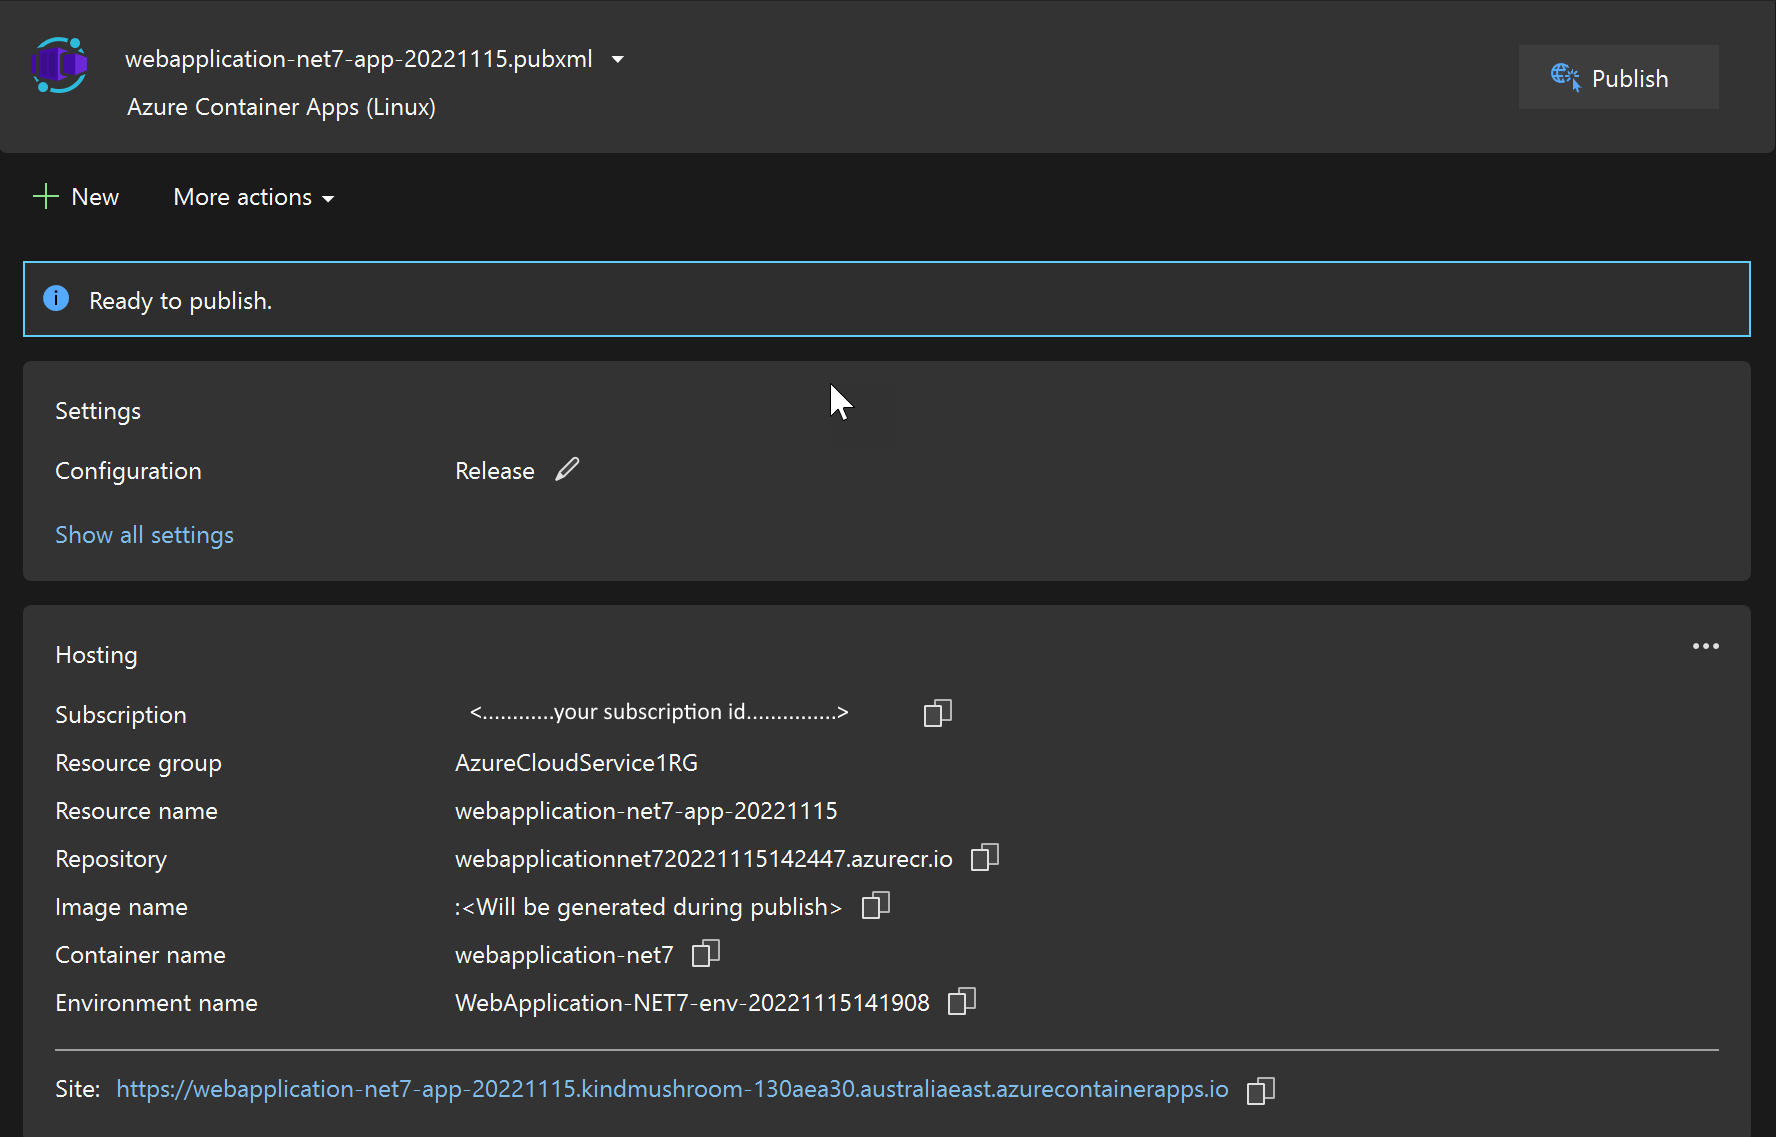
You can access the containerized web site online using the Site link.
Next time you want to publish using the same target and settings, you can use the Publish button on this screen. If you want to publish using different settings, use the New button. You can repeat the entire process and save the target and other settings in a separate .pubxml file.
Clean up resources
To clean up resources, use the Azure portal or use the Azure CLI or Azure PowerShell to delete the resource group, if you created one, or delete the resources individually.
Related content
Learn more about:
Feedback
Coming soon: Throughout 2024 we will be phasing out GitHub Issues as the feedback mechanism for content and replacing it with a new feedback system. For more information see: https://aka.ms/ContentUserFeedback.
Submit and view feedback for