Quickstart: Configure Visual Studio for cross-platform development with Unity
In this quickstart, you learn how to install the Visual Studio Tools for Unity extension and configure it for developing cross-platform games and apps with Unity. The Visual Studio Tools for Unity extension is free and provides support for writing and debugging C# and more. Visit the Tools for Unity overview for a complete list of what that workload includes.
Note
For Visual Studio Code & Unity, visit the Unity Development with VS Code documentation.
Install Visual Studio and Unity
Download the Visual Studio installer, or open it if already installed.
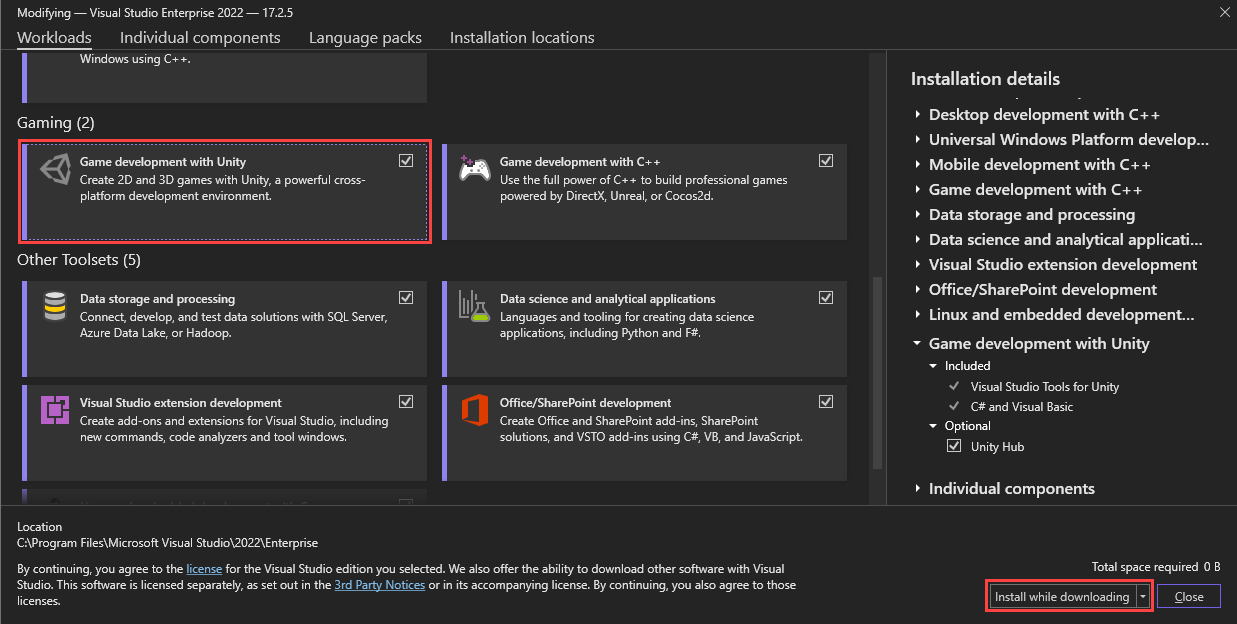
Select Install, or Modify if Visual Studio is already installed.
Select the Workloads tab, then select the Game development with Unity workload.
If Unity isn't already installed, select Unity Hub under Optional.
Select Modify or Install to complete the installation.
When Visual Studio completes the installation process, you're ready to set up Unity.
Open the Unity Hub, which was installed during the Visual Studio Tools for Unity installation.
On the left of the Unity Hub window, select the Installs tab.
Select the Add button.
In the Add Unity Version window, select a version of Unity to install.
Select Next to continue the installation.
In the Add modules to your install step, select Done.
Note
If you've already installed Visual Studio 2022, you can deselect the Microsoft Visual Studio Community 2019 option.
The Unity Hub continues installing Unity in the background. When it's complete, you can create a new project by selecting the Projects tab and selecting New.
Tip
Projects are created using the Unity Editor and not Visual Studio.
Note
This installation guide is for Visual Studio for Mac. If you're using Visual Studio Code, please visit the Unity Development with VS Code documentation.
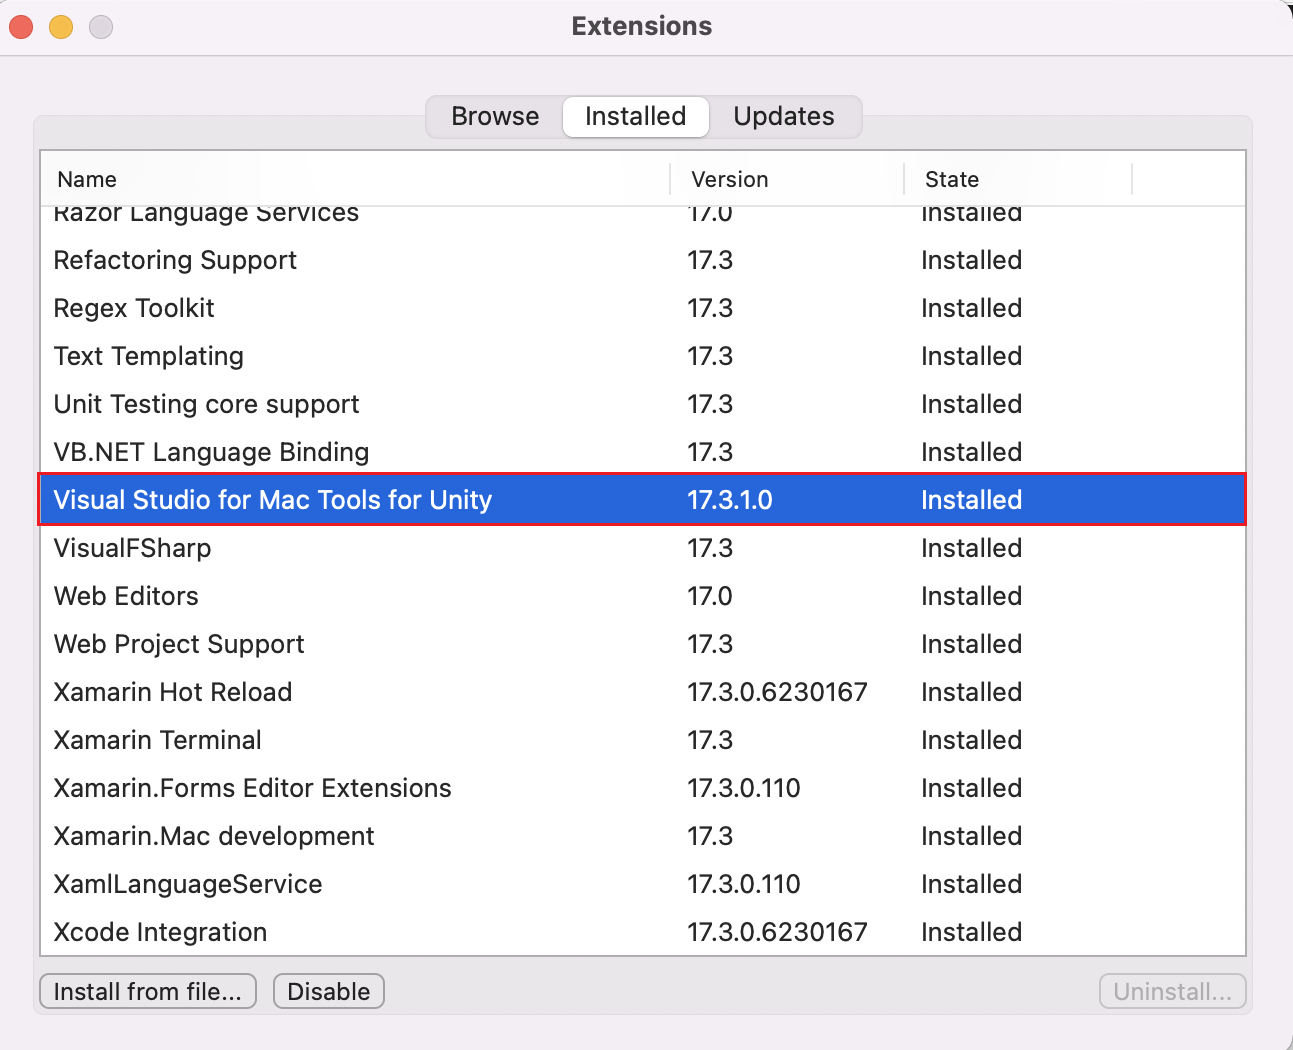
Visual Studio for Mac Tools for Unity is included with the installation of Visual Studio for Mac. It requires no separate installation steps. You can verify the installation in the Visual Studio for Mac > Extensions > Game Development menu. Visual Studio for Mac Tools for Unity should be enabled.
Configure Unity to use Visual Studio
By default, Unity should already be configured to use Visual Studio or Visual Studio for Mac as a script editor. You can confirm this option or change the external script editor to a specific version of Visual Studio from the Unity Editor.
In the Unity Editor, select the Edit > Preferences menu.
On the left, select the External Tools tab.

Add a version of Visual Studio that isn't listed
It's possible to select other versions of Visual Studio that are unlisted and installed in a custom directory.
- Select Browse... from the dropdown list.
- Navigate to the Common7/IDE directory inside your Visual Studio installation directory and select devenv.exe. Then select Open.
- For Unity 2019 and older only, confirm that Editor Attaching is selected.
- Close the Preferences dialog to complete the configuration process.
In the Unity Editor, select the Unity > Preferences menu.
On the left, select the External Tools tab.
Use the External Script Editor dropdown list to choose different installations of Visual Studio for Mac.

Close the Preferences dialog to complete the configuration process.
Install or update the Visual Studio Editor package
In Unity versions 2020 and later, a separate Unity Package is required for the best experience working with IDEs like Visual Studio and Visual Studio for Mac. This package should be included by default, but updates are released to this package that you can install to at any time.
In the Unity Editor, select the Windows > Package Manager menu.
Select the Visual Studio Editor package.
If a new version is available, select Update.

Check for updates
We recommend that you keep Visual Studio and Visual Studio for Mac updated for the latest bug fixes, features, and Unity support. Updating Visual Studio doesn't require an update of Unity versions.
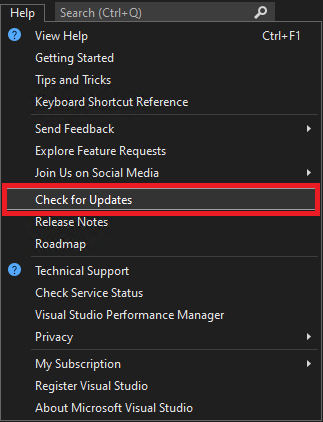
Select the Help > Check for Updates menu.
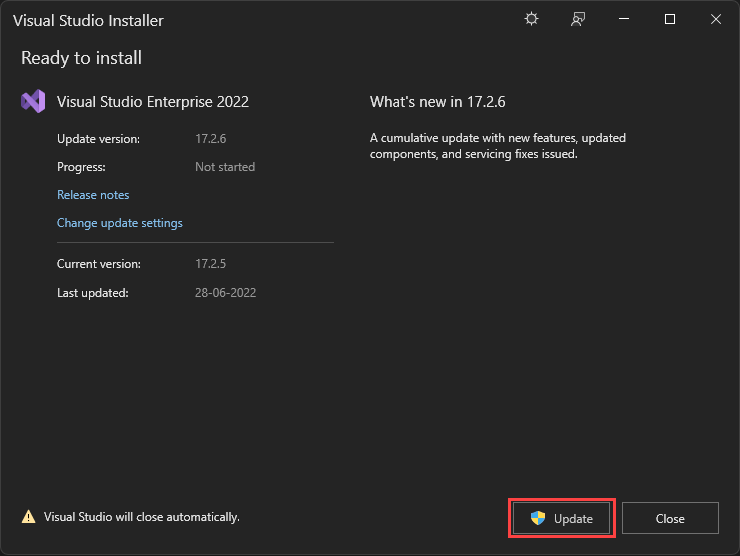
If an update is available, the Visual Studio Installer shows a new version. Select Update.
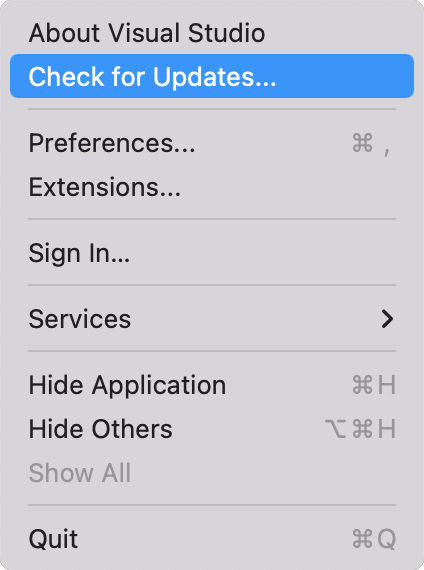
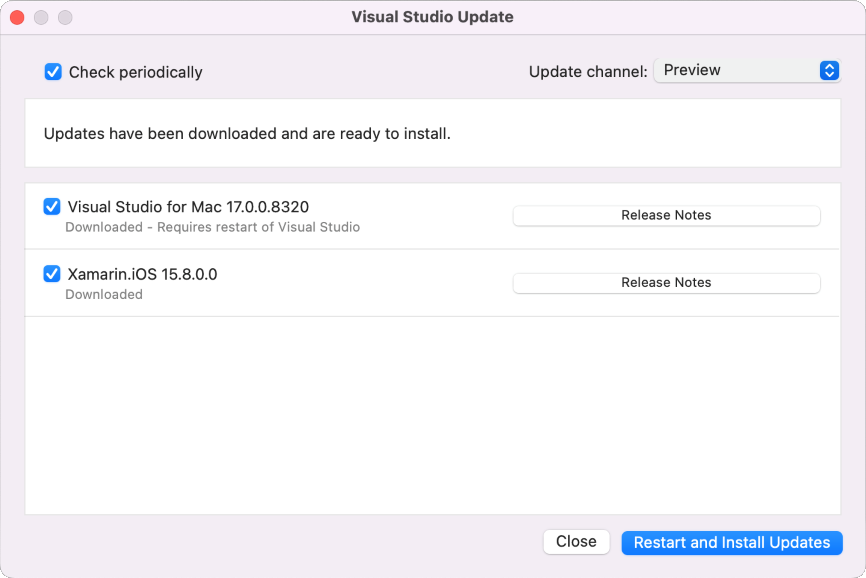
Select the Visual Studio for Mac > Check for Updates... menu to open the Visual Studio Update dialog.
If an update is available, Visual Studio Update shows a new version, select Restart and Install Updates.
Next steps
Learn about this extension's integration and productivity features, and how to use the Visual Studio debugger for Unity development.
Feedback
Coming soon: Throughout 2024 we will be phasing out GitHub Issues as the feedback mechanism for content and replacing it with a new feedback system. For more information see: https://aka.ms/ContentUserFeedback.
Submit and view feedback for