Application Page, Project Designer (C#)
Use the Application page of the Project Designer to specify the project's application settings and properties.
To access the Application page, choose a project node (not the Solution node) in Solution Explorer. Then choose Project > Properties on the menu bar. When the Project Designer appears, click the Application tab.
Note
Your computer might show different names or locations for some of the Visual Studio user interface elements in this article. You might be using a different edition of Visual Studio or different environment settings. For more information, see Personalize the IDE.
General Application Settings
The following options enable you to configure general settings for the application.
Assembly name
Specifies the name of the output file that will hold the assembly manifest. Changing this property also changes the Output Name property.
You can also make this change from the command line by using /out (C# Compiler Options).
To access this property programmatically, see AssemblyName.
Default namespace
Specifies the base namespace for files added to the project.
See namespace for more information about creating namespaces in your code.
To access this property programmatically, see RootNamespace.
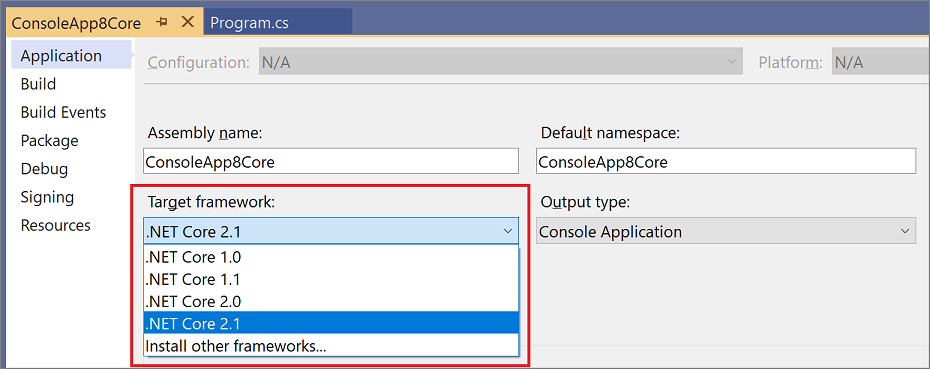
Target Framework
Specifies the version of .NET that the application targets. This option can have different values depending on which versions of .NET are installed on your computer.
For .NET Framework projects, the default value matches the target framework that you specified when you created the project.
Note
The prerequisite packages listed in the Prerequisites Dialog Box are set automatically the first time that you open the dialog box. If you subsequently change the project's target framework, you must select the prerequisites manually to match the new target framework.
For more information, see Framework targeting overview.
Output type
Specifies the type of application to build. The values are different depending on the project type. For example, for a Console App project, you can specify Windows Application, Console Application, or Class Library as the output type.
For a web application project, you must specify Class Library.
For more information about the Output type property, see /target (C# Compiler Options).
For information about how to access this property programmatically, see OutputType.
Auto-generate binding redirects
Binding redirects are added to your project if your app or its components reference more than one version of the same assembly. If you want to manually define binding redirects in the project file, deselect Auto-generate binding redirects.
For more information about redirection, see Redirecting assembly versions.
Startup object
Defines the entry point to be called when the application loads. Generally this is set either to the main form in your application or to the Main procedure that should run when the application starts. Because class libraries do not have an entry point, their only option for this property is (Not set).
By default, in a WPF app project, this option is set to (Not set). The other option is [projectname].App. In a WPF project, you must set the startup URI to load a UI resource when the application starts. To do this, open the Application.xaml file in your project and set the StartupUri property to a .xaml file in your project, such as Window1.xaml. For a list of acceptable root elements, see StartupUri. You must also define a public static void Main() method in a class in the project. This class will appear in the Startup object list as ProjectName.ClassName. You can then select the class as the startup object.
See /main (C# Compiler Options) for more information. To access this property programmatically, see StartupObject.
Assembly Information
This button opens the Assembly Information dialog box.
Resources
The Resources options help you configure resource settings for your app.
Icon and manifest
By default, this radio button is selected and the Icon and Manifest options are enabled. This enables you to select your own icon or to select different manifest generation options. Leave this radio button selected unless you're providing a resource file for the project.
Icon
Sets the .ico file that you want to use as your program icon. Click Browse to browse for an existing graphic, or type the name of the file that you want. See /win32icon (C# Compiler Options) for more information.
To access this property programmatically, see ApplicationIcon.
For information about creating an icon, see Image editor for icons.
Manifest
Selects a manifest generation option when the application runs on Windows under User Account Control (UAC). This option can have the following values:
Embed manifest with default settings. Supports the typical manner in which Visual Studio operates on Windows, which is to embed security information in the application's executable file, specifying that
requestedExecutionLevelbeAsInvoker. This is the default option.Create application without a manifest. This method is known as virtualization. Use this option for compatibility with earlier applications.
Properties\app.manifest. This option is required for applications deployed by ClickOnce or Registration-Free COM. If you publish an application by using ClickOnce deployment, Manifest is automatically set to this option.
Resource file
Select this radio button when you're providing a resource file for the project. Selecting this option disables the Icon and Manifest options.
Enter a path name or use the Browse button (...) to add a Win32 resource file to the project.
For more information, see Create resource files for .NET apps.
See also
Feedback
Coming soon: Throughout 2024 we will be phasing out GitHub Issues as the feedback mechanism for content and replacing it with a new feedback system. For more information see: https://aka.ms/ContentUserFeedback.
Submit and view feedback for