Manage and set up storyline in Viva Engage
Storyline empowers everyone in your organization to connect and contribute. It enables your leaders to reach and engage employees. Through storyline, employees can share updates, experiences, and perspectives to reach followers and colleagues across the organization. Engage with storylines from the Web and the mobile applications you use every day—Outlook, Microsoft Teams, and Microsoft Viva.
When storyline is enabled in your organization, you see the following changes in the Viva Engage app:
- Internal (nonguest) users who have access to Viva Engage see a new default Storyline tab on their user profile page.
- Users see a new Storylines page. Users can toggle between a personalized feed of posted content or a focused feed that includes only storyline content from the people that the user follows.
Set up storyline
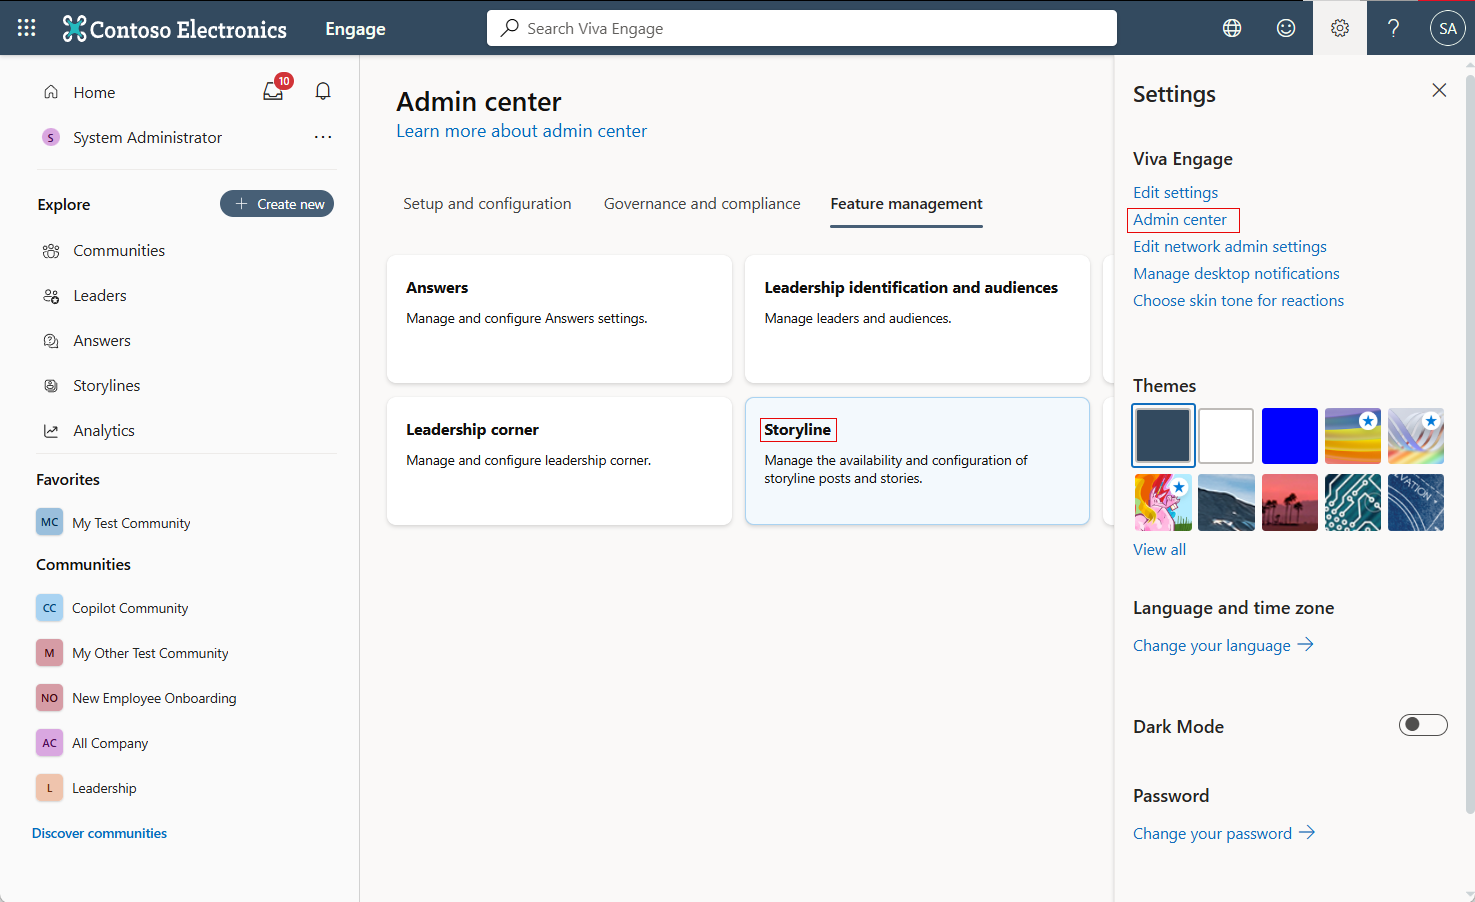
Microsoft 365 Global administrators and Engage administrators manage storyline for their organizations in the Engage admin center.
To access storyline settings, select the ellipses on the right side of the top navigation menu, and then select Admin.
On the Feature management tab, select Storyline to customize settings.

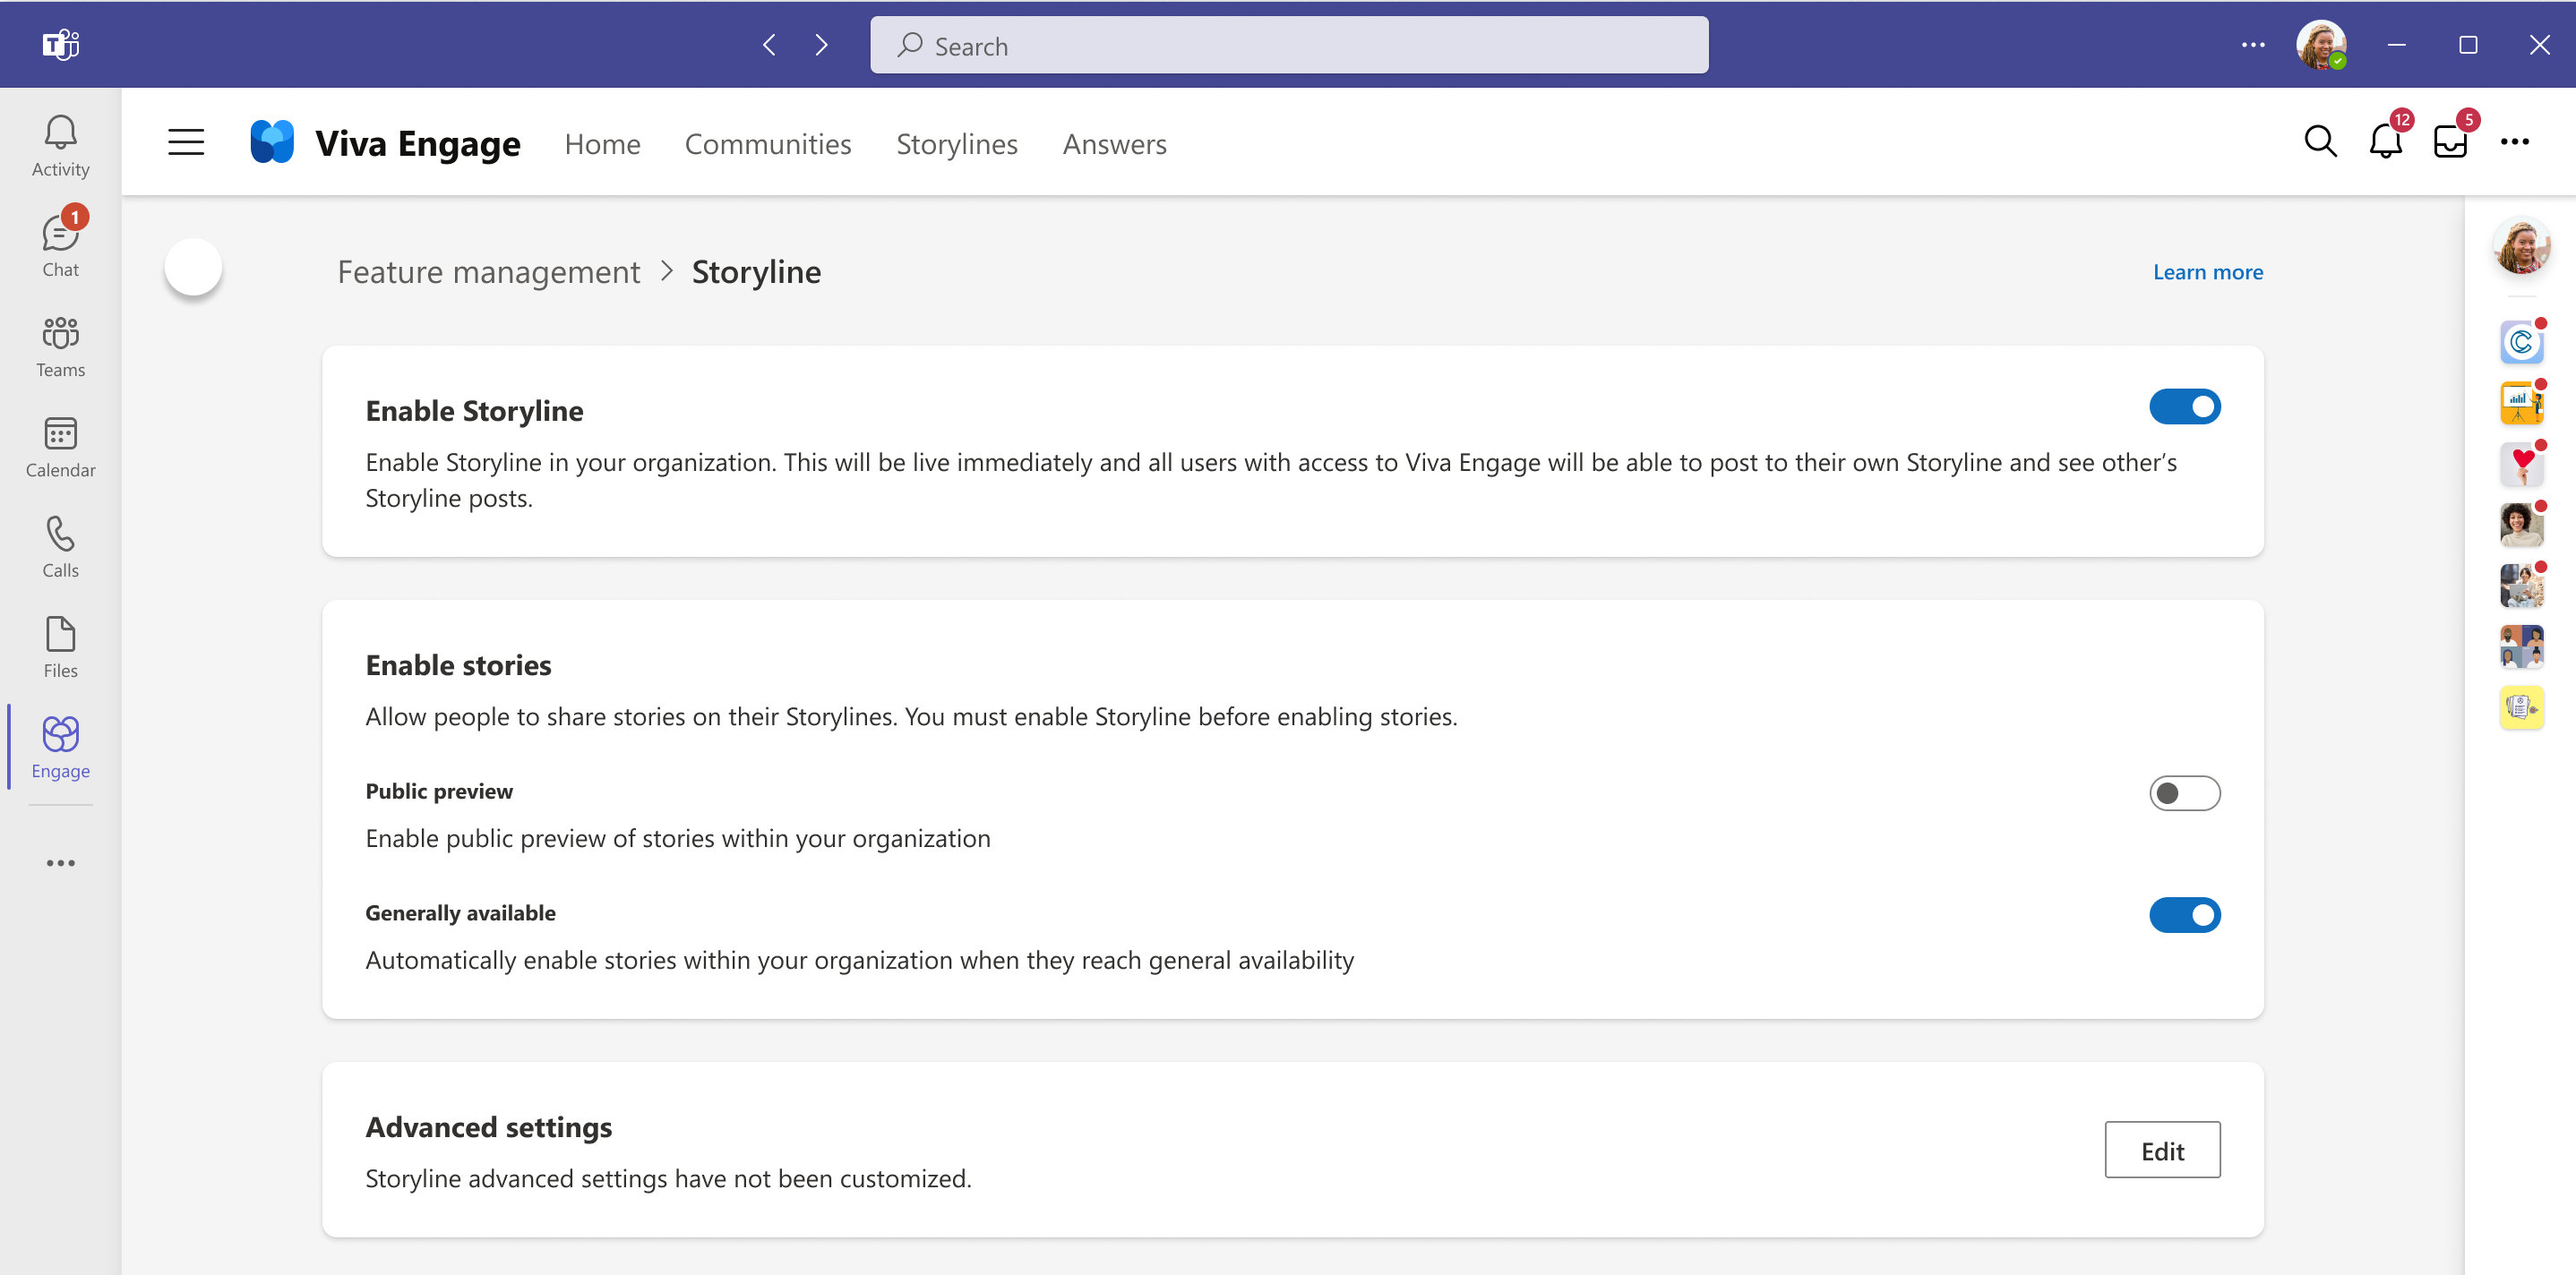
Enable storyline
The Storyline page in the Engage admin center controls the availability of storyline in the organization.
When you enable storyline, all internal users who have access to Viva Engage have the Storyline tab and a storyline feed on their profile page. They also have the ability to react and respond to others’ storyline posts.
Note
Guests don't have their own storyline and can't see storyline content from internal users.
When you disable storyline, Storylines doesn't appear in the left navigation pane in Viva Engage for the web, or in the top navigation in the Viva Engage app for Teams and Outlook. In addition, no Storyline tab appears in the user profile.
If a user responded to posted storyline content in the past, they have access to those conversations. Otherwise, previously posted storyline content is unavailable.Storyline content continues to be available through network data export and through eDiscovery for networks in Native Mode. To delete previous storyline conversations after you've disabled storyline, use the same processes you use to delete other conversations in Engage.

Advanced settings
Admins can use these settings to control how they configure storyline for their organization. Use these settings to establish the default behavior for storyline notifications, and to restrict who can post to storyline.
Set default notification channels for storyline posts
In its default configuration, storyline notifies users in Teams, email, and Viva Engage anytime a person they follow posts to their storyline page. Network and verified admins can override this configuration to control which default notifications are selected when a user follows someone. Users can also change the default notification setting for each person they follow.
The system default selections for notifications include:
- Microsoft Teams notifications are delivered in the Teams Activity feed.
- Email delivered to your inbox includes support for actionable messages, so that users can view and reply to the conversation from Outlook Web Access.
- Viva Engage notifications are delivered to the Viva Engage notification bells.
Restrict which users can post to their storyline
By default, every internal user with access to Viva Engage has the option to post to their own storyline feed. Admins can override the default and restrict this option to specific users. This setting controls who has a storyline feed on their user profile and who can create a new storyline post. It doesn’t restrict who can view, react, or reply to storyline posts made by others.
- To restrict who can post to storyline, from the Engage admin center, go to Manage storyline.
- Select Advanced Settings.
- Switch Eligible users with access to Viva Engage to Eligible users from selected group.
- Search for and select the group that includes users who should receive their own storyline page. Supported group types include security groups, mail-enabled security groups, distribution lists, and Microsoft 365 groups. When a group is selected, Engage checks the group membership on a daily basis to assign storyline privileges.
Your changes should take effect within minutes. However, backend membership changes in the selected group may take up to 24 hours before being applied to storyline privileges.
Note
Disabling storyline for a user doesn't delete their storyline posts and conversations. Instead, it hides them from all users in the network except those who participated in the thread. If you need to address objectionable content or security concerns, a more efficient solution may be deleting conversations or blocking the offending user.
Configure a multitenant organization to use storyline
When Viva Engage is configured for a multitenant organization, the Multi-tenant Organizations (MTO) setting appears in the Advanced settings of the designated hub tenant. This setting enables users on all spoke tenants to engage with storyline posts from the hub tenant. However, these users can only participate if the multitenant organization configuration in Microsoft Entra ID has granted them access to storyline. Learn more about configuring a multitenant organization in Viva Engage.
Security and compliance
Storyline is built on the same content and conversation platform as community messages in Viva Engage. Therefore, you can use the same tools for storyline that you use for monitoring and governance.
- Use eDiscovery in the compliance portal for Native Mode networks.
- Access storyline content through network export.
- Files shared through storyline are stored on OneDrive. Shared files are subject to any governance you already have in place.
- Storyline supports the Report a conversation feature that's available for community conversations.
- Microsoft Purview Communications Compliance (E5): Use AI to monitor conversations for bullying, harassment, or topics that are against usage policy.
In addition to the capabilities listed here, storyline features a feed that includes all storyline posts, sorted by the date the storyline conversation was started. To access this feed, go to the storyline landing page. In the feed, select the filter icon in the upper-right corner to switch the filter to All.
Security, compliance, and governance for files uploaded to storyline posts
Compliance for storyline posts is the same as the rest of Viva Engage. If you're in Native Mode, posts are ingested into the substrate and subjected to the same compliance and eDiscovery capabilities as posts in communities--including communications compliance and retention. Files are stored in OneDrive, where they inherit the same security and compliance policies configured for other files in OneDrive.
When user accounts are deleted (for example, when an individual leaves the company), the system follows the Microsoft 365 user deletion process. Learn more about deleting a user account.
File storage for storyline
Files attached to storyline posts are stored in a hidden library in the author’s OneDrive. There's no entry point to this location in the Microsoft 365 user experience, but you can access it through a URL resembling the following example:
https://<tenantname>-my.sharepoint.com/personal/<useridentifier>/VivaEngage/Attachments/Storyline
To determine the precise URL for a user's storyline page, follow these steps:
Open the user's OneDrive in a browser.
Note the URL to the user's OneDrive.
Locate the user identifier, which is the part of the URL immediately that follows my.sharepoint.com/personal/.
Replace everything after the profile identifier and the backslash plus VivaEngage, without a space, case insensitive. The resulting URL resembles this example:
https://<tenantname>-my.sharepoint.com/personal/<useridentifier>/VivaEngagePress Enter. The library appears.
Open the Attachments folder, and then open the storyline folder. The URL to the folder where storyline files are saved resembles this example:
https://<tenantname>-my.sharepoint.com/personal/<user identifier>/VivaEngage/Attachments/Storyline
Managing files uploaded to storyline posts
You can use the storyline interface to edit documents and rich media that was uploaded to posts. We strongly recommend that you don't add, replace, or delete documents and rich media directly in OneDrive, as those actions risk breaking the front-end experience of posts in your storyline.
To delete files associated with a post from the VivaEngage library:
- Remove the file from the associated post. From any post, the author or an admin can select the ellipsis (...) menu and choose Edit.
- Navigate to the author's VivaEngage library and delete the file.
Frequently asked questions
Why isn’t storyline available in our organization?
Storyline is only supported in Viva Engage networks that enforce Microsoft 365 identity. If your network doesn't enforce Microsoft 365 (formerly Office 365) identity, or if you have a Viva Engage Basic network, storyline isn't available to your organization.
Who can see storyline content?
Storyline content is visible to any internal user who has access to Viva Engage. Guests can't see storyline content.
Does storyline work for guests?
Guests are excluded from storyline access. They don't have their own storyline and can't see any storyline content posted by other users.
Can I control who sees storyline content?
You can't prevent any internal user from seeing storyline content if they have access to Viva Engage. Guests can't see any storyline content.
How do I delete custom cover images that were uploaded to a person's storyline?
From the UI, Engage admins with premium Viva licenses can upload or delete cover photos for any user who has the premium Viva license and has storyline enabled. To do this, from the profile page of the user, hover over the profile header and select Upload cover photo. Then, delete or upload a new cover image, as needed.
If the admin or the user isn't premium licensed, or the user no longer has their own storyline, previously uploaded photos must be deleted with the API.
From the API, Engage admins or verified admins can delete cover images for any user in their network through an API call. The URL has this syntax:
engage.cloud.microsoft/api/public/v1/user-profiles/user_id/cover-image
For example, to delete the cover images of a user with id 1234567890, the URL would be:
engage.cloud.microsoft/api/public/v1/user-profiles/1234567890/cover-image
See also
Access the Viva Engage admin center
Feedback
Coming soon: Throughout 2024 we will be phasing out GitHub Issues as the feedback mechanism for content and replacing it with a new feedback system. For more information see: https://aka.ms/ContentUserFeedback.
Submit and view feedback for