Lab 1c: Adding file(s) and registry settings to an image
We will create some test files and registry keys to a Windows IoT Core image, and package them up so that they can be serviced after they are distributed to your customers. Since files and registry keys that you add to your image are often not specific to an architecture, we recommend creating a common package that you can use across all of your device architectures.
Goals
- Create a package that contains registry and file settings for your device
- Package the registry/file settings package so it can be included in an FFU image
- Modify IoT Addon Kit project configuration files to include your registry/file settings package
- Build and deploy an FFU image that contains your registry/file settings package
We'll create some test files and registry keys to the image, and again package them up so that they can be serviced after they reach your customers.
We'll add these to the common feature manifest (OEMCommonFM.xml), which is used in x86, x64, and Arm builds.
For this lab, we'll start an new product, ProductB, so that later we can use the IoT sample app to get the IP address of our device and verify that our files and reg keys have made it.
Prerequisites
Please make sure that you've created a basic image from Create a basic image previously.
You will need the following tools installed to copmlete this action:
- Windows Assessment and Deployment KiT (Windows ADK)
- IoT Core Powershell Environment
- Windows 10 IoT Core Packages
- IoT Core ADK Add-Ons
- A text editor like Notepad or VS Code.
Create your test files
Create a few sample text files using Notepad and add some random text so that these files are not empty. For our example, we have created two files titled TestFile1.txt and TestFile2.txt.
Build a package for Test Files
Open the IoT Core PowerShell Environment: run
C:\MyWorkspace\IoTCorePShell.cmdas an administrator and create a File package using Add-IoTFilePackage:# Array of files with destinationDir, Source and destinationFilename $myfiles = @( ("`$(runtime.system32)","C:\Temp\TestFile1.txt", ""), ("`$(runtime.bootDrive)\OEMInstall","C:\Temp\TestFile2.txt", "TestFile2.txt") ) Add-IoTFilePackage Files.Configs $myfilesThis creates a new folder at
C:\MyWorkspace\Common\Packages\Files.Configs.This also adds a FeatureID FILES_CONFIGS to the
C:\MyWorkspace\Common\Packages\OEMCOMMONFM.xmlfile.Variables like
$(runtime.system32)are defined inC:\Program Files (x86)\Windows Kits\10\Tools\bin\i386\pkggen.cfg.xml.Create a Registry package using Add-IoTRegistryPackage:
# Array of files with destinationDir, Source and destinationFilename
$myregkeys = @(
    ("`$(hklm.software)\`$(OEMNAME)\Test","StringValue", "REG_SZ", "Test string"),
    ("`$(hklm.software)\`$(OEMNAME)\Test","DWordValue", "REG_DWORD", "0x12AB34CD")
    )
Add-IoTRegistryPackage Registry.Settings $myregkeys
This creates a new folder at
C:\MyWorkspace\Common\Packages\Registry.Settings.This also adds a FeatureID REGISTRY_SETTINGS to the
C:\MyWorkspace\Common\Packages\OEMCOMMONFM.xmlfile.Build the packages using New-IoTCabPackage:
New-IoTCabPackage Files.Configs
(or) buildpkg Files.Configs
New-IoTCabPackage Registry.Settings
(or) buildpkg Registry.Settings
The package is built and is available at
C:\MyWorkspace\Build\<arch>\pkgs.
Create a new product
Create a new product folder.
Add-IoTProduct ProductB RPi2
(or) newproduct ProductB RPi2
This will prompt you to enter SMBIOS values.
Update the project's configuration files
Update the product test configuration to include the features using Add-IoTProductFeature:
Add-IoTProductFeature ProductX Test FILES_CONFIGS -OEM
(or) addfid ProductX Test FILES_CONFIGS -OEM
Add-IoTProductFeature ProductX Test REGISTRY_SETTINGS -OEM
(or) addfid ProductX Test REGISTRY_SETTINGS -OEM
Build and test the image
Build the FFU image again, as specified in Create a basic image. You should only have to run the New-IoTFFUImage command:
New-IoTFFUImage ProductX Test
(or)buildimage ProductX Test
Once the FFu file has been built, you can flash it to your hardware device as specified in Flashing a Windows IoT Core image.
Verify Files and Registry Keys added
In order to verify that the files were added on the device, do the following:
Connect both your technician PC and the device to the same ethernet network.
For example, to connect over a wired network, plug in an ethernet cable. To connect directly to the device, plug a network cable directly from your technician PC to the device.
On the test app, note the IP address of the device. For example, 10.100.0.100.
On the technician PC, open File Explorer and type in the IP address of the device with a \ prefix and \c$ suffix:
\\10.100.0.100\c$
Use the devicename, the default Administrator account, and password to log on. (Default is: minwinpc\Administrator / p@ssw0rd)
Check to see if the files exist on the device. For our example, look for:
\\10.100.0.100\c$\Windows\system32\TestFile1.txt
\\10.100.0.100\c$\OEMInstall\TestFile2.txt
Verify registry keys
On the technician PC, connect your device using an SSH client, such as PuTTY. For example, use the IP address and port 22 to connect to the device. Then log in using the Administrator account and password. (To learn more, see SSH).
From the command line in the SSH client, query the system for the registry key. In our example, this command was executed to check the existence of the registry key:
reg query HKLM\Software\Fabrikam\TestThe SSH client should display your test values.
Alternatively, you can use the Run Command in the Windows Device Portal fo ryour connceted device to run the
reg querycommand.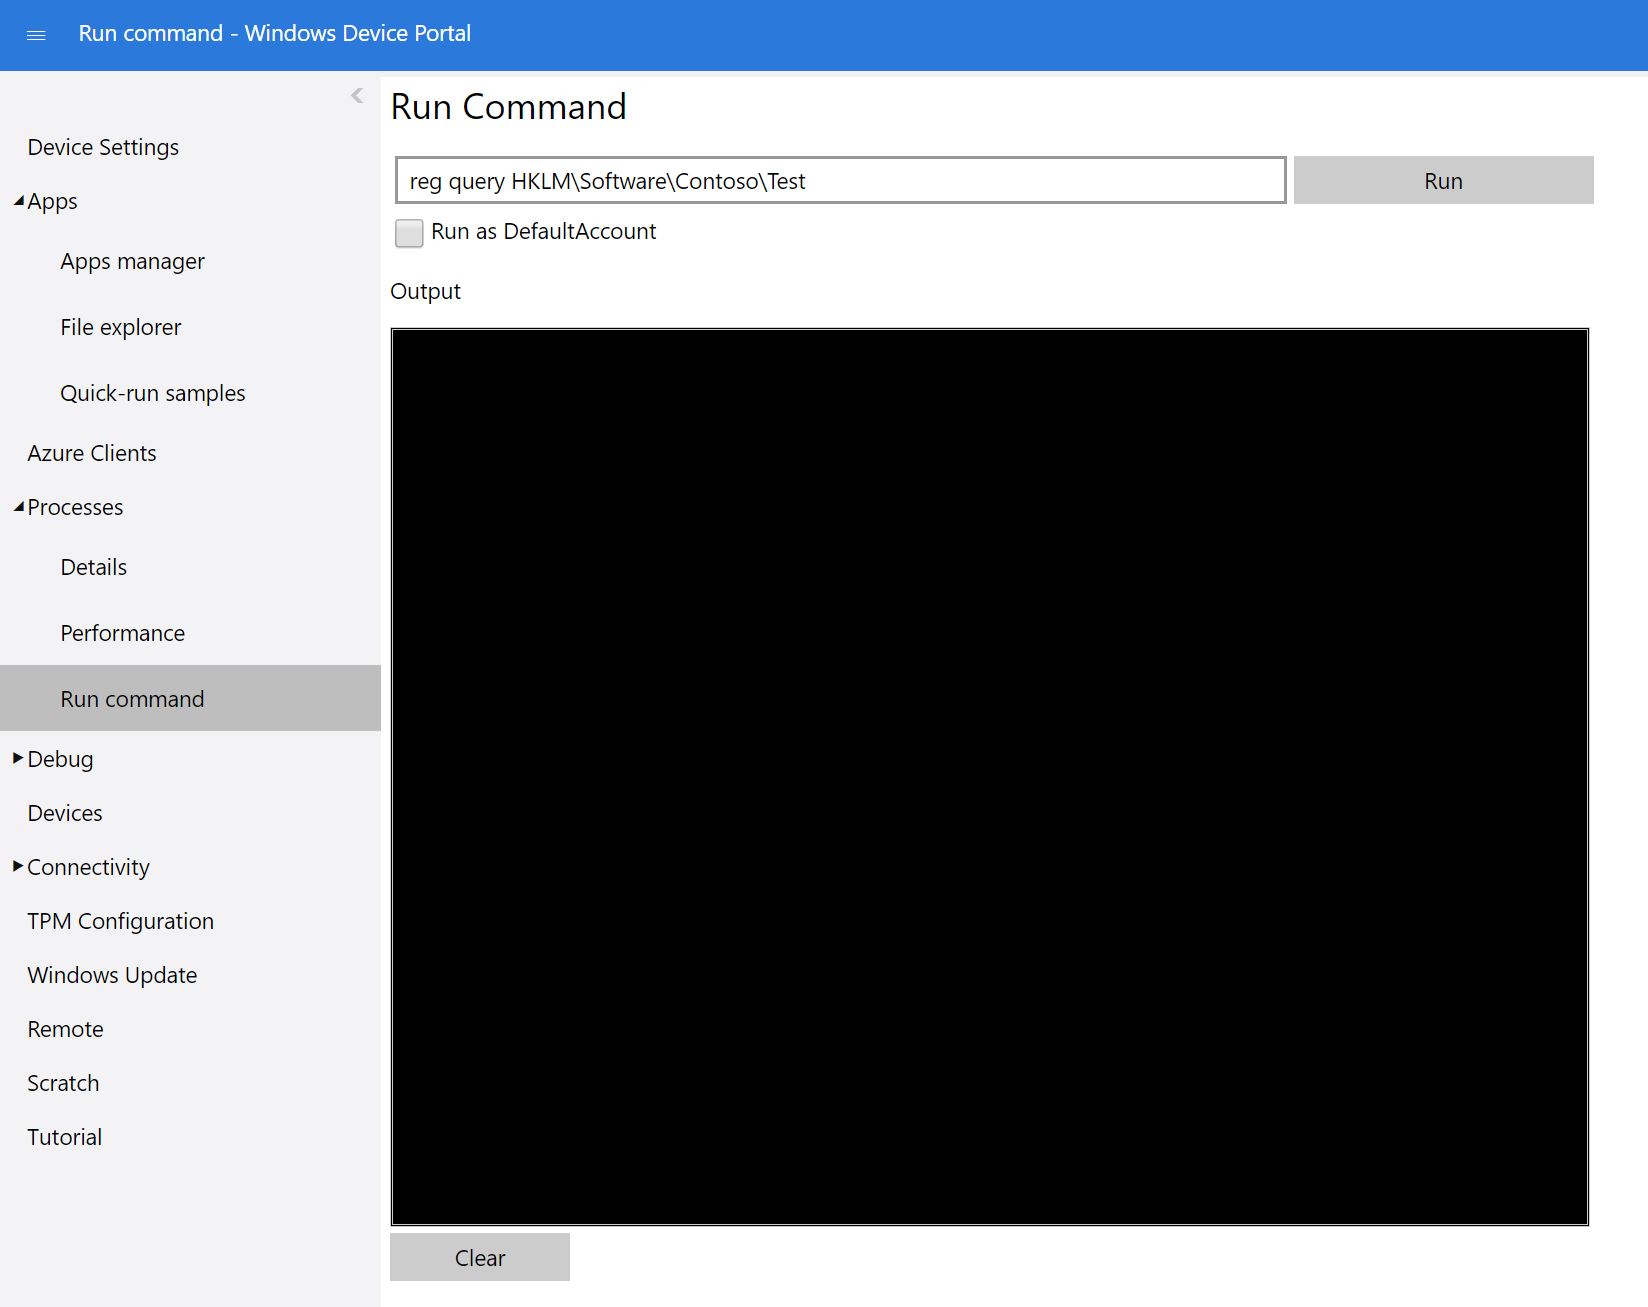
The output window should display your test values.