Convert a legacy Direct peering to an Azure resource using the Azure portal
This article describes how to convert an existing legacy Direct peering to an Azure resource by using the Azure portal.
If you prefer, you can complete this guide by using PowerShell.
Before you begin
- Review the prerequisites and the Direct peering walkthrough before you begin configuration.
Convert a legacy Direct peering to an Azure resource
Sign in to the portal and select your subscription
From a browser, go to the Azure portal and sign in with your Azure account.
If you have multiple subscriptions and need to switch subscriptions:
Select the profile button, and then select Switch Directory.
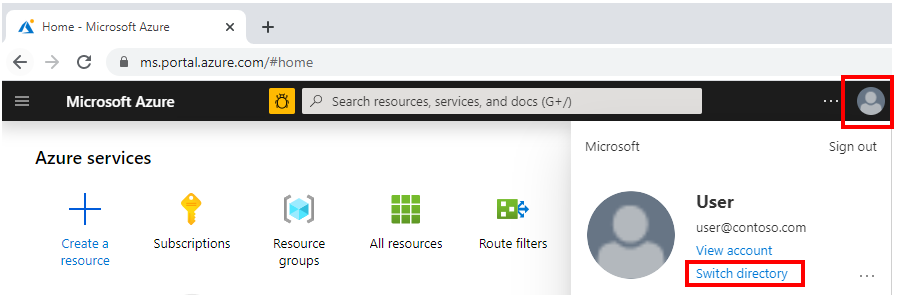
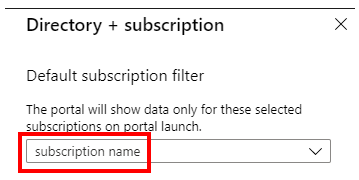
Choose a subscription you want to use for peering setup.
Convert a legacy Direct peering
As an Internet Service Provider, you can convert legacy direct peering connections by using Creating a Peering.
On the Create a Peering page, on the Basics tab, fill in the boxes as shown here:
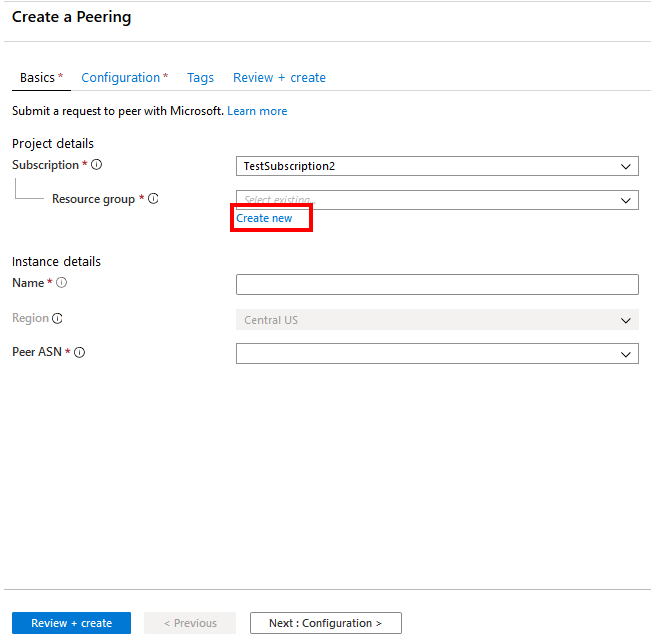
Select your Azure Subscription.
For Resource group, you can either choose an existing resource group from the drop-down list or create a new group by selecting Create new. We'll create a new resource group for this example.
Name corresponds to the resource name and can be anything you choose.
Region is auto-selected if you chose an existing resource group. If you chose to create a new resource group, you also need to choose the Azure region where you want the resource to reside.
Note
The region where a resource group resides is independent of the location where you want to create peering with Microsoft. But it's a best practice to organize your peering resources within resource groups that reside in the closest Azure regions. For example, for peerings in Ashburn, you can create a resource group in East US or East US2.
- Select your ASN in the Peer ASN box.
Important
You can only choose an ASN with ValidationState as Approved before you submit a peering request. If you just submitted your Peer ASN request, wait for 12 hours or so for ASN association to be approved. If the ASN you select is pending validation, you'll see an error message. If you don't see the ASN you need to choose, check that you selected the correct subscription. If so, check if you have already created Peer ASN by using Associate Peer ASN to Azure subscription.
Launch the resource and configure basic settings
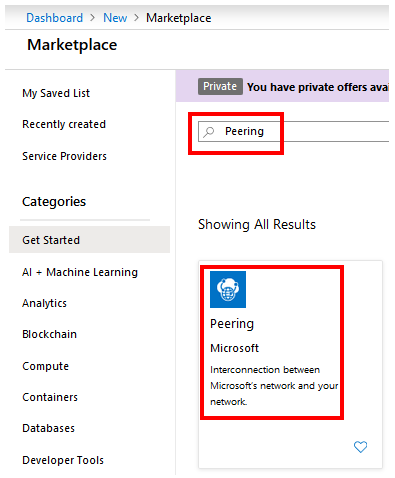
Select Create a resource > See all.
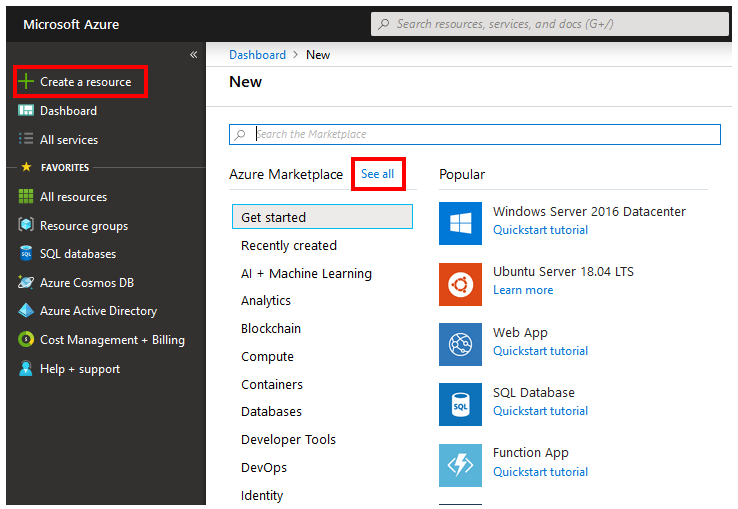
Search for Peering in the search box, and select Enter on your keyboard. From the results, select a Peering resource.
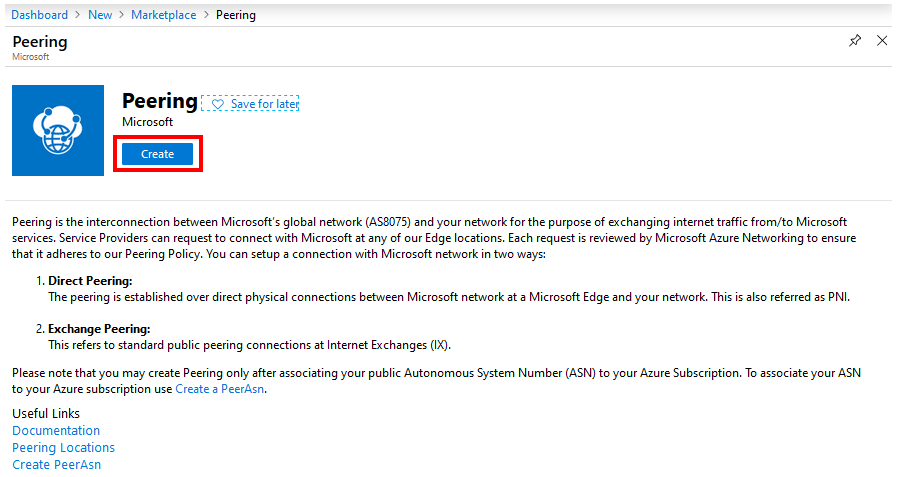
After Peering starts, review the page to understand the details. When you're ready, select Create.
On the Create a Peering page, on the Basics tab, fill in the boxes as shown here.
Select your Azure Subscription.
For Resource group, you can either choose an existing resource group from the drop-down list or create a new group by selecting Create new. We'll create a new resource group for this example.
Name corresponds to the resource name and can be anything you choose.
Region is autoselected if you chose an existing resource group. If you chose to create a new resource group, you also need to choose the Azure region where you want the resource to reside.
Note
The region where a resource group resides is independent of the location where you want to create peering with Microsoft. But it's a best practice to organize your peering resources within resource groups that reside in the closest Azure regions. For example, for peerings in Ashburn, you can create a resource group in East US or East US2.
Select your ASN in the Peer ASN box.
Important
- You can only choose an ASN with ValidationState as Approved before you submit a peering request. If you just submitted your PeerAsn request, wait for 12 hours or so for ASN association to be approved. If the ASN you select is pending validation, you'll see an error message.
- If you don't see the ASN you need to choose, check that you selected the correct subscription. If so, check if you have already created PeerAsn by using Associate Peer ASN to Azure subscription.
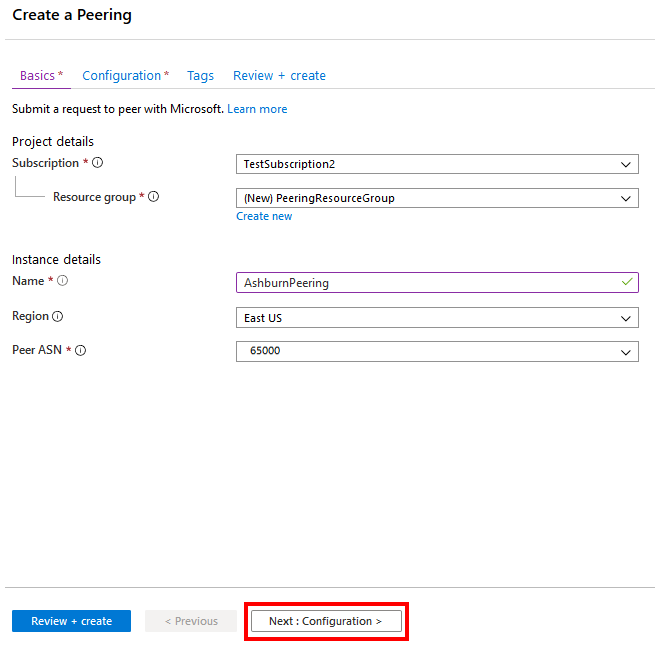
Select Next : Configuration > to continue.
Configure connections and submit
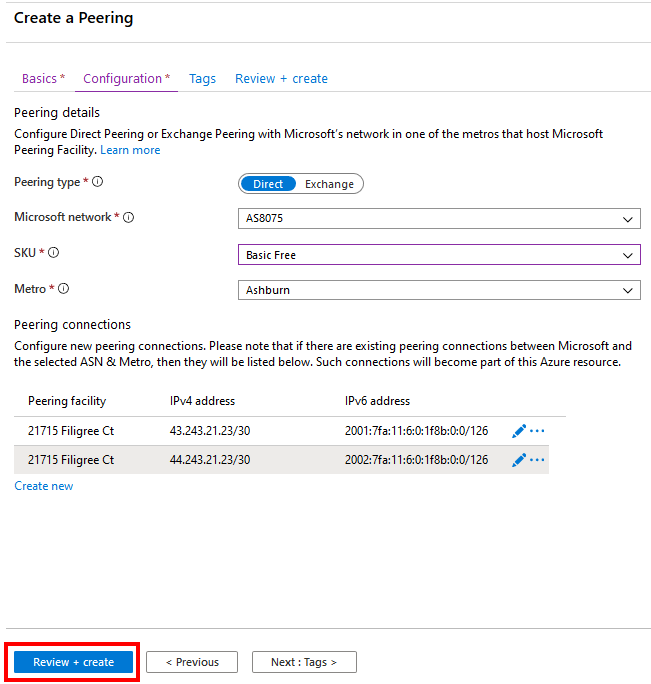
On the Create a Peering page, on the Configuration tab, fill in the boxes as shown here.
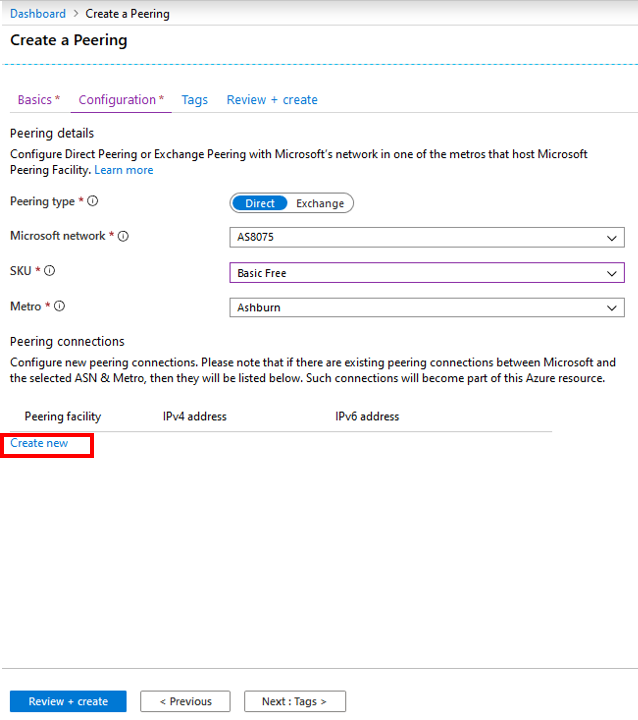
For Peering type, select Direct.
For Microsoft network, select AS8075. Don't select ASN 8069. It's reserved for special applications and only used by Microsoft peering.
Select SKU as Basic Free. Don't select Premium Free because it's reserved for special applications.
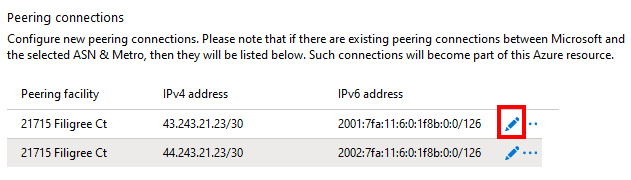
Select the Metro location where you want to convert peering to an Azure resource. If you have peering connections with Microsoft in the selected Metro location that aren't converted to an Azure resource, these connections will be listed in the Peering connections section as shown. You can now convert these peering connections to an Azure resource.
If you need to update bandwidth, select the edit button for a line to modify connection settings.
Note
If you want to add additional peering connections with Microsoft in the selected Metro location, select Create new. For more information, see Create or modify a Direct peering by using the portal.
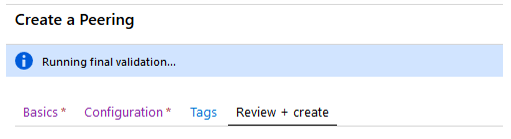
Select Review + create. Notice that the portal runs basic validation of the information you entered. A ribbon at the top displays the message Running final validation....
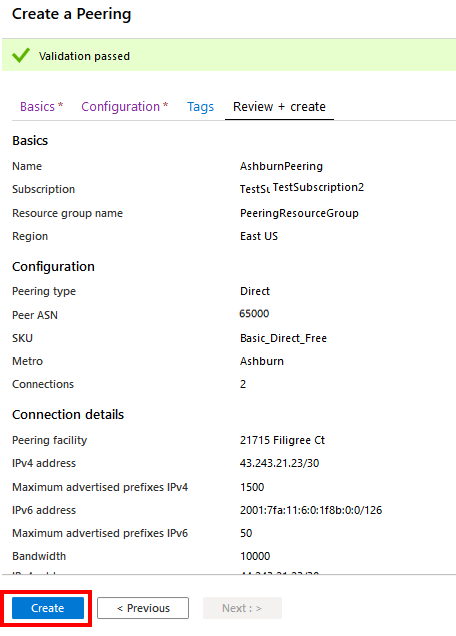
After the message changes to Validation passed, verify your information. Submit the request by selecting Create. To modify your request, select Previous and repeat the steps.
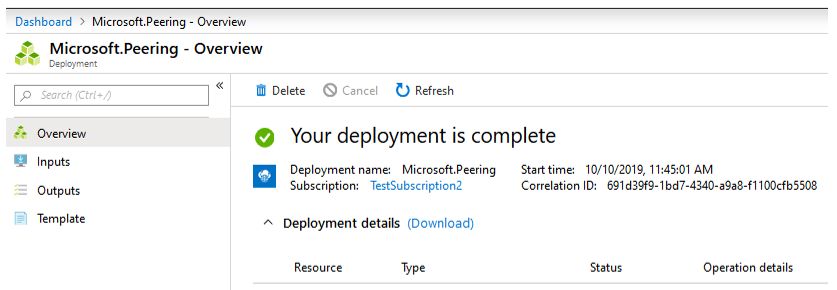
After you submit the request, wait for the deployment to finish. If deployment fails, contact Microsoft peering. A successful deployment appears as shown here.
Verify Direct peering
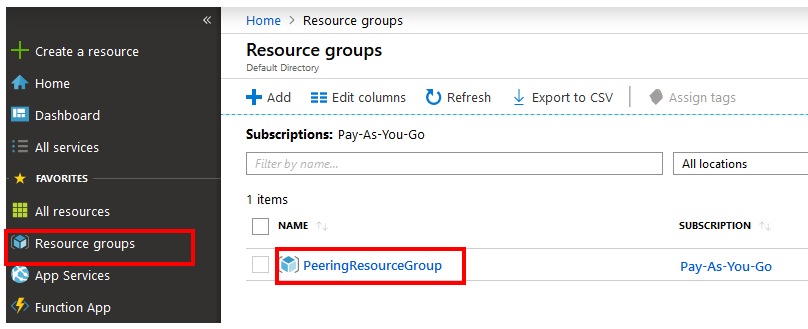
Go to Resource groups, and select the resource group you selected when you created the Peering resource. Use the Filter box if you have too many resource groups.
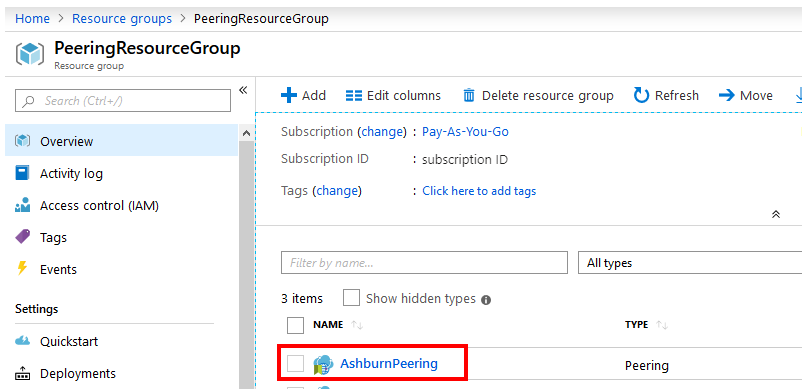
Select the Peering resource you created.
The Overview page shows high-level information, as shown here.
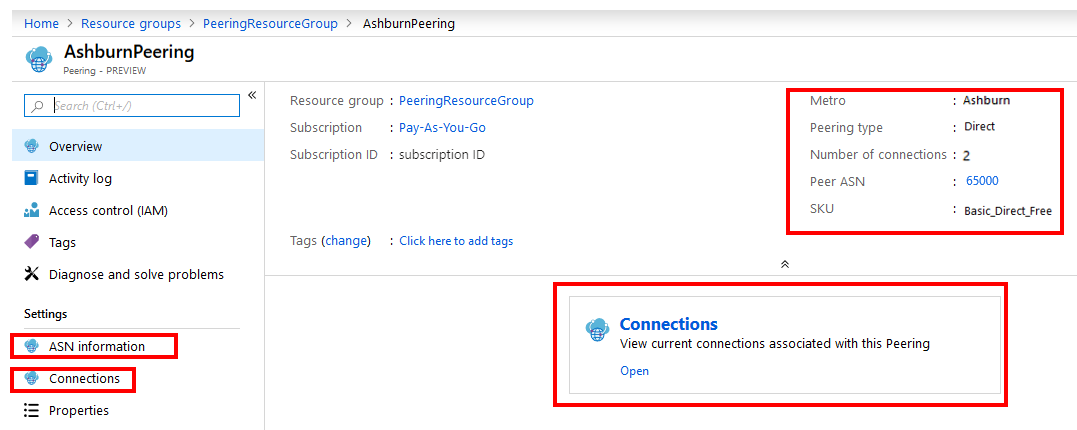
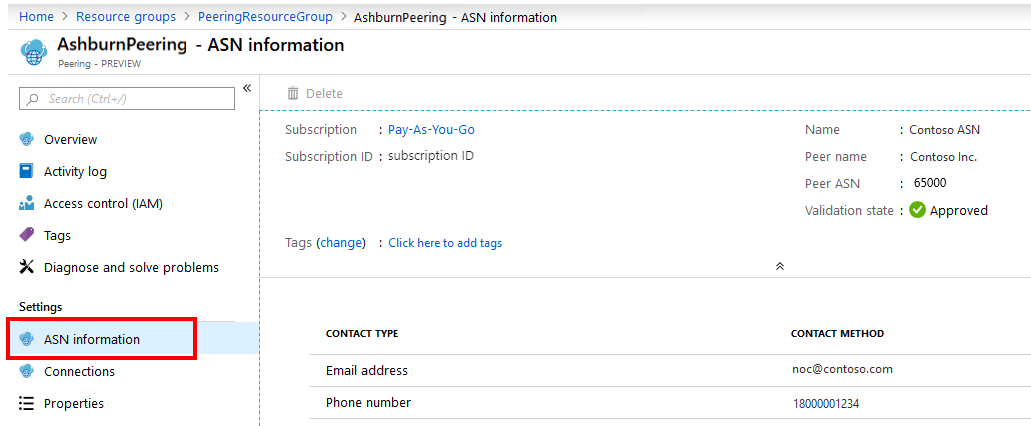
On the left, select ASN information to view the information submitted when you created PeerAsn.
On the left, select Connections. At the top of the screen, you see a summary of peering connections between your ASN and Microsoft, across different facilities within the metro. You can also access the connections summary from the Overview page by selecting Connections in the center of the pane, as shown.
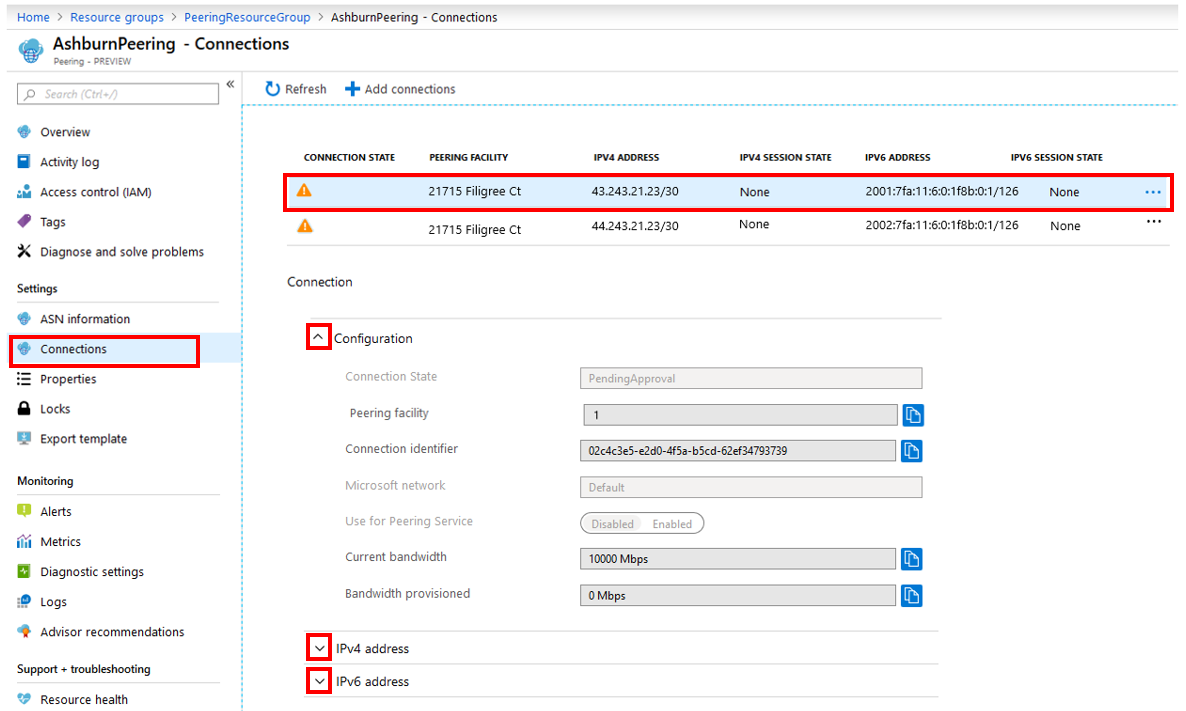
- Connection State corresponds to the state of the peering connection setup. The states displayed in this field follow the state diagram shown in the Direct peering walkthrough.
- IPv4 Session State and IPv6 Session State correspond to the IPv4 and IPv6 BGP session states, respectively.
- When you select a row at the top of the screen, the Connection section on the bottom shows details for each connection. Select the arrows to expand Configuration, IPv4 address, and IPv6 address.
Related content
Feedback
Coming soon: Throughout 2024 we will be phasing out GitHub Issues as the feedback mechanism for content and replacing it with a new feedback system. For more information see: https://aka.ms/ContentUserFeedback.
Submit and view feedback for