Quickstart: Set Microsoft 365 groups to expire in Microsoft Entra ID
In this quickstart, you set the expiration policy for your Microsoft 365 groups. When users can set up their own groups, unused groups can multiply. One way to manage unused groups is to set those groups to expire, to reduce the maintenance of manually deleting groups.
Expiration policy is simple:
- Groups with user activities are automatically renewed as the expiration nears
- Group owners are notified to renew an expiring group
- A group that is not renewed is deleted
- A deleted Microsoft 365 group can be restored within 30 days by a group owner or by a Microsoft Entra administrator
Note
Microsoft Entra ID, part of Microsoft Entra, uses intelligence to automatically renew groups based on whether they have been in recent use. This renewal decision is based on user activity in groups across Microsoft 365 services like Outlook, SharePoint, Teams, Yammer, and others.
If you don't have an Azure subscription, create a free account before you begin.
Prerequisite
The least-privileged role required to set up group expiration is User administrator in the organization.
Turn on user creation for groups
Tip
Steps in this article might vary slightly based on the portal you start from.
Sign in to the Microsoft Entra admin center as at least a Global Administrator.
Browse to Identity > Groups > All groups and then select General.
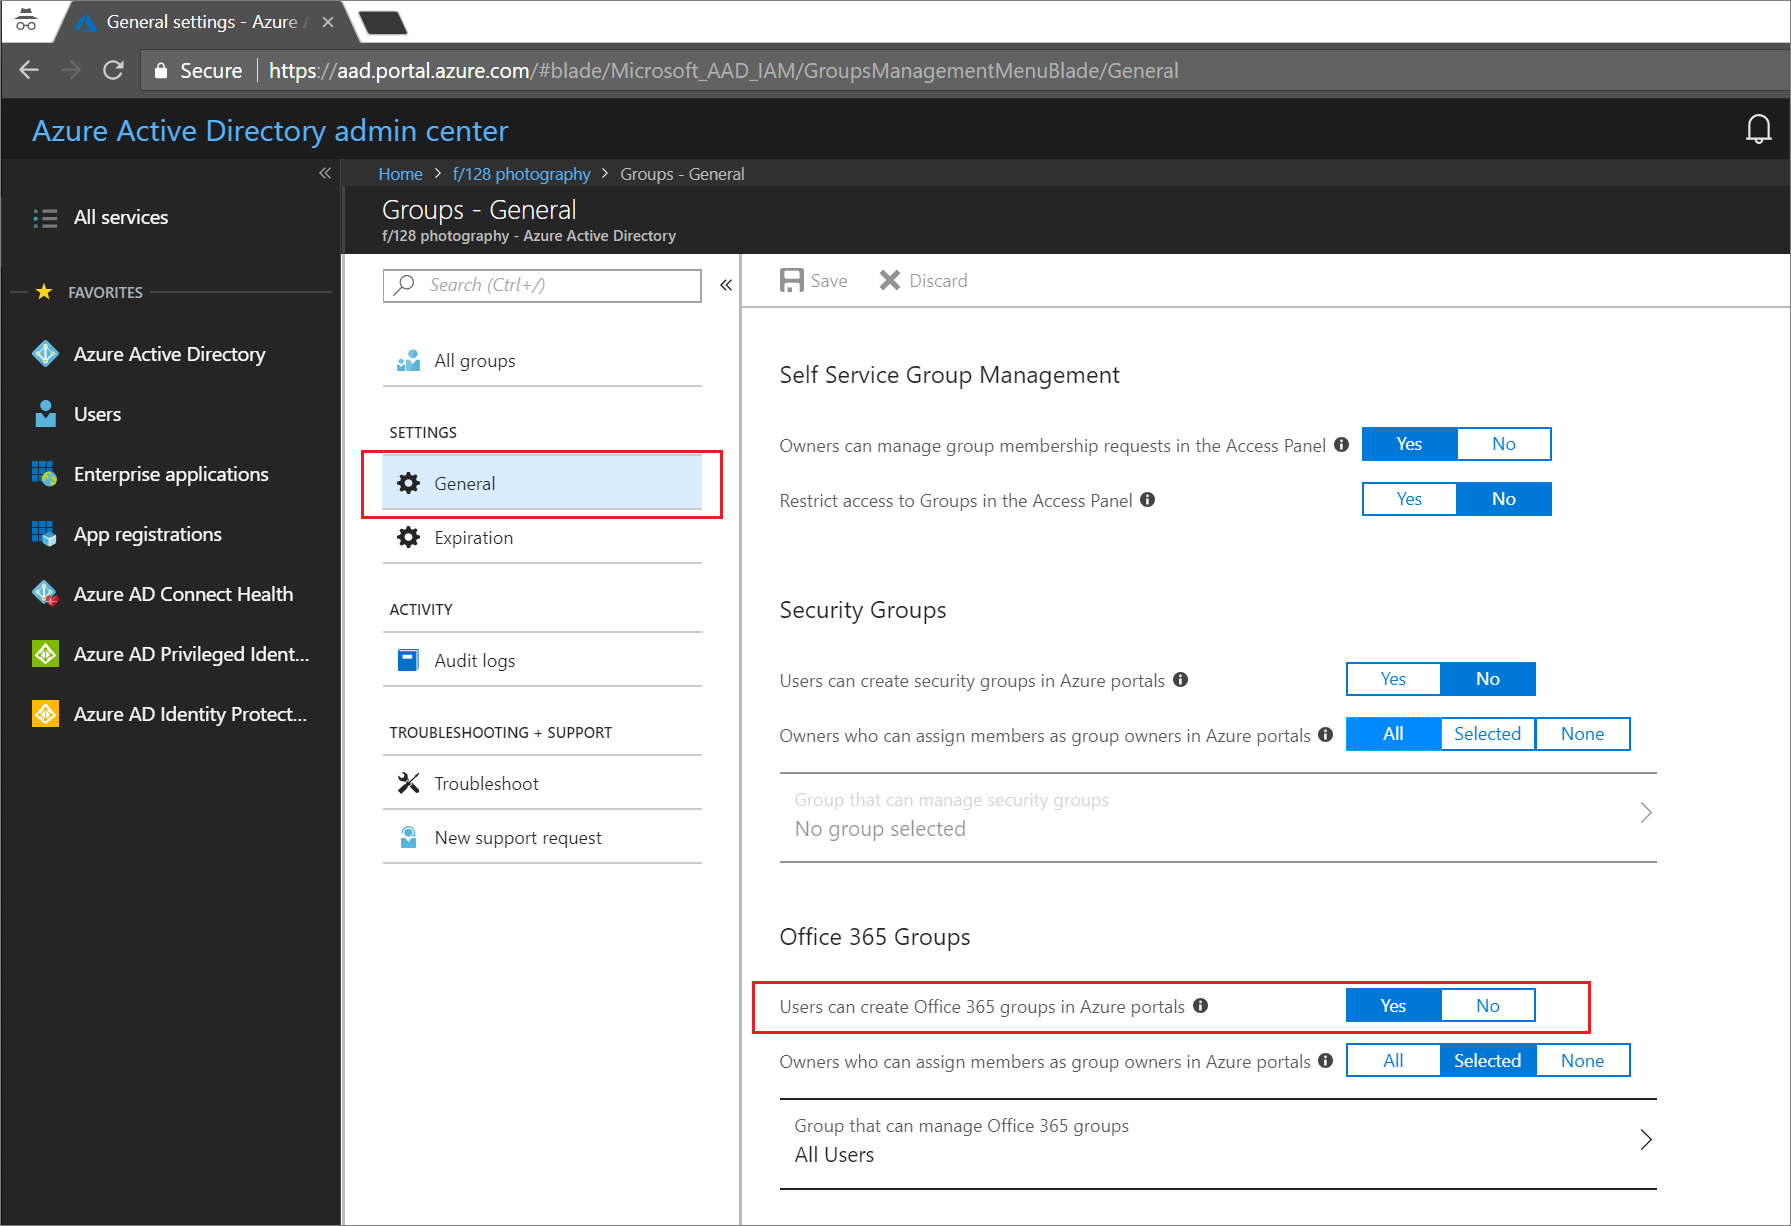
Set Users can create Microsoft 365 groups in Azure portals, API or PowerShell to Yes.
Select Save to save the groups settings when you're done.
Set group expiration
Sign in to the Microsoft Entra admin center as at least a Groups Administrator.
Browse to Identity > Groups > All groups > Expiration to open the expiration settings.
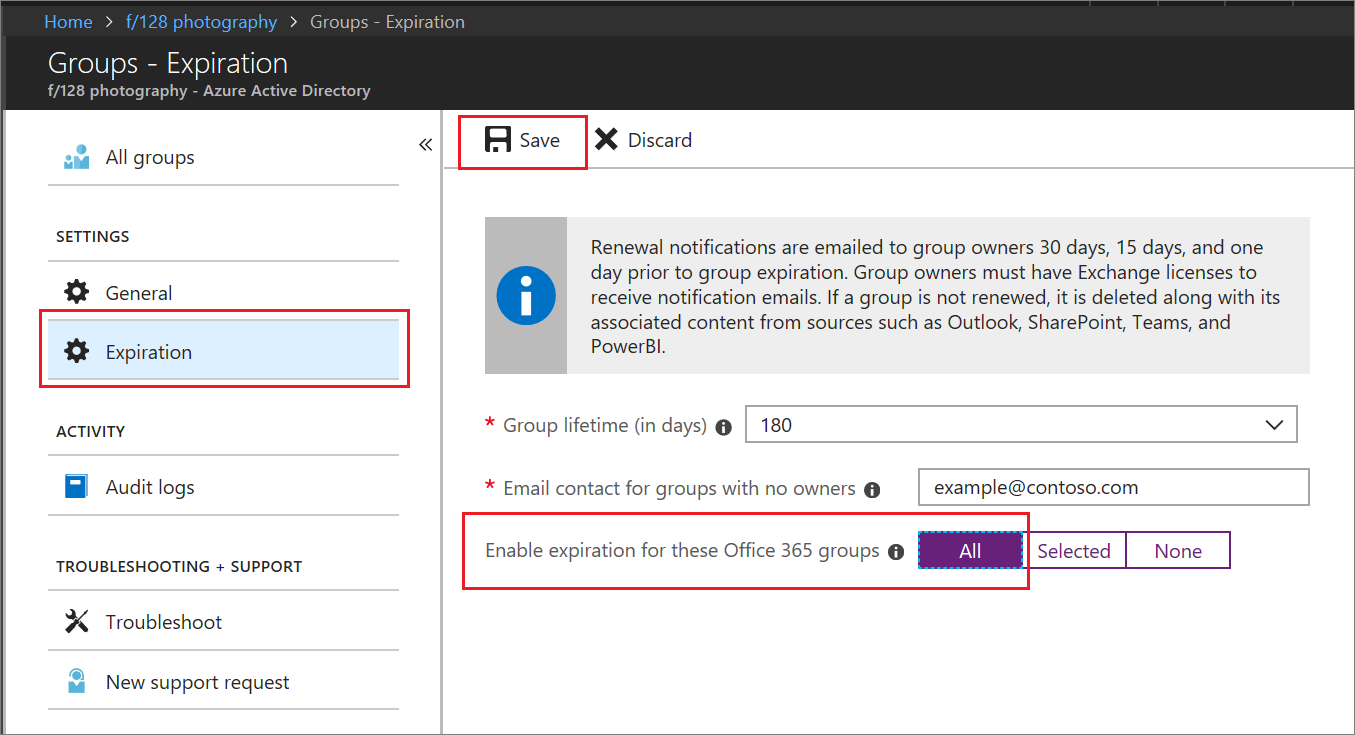
Set the expiration interval. Select a preset value or enter a custom value over 31 days.
Provide an email address where expiration notifications should be sent when a group has no owner.
For this quickstart, set Enable expiration for these Microsoft 365 groups to All.
Select Save to save the expiration settings when you're done.
That's it! In this quickstart, you successfully set the expiration policy for the selected Microsoft 365 groups.
Clean up resources
To remove the expiration policy
- Sign in to the Microsoft Entra admin center as at least a Groups Administrator.
- Browse to Identity > Groups > All groups > Expiration.
- Set Enable expiration for these Microsoft 365 groups to None.
To turn off user creation for groups
- Browse to Identity > Groups > Group settings > General.
- Set Users can create Microsoft 365 groups in Azure portals to No.
Next steps
For more information about expiration including PowerShell instructions and technical constraints, see the following article:
Palaute
Tulossa pian: Vuoden 2024 aikana poistamme asteittain GitHub Issuesin käytöstä sisällön palautemekanismina ja korvaamme sen uudella palautejärjestelmällä. Lisätietoja on täällä: https://aka.ms/ContentUserFeedback.
Lähetä ja näytä palaute kohteelle