Video translation in the studio
Note
This feature is currently in public preview. This preview is provided without a service-level agreement, and we don't recommend it for production workloads. Certain features might not be supported or might have constrained capabilities. For more information, see Supplemental Terms of Use for Microsoft Azure Previews.
In this article, you learn how to use Azure AI Speech video translation in the studio.
All it takes to get started is an original video. See if video translation supports your language and region.
Create a video translation project
To create a video translation project, follow these steps:
Sign in to the Speech Studio.
Select the subscription and Speech resource to work with.
Select Video translation.
On the Create and Manage Projects page, select Create a project.
On the New project page, select Voice type.
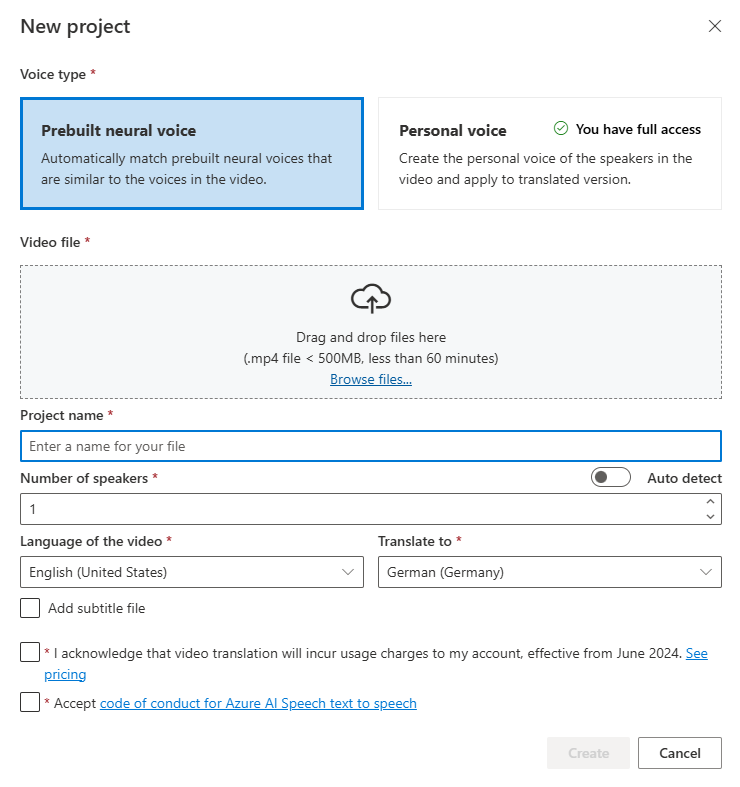
You can select Prebuilt neural voice or Personal voice for Voice type. For prebuilt neural voice, the system automatically selects the most suitable prebuilt voice by matching the speaker's voice in the video with prebuilt voices. For personal voice, the system provides the model with superior voice cloning similarity. To use personal voice, you need to apply for access.
Upload your video file by dragging and dropping the video file or selecting the file manually.
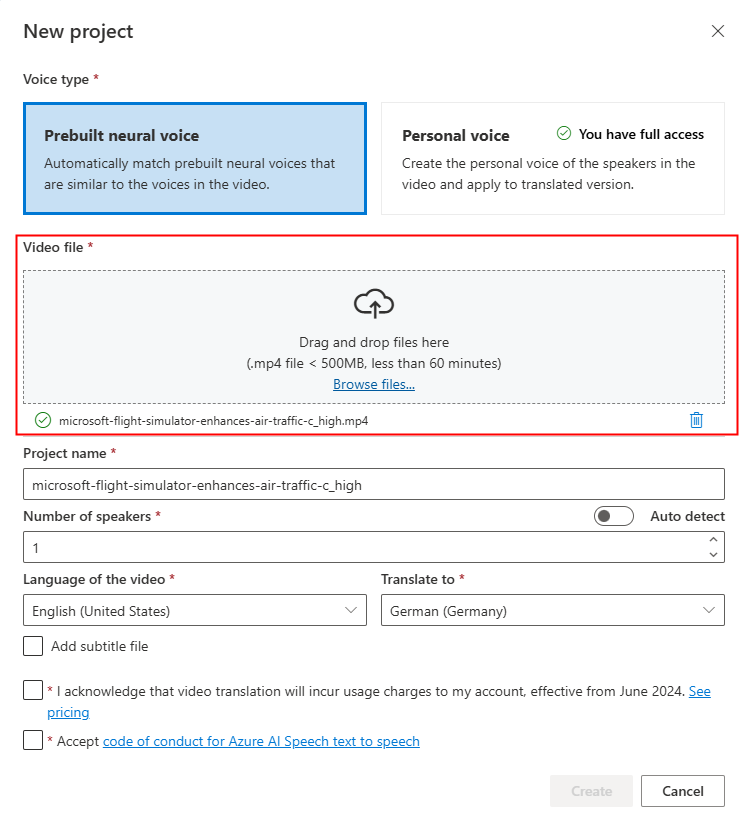
Ensure the video is in .mp4 format, less than 500 MB, and shorter than 60 minutes.
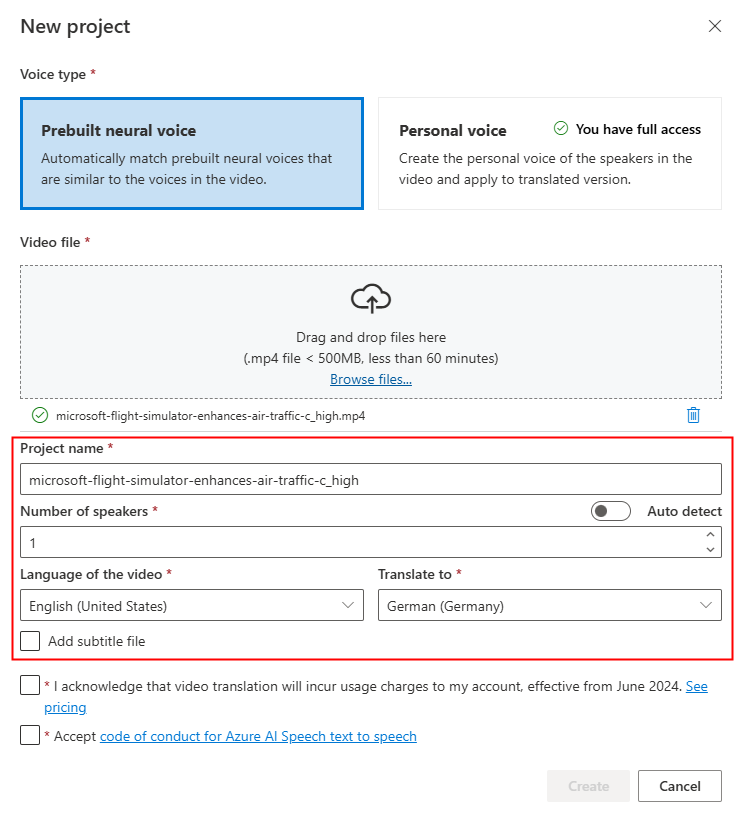
Provide Project name, and select Number of speakers, Language of the video, Translate to language.
If you want to use your own subtitle files, select Add subtitle file. You can choose to upload either the source subtitle file or the target subtitle file. The subtitle file can be in WebVTT or JSON format. You can download a sample VTT file for your reference by selecting Download sample VTT file.
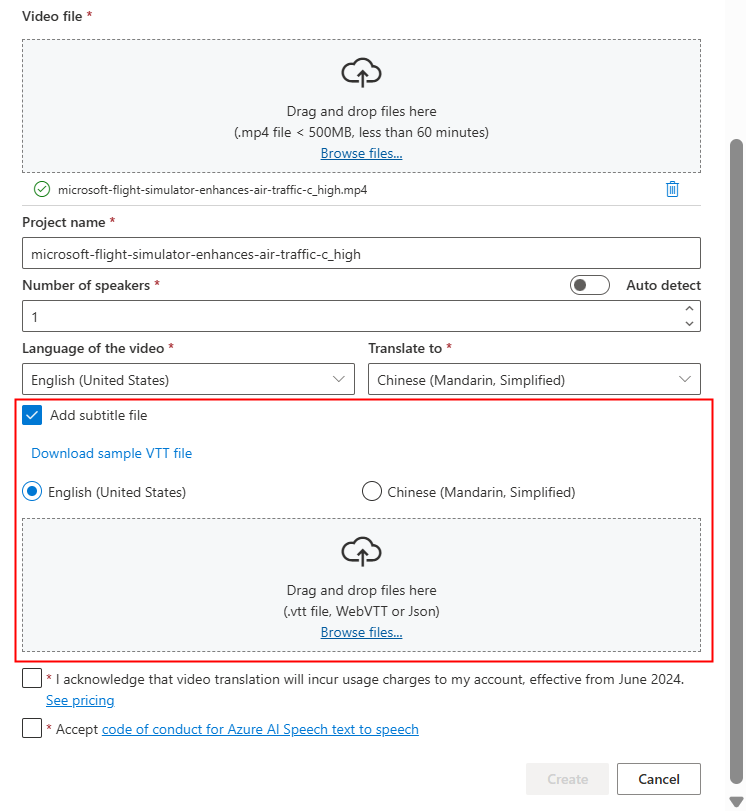
After reviewing the pricing information and code of conduct, then proceed to create the project.
Once the upload is complete, you can check the processing status on the project tab.
After the project is created, you can select the project to review detailed settings and make adjustments according to your preferences.
Check and adjust voice settings
On the project details page, the project offers two tabs Translated and Original under Video, allowing you to compare them side by side.
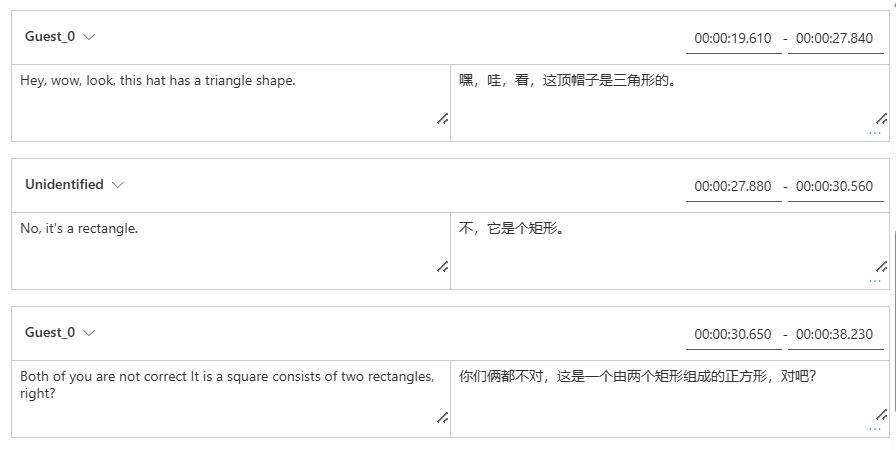
On the right side of the video, you can view both the original script and the translated script. Hovering over each part of the original script triggers the video to automatically jump to the corresponding segment of the original video, while hovering over each part of the translated script triggers the video to jump to the corresponding translated segment.
You can also add or remove segments as needed. When you want to add a segment, ensure that the new segment timestamp doesn't overlap with the previous and next segment, and the segment end time should be larger than the start time. The correct format of timestamp should be hh:mm:ss.ms. Otherwise, you can't apply the changes.
You can adjust the time frame of the scripts directly using the audio waveform below the video. After selecting Apply changes, the adjustments will be applied.
If you encounter segments with an "unidentified" voice name, it might be because the system couldn't accurately detect the voice, especially in situations where speaker voices overlap. In such cases, it's advisable to manually change the voice name.
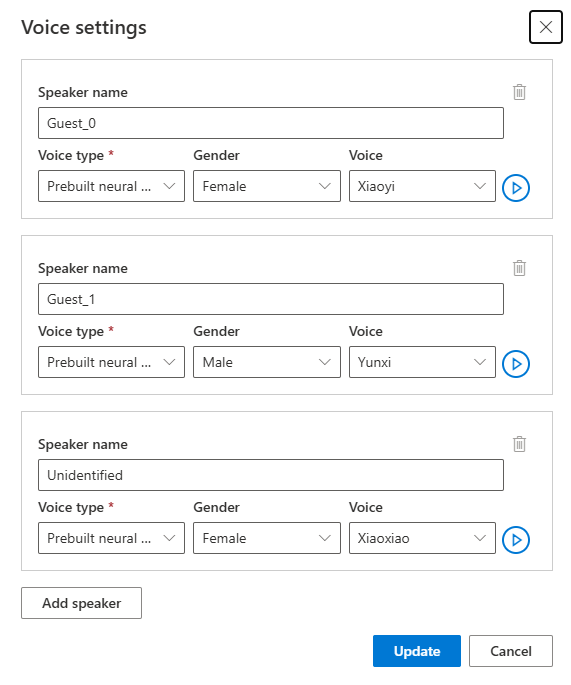
If you want to adjust the voice, select Voice settings to make some changes. On the Voice settings page, you can adjust the voice type, gender, and the voice. Select the voice sample on the right of Voice to determine your voice selection. If you find there is missing voice, you can add the new voice name by selecting Add speaker. After changing the settings, select Update.
If you make changes multiple times but haven't finished, you only need to save the changes you've made by selecting Save. After making all changes, select Apply changes to apply them to the video. You'll be charged only after you select Apply changes.
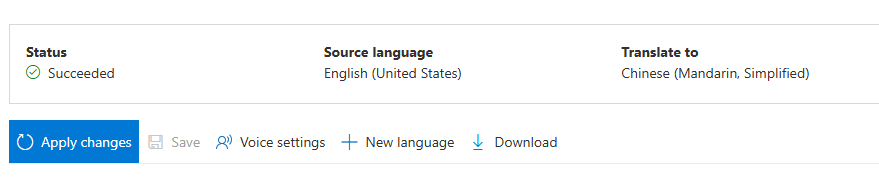
You can translate the original video into a new language by selecting New language. On the Translate page, you can choose a new translated language and voice type. Once the video file has been translated, a new project is automatically created.