Clone a Git repository in Visual Studio
Visual Studio makes it easy to clone a repository right from the IDE. You can work remotely with the Git provider of your choice, such as GitHub or Azure DevOps. If you need to create a new repository instead of cloning an existing one, see Create a repository from Visual Studio.
Prerequisites
To follow this article, you'll need:
Clone a GitHub repo and sign in
Open Visual Studio.
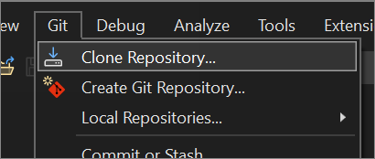
From the Git menu, select Clone Repository.
Note
If you haven't interacted with the Git menu before, you might see Clone instead of Clone Repository. If so, select Clone.
And, if Git isn't on the menu bar, go to Tools > Options > Source Control > Plug-in Selection, and then select Git from the Current source control plug-in dropdown list.
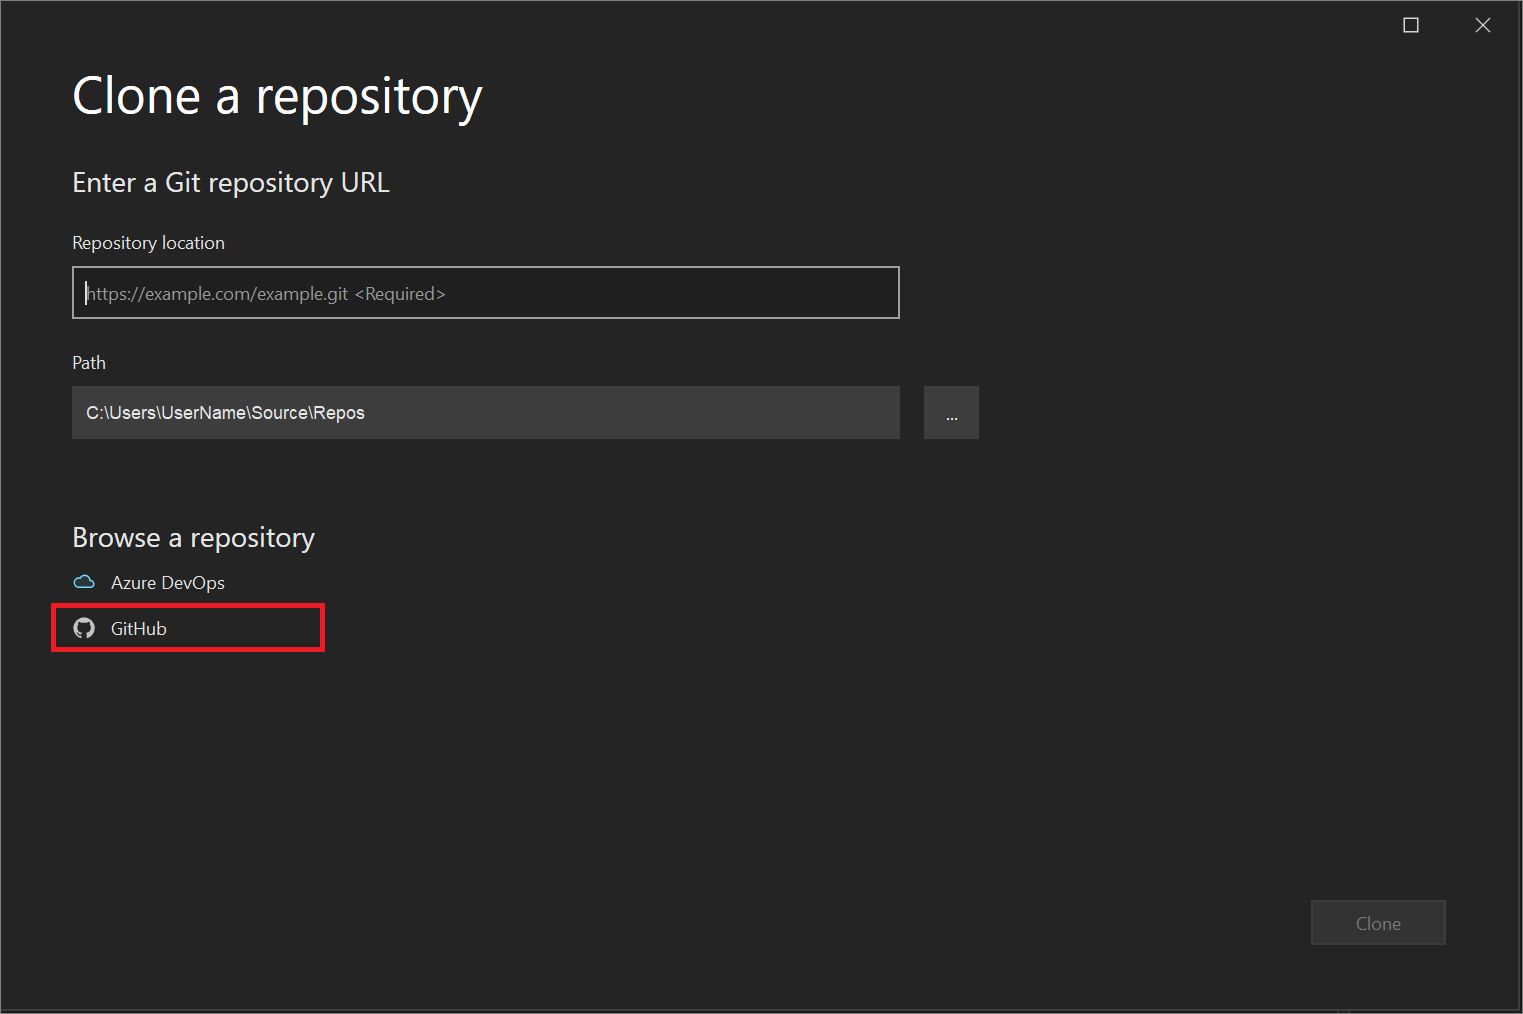
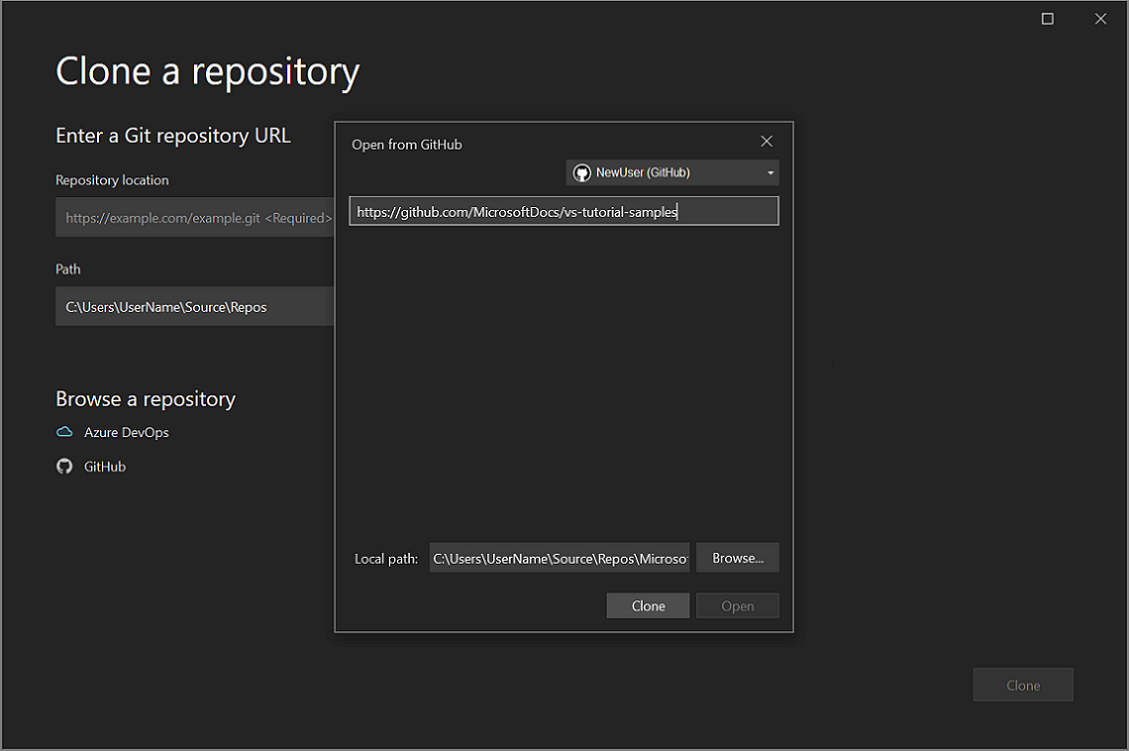
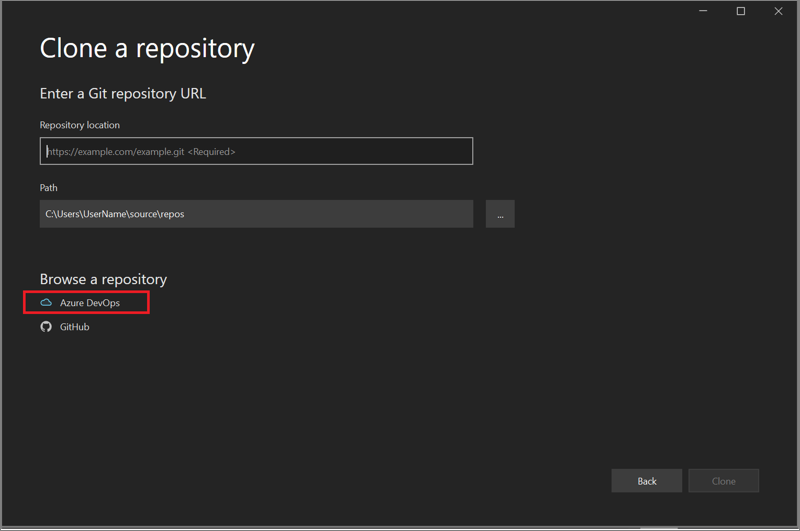
In the Clone a repository window, under the Enter a Git repository URL section, add your repo info in the Repository location box.
Next, in the Path section, you can choose to accept the default path to your local source files, or you can browse to a different location.
Then, in the Browse a repository section, select GitHub.
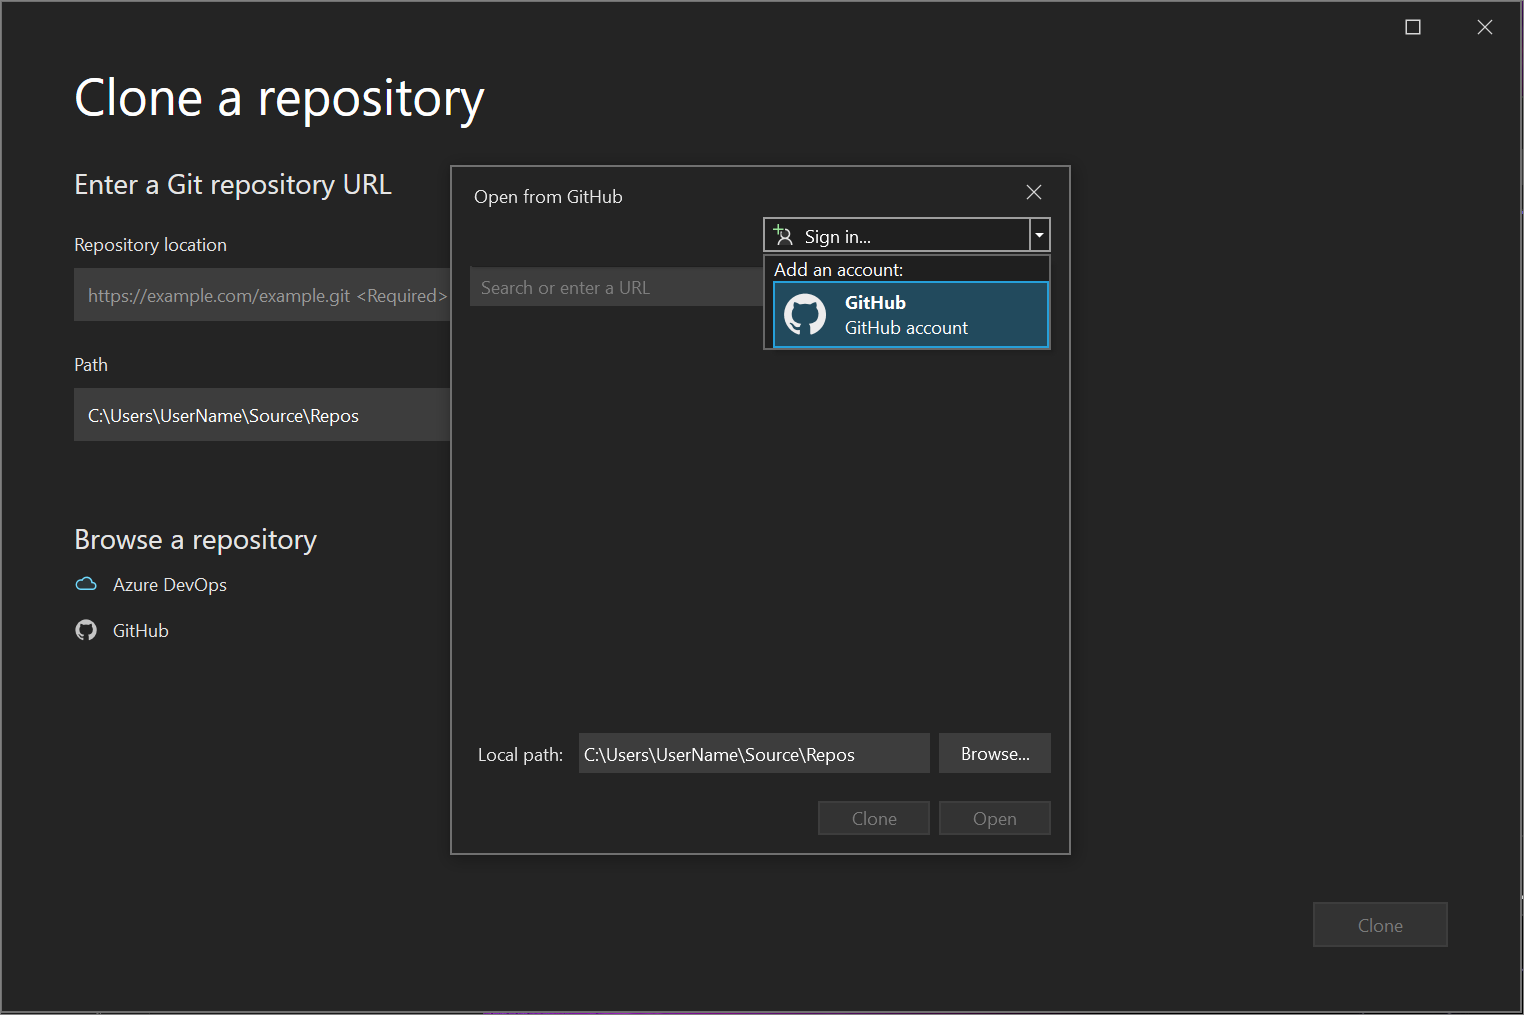
In the Open from GitHub window, you can either verify your GitHub account information or you can add it. To do so, select Sign in from the drop-down menu.
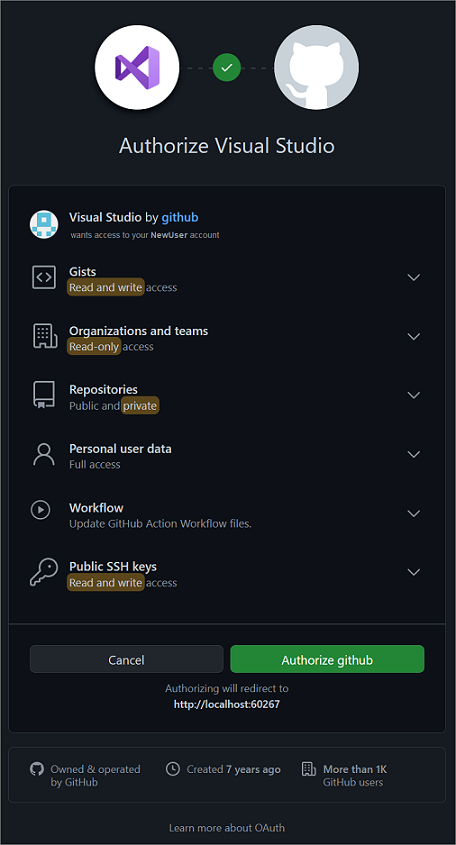
If you're signing in to GitHub from Visual Studio for the first time, an Authorize Visual Studio notice appears. Choose the options you want, and then select Authorize github.
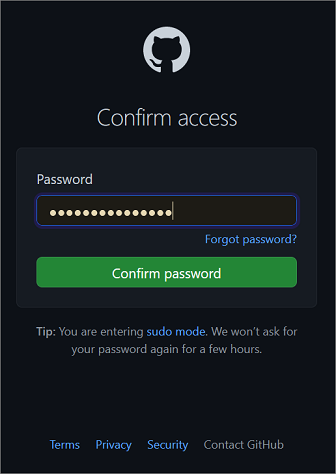
Next, you'll see an authorization confirmation window. Enter your password, and then select Confirm password.
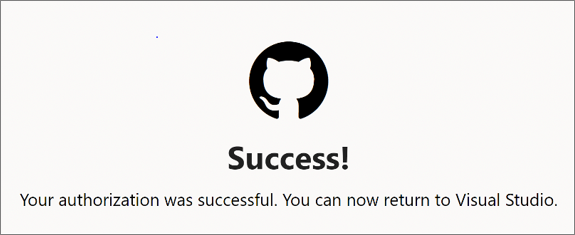
After you link your GitHub account with Visual Studio, a Success notification appears.
After you sign in, Visual Studio returns to the Clone a repository dialog, where the Open from GitHub window lists all the repositories that you have access to. Select the one you want, and then select Clone.
If a list of repositories doesn't appear, enter the location of your repo, and then select Clone.
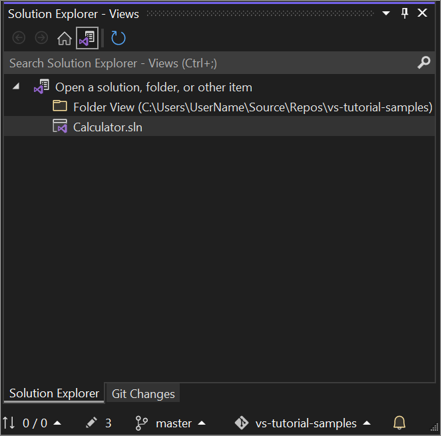
Next, Visual Studio presents a list of solution(s) in the repository. Choose the solution you would like to load or open the Folder View in Solution Explorer.
Tip
You can change the default Folder View to Solution View from the Git menu. Select Settings > Source Control > Git Global Settings > Automatically load the solution when opening a Git repository to do so.


Open an existing local repository
After you’ve cloned a repo or created one, Visual Studio detects the Git repository and adds it to your list of Local Repositories in the Git menu. From there, you can quickly access and switch between your Git repositories.
Browse to and then clone an Azure DevOps repo
Open Visual Studio.
From the Git menu, select Clone Repository.

In the Browse a repository section of the Clone a repository dialog box, select Azure DevOps.
A Connect to a Project dialog box appears. Follow the prompts to sign in to your Azure account, and then browse to Azure DevOps Server that hosts the files you're looking for.
Related content
Visszajelzés
Hamarosan elérhető: 2024-ben fokozatosan kivezetjük a GitHub-problémákat a tartalom visszajelzési mechanizmusaként, és lecseréljük egy új visszajelzési rendszerre. További információ: https://aka.ms/ContentUserFeedback.
Visszajelzés küldése és megtekintése a következőhöz: