Exercise 2 - Configure Microsoft Clarity
In this exercise, you'll create your Microsoft Clarity project and then set up the Clarity project and your website to complete the integration.
Task 1: Sign in to Clarity and create your project
To sign in to Microsoft Clarity and then create your project, follow these steps:
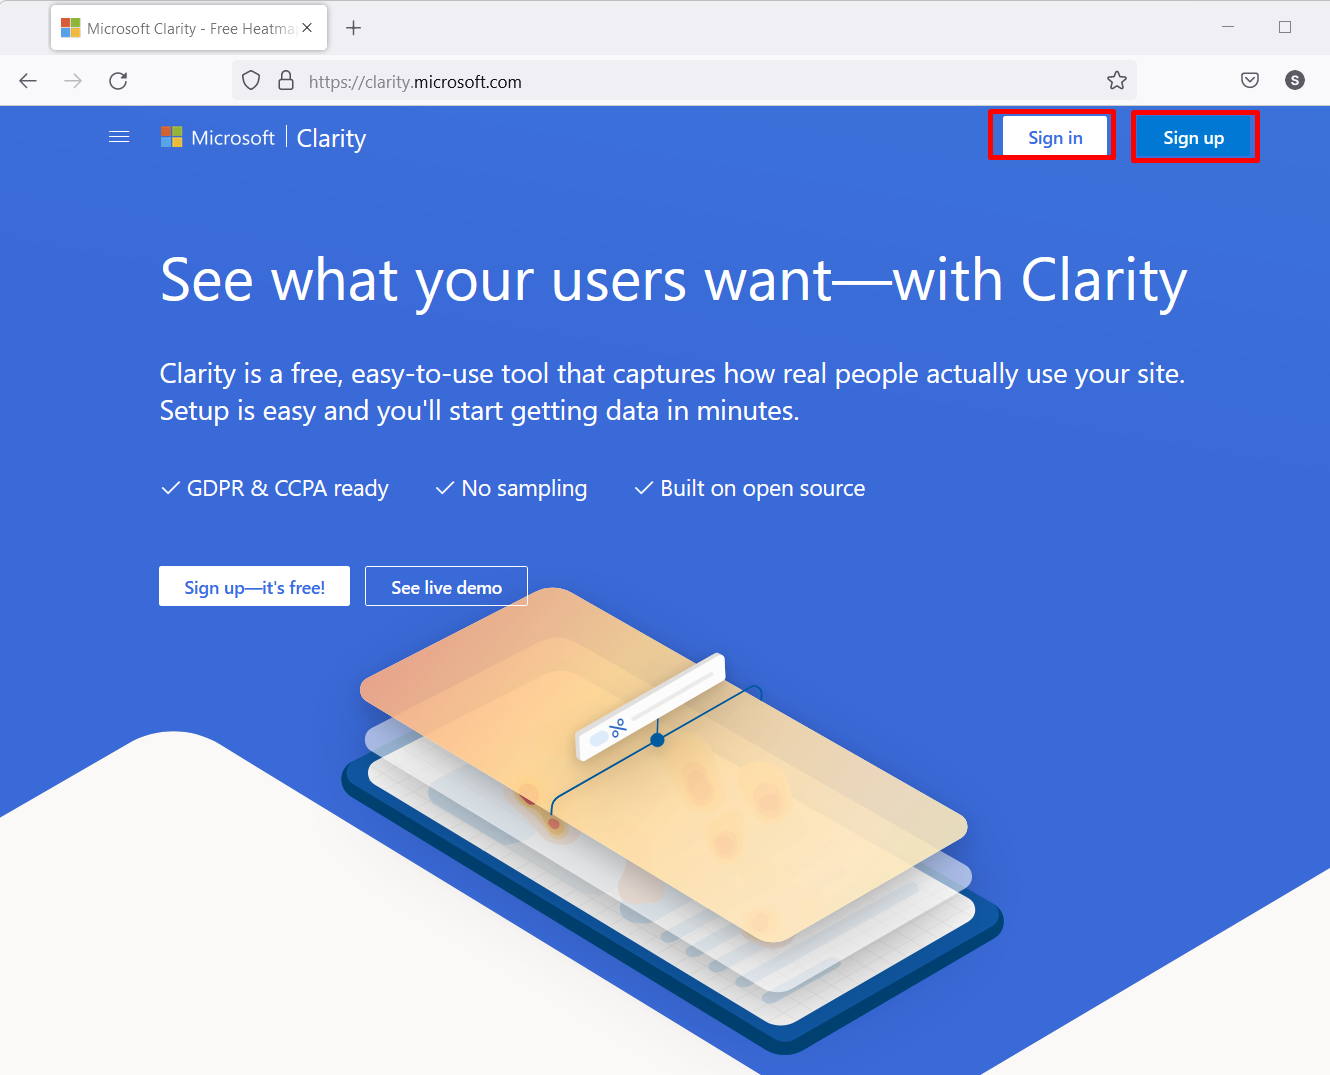
Go to Microsoft Clarity. If you have a Microsoft account, whether work or personal, select Sign in. If you don't have a Microsoft account, select Microsoft account and Sign up to create one for free. For the purposes of this lab, you can use your work account because it's a free service.
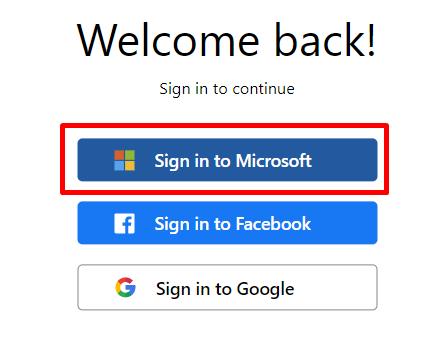
Select Sign in to Microsoft.
The following pop-up window will appear, where you can Add new project. You can use the project that’s shown in the following screenshot.

Alternatively, you can select the Cancel button in the lower-left corner or select the X in the upper-left corner and then use any + Add new project button, as shown in the following image.
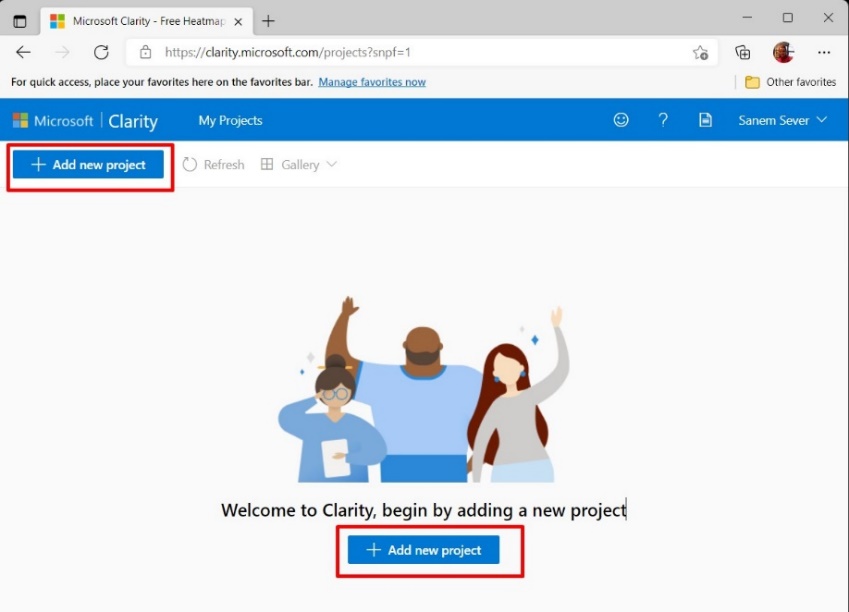
The same pop-up window to Add new project will appear for all options that are shown in the preceding screenshot.
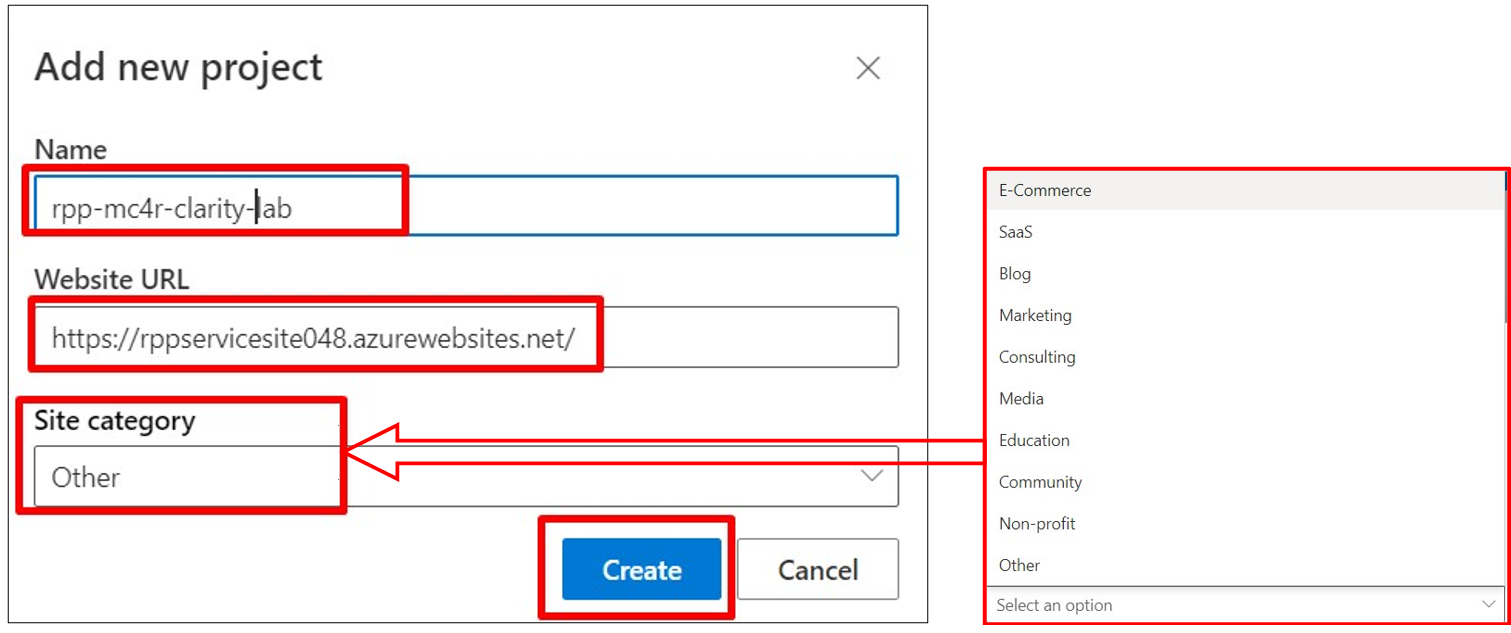
Fill in the form on the pop-up window with the following details:
Choose a name for your Clarity project and then enter it in the Name field.
In the Website URL field, paste the URL that you previously saved.
From the Site category dropdown menu, choose a website category. You can select Other for this sample application, but various other categories are available for you to choose from, such as E-Commerce, SaaS, Blog, Marketing, Consulting, Media, Education, Community, or Non-profit.
Select Create.
After you select Create, you'll be forwarded to the Setup section. Copy the Clarity tracking code that’s provided for you in the Install tracking code manually section to integrate Clarity into your custom website.
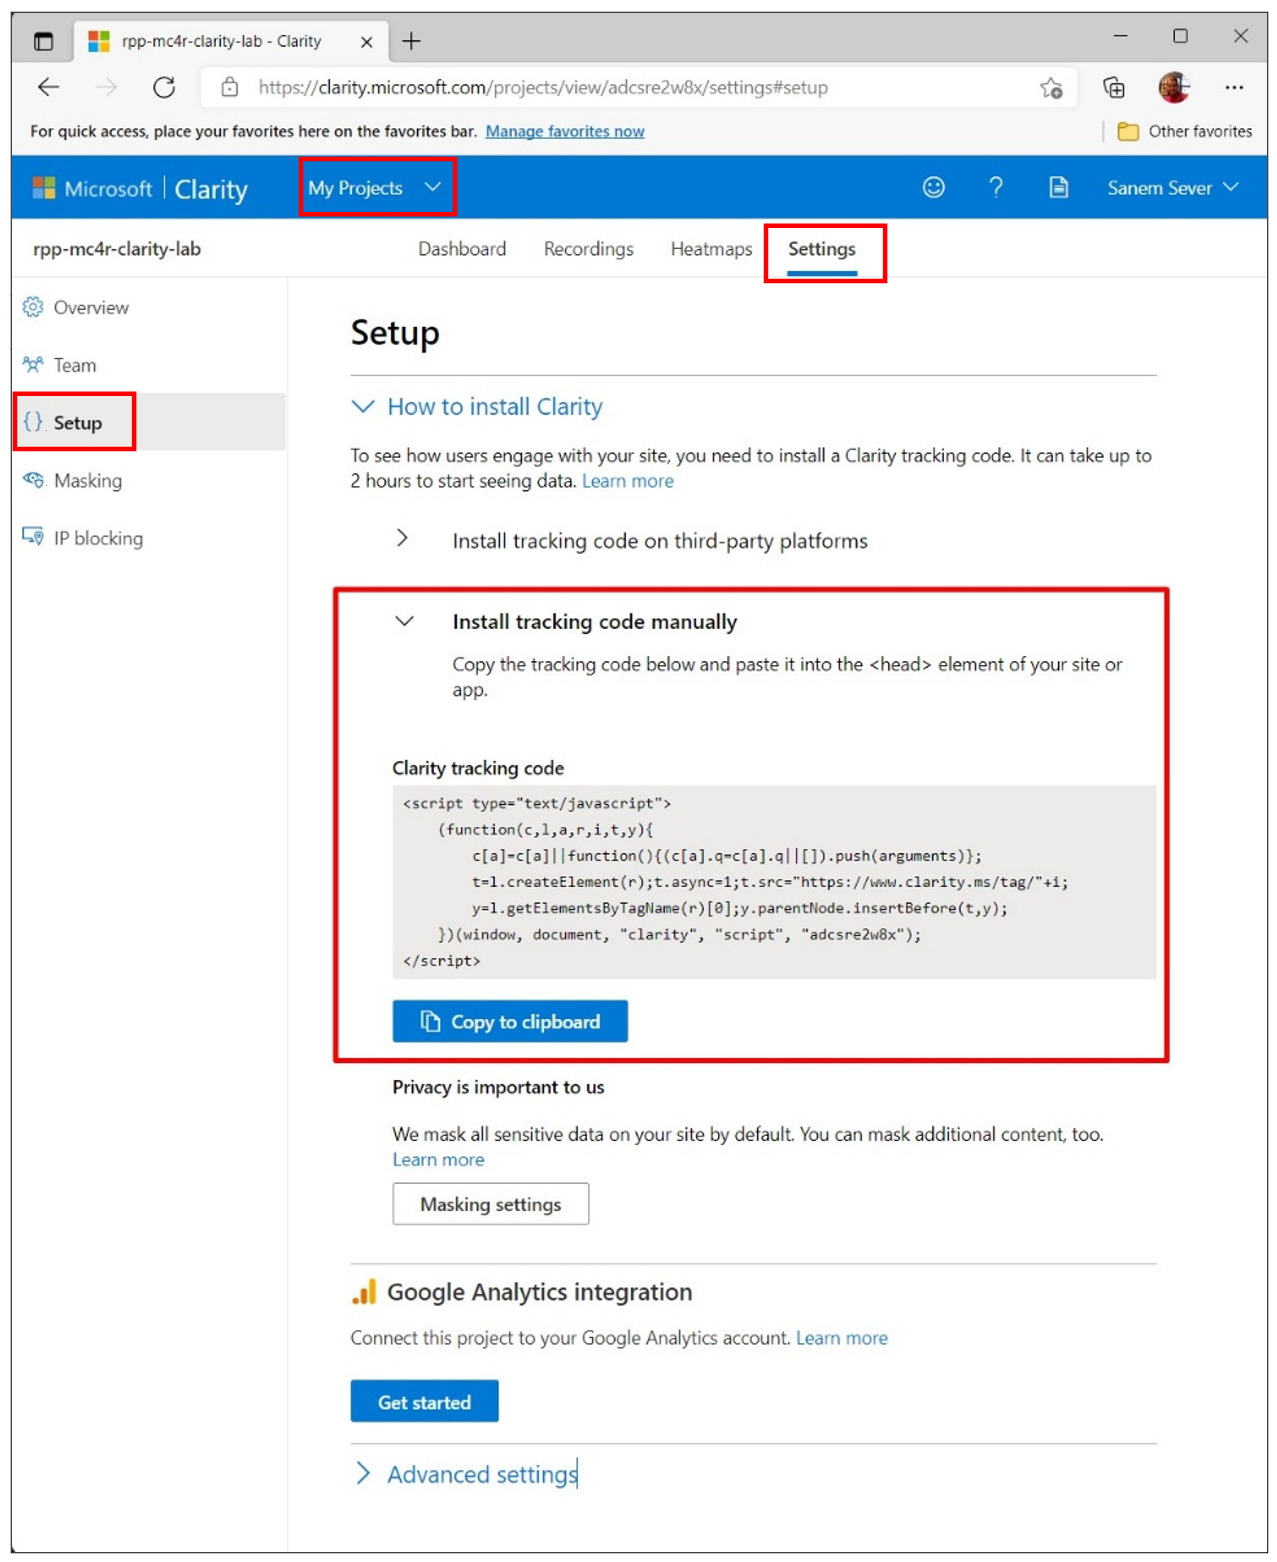
If you forget to copy the tracking code, you can go to My Projects, choose the project that you want to integrate with your website, and then select Settings > Setup. In the How to install Clarity expandable section, you'll find the tracking code in the Install tracking code manually section.
Important
Read the warning under the Install tracking code manually section, which states that the data flow from your application to Clarity Portal can take up to 2 hours. Therefore, after performing the steps in this exercise, you’ll continue with other labs and then return to this exercise later, when the data from your application will be synced to Microsoft Clarity.
Task 2: Embed/install the Clarity tracking code to the custom website and redeploy the website
To embed/install the Clarity tracking code to the custom website and redeploy the website, follow these steps:
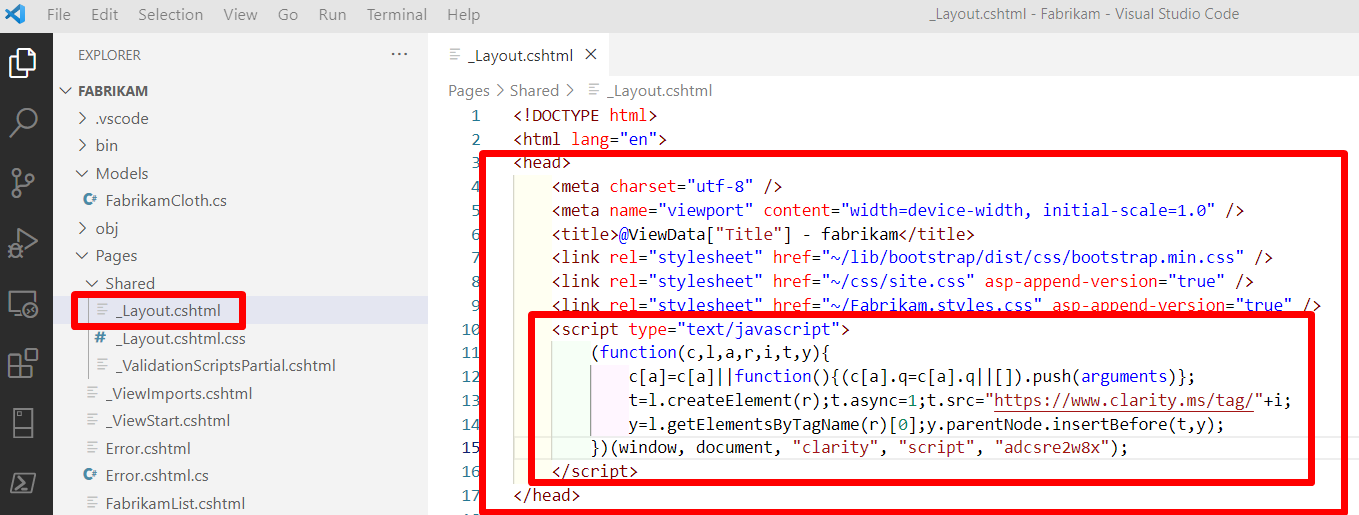
Return to Visual Studio Code and expand the >Pages sub directory and the >Shared sub directory and then select _Layout.cshtml. Locate the <HEAD></HEAD> section, where you'll integrate the tracking code. Paste the tracking code as the last item in the <HEAD></HEAD> section, as shown in the following screenshot, and then save by using the Ctrl+S keyboard shortcut.
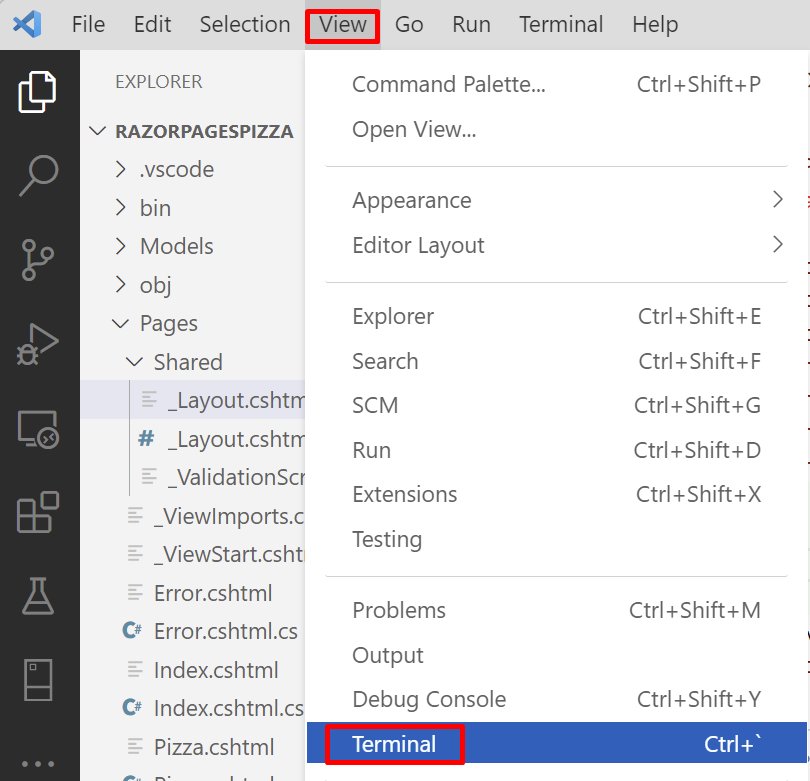
Check locally whether the web application still works properly by using the Terminal section of Visual Studio Code. If the Terminal window doesn’t display, you can go to the View menu and select the Terminal menu item to enable it.
Type
dotnet runin the Terminal screen and then press the Enter key to watch the website build without an error after your change. The result will list local host URLs. You can select one and reach your website from local installation. Use the Ctrl+C keyboard shortcut to shut down the local instance.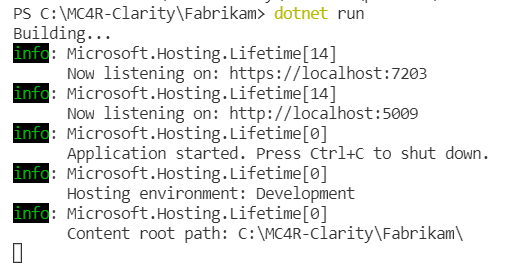
To build and create the Clarity-integrated website executables, type
dotnet publish -c Release -o ./publishand then press the Enter key.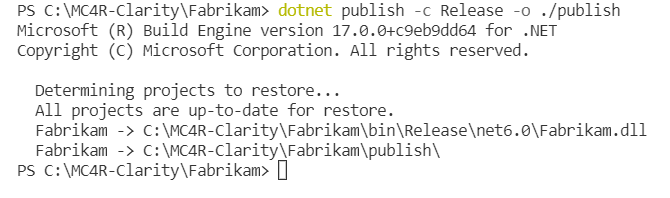
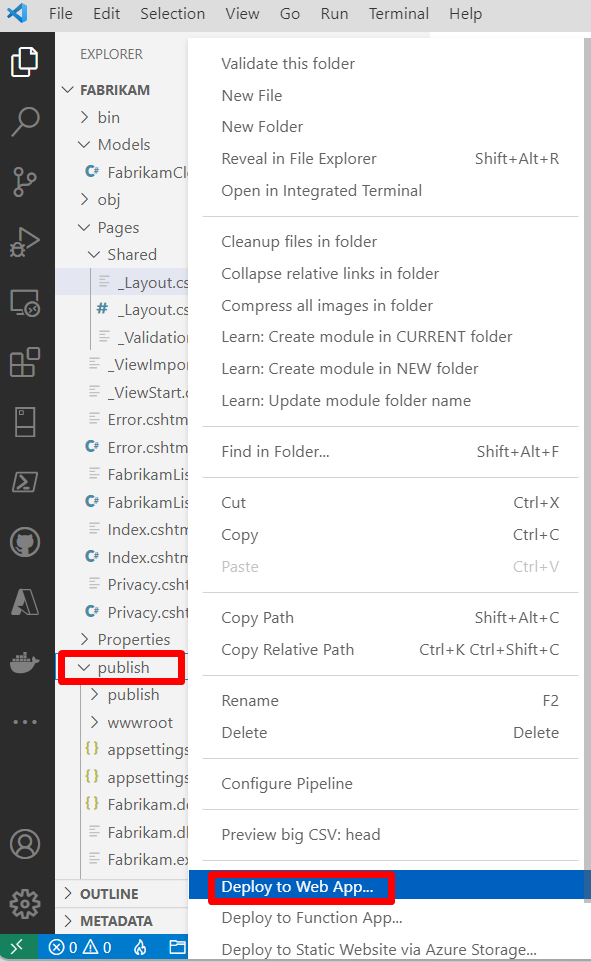
To redeploy a new version of the website, go to >publish in the Explorer window, and then right-click to find and select the Deploy to Web App menu item.
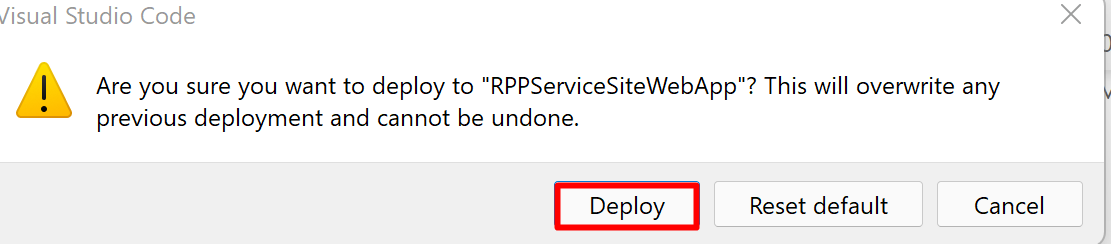
If you selected Yes when Visual Studio Code asked if you want to "Always deploy same webapp," the following window will appear, where you can select Deploy. If this pop-up window doesn’t appear, continue from item e.
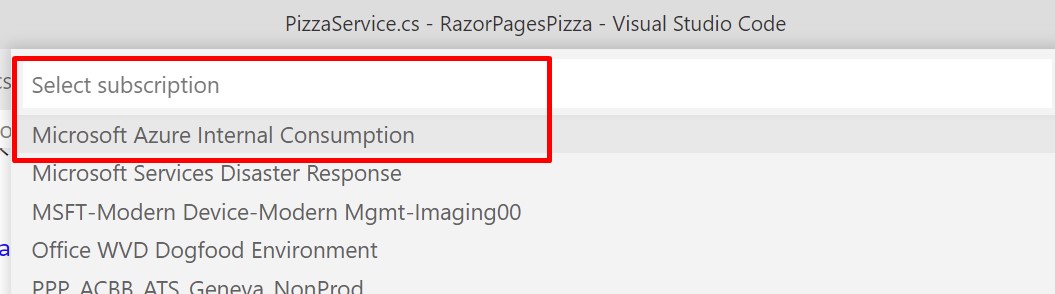
If you didn't sign out from the Azure account that you used previously, Visual Studio Code will ask you to select your subscription again. If so, then select the subscription that you used previously.
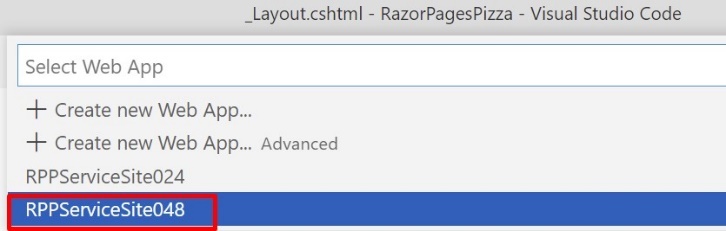
Visual Studio Code will ask you to select the web app to redeploy. Select the one that you previously deployed to.
Browse to your website from your mobile devices and your computer, multiple times. Then, select the URLs, explore the form on the Cloth Stocks page, and then add and delete some cloths. This action will create the usage logs and recordings that Clarity will use to build its dashboards, heatmaps, and recordings. You can ask friends or colleagues to explore your website as well.
Important
Synching the application logs with Microsoft Clarity can take from 30 minutes to two hours. Therefore, after completing this exercise, you’ll start the remaining labs. After completing those labs, you’ll return to this lab and continue with Exercise 3.
Congratulations, you've integrated your custom website with Microsoft Clarity.