Working with modern client-side pages using PnP PowerShell
Note
This is an open-source article with the community providing support for it. For official Microsoft content, see Microsoft 365 documentation.
Note
The below sample codes is updated to work with the PnP.PowerShell version 1.11.0
If you need to work with SharePoint Online, whether it's doing some minor modifications or building a custom SharePoint provisioning solution, PnP PowerShell is one of the greatest tools there is. It will certainly help you achieve your goals. PnP is a lot more than just PowerShell, but since I'm an IT-Pro at heart, PowerShell is the number one tool I have in my toolkit.
First things first, if you are unfamiliar or new to PnP, head over to the PnP PowerShell overview to get introductions and guidance on how to setup this.
Client-side pages is a big topic. In this article I will cover some real world use cases where I've been using PnP PowerShell.
Some basics
Tip
- Client-side page is a term we use to tell others that the page we are working with is a SharePoint modern ".aspx" page.
- Currently Site Designs and Site Scripts don't have support for Client-side pages
- You should be the owner of the site you are working with as it will make a lot of things easier
Connecting to SharePoint with PnP
This is the first command we need to know in PnP:
Connect-PnPOnline -Url $siteUrl -Interactive
Note
The switch "Interactive" will make sure you can authenticate if your account is configured with MFA, and provides more features. But this requires the tenant admin approval of the "PnP Management Shell" app in Microsoft Entra ID, and it's not easy to get this approval sometimes.
After connecting you can start working with the pages you have in the site.
The code below will create a new page named "Welcome" and add some web parts on the page.
    #Set variable pagename
    $pagename = "Welcome"

    #Add 3 new sections to the page
    $page = Add-PnPPage -Name $pagename -LayoutType Home #Using layouttype Home, removes the title and banner zone

    Add-PnPPageSection -Page $page -SectionTemplate OneColumn -Order 1 # OneColumnFullWidth is only available if the site is a Communication site

    Add-PnPPageSection -Page $page -SectionTemplate TwoColumn -Order 2

    Add-PnPPageSection -Page $page -SectionTemplate OneColumn -Order 3

    #Add Hero webpart to page
    Add-PnPPageWebPart -Page $page -DefaultWebPartType "Hero" -Section 1 -Column 1

    #Add text webpart to page
    Add-PnPPageTextPart -Page $page -Text "Lorem ipsum dolor sit amet, consectetuer adipiscing elit. Maecenas porttitor congue mass a. Fusce posuere, magna sed pulvinar ultricies, purus lectus malesuada libero, sit amet commodo magna eros quis urna." -Section 2 -Column 1

    #Add the list webpart to the page, but stating that it's a document library then add the library GUID
    Add-PnPPageWebPart -Page $page -DefaultWebPartType "List" -Section 3 -Column 1 -WebPartProperties @{isDocumentLibrary="true";webRelativeListUrl="/Shared Documents"}
Now we want to modify another page: Home.aspx
We'll start by creating a $page output containing the details about the page.
    $page = Get-PnPPage -Identity Home.aspx
    $page.Controls # this will give us a full view of all webpart on the page, and their properties

Based on the output above, running the below code will give us the properties of the "Document library" webpart on the page, and you can see that it's linked by default to the default document library.
    $page = Get-PnPPage -Identity Home.aspx
    $webpart = $page.Controls | ? {$_.InstanceId -eq "ffa23c74-bf22-42d0-8889-9a996fd8642b"}
    $webpart.PropertiesJson

We create a new view in the Document Library and set this as standard for the webpart, then run the above code one more time. Note the "viewid" value in the URL.
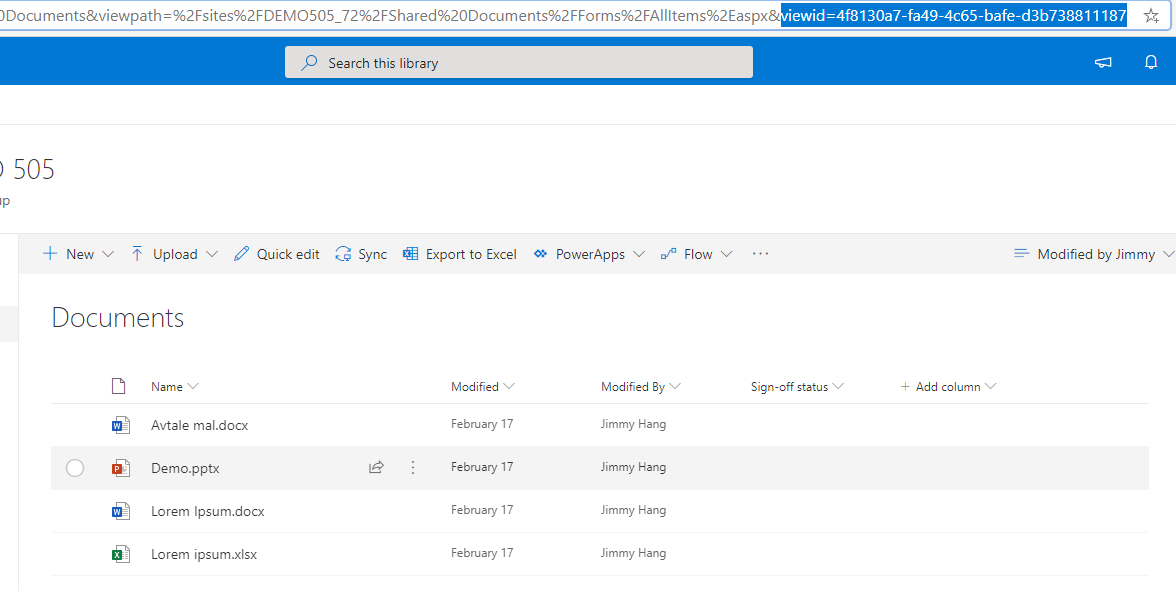
The new output will have a lot more details about the new webpart configurations:

"selectedListUrl":"/sites/DEMO505_72/Shared Documents"
"selectedListId":"6a041fef-b2a2-45b4-b827-c1b268bc63d3"
"selectedViewId":"4f8130a7-fa49-4c65-bafe-d3b738811187"
In order to work with the webpart properties through PowerShell, I had to convert the properties from JSON, make changes, convert back to JSON, then update the web part.
For example, if we want to set the default web part view without manually editing the page, first we need to find the view ID. You will find this in the library when you change the view, or by using "Get-PnPView".
I now have two views in my library:
- AllItems | 43539779-8800-4745-a680-01aca0c43139
- Modified by Jimmy | 4f8130a7-fa49-4c65-bafe-d3b738811187
Code to update the webpart
    $webpartJson = $webpart.PropertiesJson
    $webpartobj = ConvertFrom-Json -InputObject $webpartJson
    $webpartobj.selectedViewId = "43539779-8800-4745-a680-01aca0c43139"
    $webpartJson = ConvertTo-Json $webpartobj

    $webpart.PropertiesJson = $webpartJson
    $page.Save()
    $page.Publish()
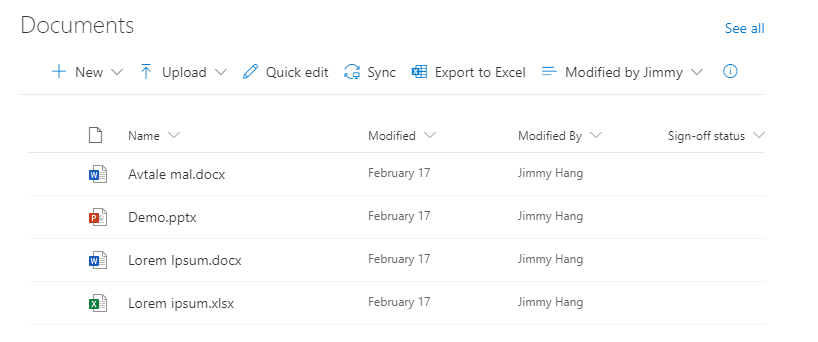
Current web part view:
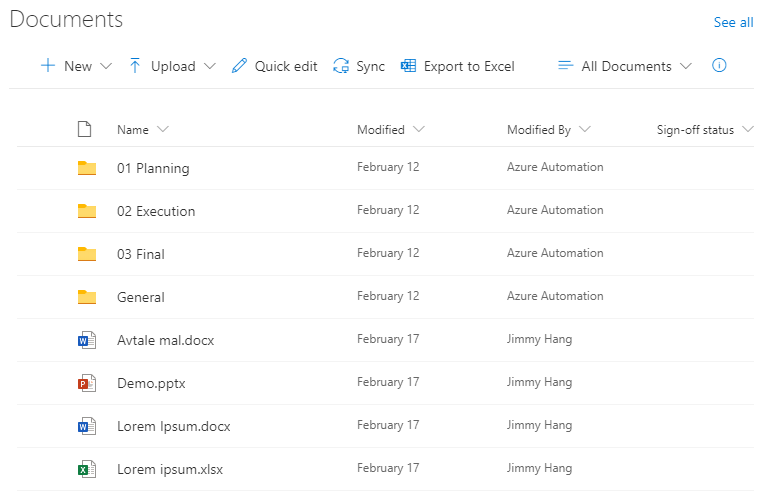
New webpart view:
Above is the technique I use when I want to work with specific pages. When I want to provision SharePoint sites with a certain configuration and pages, normally I combine the above with PnP Provisioning template commands.
Firstly I will create an export of all pages from my template site.
Get-PnPSiteTemplate -Out "C:\Development\template.xml" -Force -IncludeAllClientSidePages #includeallclientsidepages will copy all other pages in the site
Note
When running the above command you might see the following error: "Get-PnPSiteTemplate : GetAccessTokenAsync() called without an ACS token generator. Specify in AuthenticationManager constructor the authentication parameters", proposed solutions to this can bee seen in below posts:
Get-pnpsitetemplate unauthorized, this is recommended if you can get approval from your Azure Admins.
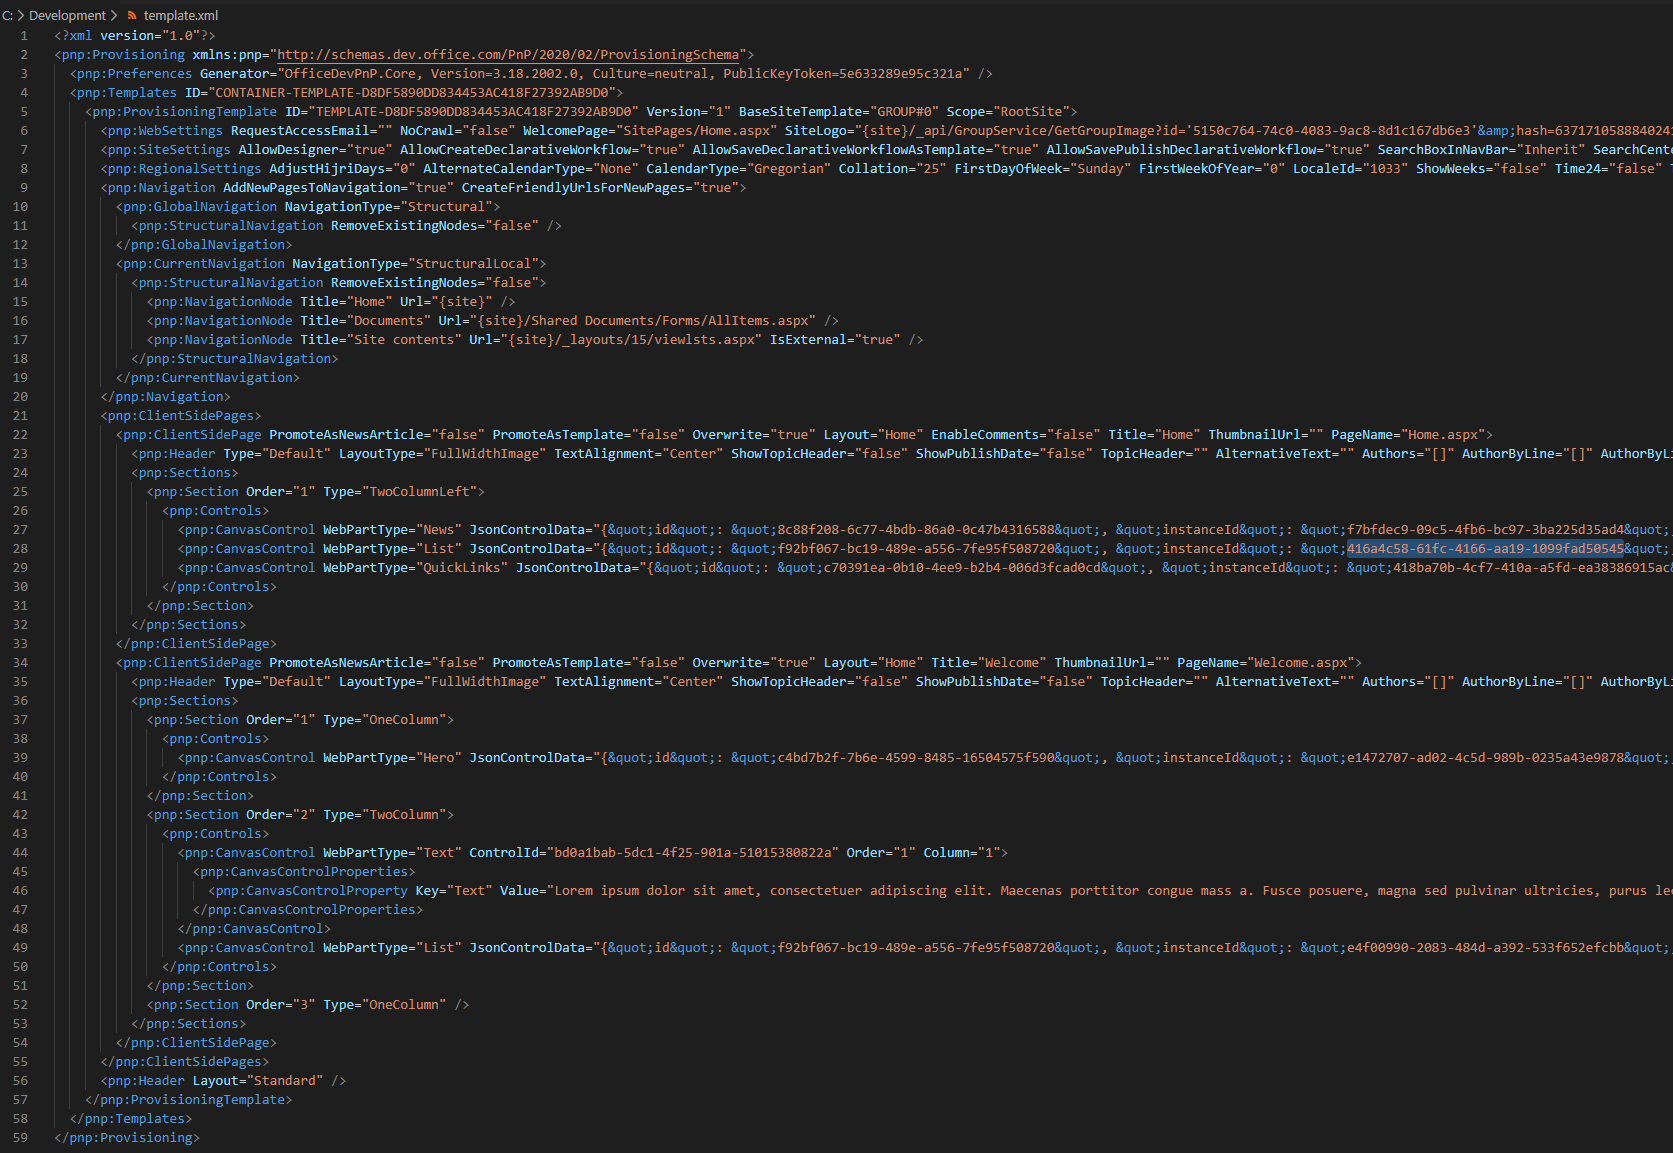
I will then clean the template.xml, by removing all other components that I don't need, and in the "ClientSidePages" node you will find the web parts' instanceIDs that you can reuse later.
To apply the template to a new site, in your script connect to the new site then run Invoke-PnPSiteTemplate with the template:
    Connect-PnPOnline -Url https://tenant.sharepoint.com/sites/$newsite -Interactive

    Invoke-PnPSiteTemplate -Path "C:\Development\template.xml"
Afterward, depending on your needs, add extra code to update the web parts.
Finally, I would like to thank everyone that has contributed and still contribute to PnP, it's super #awesome and it's making my day easier everyday.
Useful resources
Principal author: Jimmy Hang, MCT, MCSE: Productivity
Microsoft 365 community content
フィードバック
以下は間もなく提供いたします。2024 年を通じて、コンテンツのフィードバック メカニズムとして GitHub の issue を段階的に廃止し、新しいフィードバック システムに置き換えます。 詳細については、「https://aka.ms/ContentUserFeedback」を参照してください。
フィードバックの送信と表示