ダイアログ — MRTK2
ダイアログ コントロールは、状況依存のアプリ情報を表示する UI オーバーレイです。 多くの場合、ユーザーに何らかの操作を要求します。 重要な情報をユーザーに通知したり、アクションが完了する前に確認や追加情報を要求したりするには、ダイアログを使用します。
シーンの例
例については、MRTK/Examples/Demo/UX/Dialog の DialogExample のシーンを参照してください
ダイアログ コントロールの使い方
MRTK には、次の 3 つのダイアログ プレハブがあります。
- DialogSmall_192x96.prefab
- DialogMedium_192x128.prefab
- DialogLarge_192x192.prefab
Dialog.Open() を使って新しいダイアログを開きます。 ダイアログ プレハブ、ボタンの数、タイトル テキスト、メッセージ テキスト、配置距離 (近距離か遠距離)、追加の変数を指定します。 ダイアログには、"確認 (1 つのボタン)" と "選択 (2 つのボタン)" のダイアログ オプションがあります。
public static Dialog Open(GameObject dialogPrefab, DialogButtonType buttons, string title, string message, bool placeForNearInteraction, System.Object variable = null)
遠距離の対話式操作の範囲 (視線入力、ハンド レイ、モーション コントローラー) に配置された 1 つの [OK] ボタンで大きなダイアログを開く例
Dialog.Open(DialogPrefabLarge, DialogButtonType.OK, "Confirmation Dialog, Large, Far", "This is an example of a large dialog with only one button, placed at far interaction range", false);
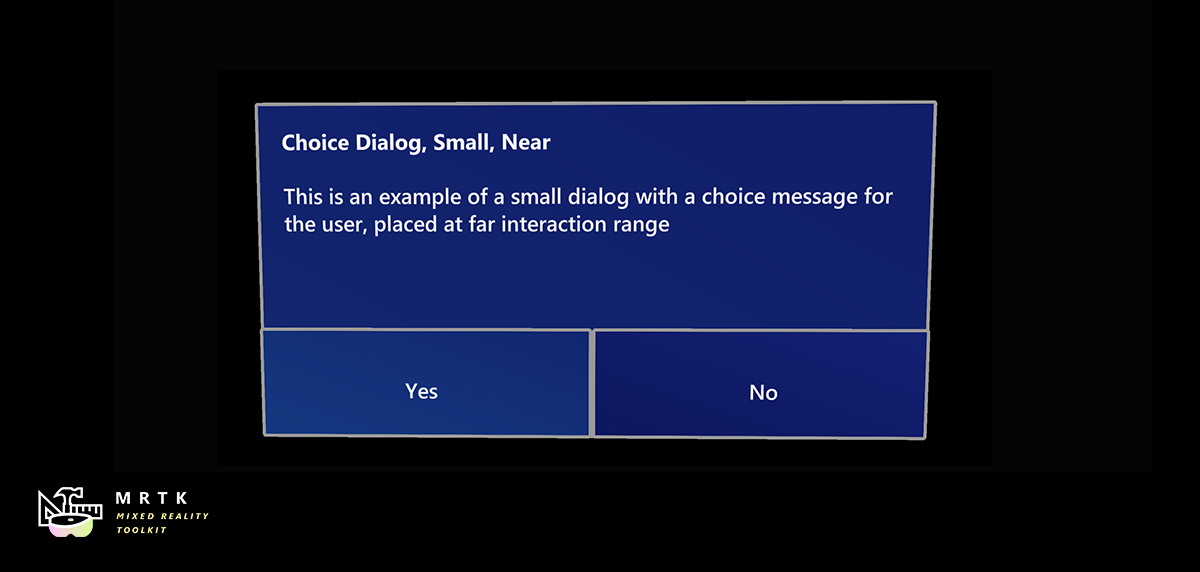
近距離の対話式操作の範囲 (直接ハンド対話) に配置されたユーザーの選択メッセージを含む小さなダイアログを開く例
Dialog.Open(DialogPrefabSmall, DialogButtonType.Yes | DialogButtonType.No, "Confirmation Dialog, Small, Near", "This is an example of a small dialog with a choice message, placed at near interaction range", true);
詳細については、DialogExample.unity のシーンにある DialogExampleController.cs を参照してください。