Create and work with topics
As mentioned earlier, a topic defines how a chatbot conversation plays out in Power Virtual Agents.
Create a topic
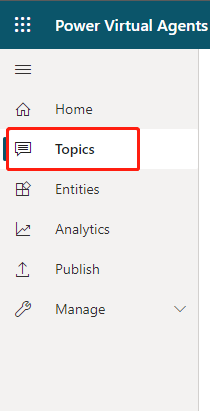
Go to the Topics tab on the side navigation pane to open the Topics page.
On the topics page, select New topic.
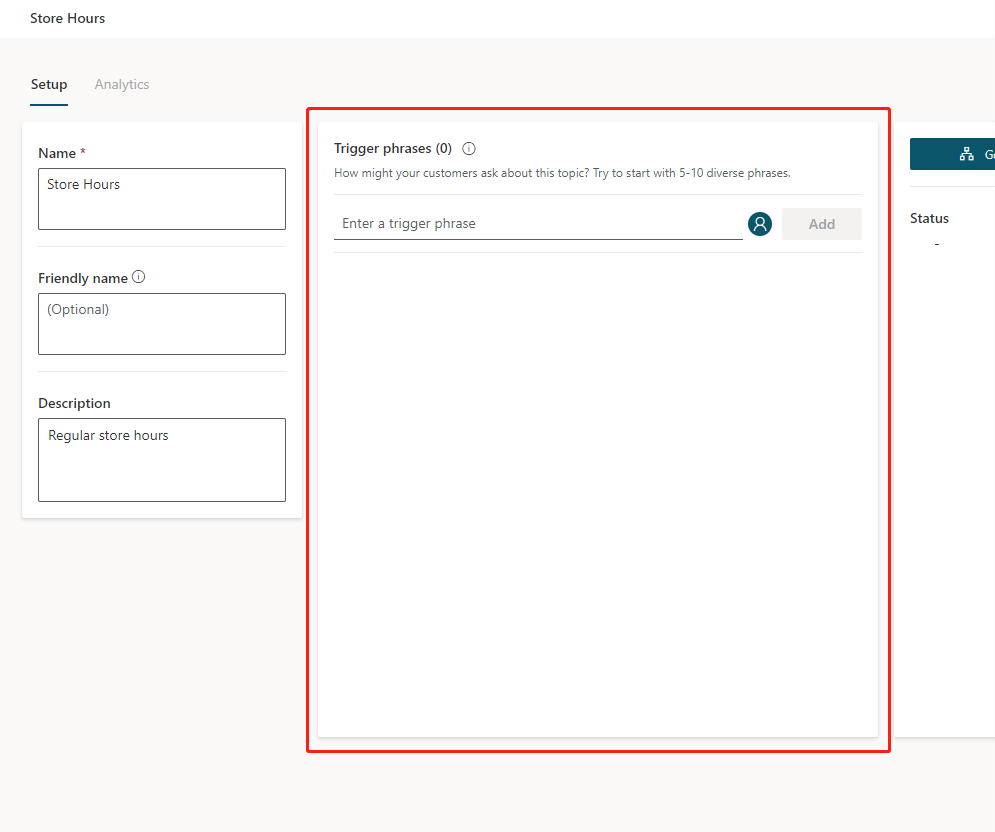
Specify a name, description, and one or more trigger phrases for the topic.
A trigger phrase is a phrase that a customer enters in the chat window to start a conversation with the bot. Once the conversation is started, the conversation follows the path you define. You can specify more than one trigger phrase for a topic. You can include punctuation in a trigger phrase, but it is best to use short phrases rather than long sentences.
Select Save topic to add the topic to the topics list.
Note
You can have up to 1,000 topics in a bot.
Design the topic's conversation path
In the topic details for the topic you want to edit, select Go to authoring canvas.
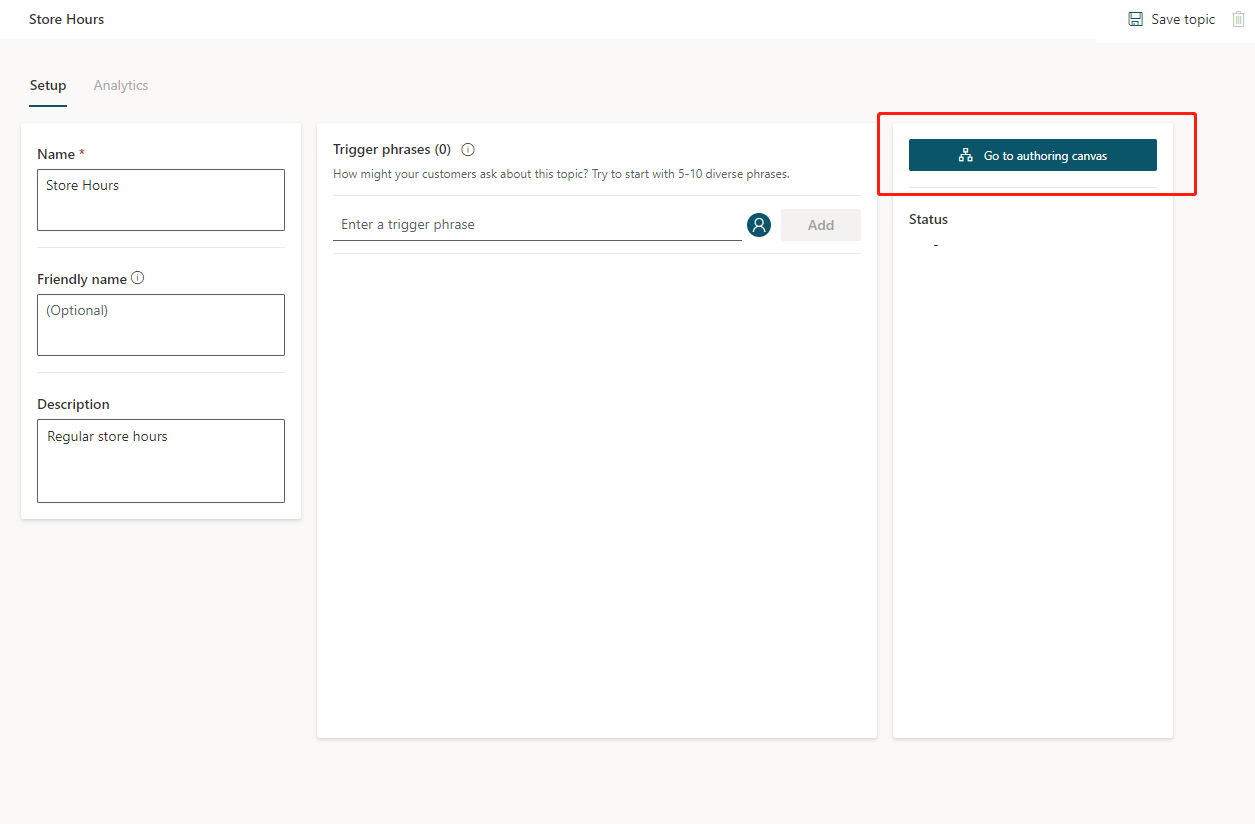
Power Virtual Agents opens the topic in the authoring canvas and displays the topic's trigger phrases. The authoring canvas is where you define the conversation path between a customer and the bot.
For existing or system topics, a number of nodes will automatically be created. You can edit these nodes just as you can for other nodes.
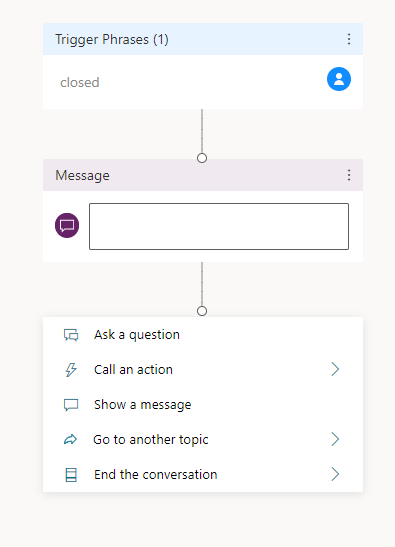
When you create a new topic, the Trigger phrases node and a blank Message node are inserted for you.
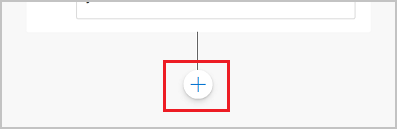
You can add additional nodes by selecting the Plus (+) icon on the line or branch between or after a node.
Insert nodes
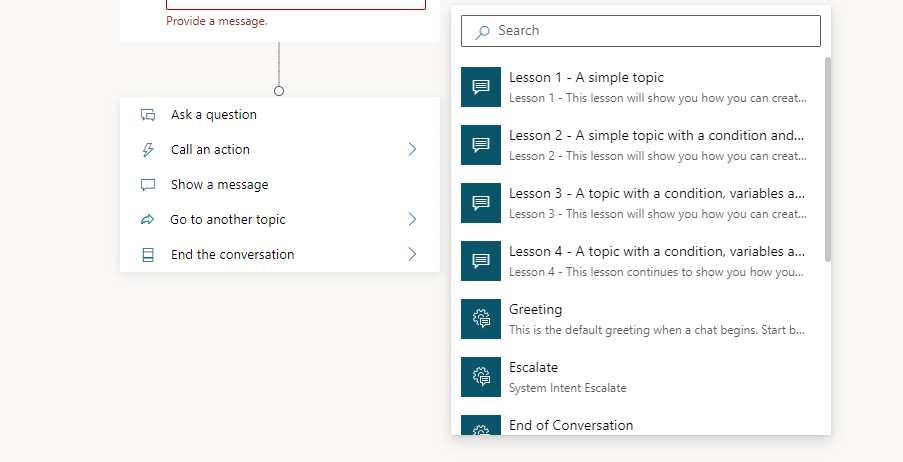
When adding a node, you can choose from five options. Each option has a specific node or nodes that will be inserted into the conversation path.
You can:
Ask a question
Call an action
Show a message
Go to another topic
End the conversation
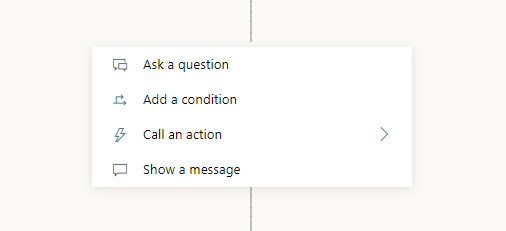
Additionally, you can Branch based on a condition when inserting a node between existing nodes:
Ask a question:
To have the chatbot ask a question and get a response from the user, select + to add a node, and then Ask a question to add a new Question node.
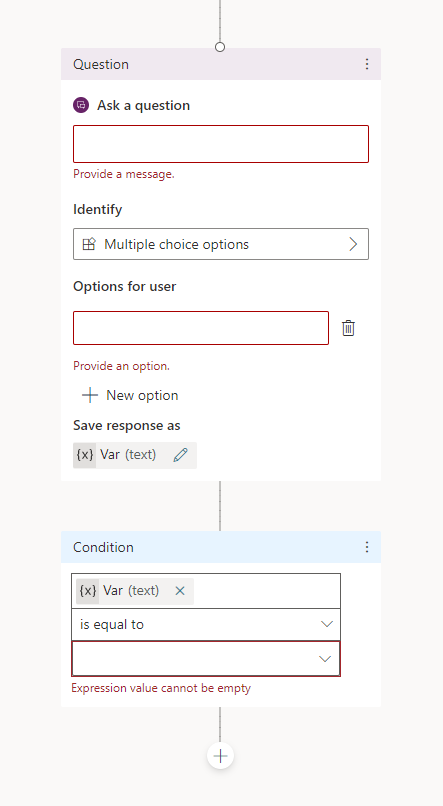
Enter the question phrase in the first text box, Ask a question.
You can choose from several options for the user’s response in the Identify field.
These options determine what the chatbot should be listening for in the user's response.
For example, they could be multiple choice options, a number, or a specific string.
Choose Multiple choice options.
Depending on what you choose in the Identify field, you can enter what options the user should have.
For example, since you selected Multiple choice options, you can then enter the options the user can specify in the Options for user field. Each option is presented as a multiple choice button to the user, but users can also type in their answer in the bot.
The conversation editor creates separate paths in the conversation, depending on the customer's response. The conversation path leads the customer to the appropriate resolution for each user response. You can add additional nodes to create branching logic and specify what the chatbot should respond with for each variable.
You can save the user response in a variable to be used later.
Call an action
You can call Power Automate flows by selecting Call an action.
Note
Power Virtual Agents also enables you to extend your chatbot using Azure Bot Framework Skills. If you have already built and deployed bots in your organization (using Bot Framework pro-code tools) for specific scenarios, you can convert bots to a Skill and embed the Skill within a Power Virtual Agents bot.
Show a message
To specify a response from the bot, select + to add a node, and then Show a message to add a new Message node.
Enter what you want the chatbot to say in the text box. You can apply some basic formatting, such as bold, italics, and numbering.
You can also use variables that you have defined elsewhere in your chatbot conversation.
Go to another topic
To automatically have the chatbot move to a separate topic, select + to add a node, and then Go to another topic.
In the flyout menu, select the topic the chatbot should divert to. For example, you might want to send the user to a specific topic about the closure of a store if they ask about store hours for that store.
End the conversation
When you end the conversation, you can have a survey appear that asks the user if their question or issue was answered or resolved correctly. This information is collected under the customer satisfaction analytics page.
You can also have the conversation handed over to a live agent if you're using a suitable customer service portal, such as Omnichannel for Customer Service.
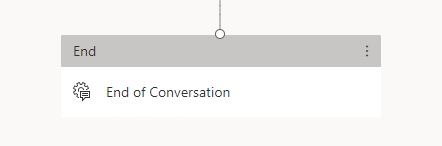
At the end of a response that resolves the user's issue or answers the question, select End the conversation.
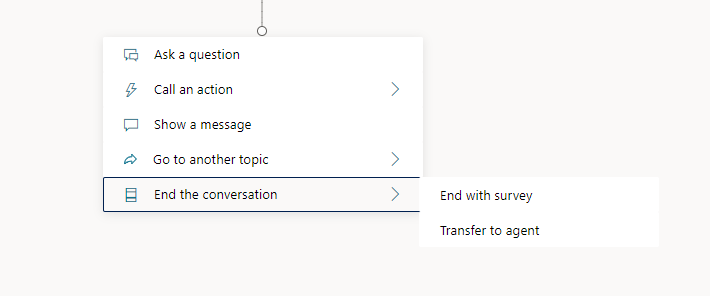
To end with a customer satisfaction survey, select End with survey.
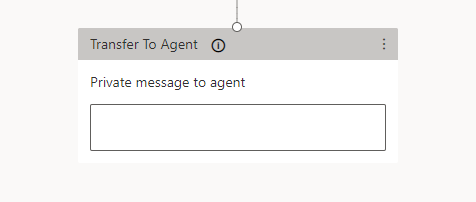
Select Transfer To Agent to insert a hand-off node that will link with your configured hand-off product. You can also enter a private message to the agent.
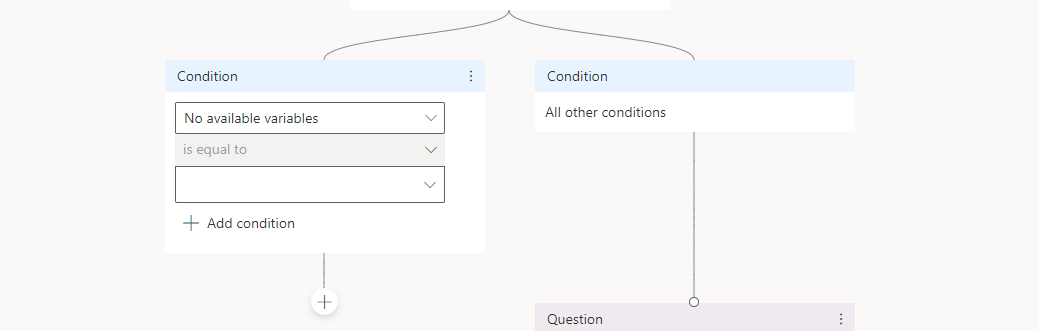
Branch based on a condition
To add branching logic based on variables, select + to add a node, and then Add a condition and Branch based on a condition.
Choose the variable you want to use to determine if the chatbot conversation should branch at this point. For example, if you have set up end-user authentication, then you might want to specify a different message if the user is signed on (which may have happened earlier in the conversation).
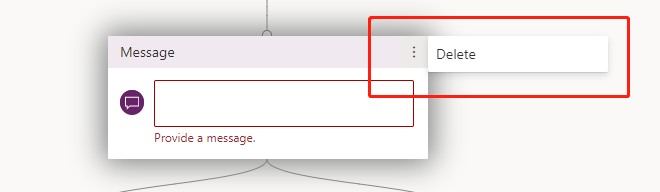
Delete nodes
Select the menu icon on the top of the node's title.
Select Delete.