Microsoft Purview metrics in Azure Monitor
This article describes how to configure metrics, alerts, and diagnostic settings for Microsoft Purview using Azure Monitor.
Monitor Microsoft Purview
Microsoft Purview admins can use Azure Monitor to track the operational state of Microsoft Purview account. Metrics are collected to provide data points for you to track potential problems, troubleshoot, and improve the reliability of the Microsoft Purview account. The metrics are sent to Azure monitor for events occurring in Microsoft Purview.
Aggregated metrics
The metrics can be accessed from the Azure portal of a Microsoft Purview account. Access to the metrics is controlled by the role assignment of Microsoft Purview account. Users need to be part of the "Monitoring Reader" role in Microsoft Purview to see the metrics. Check out Monitoring Reader Role permissions to learn more about the roles access levels.
The person who created the Microsoft Purview account automatically gets permissions to view metrics. If anyone else wants to see metrics, add them to the Monitoring Reader role, by following these steps:
Add a user to the Monitoring Reader role
To add a user to the Monitoring Reader role, the owner of Microsoft Purview account or the Subscription owner can follow these steps:
Go to the Azure portal and search for the Microsoft Purview account name.
Select Access control (IAM).
Select Add > Add role assignment to open the Add role assignment page.
Assign the following role. For detailed steps, see Assign Azure roles using the Azure portal.
Setting Value Role Monitoring Reader Assign access to User, group, or service principal Members <Microsoft Entra account user> 
Metrics visualization
Users in the Monitoring Reader role can see the aggregated metrics and diagnostic logs sent to Azure Monitor. The metrics are listed in the Azure portal for the corresponding Microsoft Purview account. In the Azure portal, select the Metrics section to see the list of all available metrics.

Microsoft Purview users can also access the metrics page directly from the management center of the Microsoft Purview account. Select Azure Monitor in the main page of Microsoft Purview management center to launch Azure portal.

Available metrics
To get familiarized with how to use the metric section in the Azure portal pre read the following two documents. Getting started with Metric Explorer and Advanced features of Metric Explorer.
The following table contains the list of metrics available to explore in the Azure portal:
| Metric Name | Metric Namespace | Aggregation type | Description |
|---|---|---|---|
| Data Map Capacity Units | Elastic data map | Sum Count |
Aggregate the elastic data map capacity units over time period |
| Data Map Storage Size | Elastic data map | Sum Avg |
Aggregate the elastic data map storage size over time period |
| Scan Canceled | Automated scan | Sum Count |
Aggregate the canceled data source scans over time period |
| Scan Completed | Automated scan | Sum Count |
Aggregate the completed data source scans over time period |
| Scan Failed | Automated scan | Sum Count |
Aggregate the failed data source scans over time period |
| Scan time taken | Automated scan | Min Max Sum Avg |
Aggregate the total time taken by scans over time period |
Monitoring alerts
Alerts can be accessed from the Azure portal of a Microsoft Purview account. Access to the alerts is controlled by the role assignment of Microsoft Purview account just like metrics. A user can setup alert rules in their purview account to get notified when important monitoring events happen.

The user can also create specific alert rules and conditions for signals within purview.

Sending diagnostic logs
Raw telemetry events are sent to Azure Monitor. Events can be sent to a Log Analytics Workspace, archived to a customer storage account of choice, streamed to an event hub, or sent to a partner solution for further analysis. Exporting of logs is done via the Diagnostic settings for the Microsoft Purview account on the Azure portal.
Follow these steps to create a diagnostic setting for your Microsoft Purview account and send to your preferred destination:
- Locate your Microsoft Purview account in the Azure portal.
- In the menu under Monitoring select Diagnostic settings.
- Select Add diagnostic setting to create a new diagnostic setting to collect platform logs and metrics. For more information about these settings and logs, see the Azure Monitor documentation..

- You can send your logs to:
Destination - Log Analytics Workspace
- In the Destination details, select Send to Log Analytics workspace.
- Create a name for the diagnostic setting, select the applicable log category group and select the right subscription and workspace, then select save. The workspace doesn't have to be in the same region as the resource being monitored. You to create a new workspace, you can follow this article: Create a New Log Analytics Workspace.


- Verify the changes in your Log Analytics Workspace by performing some operations to populate data. For example, creating/updating/deleting a policy. After which you can open the Log Analytics Workspace, navigate to Logs, enter query filter as "purviewsecuritylogs", then select "Run" to execute the query.

Destination - Storage account
- In the Destination details, select Archive to a storage account.
- Create a diagnostic setting name, select the log category, select the destination as archive to a storage account, select the right subscription and storage account then select save. A dedicated storage account is recommended for archiving the diagnostic logs. If you need a storage account, you can follow this article: Create a storage account.


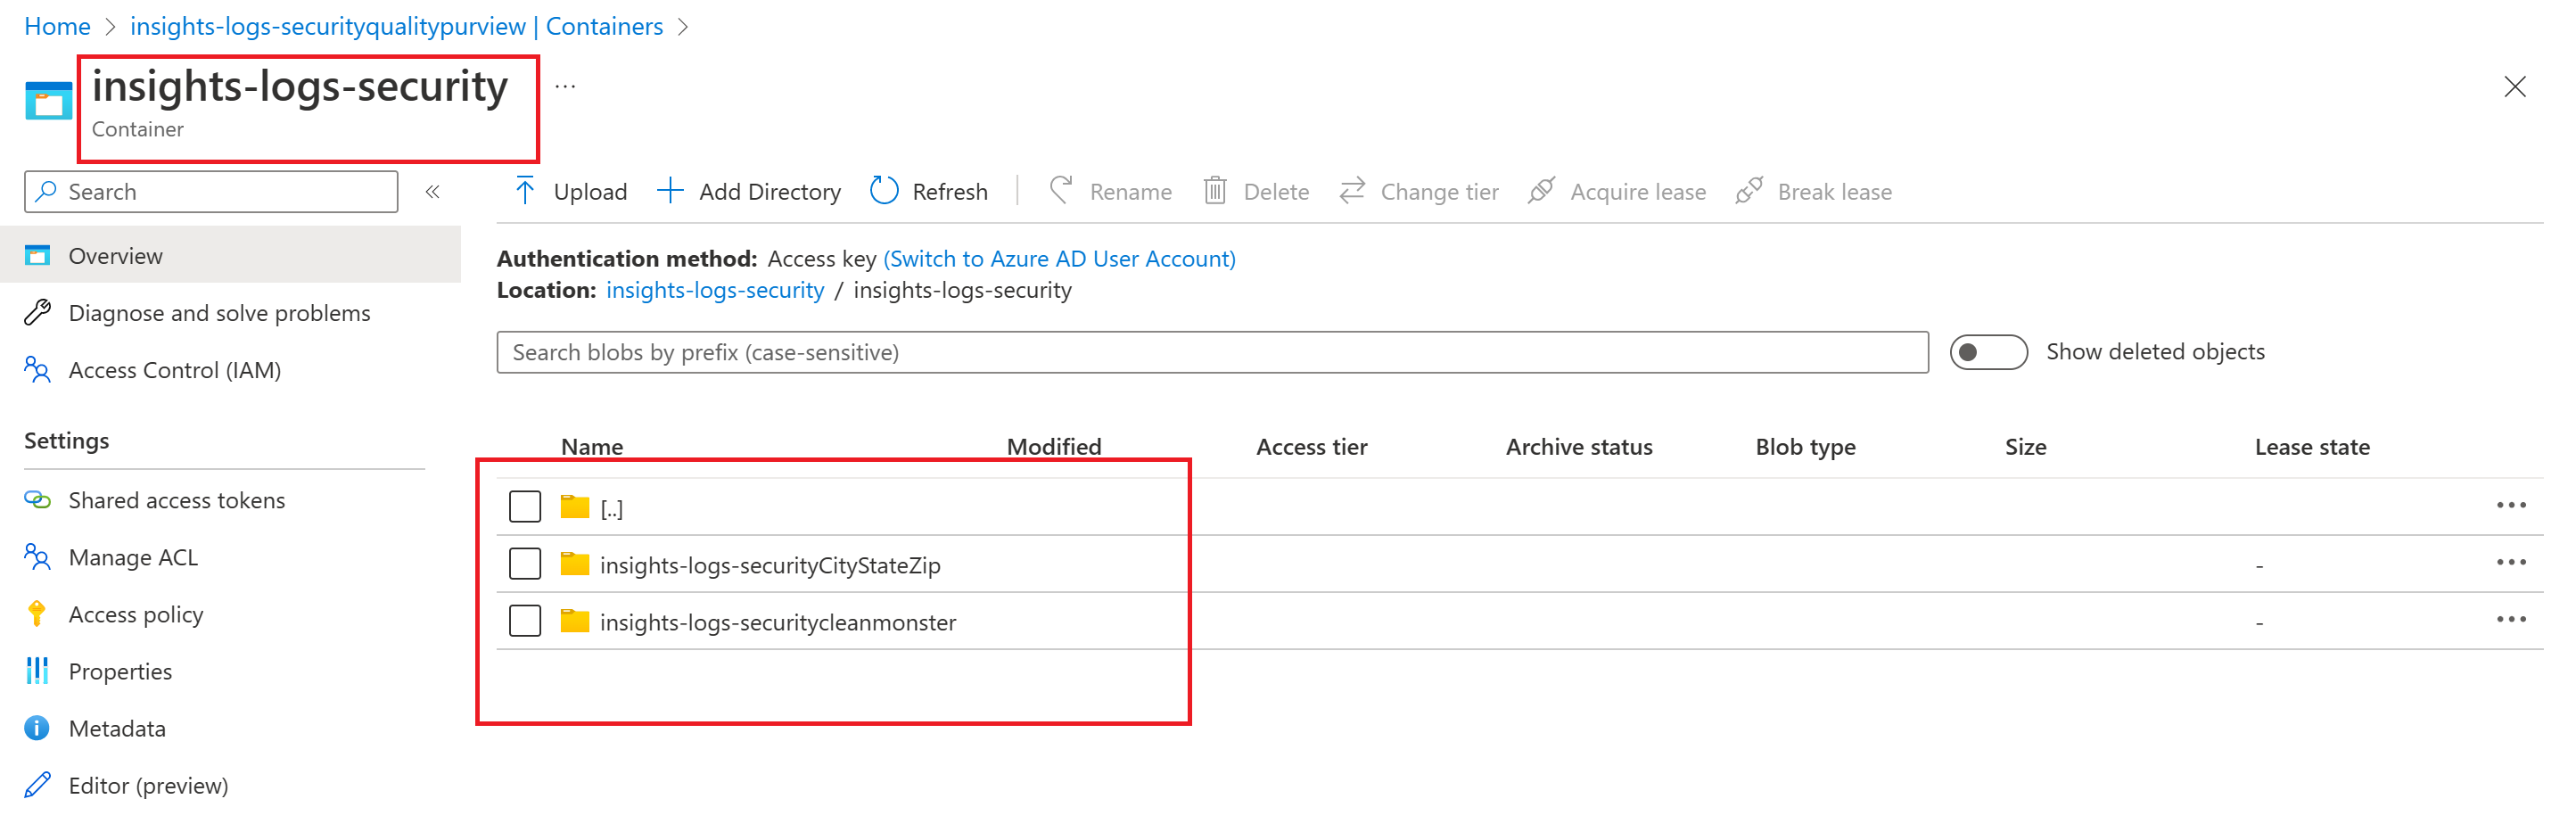
- To see logs in the Storage Account, perform a sample action (for example: create/update/delete a policy), then open the Storage Account, navigate to Containers, and select the container name.

Navigate to the file and download it to see the logs.


Destination - Event hub
- In the Destination details, select Stream to an event hub.
- Create a diagnostic setting name, select the log category, select the destination as stream to event hub, select the right subscription, event hubs namespace, event hub name and event hub policy name then select save. An event hub name space is required before you can stream to an event hub. If you need to create an event hub namespace, you can follow this article: Create an event hub & event hubs namespace storage account


- To see logs in the Event Hubs Namespace, Go to the Azure portal, and search for the name of the event hubs namespace you created earlier, go the Event Hubs Namespace and click on overview. To find our more about capturing and reading captured audit events in the event hubs namespace, you can follow this article: Audit Logs & diagnostics
Sample Log
Here's a sample log you'd receive from a diagnostic setting.
The event tracks the scan life cycle. A scan operation follows progress through a sequence of states, from Queued, Running and finally a terminal state of Succeeded | Failed | Canceled. An event is logged for each state transition and the schema of the event will have the following properties.
{
  "time": "<The UTC time when the event occurred>",
  "properties": {
    "dataSourceName": "<Registered data source friendly name>",
    "dataSourceType": "<Registered data source type>",
    "scanName": "<Scan instance friendly name>",
    "assetsDiscovered": "<If the resultType is succeeded, count of assets discovered in scan run>",
    "assetsClassified": "<If the resultType is succeeded, count of assets classified in scan run>",
    "scanQueueTimeInSeconds": "<If the resultType is succeeded, total seconds the scan instance in queue>",
    "scanTotalRunTimeInSeconds": "<If the resultType is succeeded, total seconds the scan took to run>",
    "runType": "<How the scan is triggered>",
    "errorDetails": "<Scan failure error>",
    "scanResultId": "<Unique GUID for the scan instance>"
  },
  "resourceId": "<The azure resource identifier>",
  "category": "<The diagnostic log category>",
  "operationName": "<The operation that cause the event Possible values for ScanStatusLogEvent category are:
                    |AdhocScanRun
                    |TriggeredScanRun
                    |StatusChangeNotification>",
  "resultType": "Queued – indicates a scan is queued.
                 Running – indicates a scan entered a running state.
                 Succeeded – indicates a scan completed successfully.
                 Failed – indicates a scan failure event.
                 Cancelled – indicates a scan was cancelled. ",
  "resultSignature": "<Not used for ScanStatusLogEvent category. >",
  "resultDescription": "<This will have an error message if the resultType is Failed. >",
  "durationMs": "<Not used for ScanStatusLogEvent category. >",
  "level": "<The log severity level. Possible values are:
            |Informational
            |Error >",
  "location": "<The location of the Microsoft Purview account>",
}
The Sample log for an event instance is shown in the below section.
{
  "time": "2020-11-24T20:25:13.022860553Z",
  "properties": {
    "dataSourceName": "AzureDataExplorer-swD",
    "dataSourceType": "AzureDataExplorer",
    "scanName": "Scan-Kzw-shoebox-test",
    "assetsDiscovered": "0",
    "assetsClassified": "0",
    "scanQueueTimeInSeconds": "0",
    "scanTotalRunTimeInSeconds": "0",
    "runType": "Manual",
    "errorDetails": "empty_value",
    "scanResultId": "0dc51a72-4156-40e3-8539-b5728394561f"
  },
  "resourceId": "/SUBSCRIPTIONS/111111111111-111-4EB2/RESOURCEGROUPS/FOOBAR-TEST-RG/PROVIDERS/MICROSOFT.PURVIEW/ACCOUNTS/FOOBAR-HEY-TEST-NEW-MANIFEST-EUS",
  "category": "ScanStatusLogEvent",
  "operationName": "TriggeredScanRun",
  "resultType": "Delayed",
  "resultSignature": "empty_value",
  "resultDescription": "empty_value",
  "durationMs": 0,
  "level": "Informational",
  "location": "eastus",
}
Next steps
Opinia
Dostępne już wkrótce: W 2024 r. będziemy stopniowo wycofywać zgłoszenia z serwisu GitHub jako mechanizm przesyłania opinii na temat zawartości i zastępować go nowym systemem opinii. Aby uzyskać więcej informacji, sprawdź: https://aka.ms/ContentUserFeedback.
Prześlij i wyświetl opinię dla