Configure a DLP policy for Power BI
This article describes how to configure a data loss prevention (DLP) policy for Power BI.
Prerequisites
Before you get started with DLP for Power BI, you should confirm your Microsoft 365 subscription. The admin account that sets up the DLP rules must be assigned one of the following licenses:
- Microsoft 365 E5
- Microsoft 365 E5 Compliance
- Microsoft 365 E5 Information Protection & Governance
Configure a policy
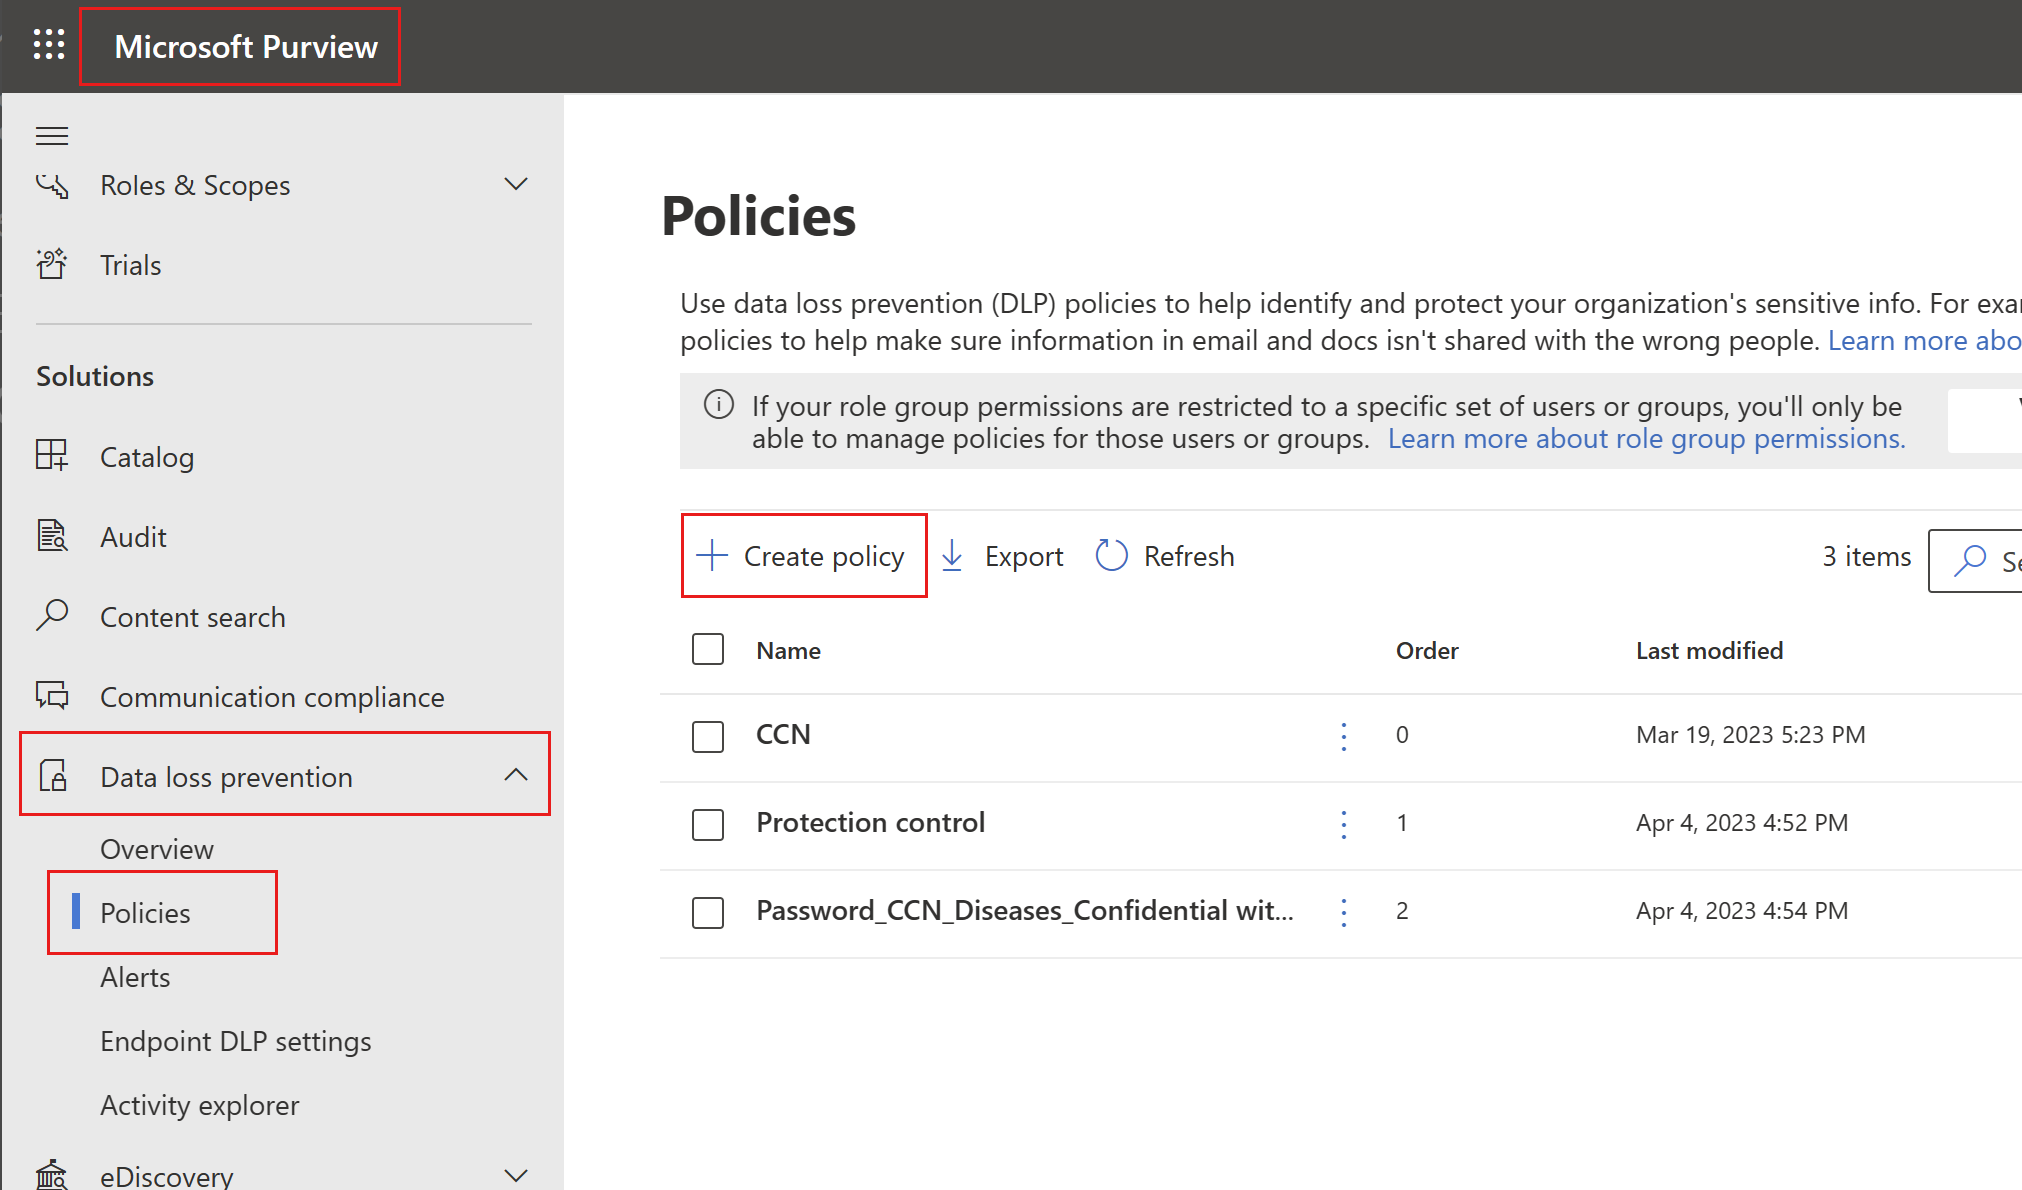
Log into the Microsoft Purview compliance portal.
Expand the Data loss prevention solution in the navigation pane, select Policies, and choose Create policy.
Choose the Custom category and then the Custom policy template.
Note
No other categories or templates are currently supported.

When done, select Next.
Name the policy and provide a meaningful description.
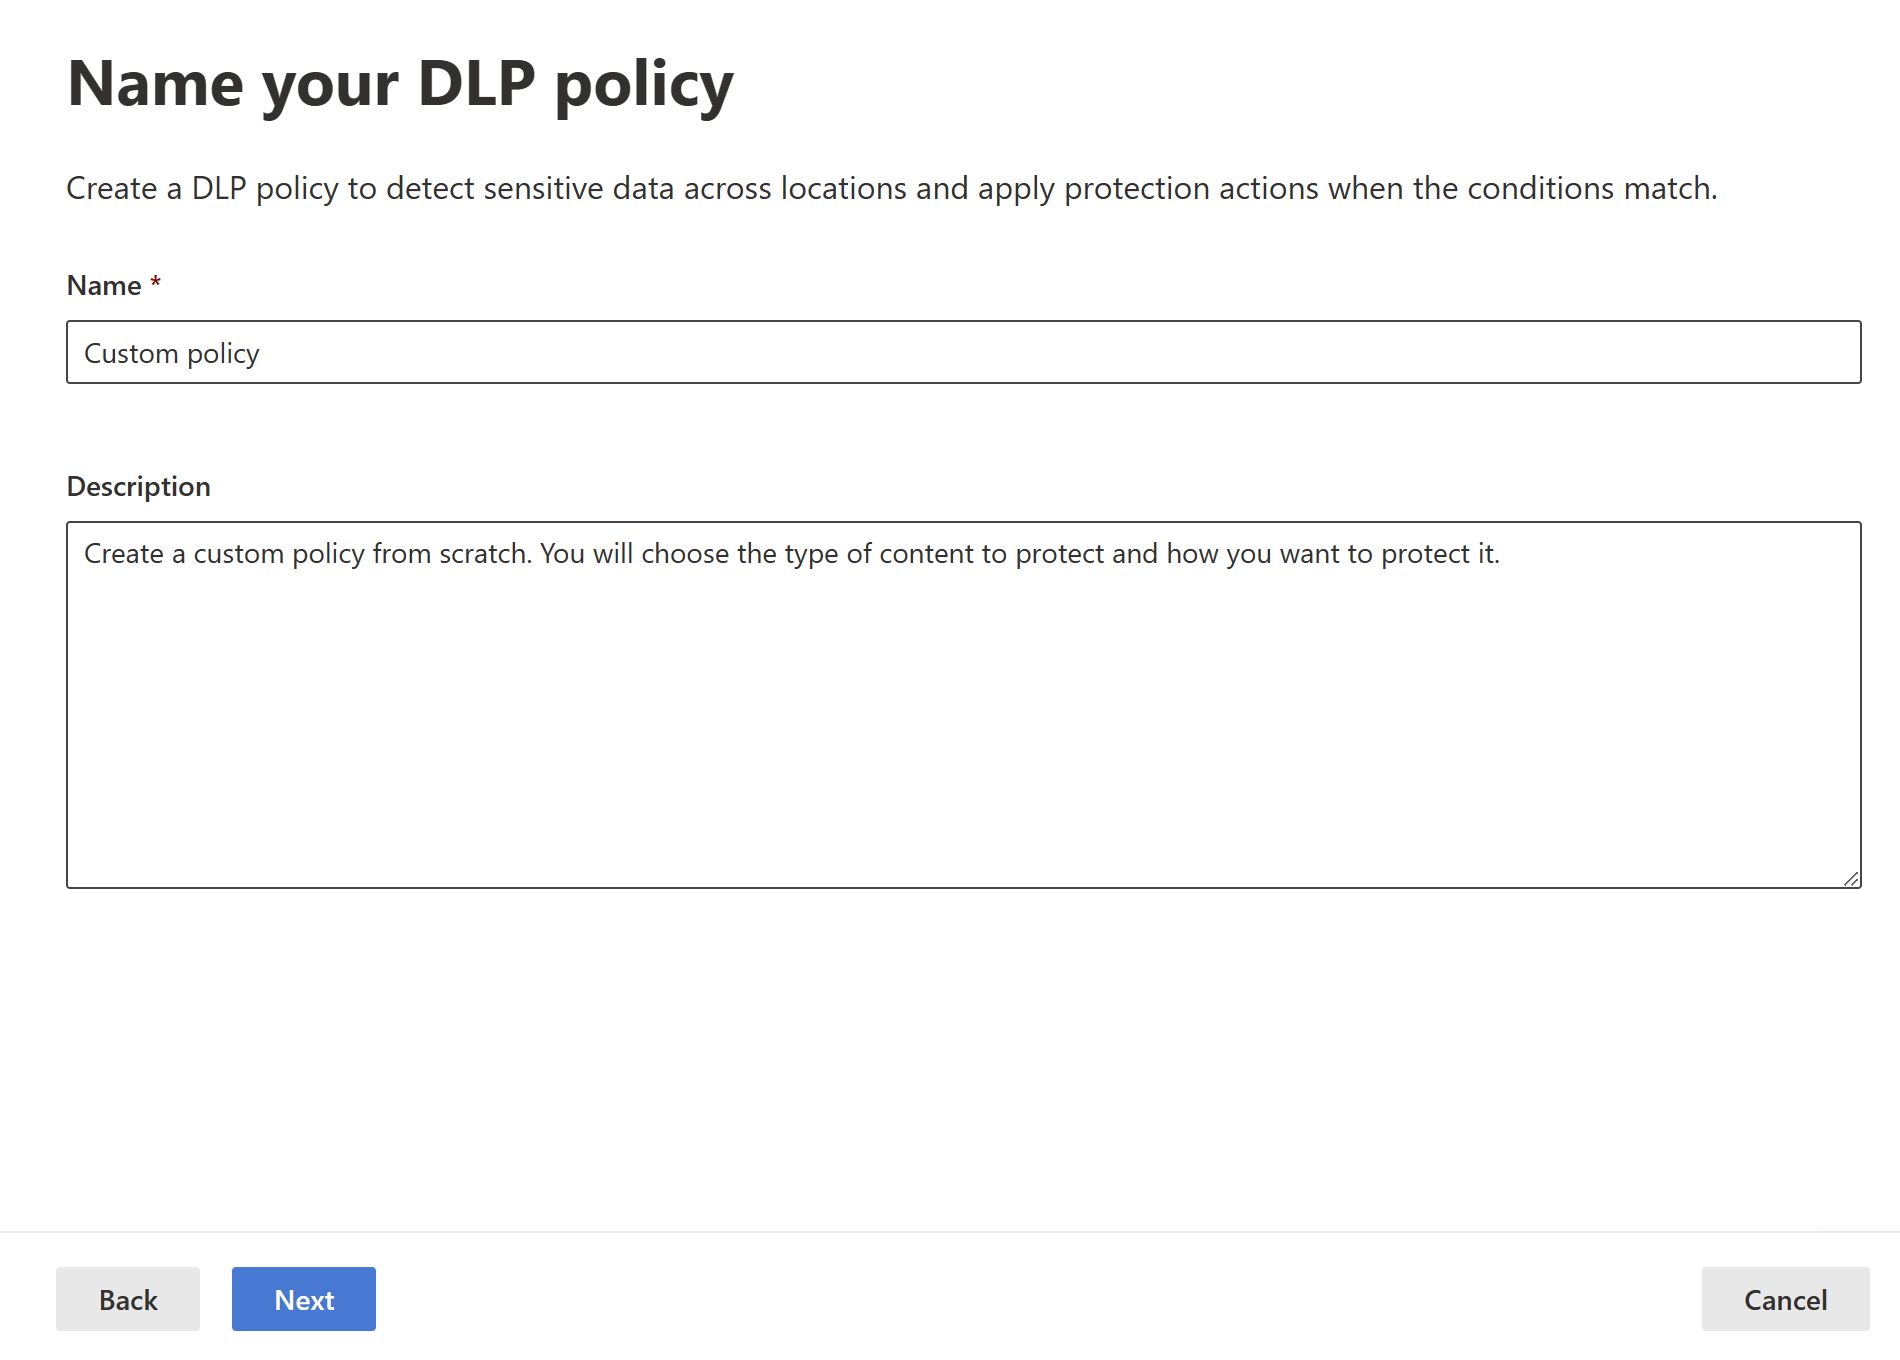
When done, select Next.
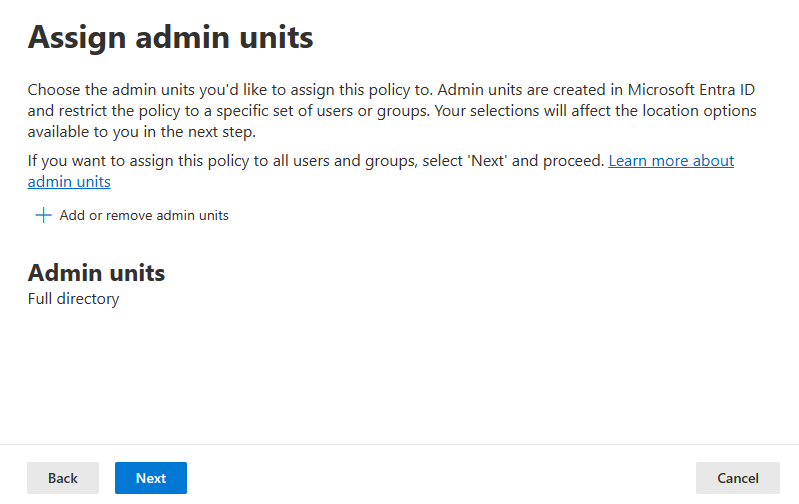
Select Next when you get to the Assign admin units page.
Enable Power BI as a location for the DLP policy. Disable all other locations. Currently, DLP policies for Power BI must specify Power BI as the sole location.
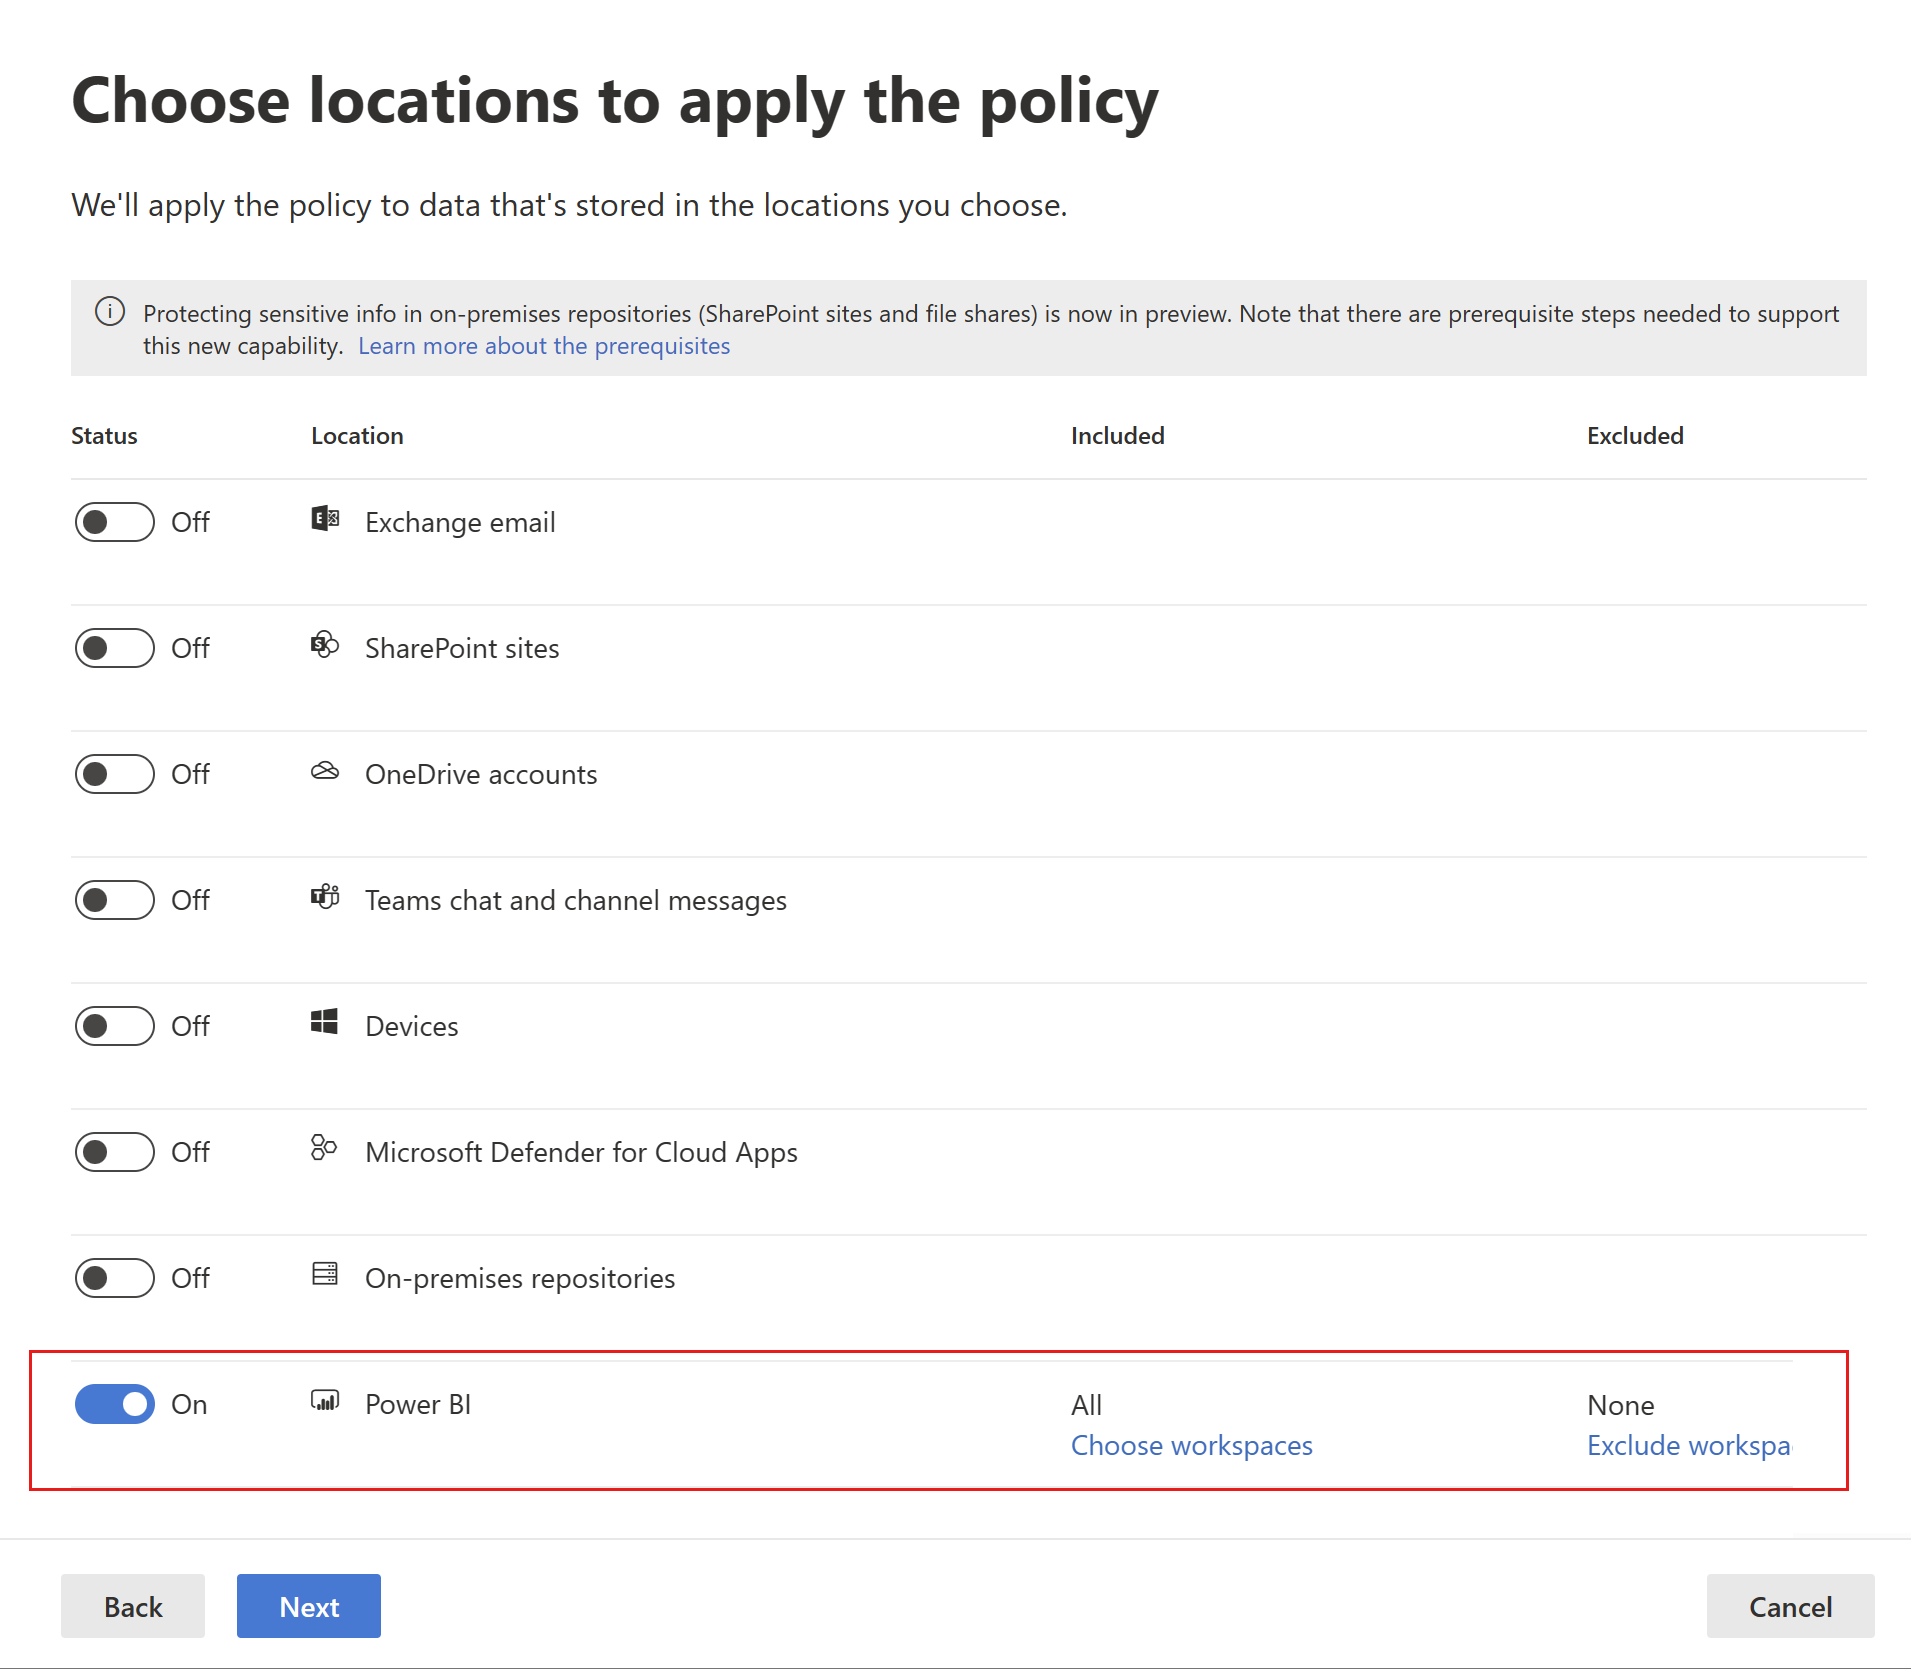
By default the policy will apply to all workspaces. Alternatively, you can specify particular workspaces to include in the policy as well as workspaces to exclude from the policy.
Note
DLP actions are supported only for workspaces hosted in Premium capacities.
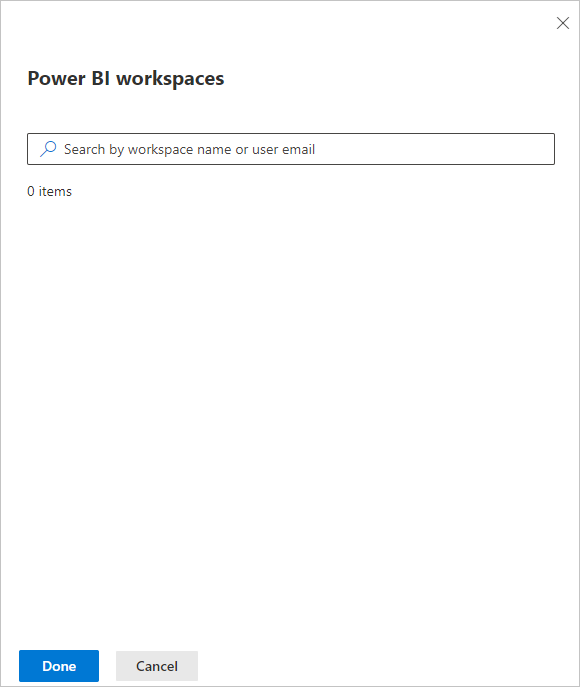
If you select Choose workspaces or Exclude workspaces, a dialog will allow you to select workspaces to be included (or excluded).
You can search for workspaces by workspace name or by user email address. When you search by a user's email address, that user's My Workspace will be listed as personalWorkspace - <email address>, and you can then select it.
After enabling Power BI as a DLP location for the policy and choosing which workspaces the policy will apply to, select Next.
The Define policy settings page appears. Choose Create or customize advanced DLP rules to begin defining your policy.
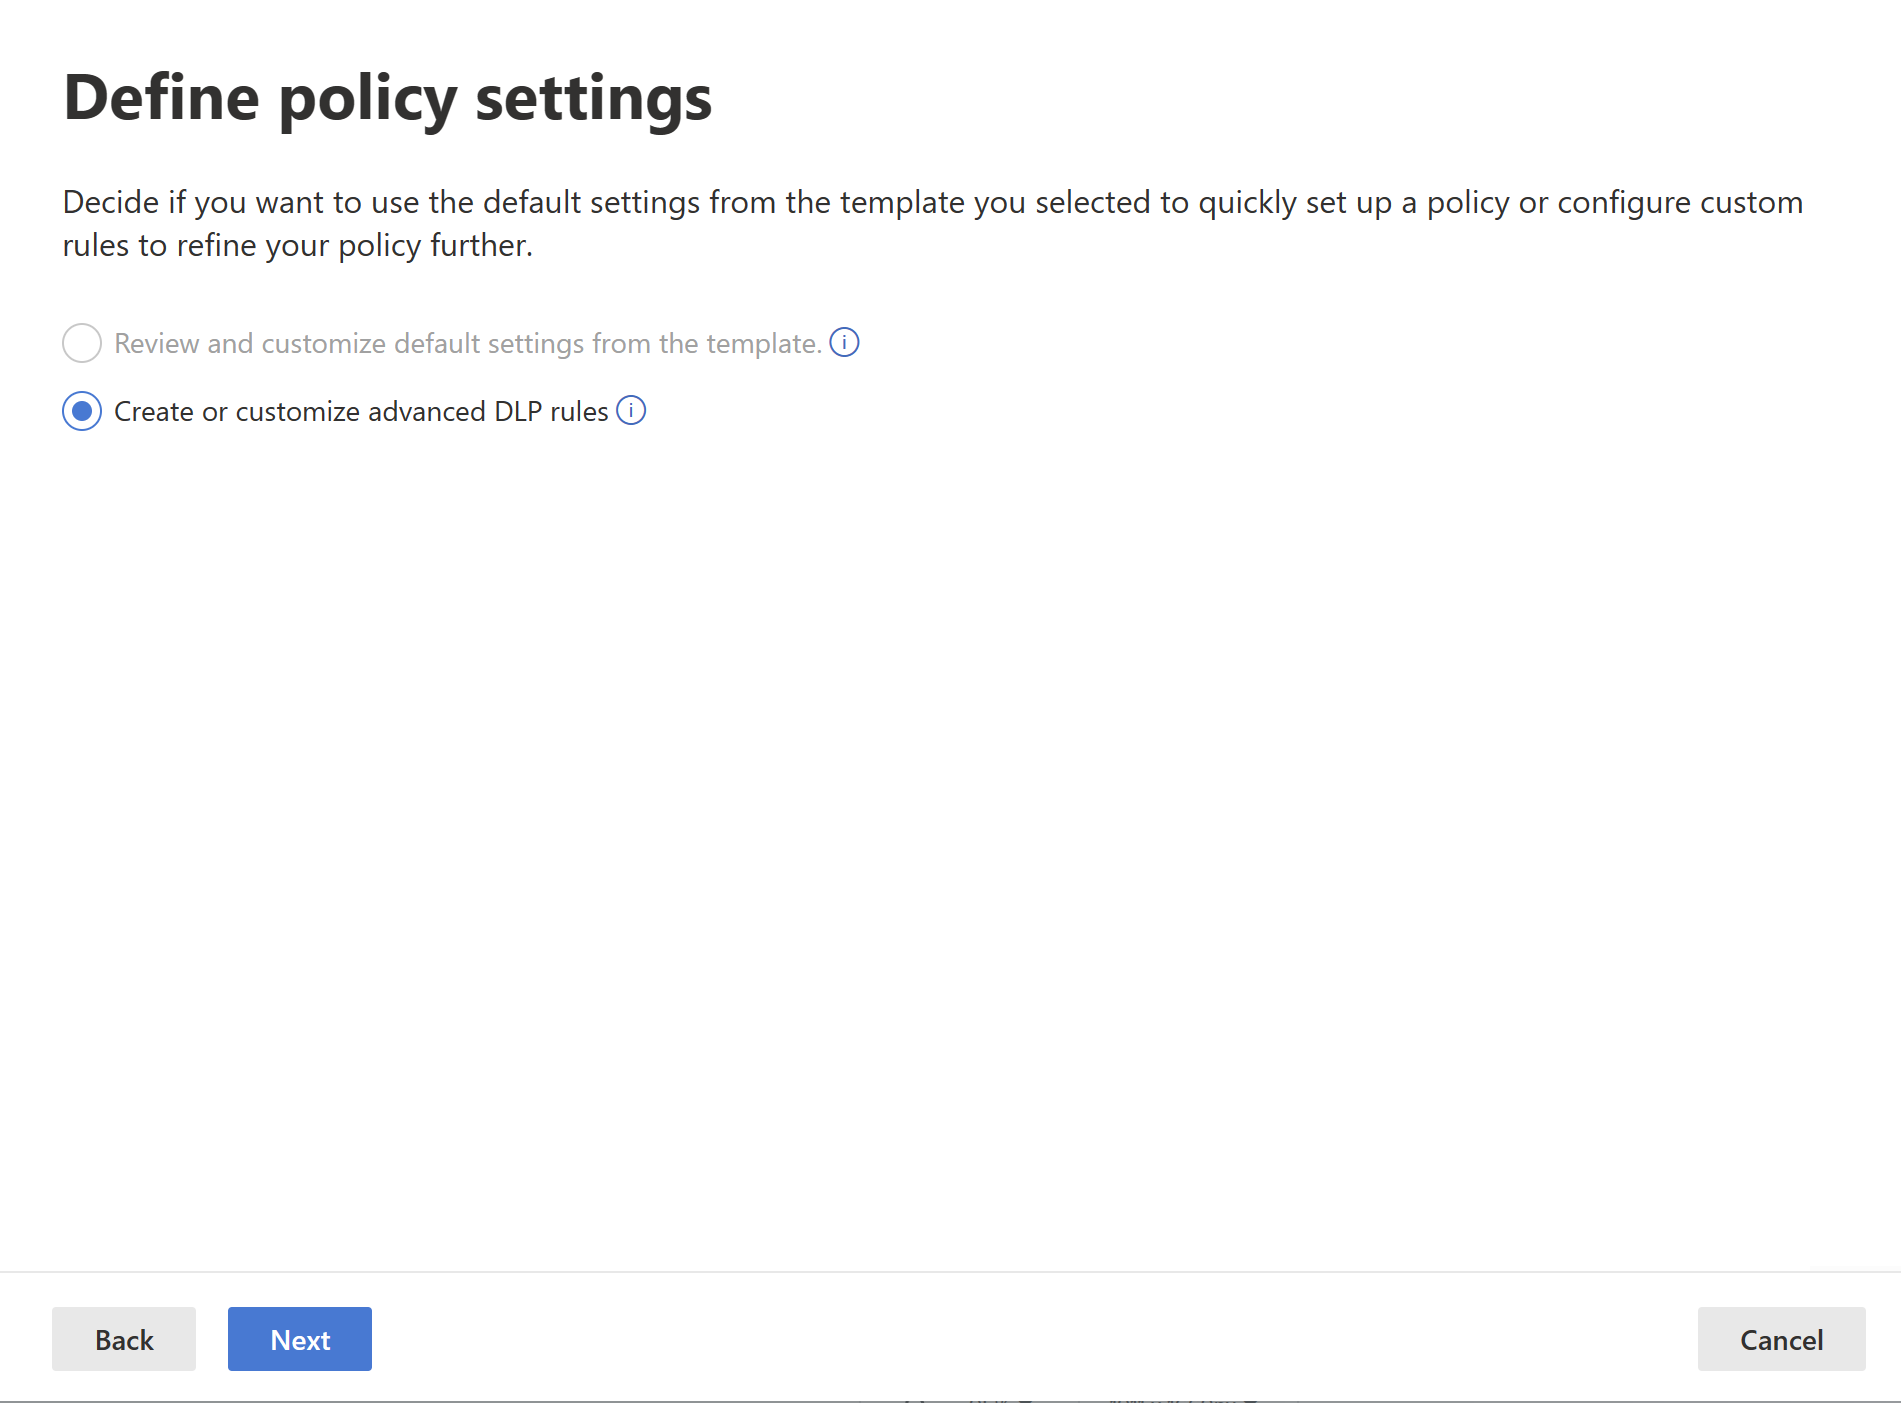
When done, select Next.
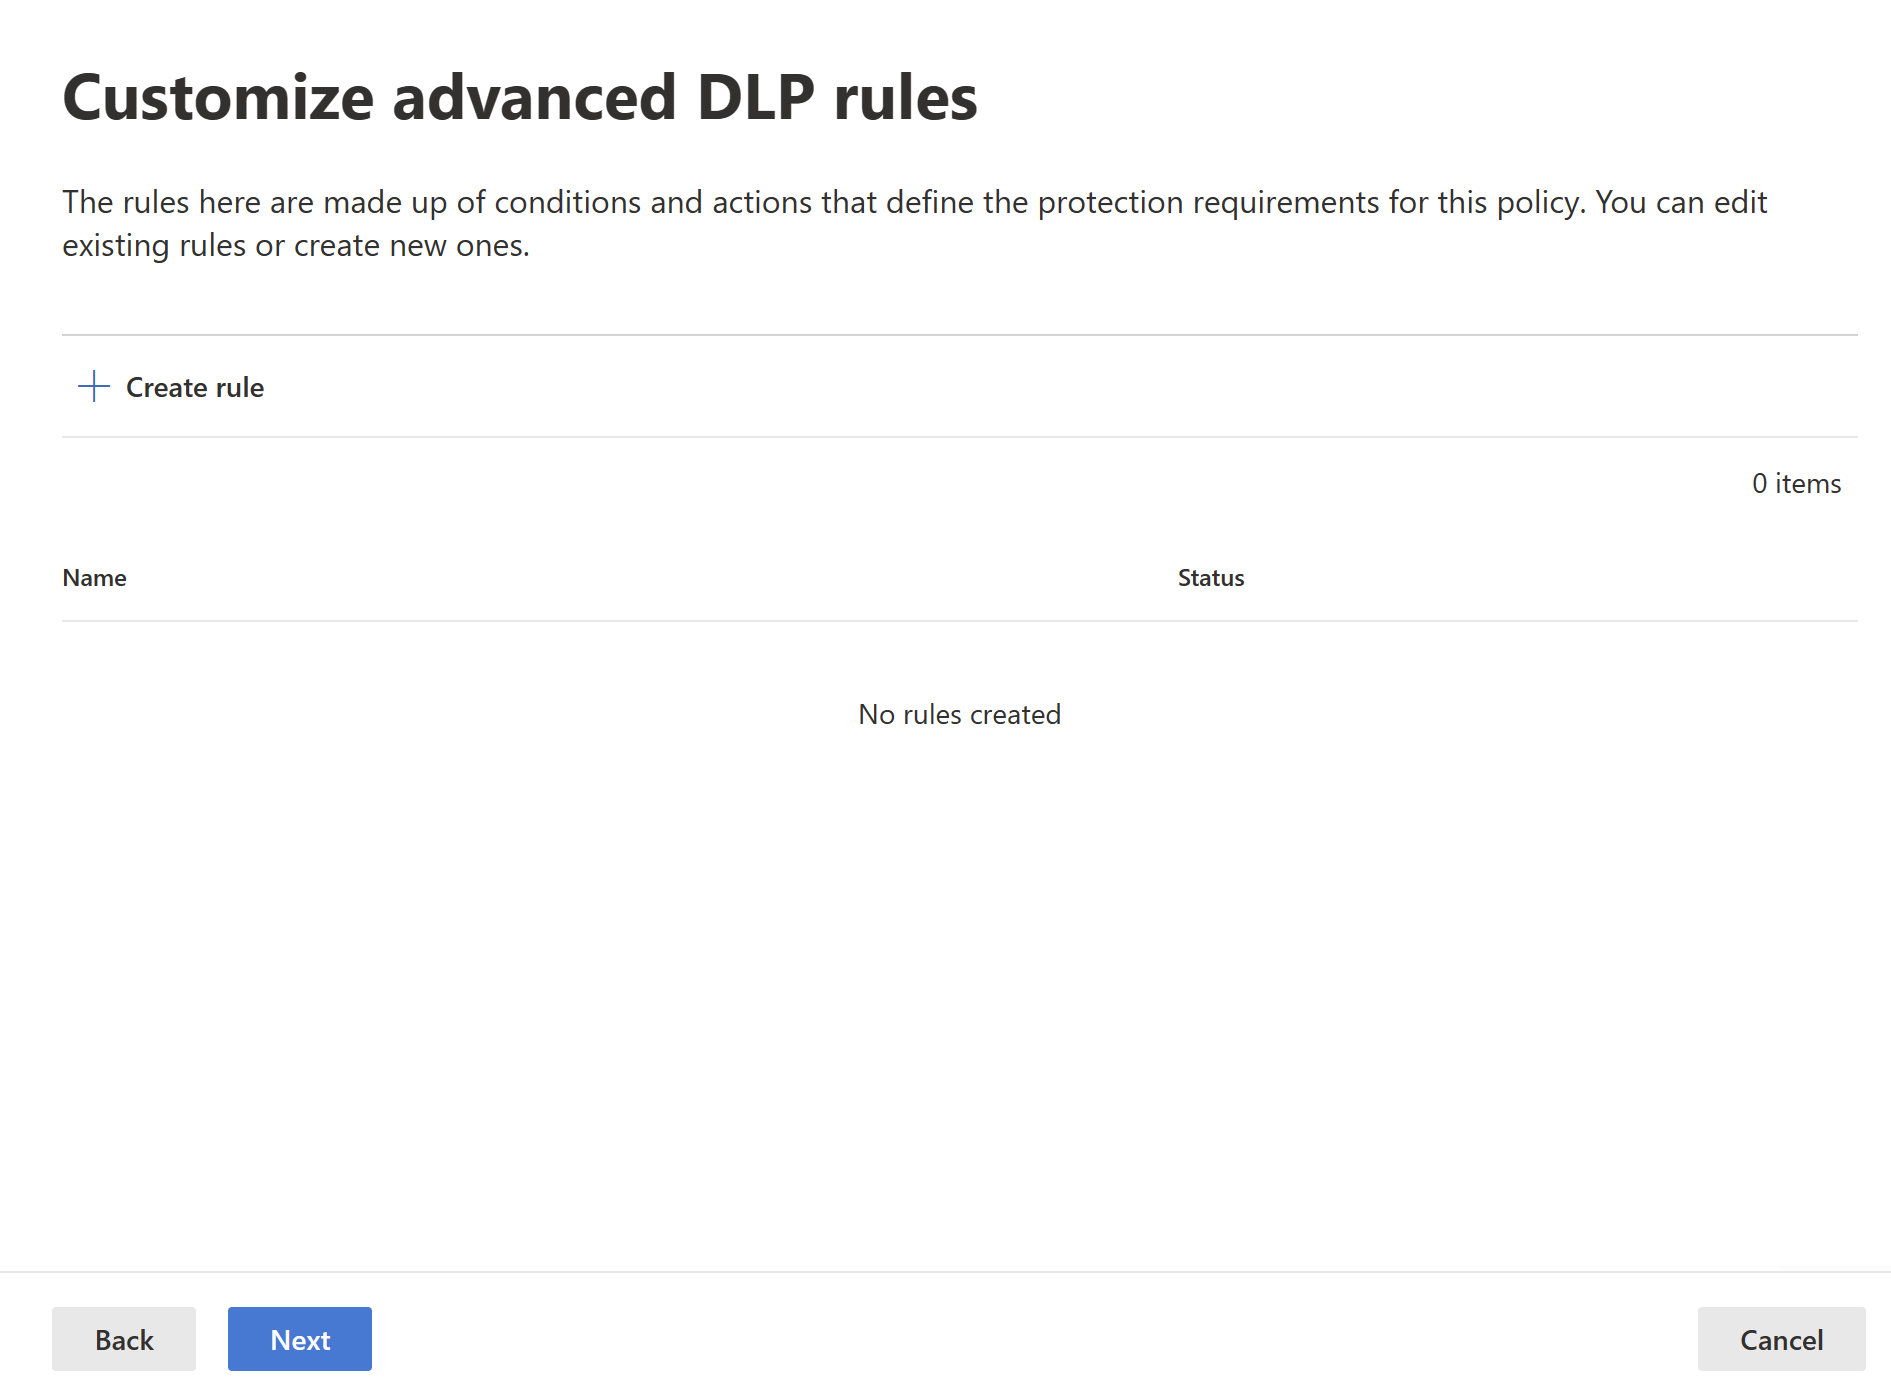
On the Customize advanced DLP rules page, you can either start creating a new rule or choose an existing rule to edit. Select Create rule.
The Create rule page appears. On the create rule page, provide a name and description for the rule, and then configure the other sections, which are described following the image below.
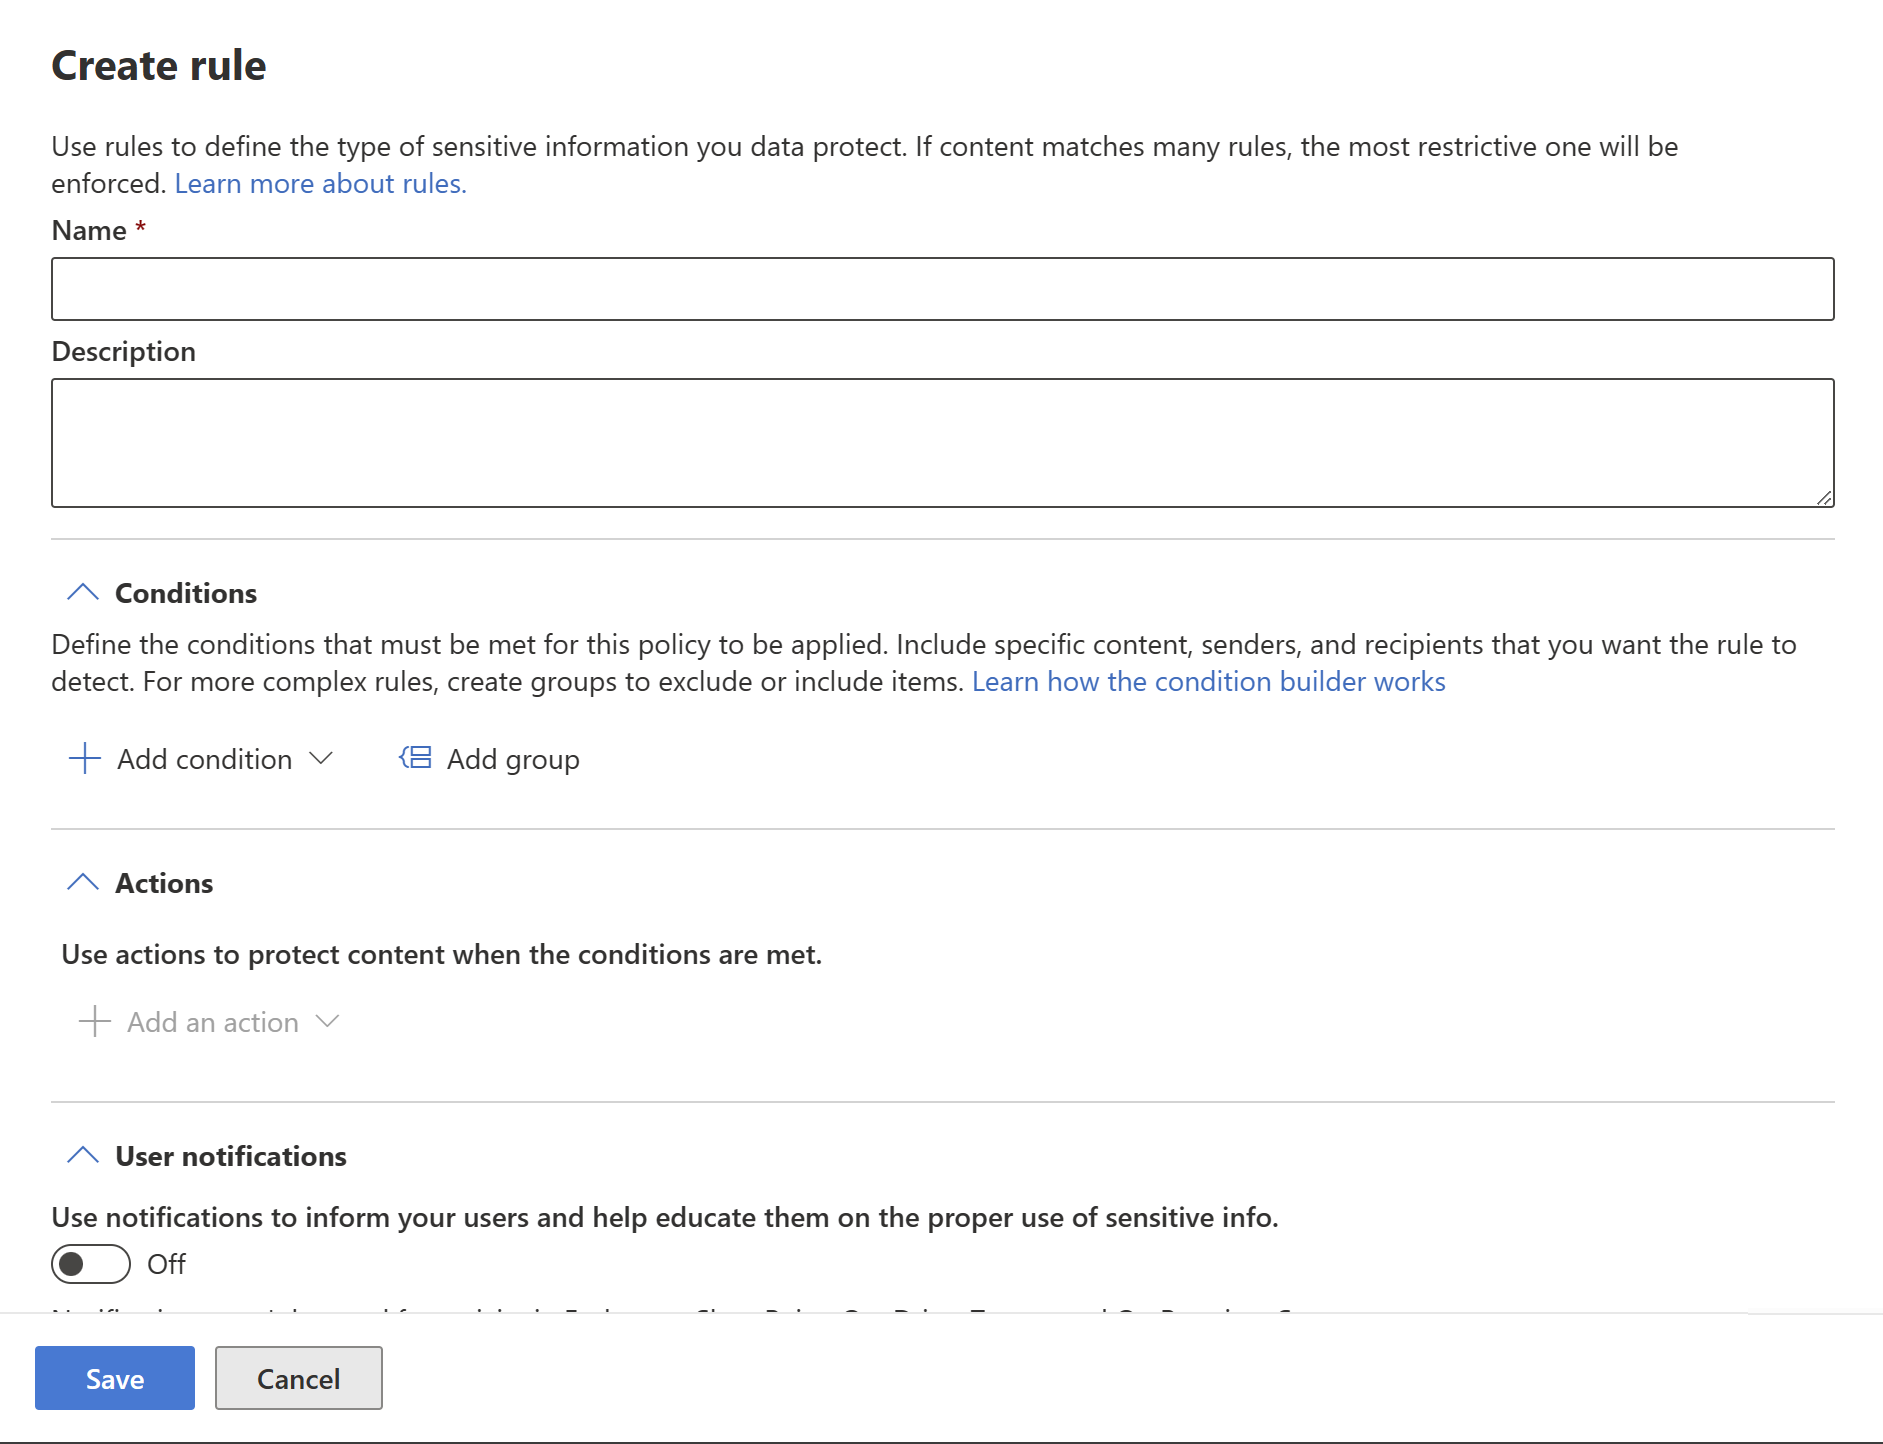
Conditions
In the condition section, you define the conditions under which the policy will apply to a semantic model. Conditions are created in groups. Groups make it possible to construct complex conditions.
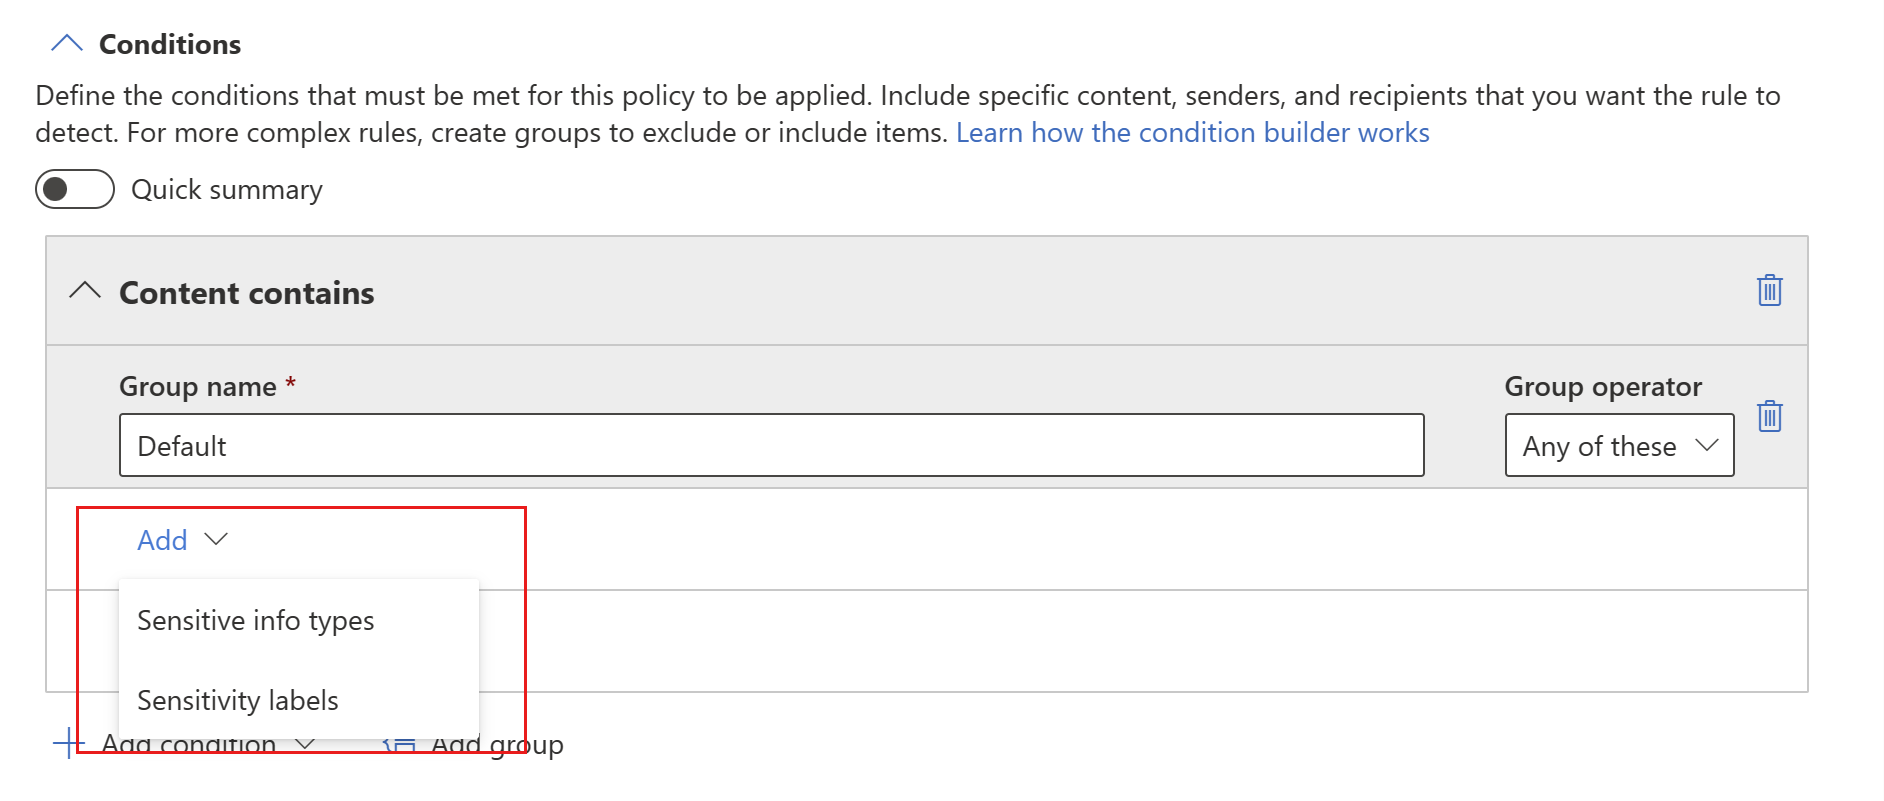
Open the conditions section. Choose Add condition if you want to create a simple or complex condition, or Add group if you want to start creating a complex condition.

For more information about using the condition builder, see Complex rule design.
If you chose Add condition, next choose Content contains, then Add, and then either Sensitive info types or Sensitivity labels.
If you started with Add group, you'll eventually get to Add condition, after which you continue as described above.
If you started with Add group, you'll eventually get to Add condition, after which you continue as described above.
When you choose either Sensitive info types or Sensitivity labels, you'll be able to choose the particular sensitivity labels or sensitive info types you want to detect from a list that will appear in a sidebar.
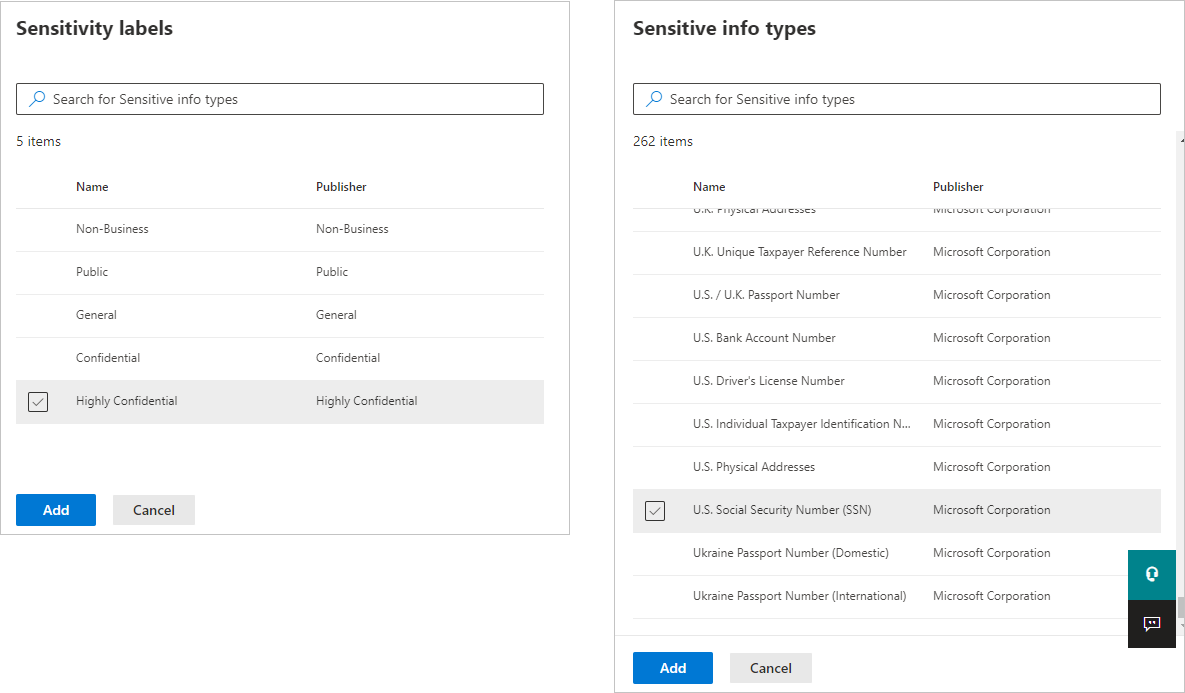
When you select a sensitive info type as a condition, you then need to specify how many instances of that type must be detected in order for the condition to be considered as met. You can specify from 1 to 500 instances. If you want to detect 500 or more unique instances, enter a range of '500' to 'Any'. You also can select the degree of confidence in the matching algorithm. Select the info button next to the confidence level to see the definition of each level.

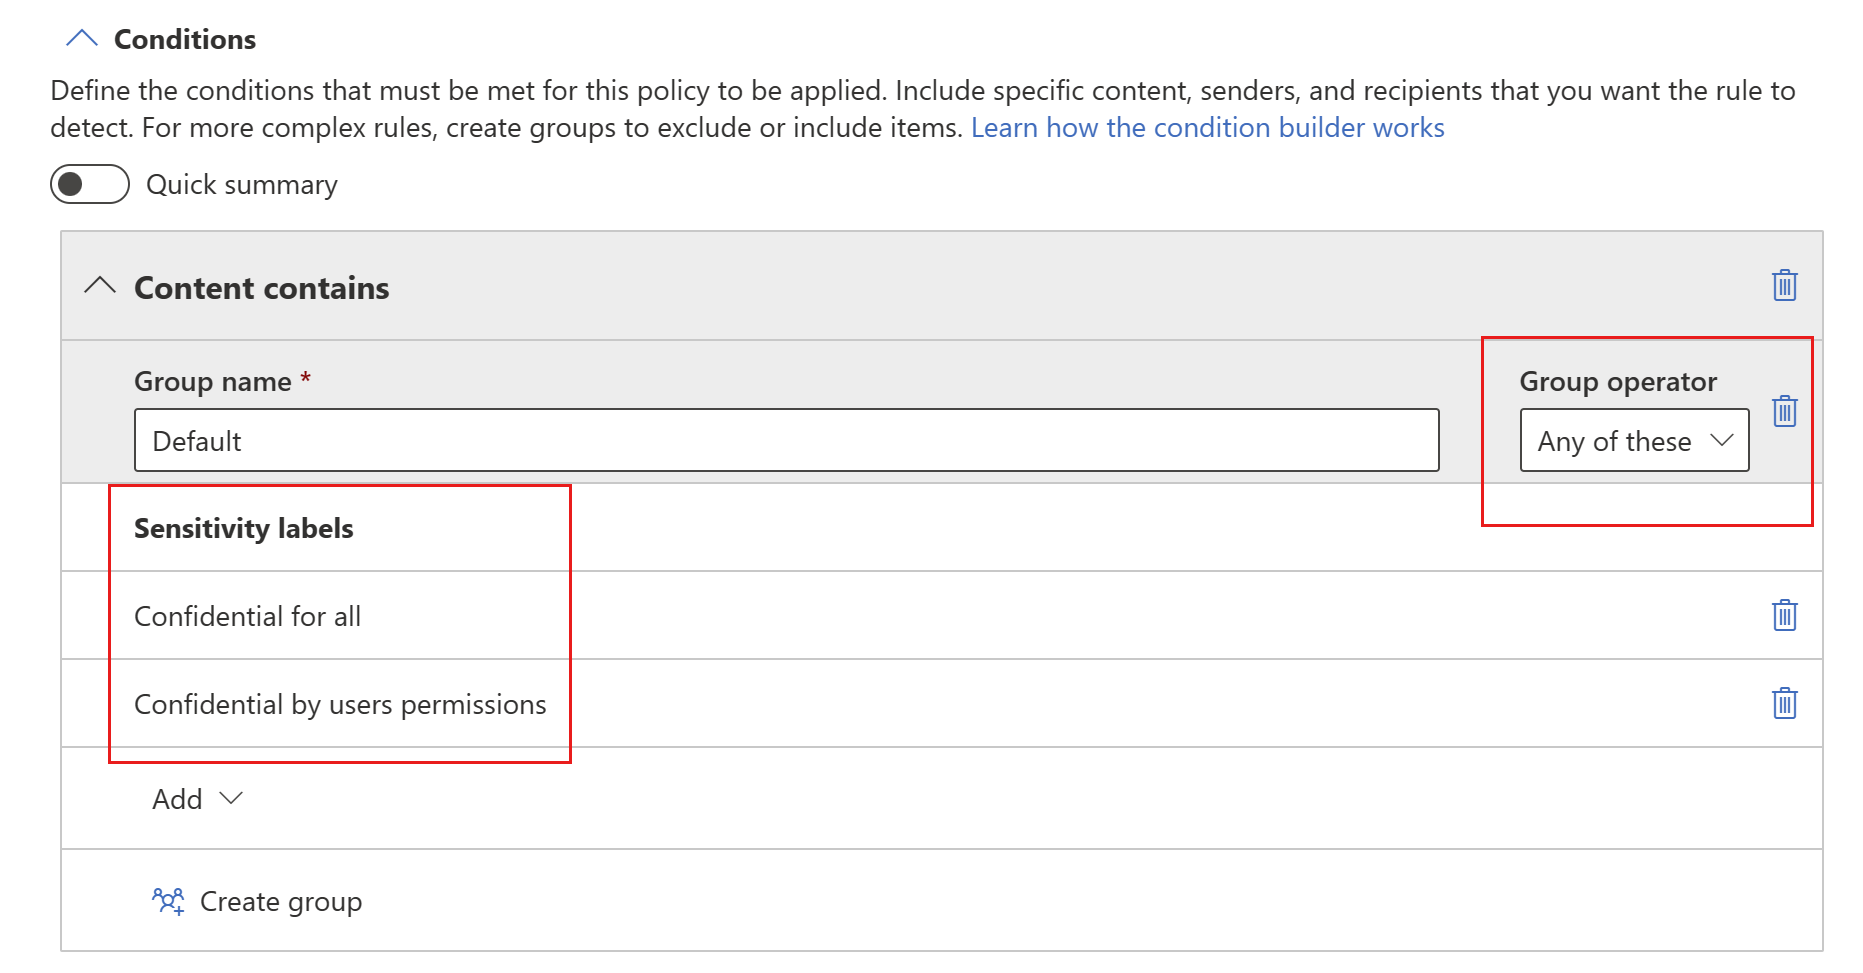
You can add additional sensitivity labels or sensitive info types to the group. To the right of the group name, you can specify Any of these or All of these. This determines whether matches on all or any of the items in the group is required for the condition to hold. If you specified more than one sensitivity label, you'll only be able to choose Any of these, since semantic models can’t have more than one label applied.
The image below shows a group (Default) that contains two sensitivity label conditions. The logic Any of these means that a match on any one of the sensitivity labels in the group constitutes “true” for that group.
You can use the Quick summary toggle to get the logic of the rule summarized in a sentence.

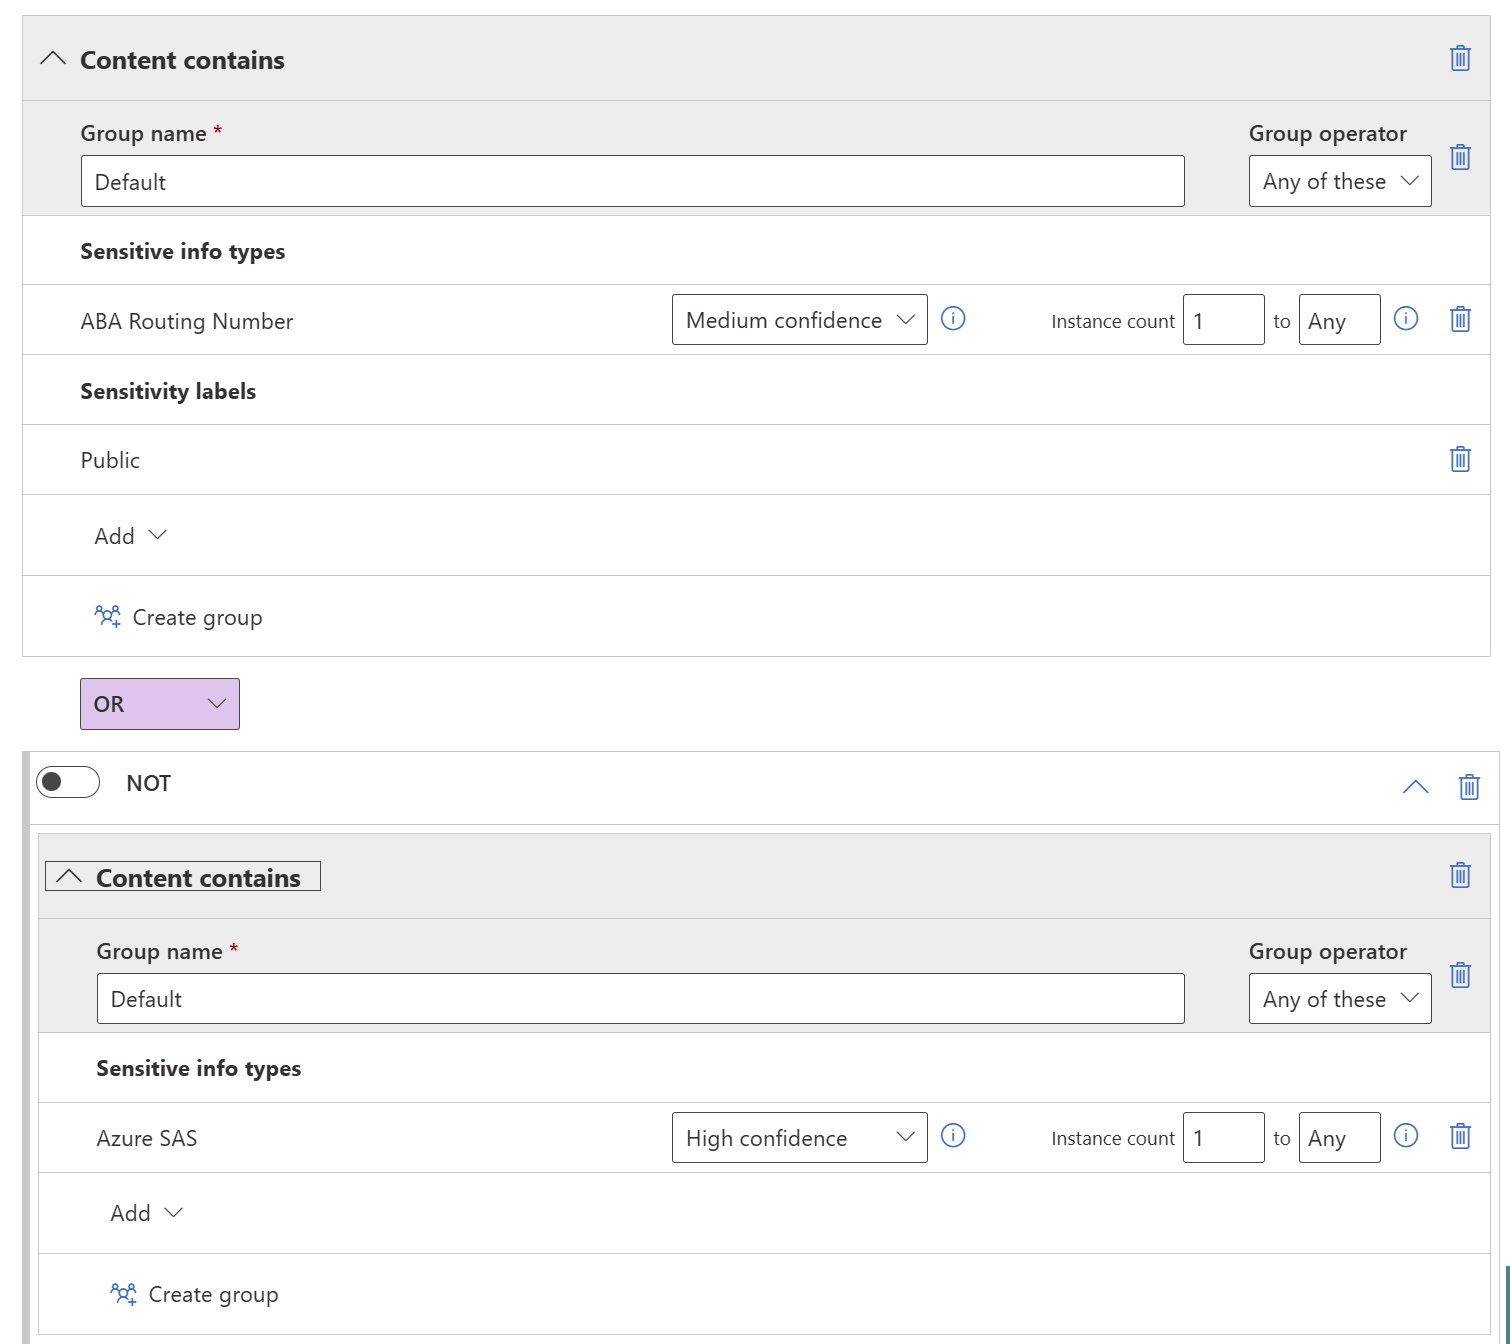
You can create more than one group, and you can control the logic between the groups with AND or OR logic.
The image below shows a rule containing two groups, joined by OR logic.
Here's the same rule shown as a quick summary.

Actions
Protection actions are currently unavailable for Power BI DLP policies.

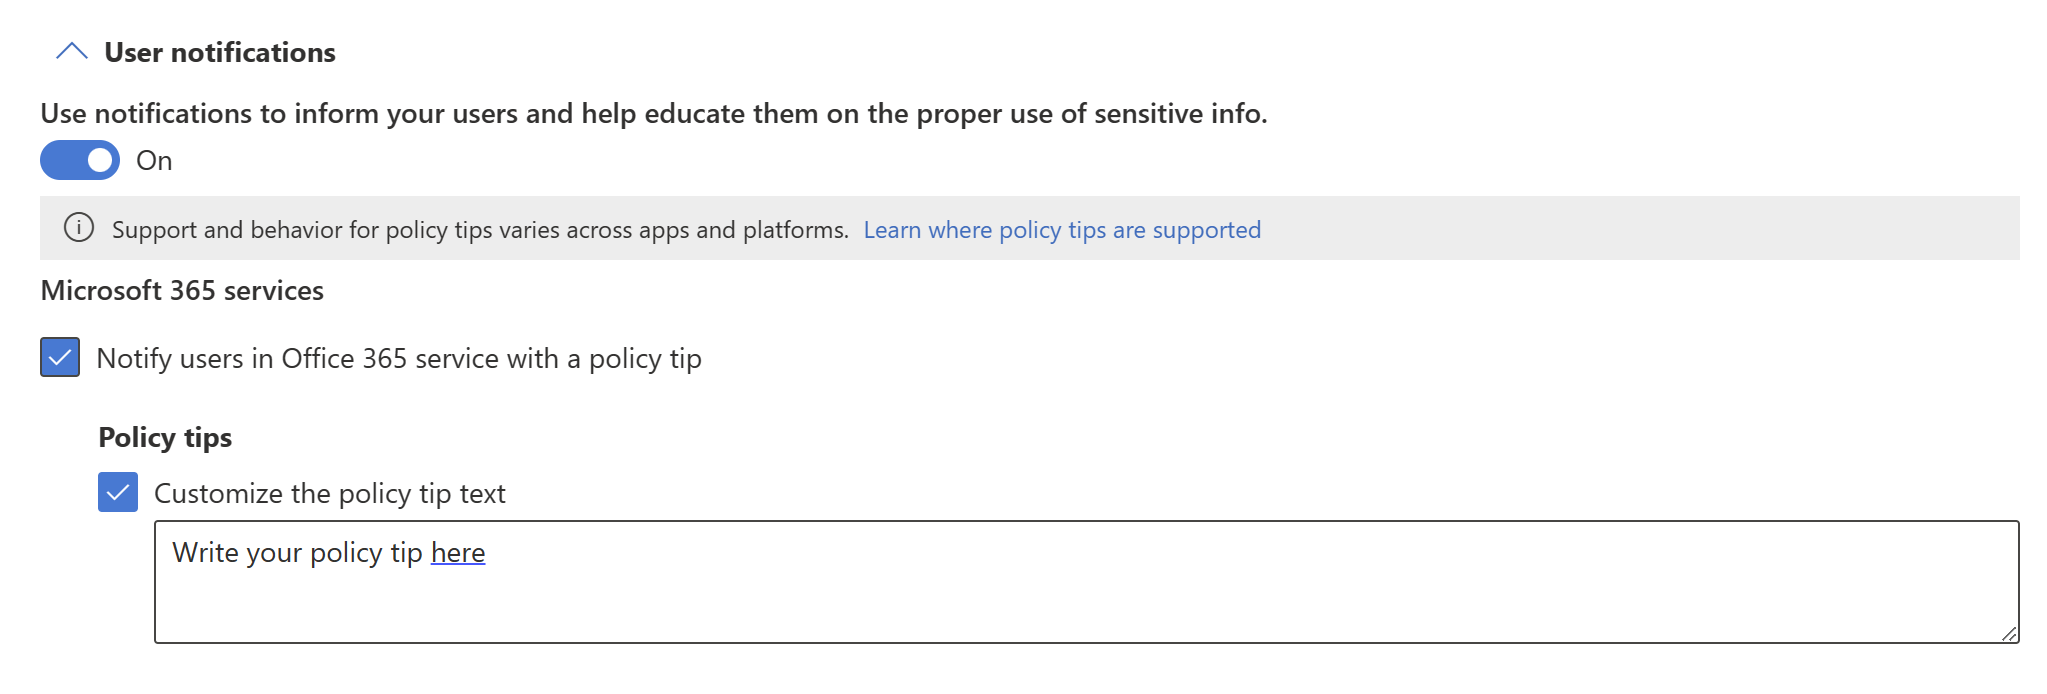
User notifications
The user notifications section is where you configure your policy tip. Turn on the toggle, select the Notify users in Office 365 service with a policy tip and Policy tips checkboxes, and write your policy tip in the text box.
User overrides
If you enabled user notifications and selected the Notify users in Office 365 service with a policy tip checkbox, semantic model owners (users with an Admin or Member role in the workspace where the semantic model is located) will be able to respond to violations on the Data loss prevention policies side pane, which they can display from a button on the policy tip. The options they have depend on your selections in the User overrides section.

The options are described below.
Allow overrides from M365 services. Allows users in Power BI, Exchange, SharePoint, OneDrive, and Teams to override policy restrictions (automatically selected when you've enabled user notifications and selected the Notify users in Office 365 service with a policy tip checkbox): Users will be able to either report the issue as a false positive or override the policy.
Require a business justification to override: Users will be able to either report the issue as a false positive or override the policy. If they choose to override, they'll need to provide a business justification.
Override the rule automatically if they report it as a false positive: Users will be able to report the issue as a false positive and automatically override the policy, or they can just override the policy without reporting it as a false positive.
If you select both Override the rule automatically if they report it as a false positive and Require a business justification to override, users will be able to report the issue as a false positive and automatically override the policy, or they can just override the policy without reporting it as a false positive, but they'll have to provide a business justification.
Overriding a policy means that from now on the policy will no longer check the semantic model for sensitive data.
Reporting an issue as a false positive means that the data owner believes that the policy has mistakenly identified non-sensitive data as sensitive. You can use false positives to fine tune your rules.
Any action the user takes is logged for reporting.
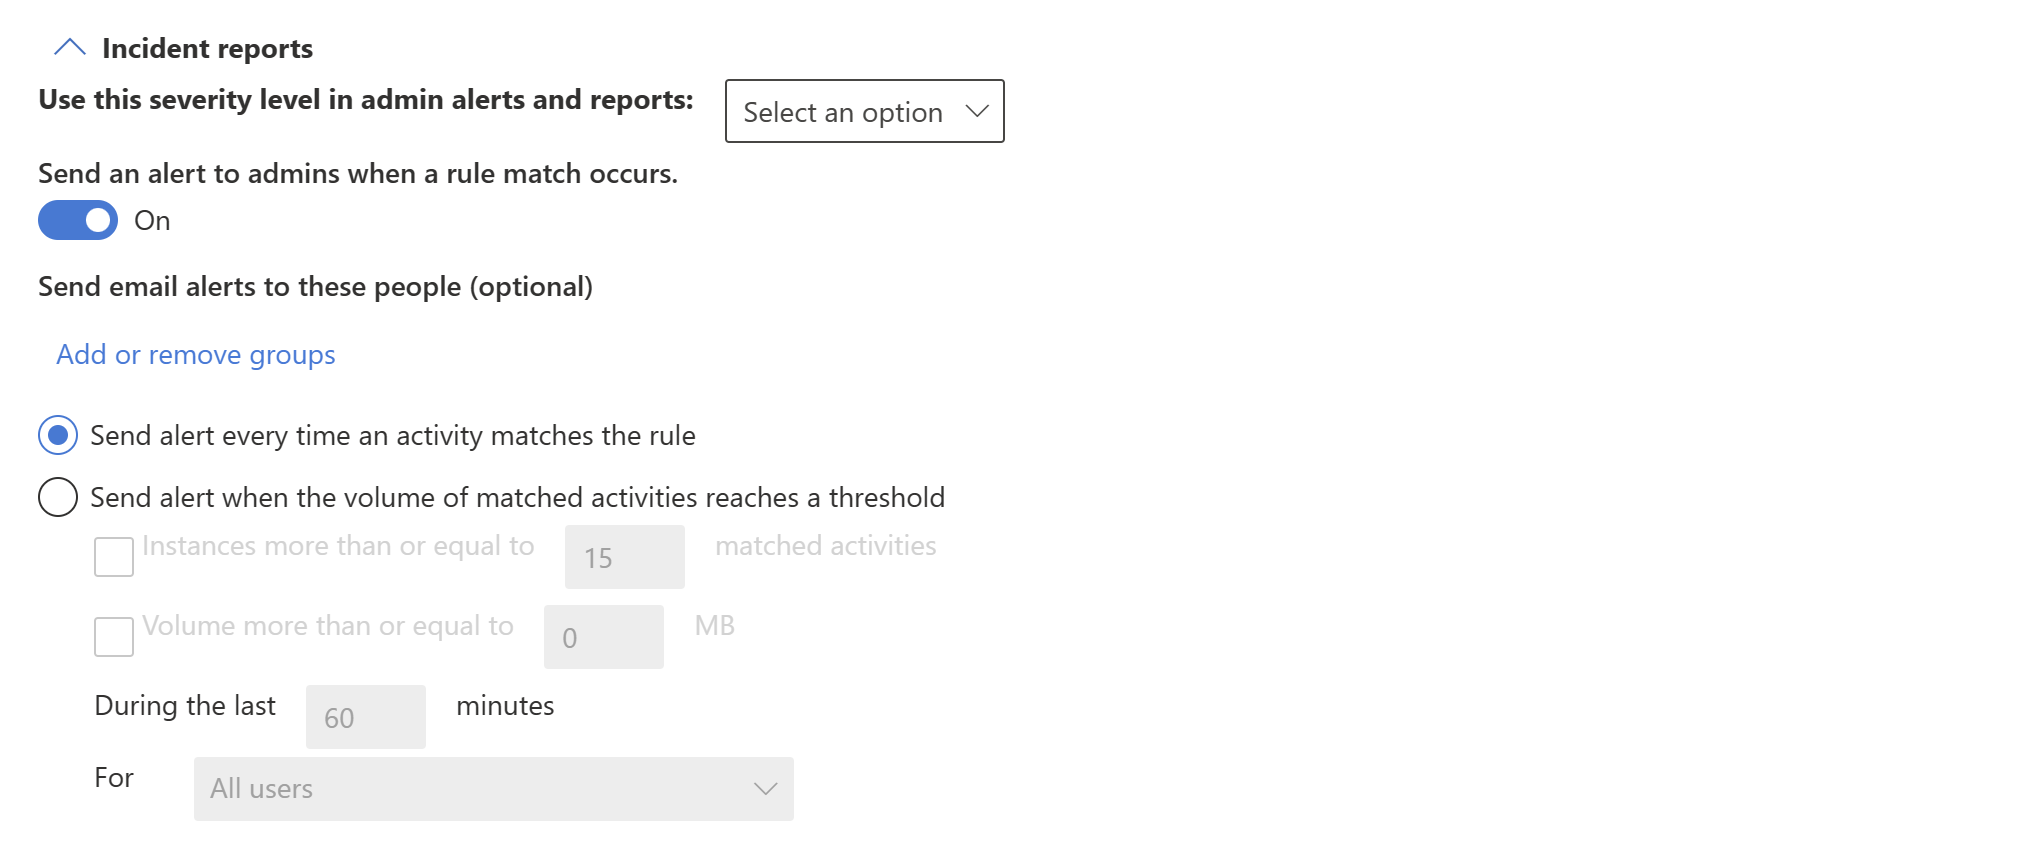
Incident reports
Assign a severity level that will be shown in alerts generated from this policy. Enable (default) or disable email notification to admins, specify users or groups for email notification, and configure the details about when notification will occur.
Additional options

Related content
Feedback
Coming soon: Throughout 2024 we will be phasing out GitHub Issues as the feedback mechanism for content and replacing it with a new feedback system. For more information see: https://aka.ms/ContentUserFeedback.
Submit and view feedback for