Evenimente
9 apr., 15 - 10 apr., 12
Codificați viitorul cu AI și conectați-vă cu colegii și experții Java la JDConf 2025.
Înregistrați-vă acumAcest browser nu mai este acceptat.
Faceți upgrade la Microsoft Edge pentru a profita de cele mai noi funcții, actualizări de securitate și asistență tehnică.
In this article, you learn how to integrate Vodeclic with Microsoft Entra ID. Integrating Vodeclic with Microsoft Entra ID provides you with the following benefits:
If you want to know more details about SaaS app integration with Microsoft Entra ID, see What is application access and single sign-on with Microsoft Entra ID. If you don't have an Azure subscription, create a free account before you begin.
To configure Microsoft Entra integration with Vodeclic, you need the following items:
In this article, you configure and test Microsoft Entra single sign-on in a test environment.
To configure the integration of Vodeclic into Microsoft Entra ID, you need to add Vodeclic from the gallery to your list of managed SaaS apps.
To add Vodeclic from the gallery, perform the following steps:
Sign in to the Microsoft Entra admin center as at least a Cloud Application Administrator.
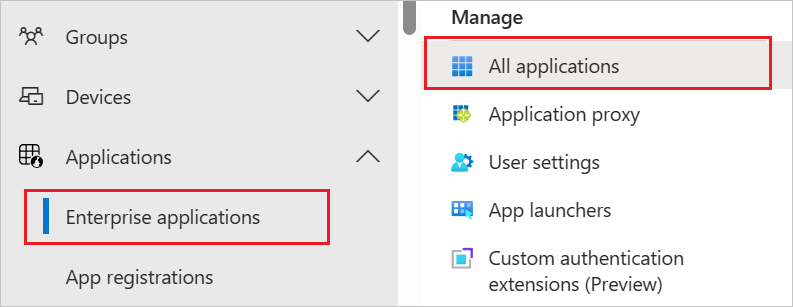
Browse to Identity > Applications > Enterprise applications > New application.
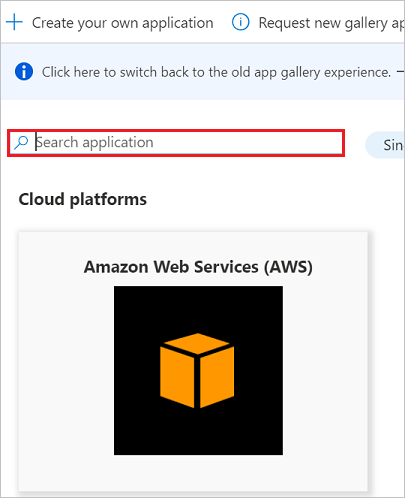
In the search box, type Vodeclic, select Vodeclic from result panel then click Add button to add the application.
In this section, you configure and test Microsoft Entra single sign-on with Vodeclic based on a test user called Britta Simon. For single sign-on to work, a link relationship between a Microsoft Entra user and the related user in Vodeclic needs to be established.
To configure and test Microsoft Entra single sign-on with Vodeclic, you need to complete the following building blocks:
In this section, you enable Microsoft Entra single sign-on.
To configure Microsoft Entra single sign-on with Vodeclic, perform the following steps:
Sign in to the Microsoft Entra admin center as at least a Cloud Application Administrator.
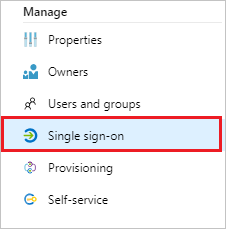
Browse to Identity > Applications > Enterprise applications > Vodeclic application integration page, select Single sign-on.
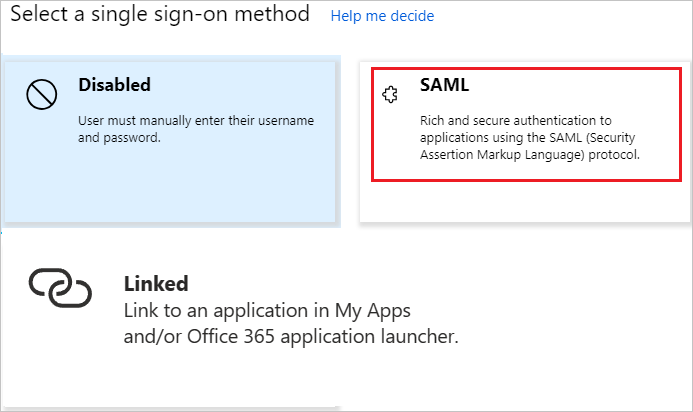
On the Select a Single sign-on method dialog, select SAML/WS-Fed mode to enable single sign-on.
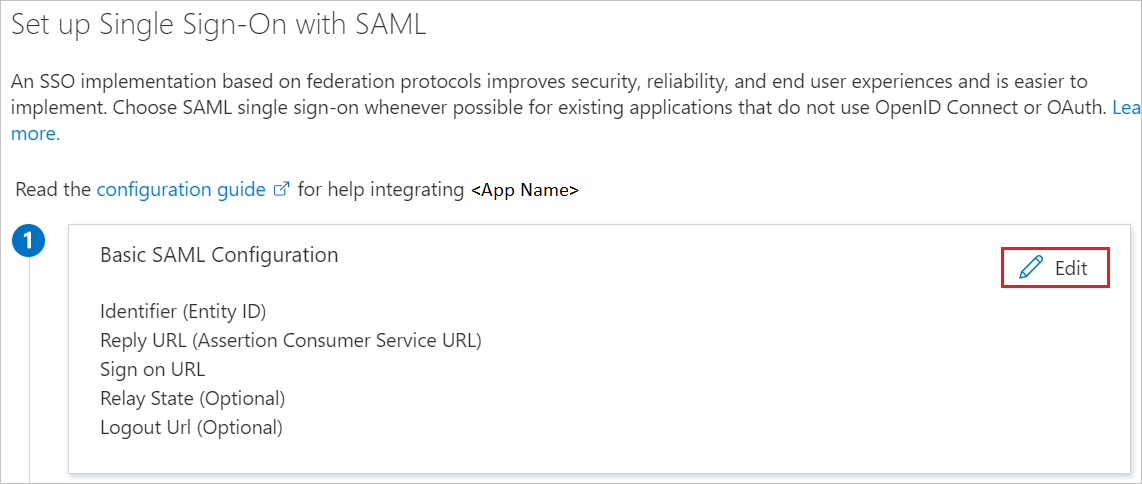
On the Set up Single Sign-On with SAML page, click Edit icon to open Basic SAML Configuration dialog.
On the Basic SAML Configuration section, if you wish to configure the application in IDP initiated mode, perform the following steps:
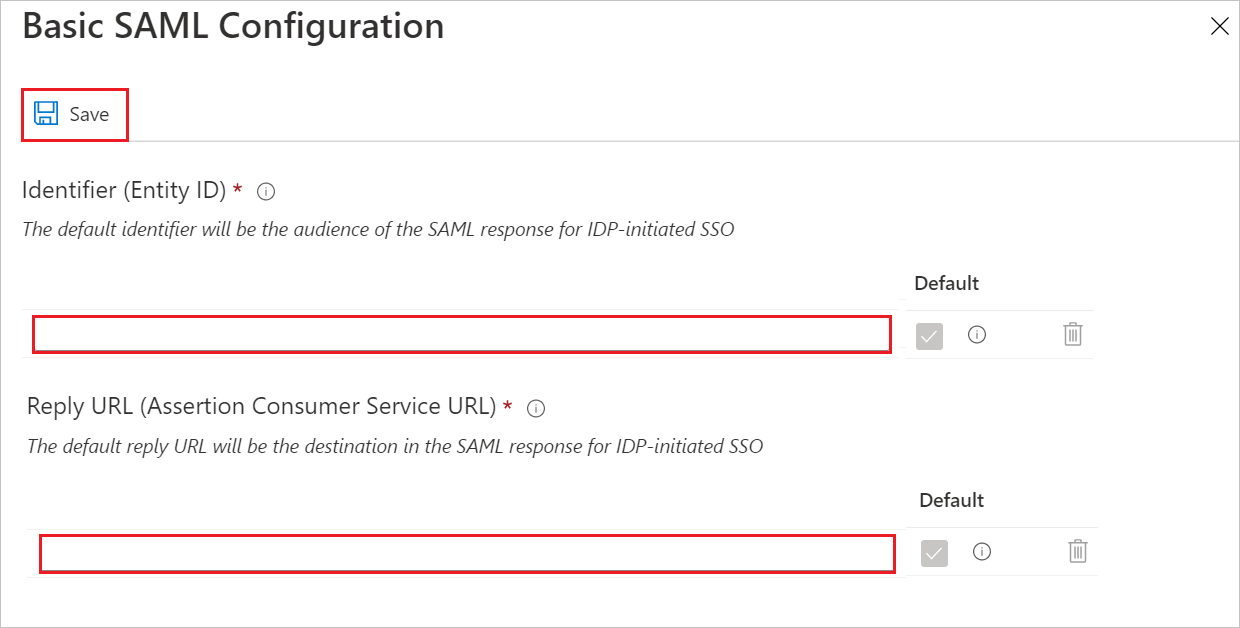
a. In the Identifier text box, type a URL using the following pattern:
https://<companyname>.lms.vodeclic.net/auth/saml
b. In the Reply URL text box, type a URL using the following pattern:
https://<companyname>.lms.vodeclic.net/auth/saml/callback
Click Set additional URLs and perform the following step if you wish to configure the application in SP initiated mode:

In the Sign-on URL text box, type a URL using the following pattern:
https://<companyname>.lms.vodeclic.net/auth/saml
Notă
These values are not real. Update these values with the actual Identifier, Reply URL and Sign-on URL. Contact Vodeclic Client support team to get these values. You can also refer to the patterns shown in the Basic SAML Configuration section.
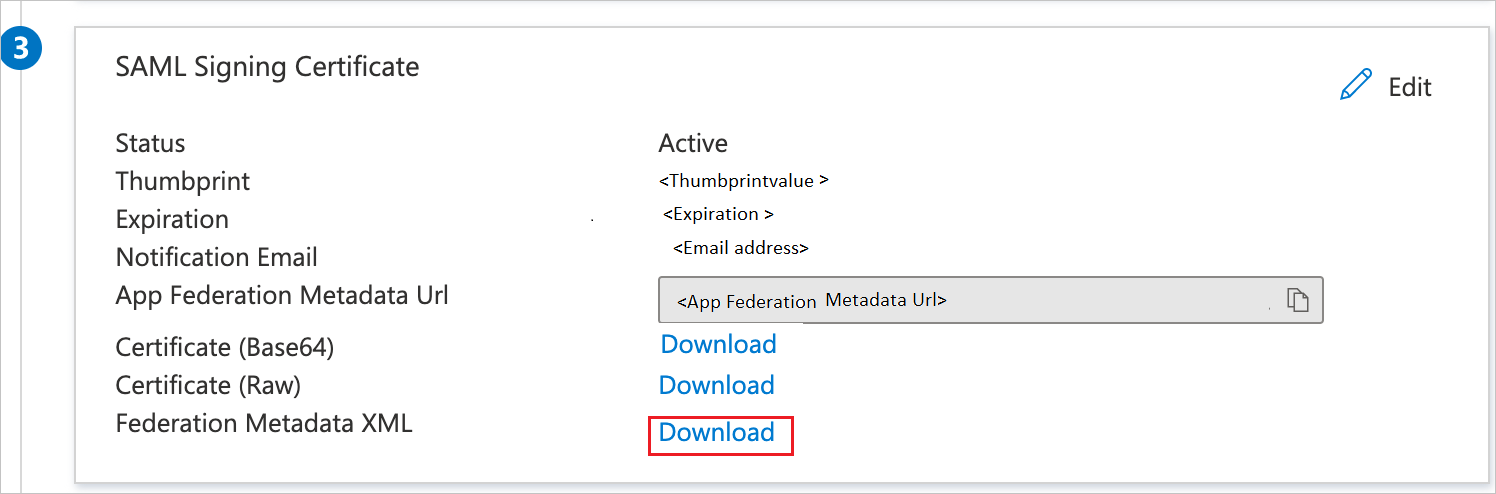
On the Set up Single Sign-On with SAML page, in the SAML Signing Certificate section, click Download to download the Federation Metadata XML from the given options as per your requirement and save it on your computer.
On the Set up Vodeclic section, copy the appropriate URL(s) as per your requirement.
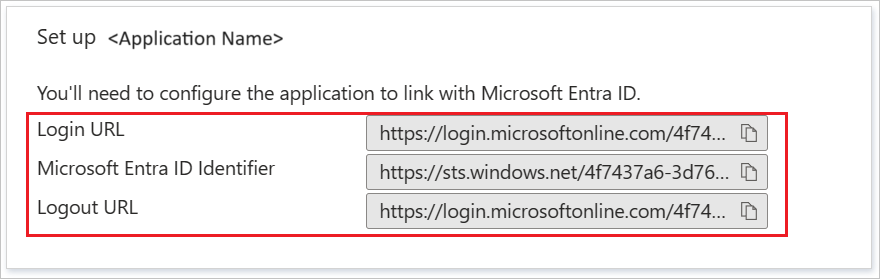
a. Login URL
b. Microsoft Entra Identifier
c. Logout URL
To configure single sign-on on Vodeclic side, you need to send the downloaded Federation Metadata XML and appropriate copied URLs from the application configuration to Vodeclic support team. They set this setting to have the SAML SSO connection set properly on both sides.
The objective of this section is to create a test user called Britta Simon.
B.Simon.B.Simon@contoso.com.In this section, you enable Britta Simon to use Azure single sign-on by granting access to Vodeclic.
Sign in to the Microsoft Entra admin center as at least a Cloud Application Administrator.
Browse to Identity > Applications > Enterprise applications > Vodeclic.
In the applications list, select Vodeclic.

In the app's overview page, select Users and groups.
Select Add user/group, then select Users and groups in the Add Assignment dialog.
In this section, you create a user called Britta Simon in Vodeclic. Work with Vodeclic support team to add the users in the Vodeclic platform. Users must be created and activated before you use single sign-on.
Notă
According to application requirements, you might need to get your machine added to an allow list. For that to happen, you need to share your public IP address with the Vodeclic support team.
In this section, you test your Microsoft Entra single sign-on configuration using the Access Panel.
When you click the Vodeclic tile in the Access Panel, you should be automatically signed in to the Vodeclic for which you set up SSO. For more information about the Access Panel, see Introduction to the Access Panel.
Evenimente
9 apr., 15 - 10 apr., 12
Codificați viitorul cu AI și conectați-vă cu colegii și experții Java la JDConf 2025.
Înregistrați-vă acumInstruire
Modul
Discover how Microsoft Entra External ID can provide secure, seamless sign-in experiences for your consumers and business customers. Explore tenant creation, app registration, flow customization, and account security.
Certificare
Certificat Microsoft: asociat de administrator de identitate și acces - Certifications
Demonstrează caracteristicile Microsoft Entra ID pentru a moderniza soluțiile de identitate, a implementa soluții hibride și a implementa guvernanța identității.