Set up your SharePoint site with lists and libraries
To successfully complete the Getting Started tutorials, set up your SharePoint site with the following items.
Microsoft 365 tenant
To use Power Automate and build flows, you need a Microsoft 365 tenant.
If you already have an Office 365 tenant, see section Create Projects list below.
For step-by-step instructions about how to join the Microsoft 365 Developer Program and sign up and configure your subscription, see the Office 365 Developer Program documentation.
Create Projects list
Create a new SharePoint list called Projects. To create a new SharePoint list, follow these steps.
Create a new list
In your Microsoft 365 tenant, browse to a modern SharePoint site.
Note
You can use either a modern Teams site or a Communications site.
In the command bar, select New > List.
In the Create list panel, enter the following:
- Name: Projects
To create the list, select Create.
You are automatically redirected to the Projects list.
Select + Add column, and to add an Owner column to the list, and then select the Person column type.
In the Create a column panel, enter the following:
- Name: Owner
- Description: Project owner
To add the column to the Projects list, select Save. The new Owner column becomes available in the Projects list.
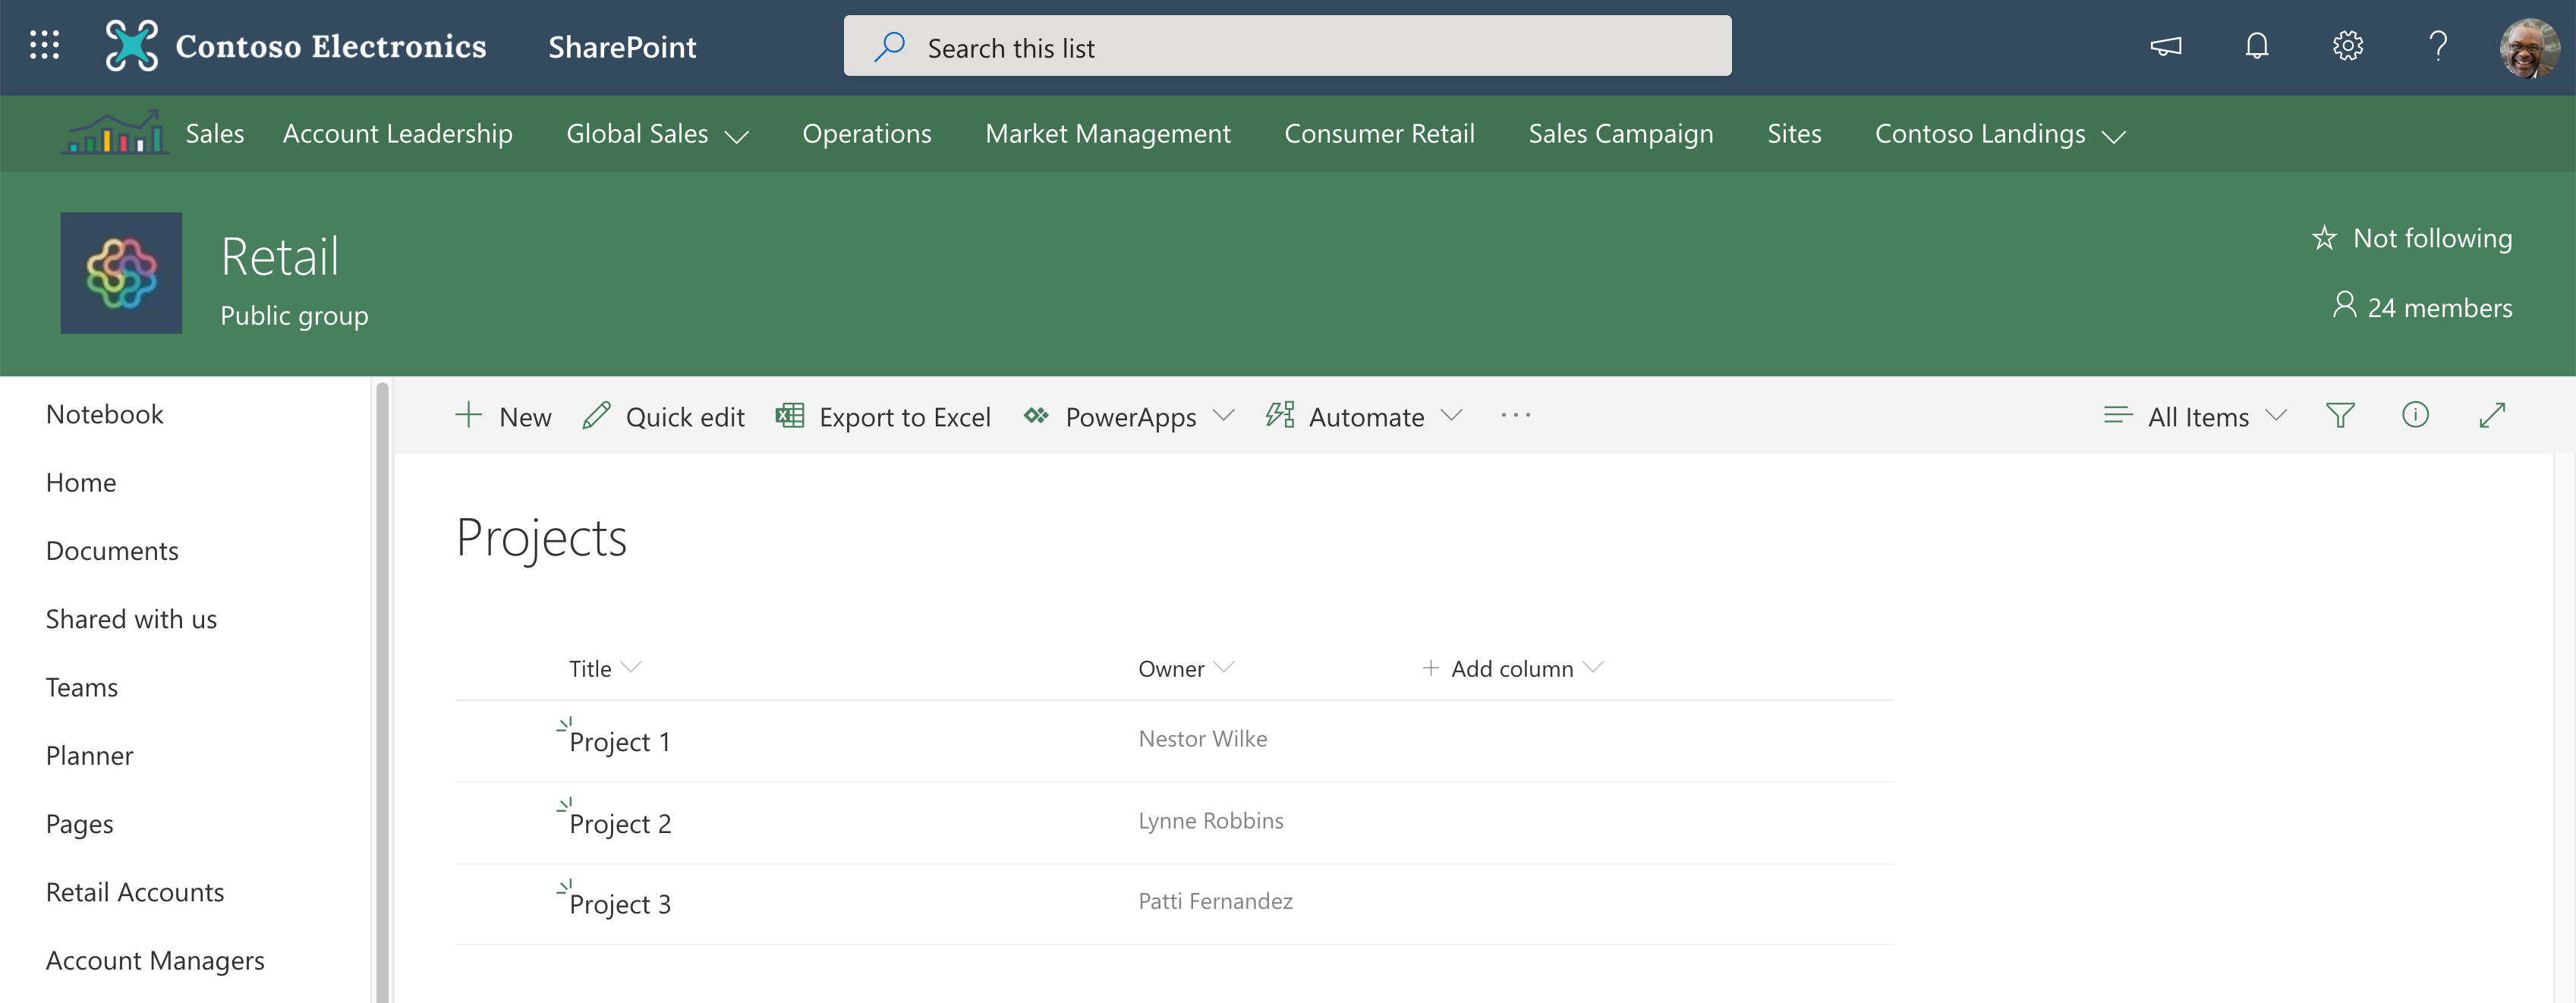
Add new project items
In the List command bar, select New, and add the following list items:
Item 1
- Title: Project 1
- Owner: Select a user from people picker
Item 2
- Title: Project 2
- Owner: Select a user from people picker
Item 3
- Title: Project 3
- Owner: pick a user from people picker
Next steps
Now that you have set up your SharePoint site with the lists and libraries, you are ready to build your first flow.
Feedback
Coming soon: Throughout 2024 we will be phasing out GitHub Issues as the feedback mechanism for content and replacing it with a new feedback system. For more information see: https://aka.ms/ContentUserFeedback.
Submit and view feedback for