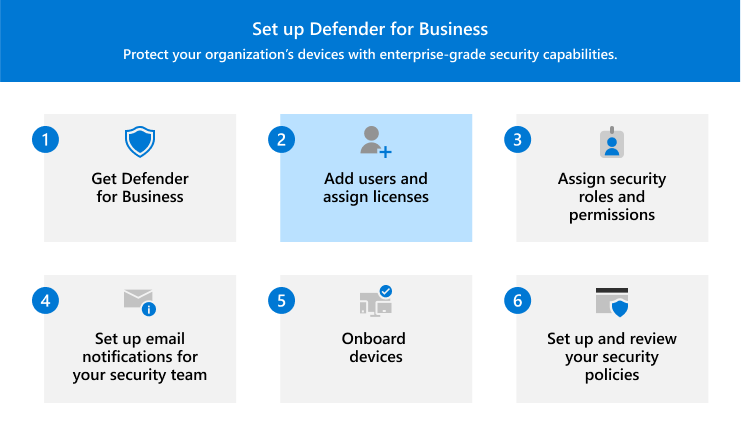
Add users and assign licenses in Microsoft Defender for Business
As soon as you have signed up for Defender for Business, your first step is to add users and assign licenses. This article describes how to add users and assign licenses, and how to make sure multifactor authentication (MFA) is enabled.
Add users and assign licenses
Important
You must be a global administrator to perform this task. The person who signed up your company for Microsoft 365 or for Defender for Business is a global administrator by default.
Go to the Microsoft 365 admin center at https://admin.microsoft.com and sign in.
Go to Users > Active users, and then select Add a user.
In the Set up the basics pane, fill in the basic user information, and then select Next.
- Name: Fill in the first and last name, display name, and username.
- Domain Choose the domain for the user's account. For example, if the user's username is
Pat, and the domain iscontoso.com, they'll sign in by usingpat@contoso.com. - Password settings: Choose whether to use the autogenerated password or to create your own strong password for the user. The user must change their password after 90 days. Or you can choose the option to Require this user to change their password when they first sign in. You can also choose whether you want to send the user's password in email when the user is added.
On the Assign product licenses page, select Defender for Business (or Microsoft 365 Business Premium). Then choose Next.
If you don't have any licenses available, you can still add a user and buy additional licenses. For more information about adding users, see Add users and assign licenses at the same time.
On the Optional settings page, you can expand Profile info and fill in details, such as the user's job title, department, location, and so forth. Then choose Next.
On the Review and finish page, review the details, and then select Finish adding to add the user. If you need to make any changes, choose Back to go back to a previous page.
Make sure MFA is enabled
One good way to make sure MFA is enabled for all users is by using security defaults. If your tenant was created on or after October 22, 2019, security defaults might be enabled automatically in your tenant. Use the following procedure to confirm or enable security defaults.
Important
You must be a security administrator, Conditional Access administrator, or Global Administrator to perform this task.
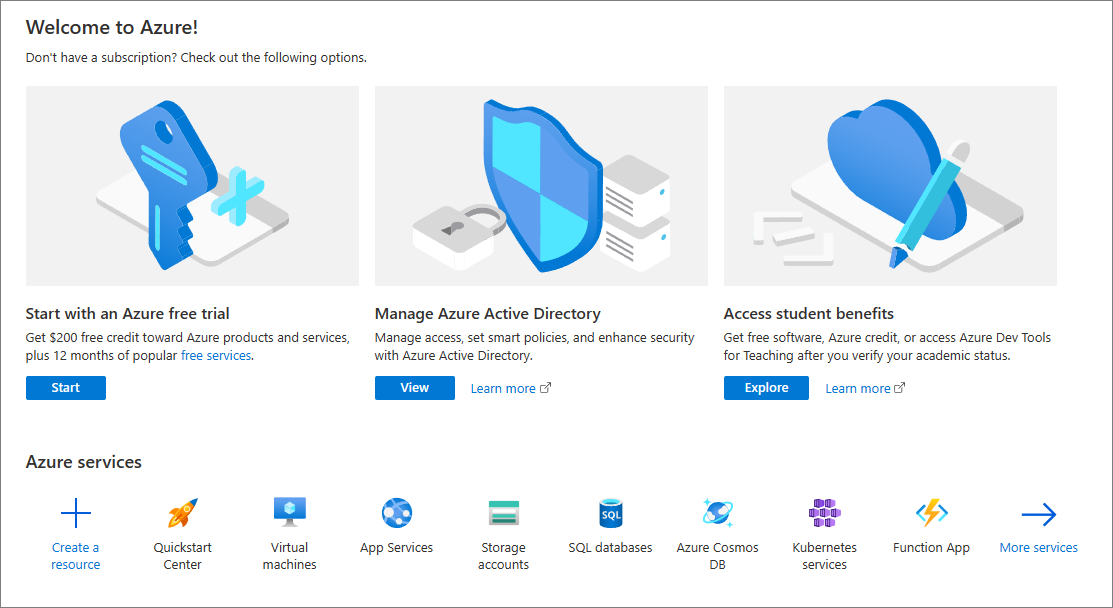
Go to the Azure portal (https://portal.azure.com/) and sign in.
Under Manage Microsoft Entra ID, select View.
In the navigation pane, select Properties, and then select Manage security defaults.

On the right side of the screen, in the Security defaults pane, see whether security defaults are turned on (Enabled) or off (Disabled). To turn security defaults on, use the drop-down menu to select Enabled.
Caution
If your organization is using Conditional Access policies, you won't be able to enable security defaults. You'll see a message that indicates you're using classic policies instead. You can use either security defaults or Conditional Access, but not both. For most organizations, security defaults offer a good level of sign-in security. But if your organization must meet more stringent requirements, you can use Conditional Access policies instead. To learn more, see the following articles:
- Multi-factor authentication (in the Microsoft 365 Business Premium documentation)
- Security defaults in Microsoft Entra ID
Save your changes.


Next steps
Povratne informacije
Kmalu na voljo: V letu 2024 bomo ukinili storitev Težave v storitvi GitHub kot mehanizem za povratne informacije za vsebino in jo zamenjali z novim sistemom za povratne informacije. Za več informacij si oglejte: https://aka.ms/ContentUserFeedback.
Pošlji in prikaži povratne informacije za