你当前正在访问 Microsoft Azure Global Edition 技术文档网站。 如果需要访问由世纪互联运营的 Microsoft Azure 中国技术文档网站,请访问 https://docs.azure.cn。
如何:预配 Azure Fluid Relay 服务
在将应用连接到 Azure Fluid Relay 之前,必须在 Azure 帐户中预配 Azure Fluid Relay 服务器资源。 本文逐步介绍如何预配并准备好使用 Azure Fluid Relay 服务。
先决条件
若要创建 Azure Fluid Relay 资源,必须拥有 Azure 帐户。 如果没有帐户,可以免费适用 Azure。
创建资源组
资源组是 Azure 资源的逻辑集合。 所有资源在资源组中进行部署和管理。 创建资源组:
登录 Azure 门户。
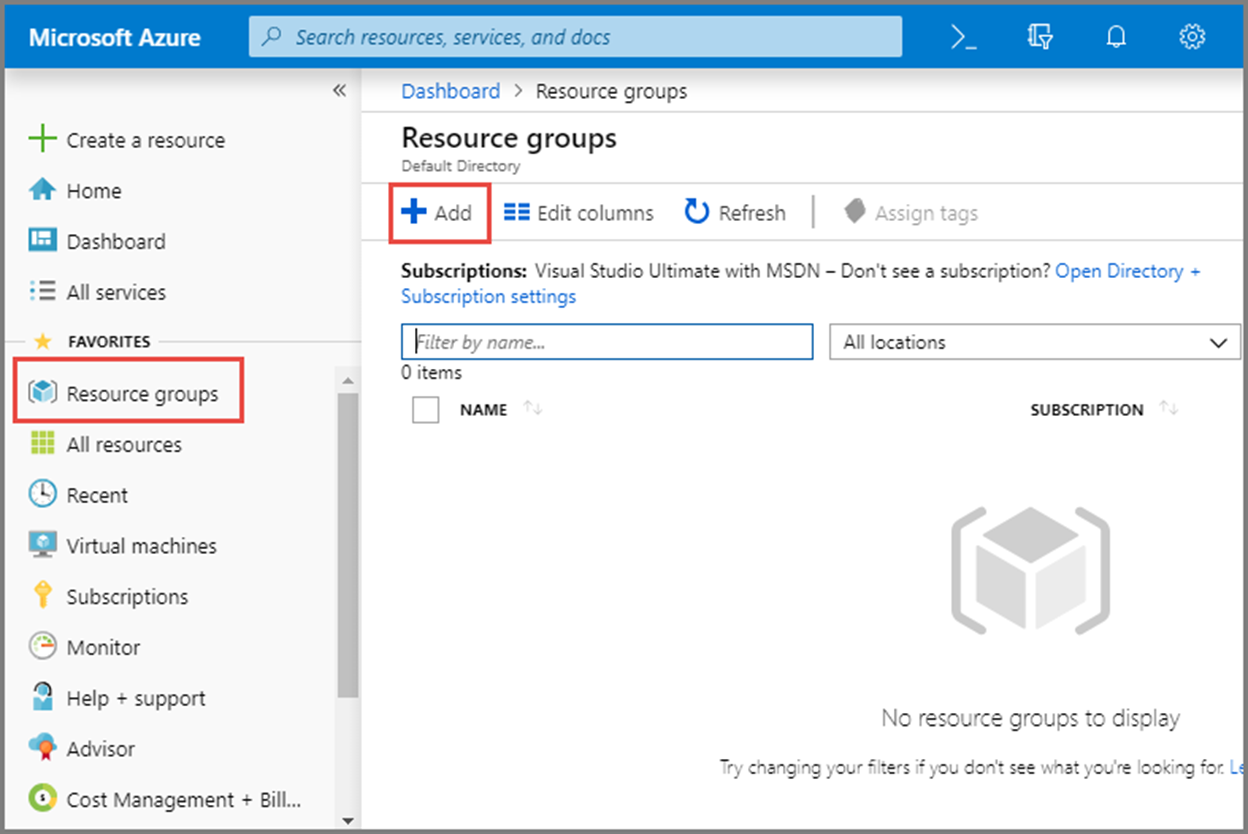
在左侧导航栏中,选择“资源组” 。 然后选择“添加” 。
对于“订阅”,请选择要在其中创建资源组的 Azure 订阅的名称。 有关订阅的详细信息,请参阅介绍核心 Azure 体系结构组件。

键入资源组的唯一名称。 系统会立即检查该名称是否在当前选定的 Azure 订阅中可用。
选择资源组所在的区域。
选择“查看 + 创建” 。
在“查看 + 创建”页面上,选择“创建”。
创建 Fluid Relay 资源
每个 Azure Fluid Relay 服务器资源都提供一个租户,供你在 Fluid 应用程序中使用。 在该租户中,你可以创建许多容器/会话。 若要使用门户在资源组中创建 Fluid Relay,请执行以下操作:
在 Azure 门户中,选择屏幕左上角的“创建资源”。
搜索“Fluid”
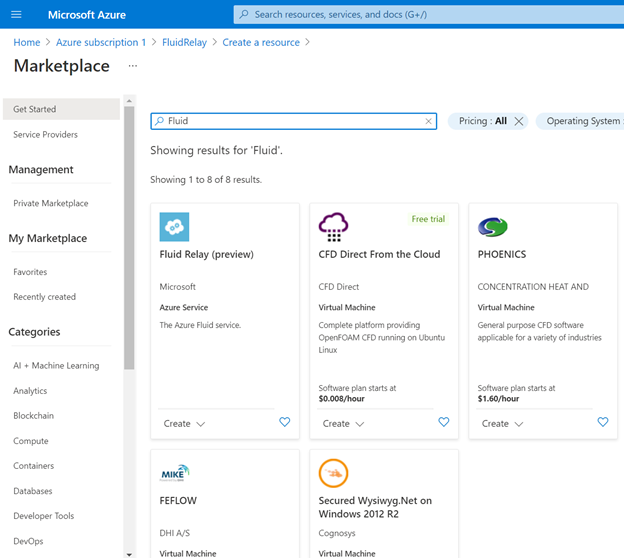
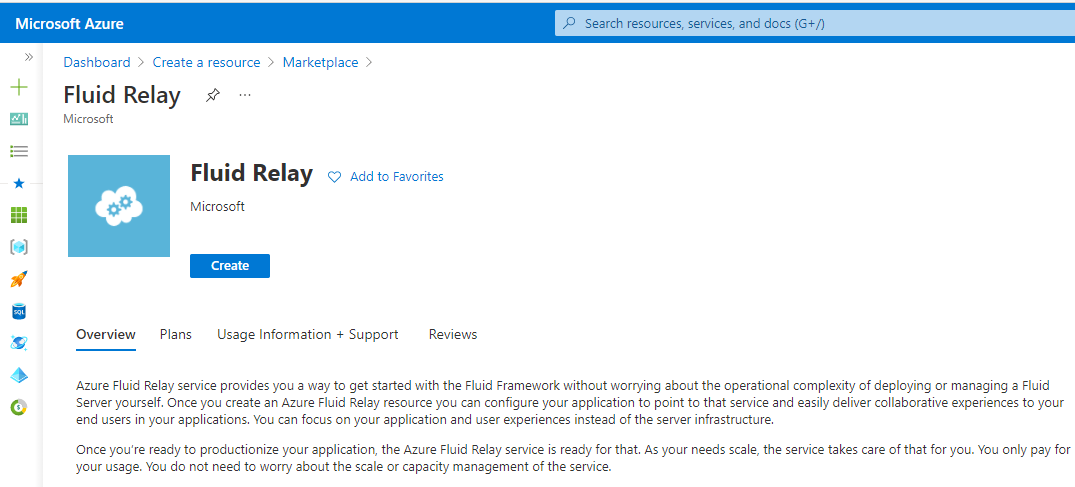
选择“Fluid Relay”,然后选择“创建”。
在“创建”页面上执行以下步骤:
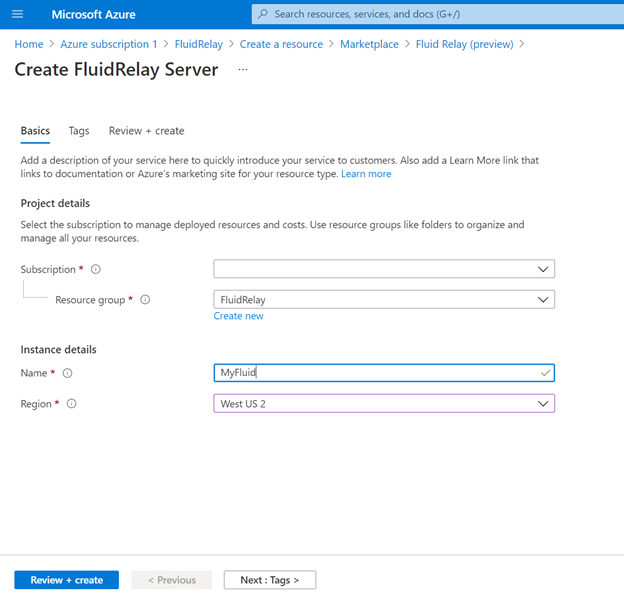
- 选择要在其中创建命名空间的订阅。
- 选择在上一步创建的 资源组。
- 输入 Fluid Relay 资源的名称。
- 选择命名空间所在的位置。
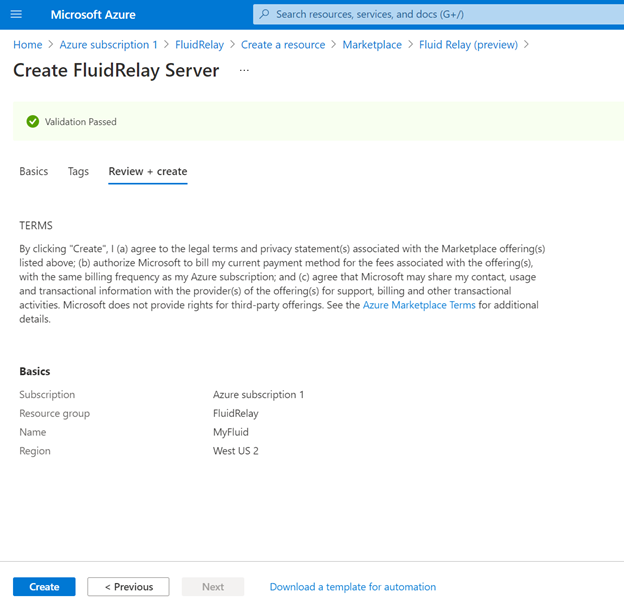
单击页面底部的“查看 + 创建”按钮。
在“查看 + 创建”页面上查看设置,然后选择“创建”。 等待部署完成。
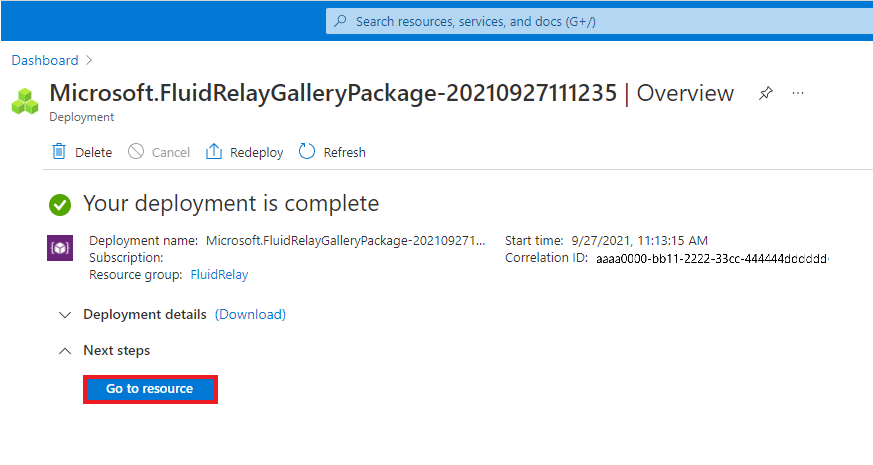
在“部署”页面上选择“转到资源”,以便导航到你的命名空间所对应的页面。
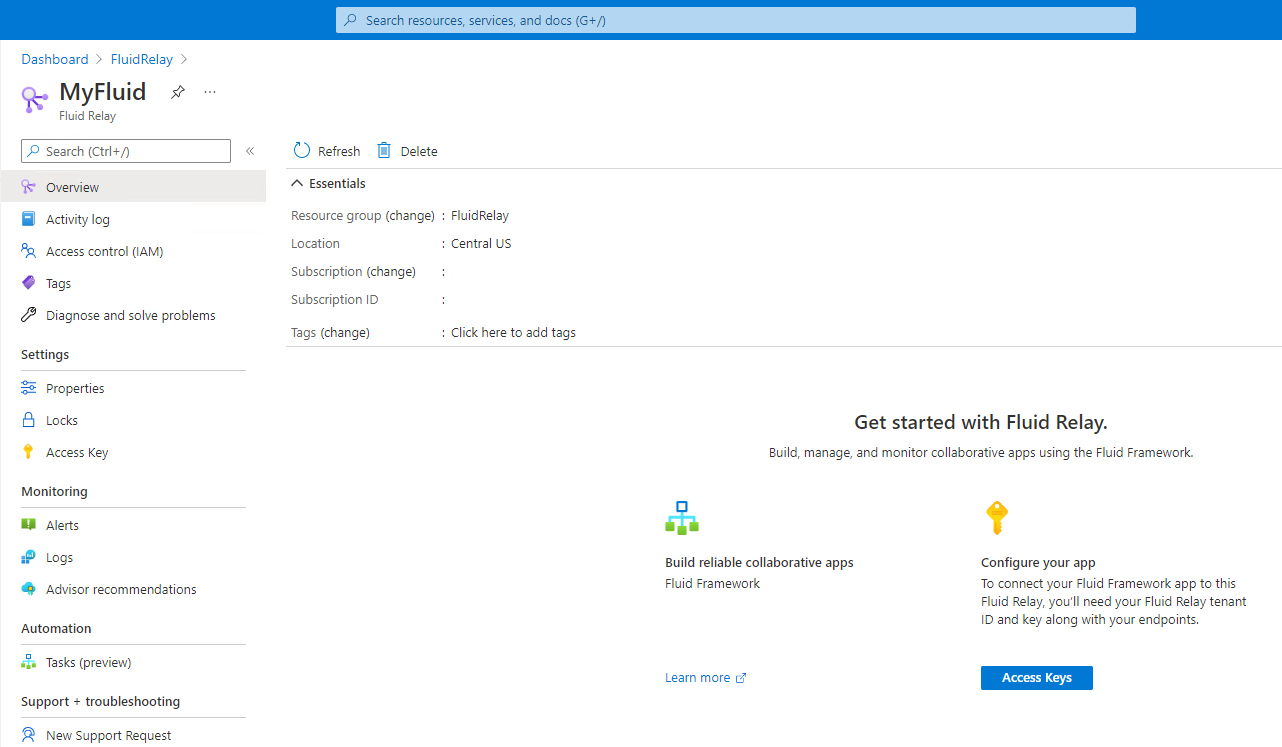
确认你看到与此示例类似的 Fluid Relay 页面。
后续步骤
你刚刚创建了一个资源组并在该组中预配了 Azure Fluid Relay 资源。 接下来,可以连接到应用中的 Azure Fluid Relay 服务。