Step 5 - Import the Yume application
To import the Yume application, perform the following steps:
Download the Yume PowerApp zip file from the VivaSolutions GitHub repository if not already downloaded as part of the prerequisites.
Sign in to https://powerapps.microsoft.com.
Select the environment you'll be deploying the CSV file to.
Select Apps. The Apps page is displayed.
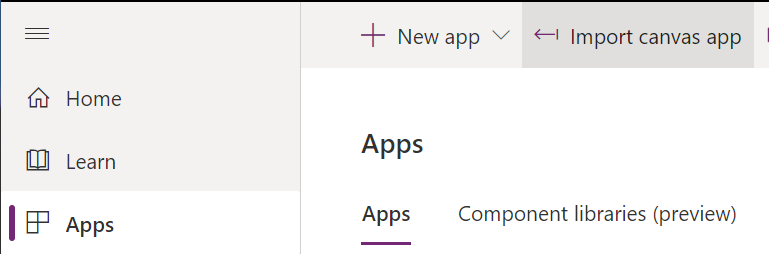
Select Import canvas app. The page with the Upload button is displayed.
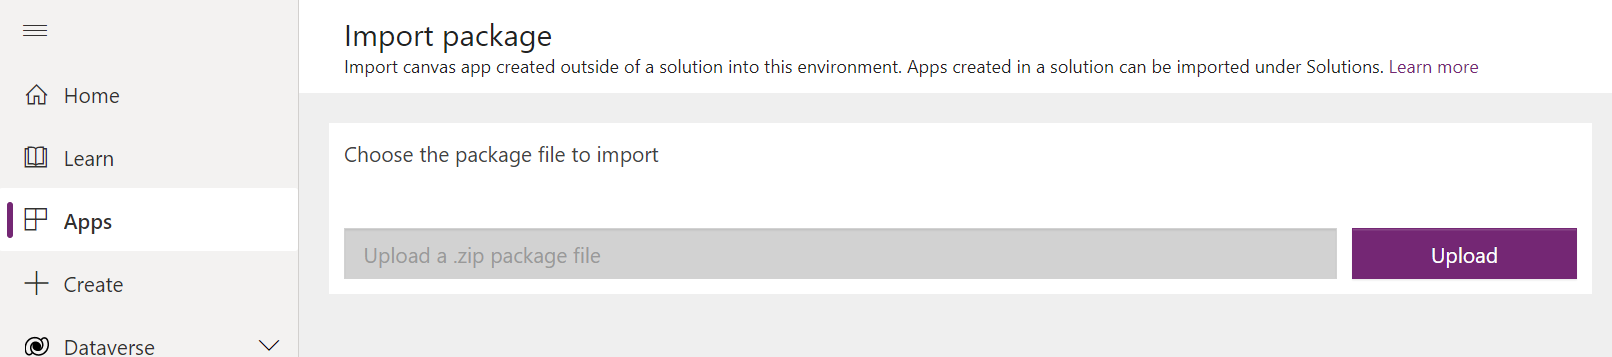
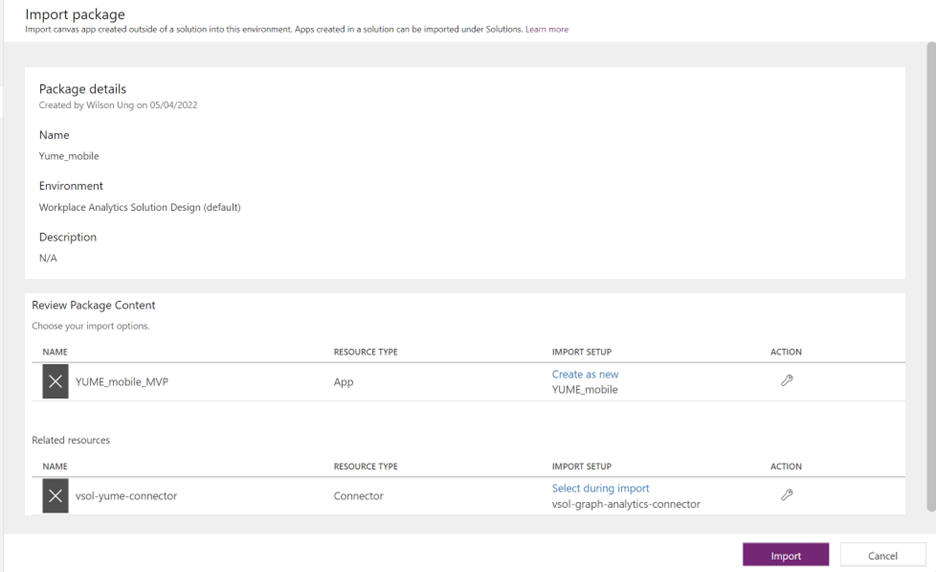
Upload the zip file that was downloaded earlier. Once the upload process has been successfully completed, the page as shown in the following screenshot is displayed:
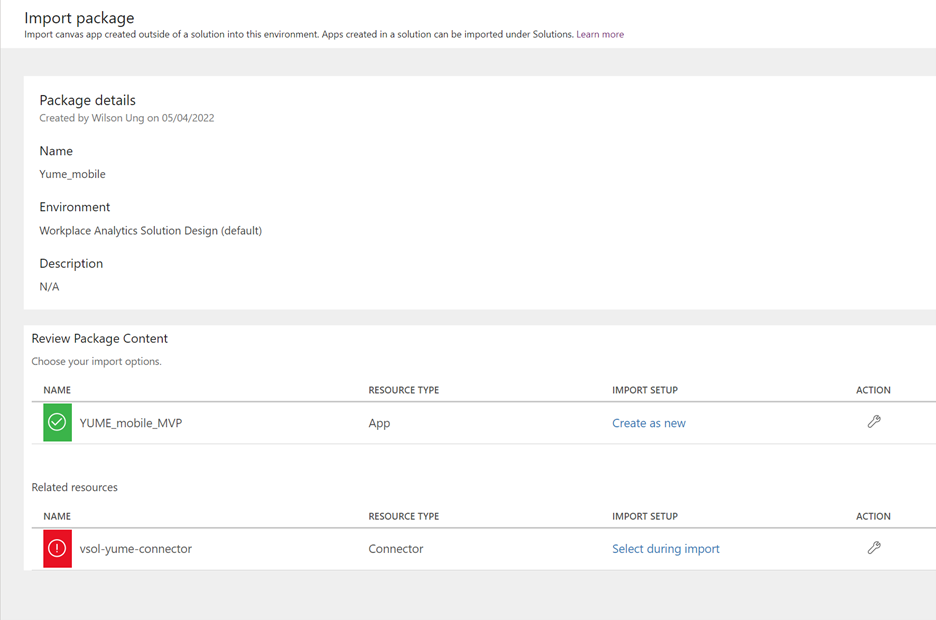
Under the Choose your import options pane, select Create as new that is corresponding to YUME_mobile_MVP. The page shown in the following screenshot is displayed.
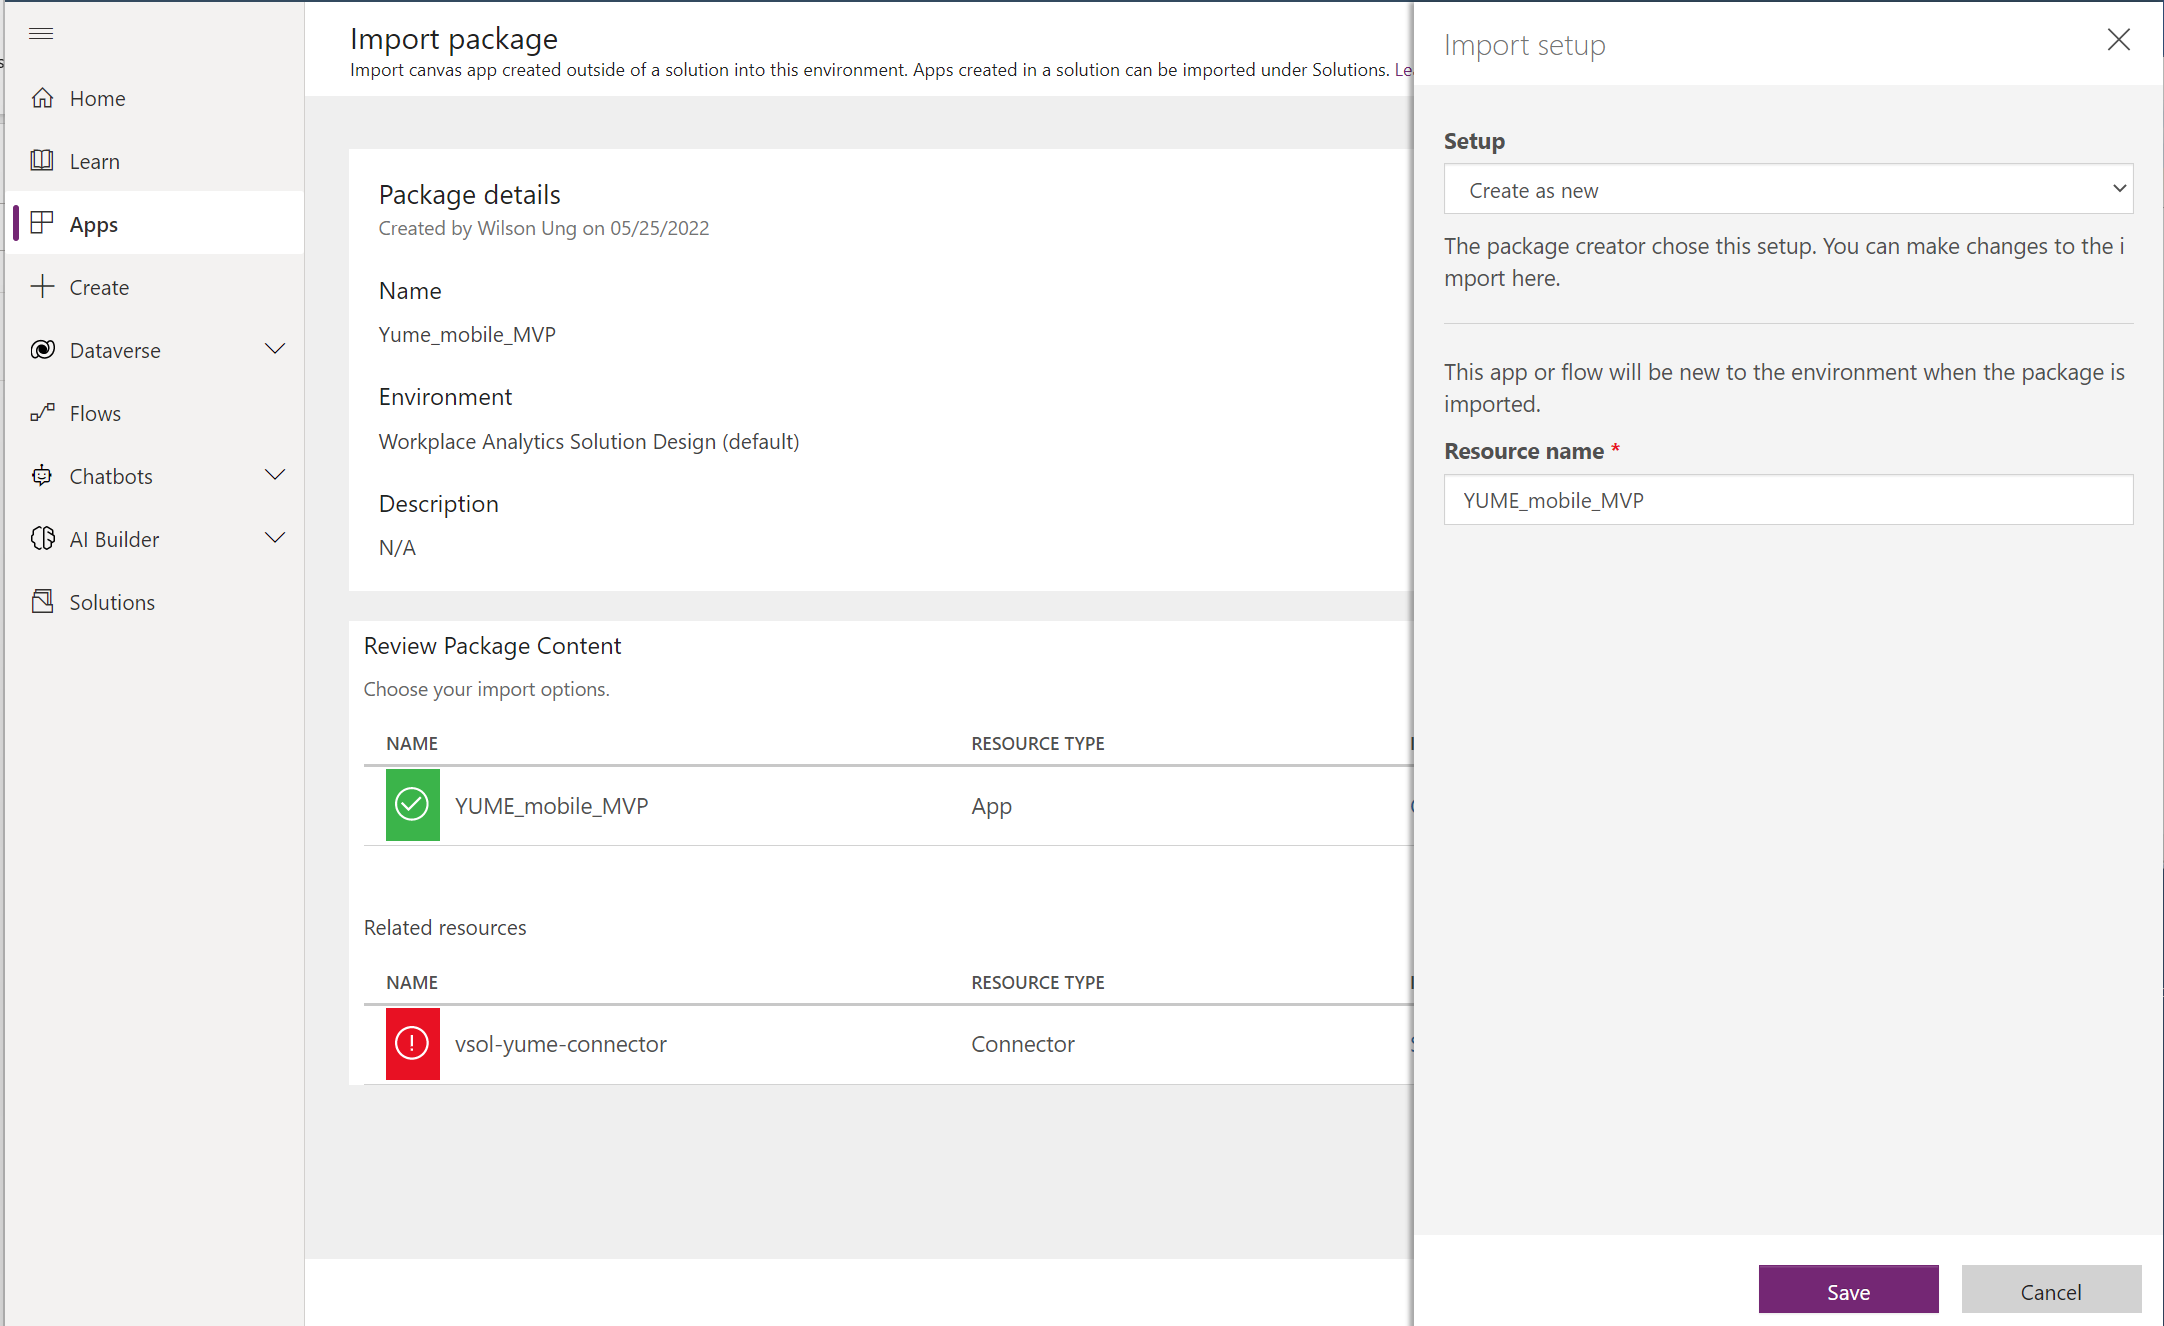
Update the name to a unique name for the environment in the Resource name box, for example, Yume_mobile.
Select Save. You return to the Import wizard page.
Select the option Select during import corresponding to vsol-yume-connector. The page with the Import setup pane on the right side is displayed.

Select Save. You return to the Import wizard page.
Select Import at the bottom-right side of the page.
Once the import process has been completed, there will be a message as shown in the following screenshot.

Select Open apps. The page as shown in the following screenshot is displayed:
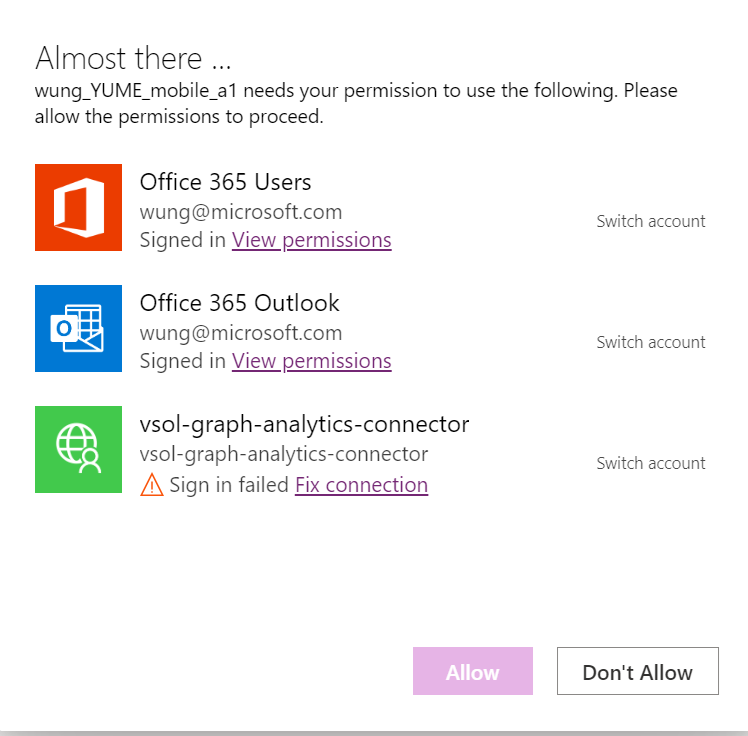
Select Allow to allow permissions to be applied to the application.
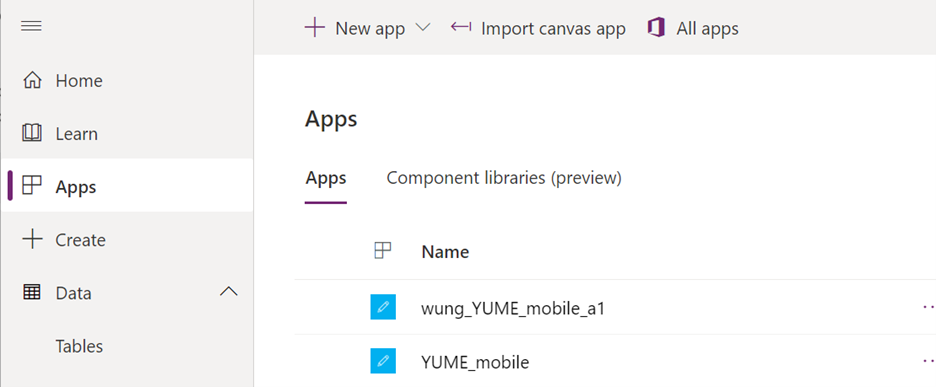
Select Apps from the left navigation pane.
Note
The application to which access has been allowed will be displayed on the Apps section of the page after a few minutes. This time period during which the application is about to be displayed is depicted in the following screenshot:

The app will appear in the Apps section of PowerApps.
- Select OnStart from the drop-down list.
- Change the value cr1de to the table prefix value noted during the Dataverse table creation earlier (in this example, the value is cr627)
Select Data from the left navigation pane. The Data page is displayed.
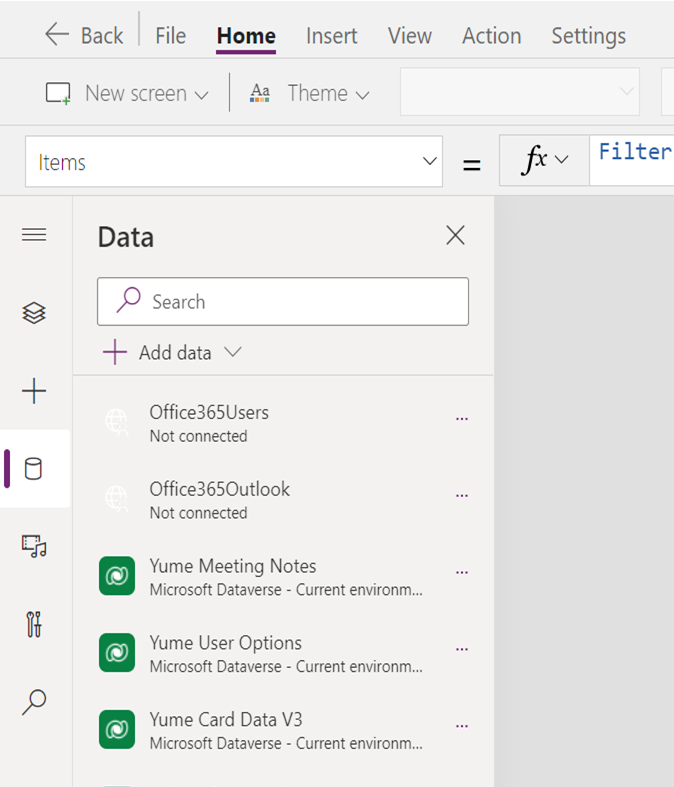
- Remove the following data items:
- Yume Cards
- Yume User Options
- Yume Meeting Notes
- Vsol-graph-analytics-connector
- Add the following data items:
- Yume Cards
- Yume User Options
- Yume Meeting Notes
- Vsol-graph-analytics-connector
- Remove the following data items:
Share out the power app to the target audience.


Publish the Yume application to the organization app catalog
The Yume application can be published in the organization app catalog for users to use this application within the Teams client. For more information on how to publish the Yume application to the organization app catalog, see Embed a canvas app as personal app in Teams.