教學課程:建置 Blazor Server 聊天應用程式
本教學課程說明如何建置和修改 Blazor Server 應用程式。 您將了解如何:
- 使用 Blazor Server 應用程式範本建置簡單的聊天室。
- 使用Razor元件。
- 在Razor元件中使用事件處理和數據系結。
- 快速部署至Visual Studio中的 Azure App 服務。
- 從本機 SignalR 遷移至 Azure SignalR 服務。
準備開始了嗎?
必要條件
- 安裝 .NET Core 3.0 SDK (版本 >= 3.0.100)
- 安裝 Visual Studio 2019 (版本 >= 16.3)
在 Blazor Server 應用程式中建置本機聊天室
從 Visual Studio 2019 16.2.0 版開始,Azure SignalR 服務會內建於 Web 應用程式發佈程式中,讓管理 Web 應用程式和 SignalR 服務之間的相依性更加方便。 您可以在本機開發環境中使用本機 SignalR 實例,並在 Azure SignalR Service 中同時 Azure App 服務 工作,而不需要變更任何程序代碼。
建立 Blazor 聊天應用程式:
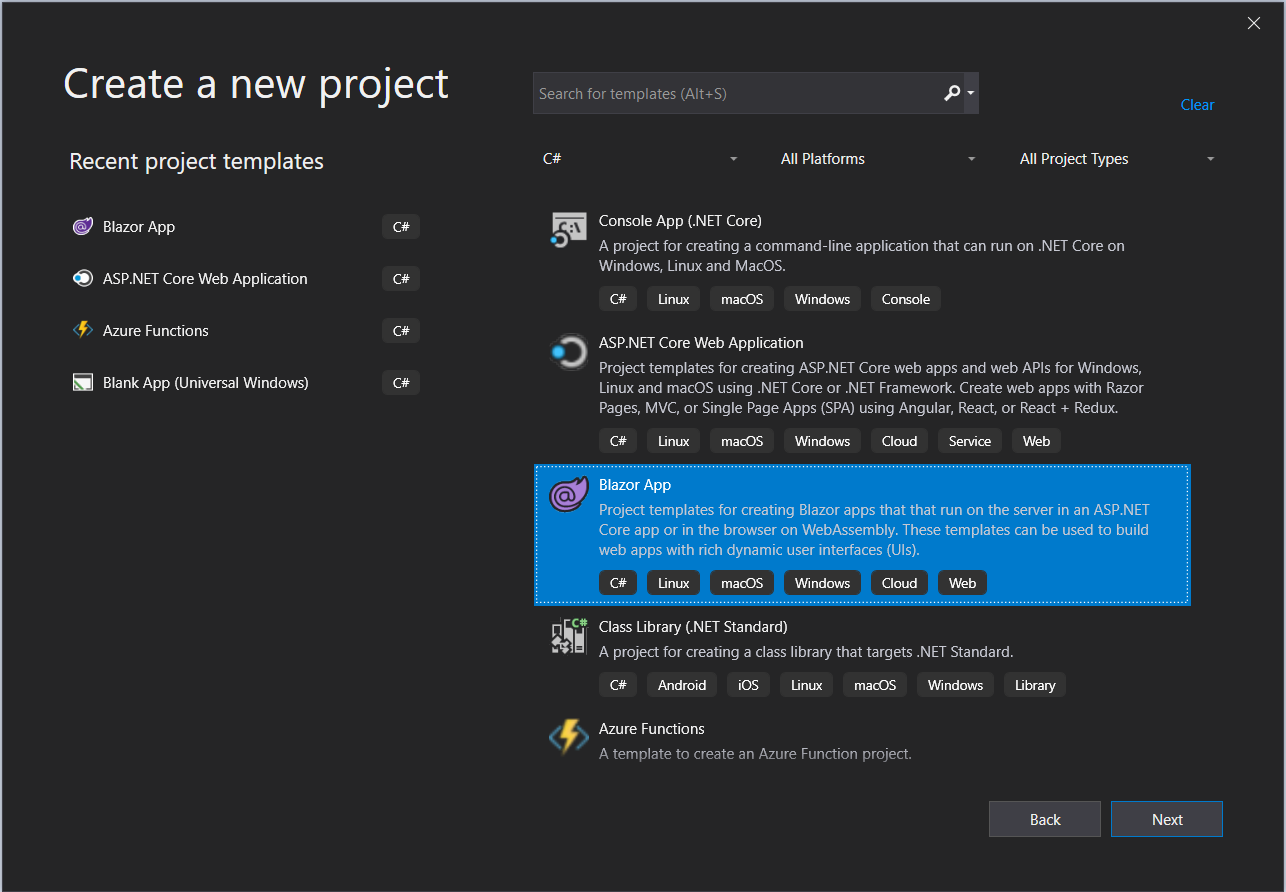
在 Visual Studio 中,選擇 [ 建立新專案]。
選取 [Blazor 應用程式]。
將應用程式命名為 ,然後選擇資料夾。
選取 Blazor Server 應用程式範本。
注意
請確定您已安裝 .NET Core SDK 3.0+ ,讓 Visual Studio 能夠正確辨識目標架構。
您也可以在 .NET CLI 中執行
dotnet new命令來建立專案:dotnet new blazorserver -o BlazorChat
新增名為
BlazorChatSampleHub.cs的新 C# 檔案,並建立衍生自Hub聊天應用程式的 類別的新類別BlazorChatSampleHub。 如需建立中樞的詳細資訊,請參閱 建立和使用中樞。using System; using System.Threading.Tasks; using Microsoft.AspNetCore.SignalR; namespace BlazorChat { public class BlazorChatSampleHub : Hub { public const string HubUrl = "/chat"; public async Task Broadcast(string username, string message) { await Clients.All.SendAsync("Broadcast", username, message); } public override Task OnConnectedAsync() { Console.WriteLine($"{Context.ConnectionId} connected"); return base.OnConnectedAsync(); } public override async Task OnDisconnectedAsync(Exception e) { Console.WriteLine($"Disconnected {e?.Message} {Context.ConnectionId}"); await base.OnDisconnectedAsync(e); } } }在方法中新增中樞的
Startup.Configure()端點。app.UseEndpoints(endpoints => { endpoints.MapBlazorHub(); endpoints.MapFallbackToPage("/_Host"); endpoints.MapHub<BlazorChatSampleHub>(BlazorChatSampleHub.HubUrl); });Microsoft.AspNetCore.SignalR.Client安裝套件以使用SignalR用戶端。dotnet add package Microsoft.AspNetCore.SignalR.Client --version 3.1.7在資料夾下
Pages建立名為ChatRoom.razor的新Razor元件,以實作SignalR用戶端。 請遵循下列步驟或使用 ChatRoom.razor 檔案。@page新增指示詞和using語句。@inject使用指示詞插入NavigationManager服務。@page "/chatroom" @inject NavigationManager navigationManager @using Microsoft.AspNetCore.SignalR.Client;在區
@code段中,將下列成員新增至新的 SignalR 用戶端,以傳送和接收訊息。@code { // flag to indicate chat status private bool _isChatting = false; // name of the user who will be chatting private string _username; // on-screen message private string _message; // new message input private string _newMessage; // list of messages in chat private List<Message> _messages = new List<Message>(); private string _hubUrl; private HubConnection _hubConnection; public async Task Chat() { // check username is valid if (string.IsNullOrWhiteSpace(_username)) { _message = "Please enter a name"; return; }; try { // Start chatting and force refresh UI. _isChatting = true; await Task.Delay(1); // remove old messages if any _messages.Clear(); // Create the chat client string baseUrl = navigationManager.BaseUri; _hubUrl = baseUrl.TrimEnd('/') + BlazorChatSampleHub.HubUrl; _hubConnection = new HubConnectionBuilder() .WithUrl(_hubUrl) .Build(); _hubConnection.On<string, string>("Broadcast", BroadcastMessage); await _hubConnection.StartAsync(); await SendAsync($"[Notice] {_username} joined chat room."); } catch (Exception e) { _message = $"ERROR: Failed to start chat client: {e.Message}"; _isChatting = false; } } private void BroadcastMessage(string name, string message) { bool isMine = name.Equals(_username, StringComparison.OrdinalIgnoreCase); _messages.Add(new Message(name, message, isMine)); // Inform blazor the UI needs updating InvokeAsync(StateHasChanged); } private async Task DisconnectAsync() { if (_isChatting) { await SendAsync($"[Notice] {_username} left chat room."); await _hubConnection.StopAsync(); await _hubConnection.DisposeAsync(); _hubConnection = null; _isChatting = false; } } private async Task SendAsync(string message) { if (_isChatting && !string.IsNullOrWhiteSpace(message)) { await _hubConnection.SendAsync("Broadcast", _username, message); _newMessage = string.Empty; } } private class Message { public Message(string username, string body, bool mine) { Username = username; Body = body; Mine = mine; } public string Username { get; set; } public string Body { get; set; } public bool Mine { get; set; } public bool IsNotice => Body.StartsWith("[Notice]"); public string CSS => Mine ? "sent" : "received"; } }在區段之前
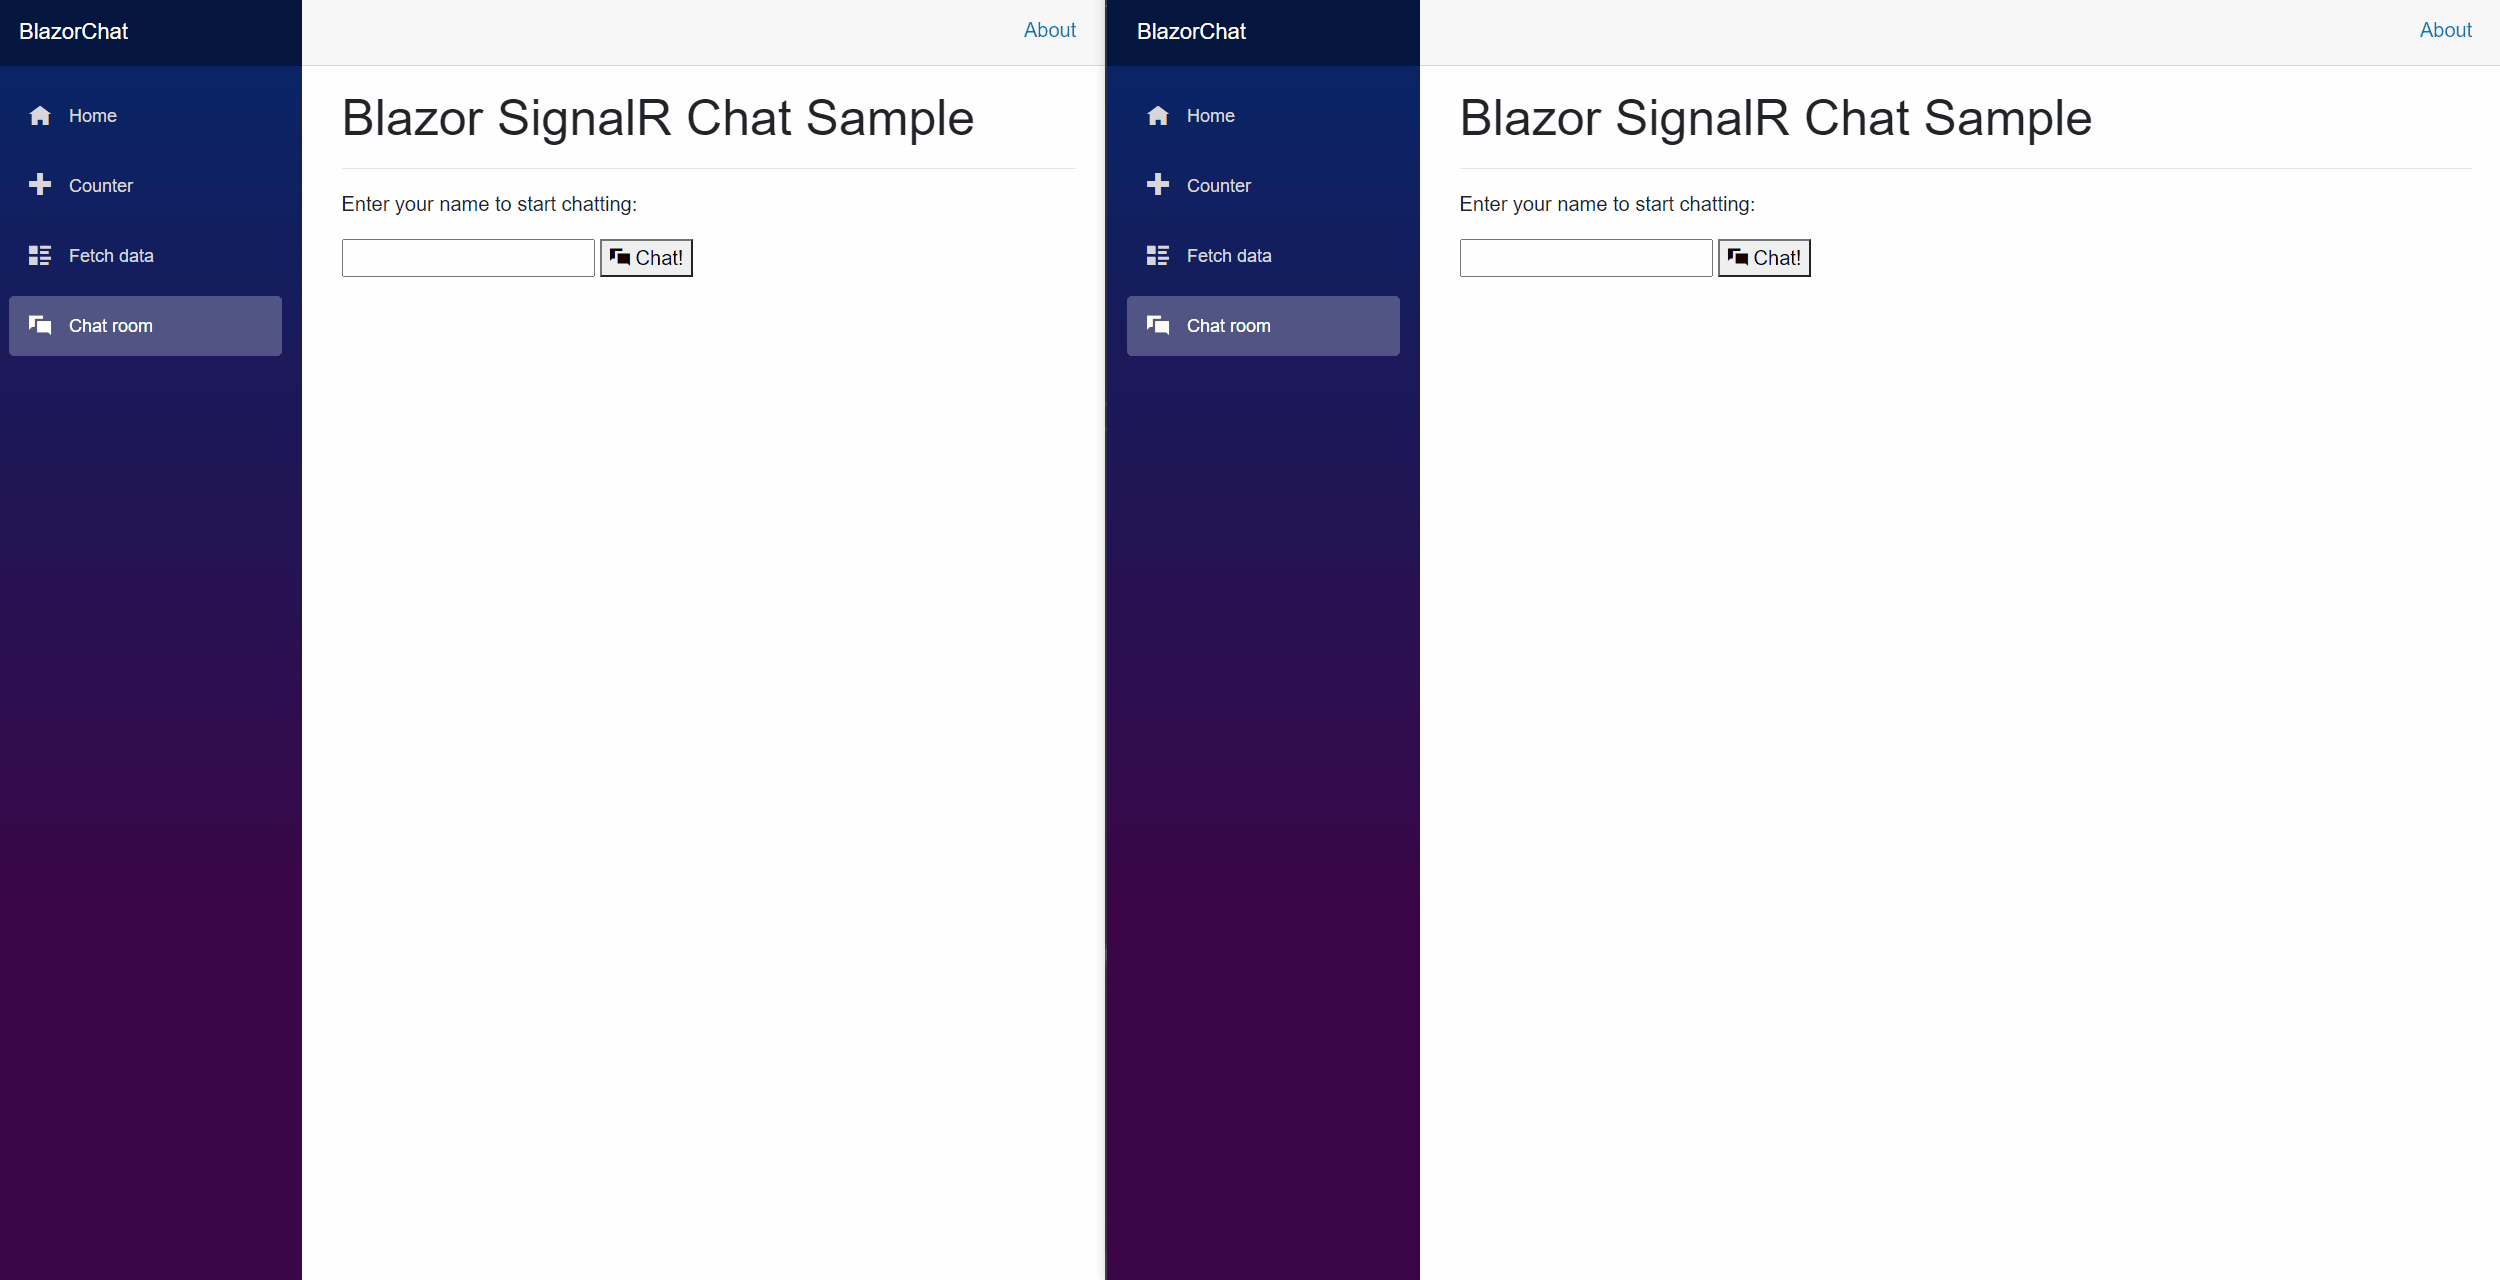
@code新增UI標記,以與SignalR客戶端互動。<h1>Blazor SignalR Chat Sample</h1> <hr /> @if (!_isChatting) { <p> Enter your name to start chatting: </p> <input type="text" maxlength="32" @bind="@_username" /> <button type="button" @onclick="@Chat"><span class="oi oi-chat" aria-hidden="true"></span> Chat!</button> // Error messages @if (_message != null) { <div class="invalid-feedback">@_message</div> <small id="emailHelp" class="form-text text-muted">@_message</small> } } else { // banner to show current user <div class="alert alert-secondary mt-4" role="alert"> <span class="oi oi-person mr-2" aria-hidden="true"></span> <span>You are connected as <b>@_username</b></span> <button class="btn btn-sm btn-warning ml-md-auto" @onclick="@DisconnectAsync">Disconnect</button> </div> // display messages <div id="scrollbox"> @foreach (var item in _messages) { @if (item.IsNotice) { <div class="alert alert-info">@item.Body</div> } else { <div class="@item.CSS"> <div class="user">@item.Username</div> <div class="msg">@item.Body</div> </div> } } <hr /> <textarea class="input-lg" placeholder="enter your comment" @bind="@_newMessage"></textarea> <button class="btn btn-default" @onclick="@(() => SendAsync(_newMessage))">Send</button> </div> }
NavMenu.razor更新元件以插入新的NavLink元件,以連結至 下方NavMenuCssClass的聊天室。<li class="nav-item px-3"> <NavLink class="nav-link" href="chatroom"> <span class="oi oi-chat" aria-hidden="true"></span> Chat room </NavLink> </li>將幾個 CSS 類別新增至
site.css檔案,以在聊天頁面中設定 UI 元素的樣式。/* improved for chat text box */ textarea { border: 1px dashed #888; border-radius: 5px; width: 80%; overflow: auto; background: #f7f7f7 } /* improved for speech bubbles */ .received, .sent { position: relative; font-family: arial; font-size: 1.1em; border-radius: 10px; padding: 20px; margin-bottom: 20px; } .received:after, .sent:after { content: ''; border: 20px solid transparent; position: absolute; margin-top: -30px; } .sent { background: #03a9f4; color: #fff; margin-left: 10%; top: 50%; text-align: right; } .received { background: #4CAF50; color: #fff; margin-left: 10px; margin-right: 10%; } .sent:after { border-left-color: #03a9f4; border-right: 0; right: -20px; } .received:after { border-right-color: #4CAF50; border-left: 0; left: -20px; } /* div within bubble for name */ .user { font-size: 0.8em; font-weight: bold; color: #000; } .msg { /*display: inline;*/ }按下 F5 即可執行應用程式。 現在,您可以起始聊天:


發佈至 Azure
當您將 Blazor 應用程式部署至 Azure App 服務 時,建議您使用 Azure SignalR Service。 Azure SignalR 服務允許將 Blazor 伺服器應用程式相應增加為大量的並行 SignalR 連線。 此外,SignalR 服務的全域觸達和高效能數據中心可大幅協助降低地理位置造成的延遲。
重要
在 Blazor Server 應用程式中,UI 狀態會在伺服器端維護,這表示需要黏性伺服器會話才能保留狀態。 如果有單一應用程式伺服器,設計可確保黏性會話。 不過,如果有多個應用程式伺服器,用戶端交涉和連線可能會移至不同的伺服器,這可能會導致 Blazor 應用程式中 UI 狀態管理不一致。 因此,建議您啟用黏性伺服器會話,如下列appsettings.json所示:
"Azure:SignalR:ServerStickyMode": "Required"
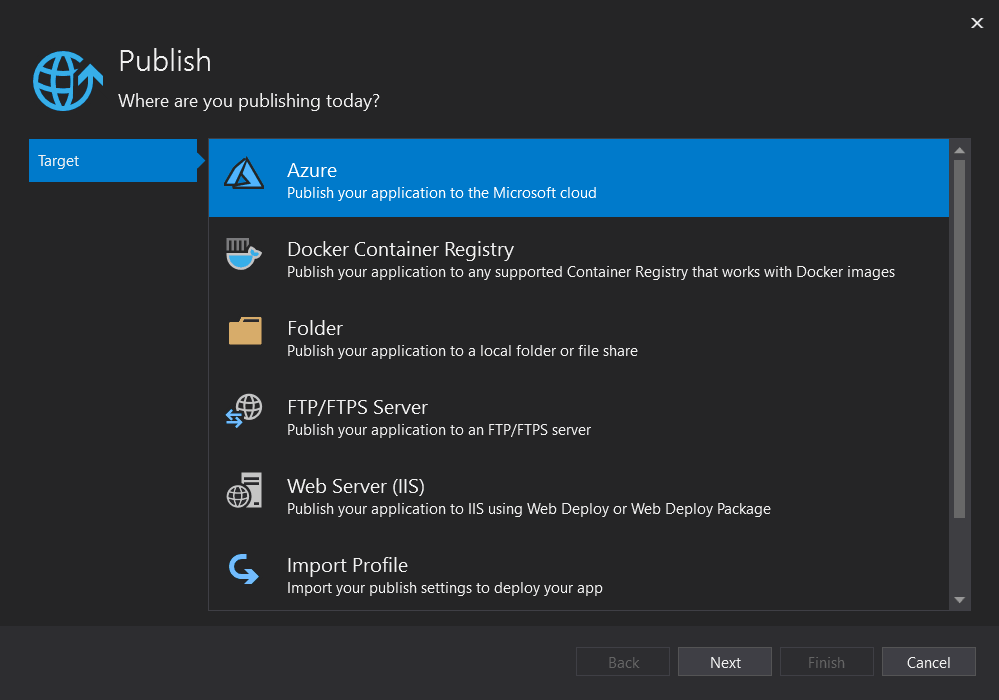
以滑鼠右鍵按兩下項目,然後移至 [ 發佈]。 使用下列設定:
- 目標:Azure
- 特定目標:支援所有類型的 Azure App 服務。
- App Service:建立或選取 App Service 實例。
新增 Azure SignalR Service 相依性。
建立發行配置文件之後,您可以看到建議訊息,以在 [服務相依性] 底下新增 Azure SignalR 服務。 選取 [ 設定 ] 以建立新的 ,或在窗格中選取現有的 Azure SignalR 服務。
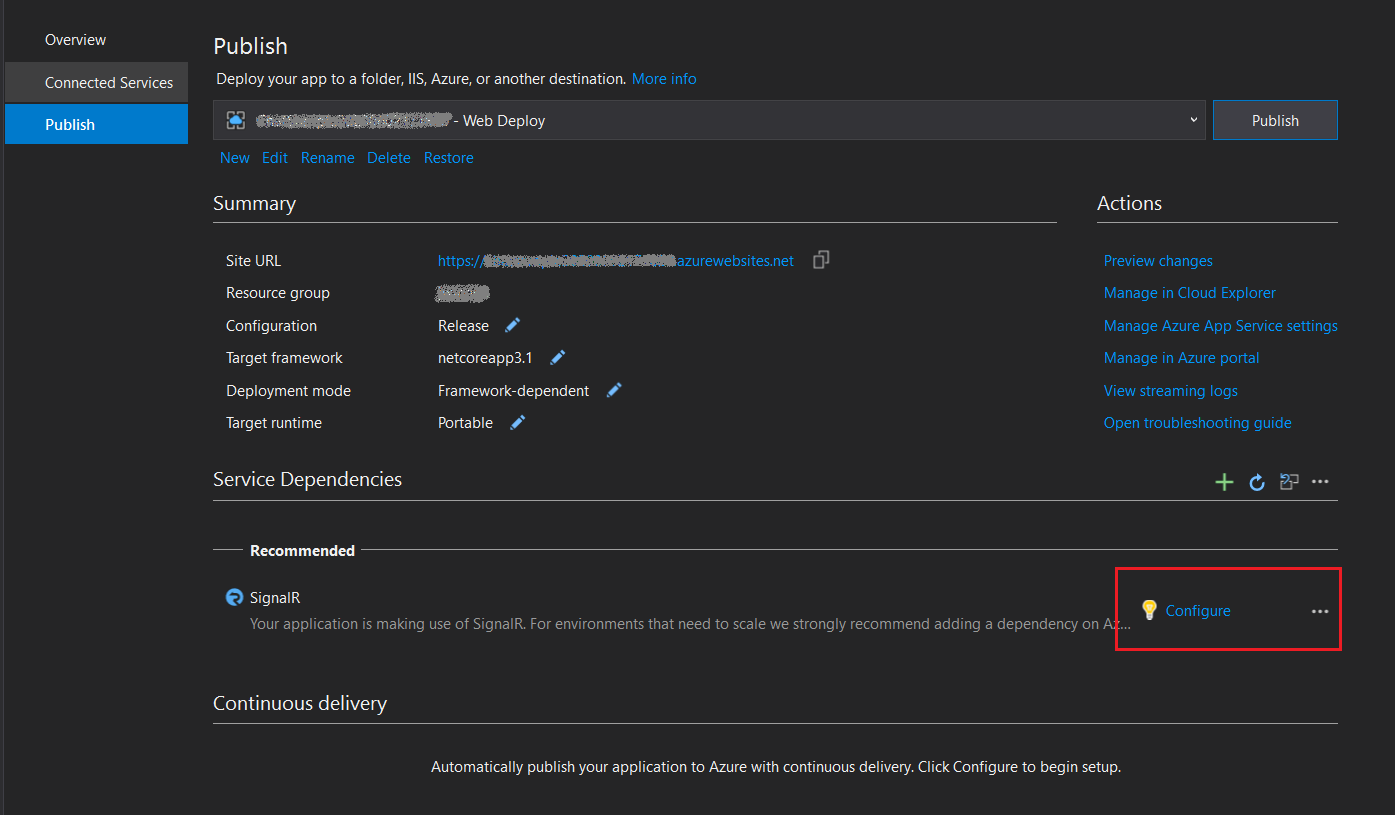
服務相依性會執行下列活動,讓您的應用程式在 Azure 上時自動切換至 Azure SignalR Service:
- 更新
HostingStartupAssembly以使用 Azure SignalR 服務。 - 新增 Azure SignalR Service NuGet 套件參考。
- 更新配置檔屬性以儲存相依性設定。
- 根據您的選擇設定秘密存放區。
- 在 appsettings.json 中新增組態,讓您的應用程式以 Azure SignalR Service 為目標。

- 更新
發行應用程式。
現在應用程式已準備好發佈。 發佈程式完成後,應用程式會自動在瀏覽器中啟動。
注意
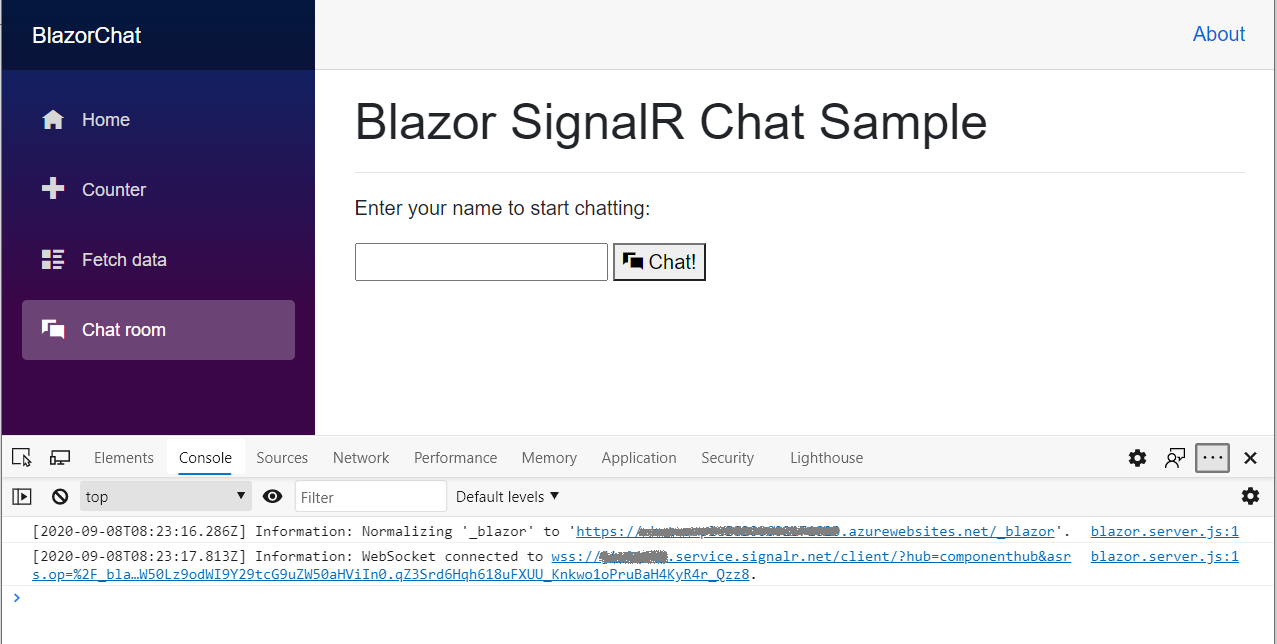
應用程式可能需要一些時間才能啟動,因為 Azure App 服務 部署開始延遲。 您可以使用瀏覽器調試程式工具(通常是按 F12),以確保流量已重新導向至 Azure SignalR 服務。


啟用 Azure SignalR Service 以進行本機開發
使用下列命令新增 Azure SignalR SDK 的參考。
dotnet add package Microsoft.Azure.SignalR在 中
Startup.ConfigureServices()新增呼叫,AddAzureSignalR()如下所示。public void ConfigureServices(IServiceCollection services) { ... services.AddSignalR().AddAzureSignalR(); ... }在 appsettings.json 或使用秘密管理員工具設定 Azure SignalR Service 連接字串。
注意
步驟 2 可以取代為設定 裝載啟動元件 以使用 SignalR SDK。
新增組態以在 appsettings.json中開啟 Azure SignalR Service:
"Azure": {
  "SignalR": {
    "Enabled": true,
    "ConnectionString": <your-connection-string>
  }
}
設定裝載啟動元件以使用 Azure SignalR SDK。 編輯啟動 設定.json 並新增組態,如下列範例所示
environmentVariables:"environmentVariables": { ..., "ASPNETCORE_HOSTINGSTARTUPASSEMBLIES": "Microsoft.Azure.SignalR" }
清除資源
若要清除本教學課程中建立的資源,請使用 Azure 入口網站 刪除資源群組。
其他資源
下一步
在本教學課程中,您已了解如何:
- 使用 Blazor Server 應用程式範本建置簡單的聊天室。
- 使用Razor元件。
- 在Razor元件中使用事件處理和數據系結。
- 快速部署至Visual Studio中的 Azure App 服務。
- 從本機 SignalR 遷移至 Azure SignalR 服務。
深入瞭解高可用性: