使用 Docker 範本建置 Docker 映像,並將映像推送至 Azure Container Registry
Azure DevOps Services
在本逐步教學課程中,您將瞭解如何設定持續整合管線來建置容器化應用程式。 新的提取要求會觸發管線,以建置 Docker 映射並將其發佈至 Azure Container Registry。
必要條件
GitHub 帳戶。 如果您還沒有 GitHub 帳戶,請建立免費的 GitHub 帳戶。
Azure DevOps 組織和專案。 如果您還沒有新組織,請建立新的組織和 /或 新的專案。
Azure 帳戶。 如果您還沒有 Azure 帳戶,請註冊 免費的 Azure 帳戶。
取得程式碼
分支或複製 pipeline-javascript-docker 範例應用程式:
https://github.com/MicrosoftDocs/pipelines-javascript-docker
建立容器登錄
登入 Azure,然後選取 右上角的 [Azure Cloud Shell ] 按鈕。

執行下列命令,以使用 Azure CLI 建立資源群組和 Azure Container Registry。
# Create a resource group
az group create --name myapp-rg --location eastus

# Create a container registry
az acr create --resource-group myapp-rg --name mycontainerregistry --sku Basic
注意
Container Registry 名稱必須是小寫。
您也可以使用 Azure 入口網站 Web UI 來建立 Azure Container Registry。 如需詳細資訊, 請參閱建立容器登錄 。
重要
您必須啟用系統管理員用戶帳戶,才能從 Azure Container Registry 部署 Docker 映像。 如需詳細資訊,請參閱 容器登錄驗證 。
建立管線
登入您的 Azure DevOps 組織,並流覽至您的專案。
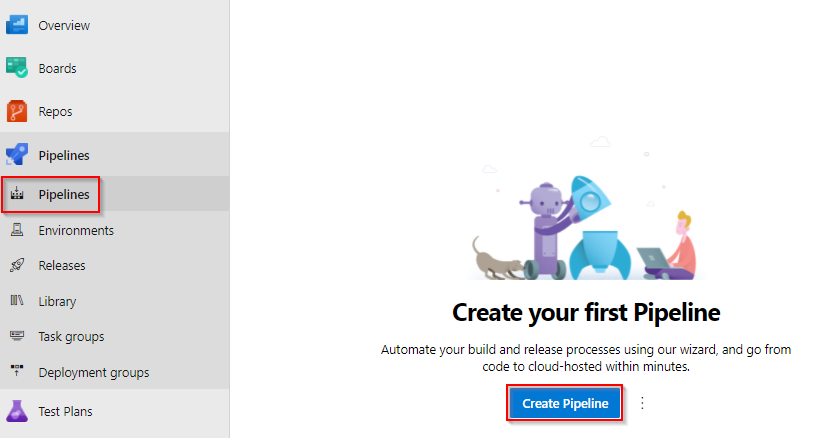
選取 [ 管線],然後選取 [ 新增管線 ] 以建立新的管線。
選取 [GitHub YAML],然後選取 [ 授權 Azure Pipelines ] 以提供適當的許可權來存取您的存放庫。
系統可能會要求您登入 GitHub。 如果是,請輸入您的 GitHub 認證,然後從存放庫清單中選取您的存放庫。
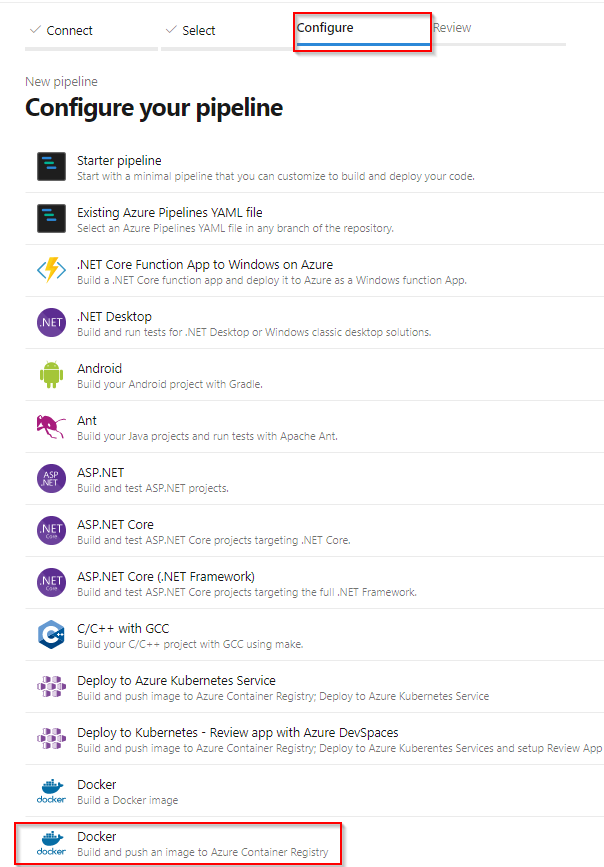
從 [設定] 索引標籤中,選取 Docker - 建置並將映射推送至 Azure Container Registry 工作。
選取您的 Azure 訂用帳戶,然後選取 [ 繼續]。
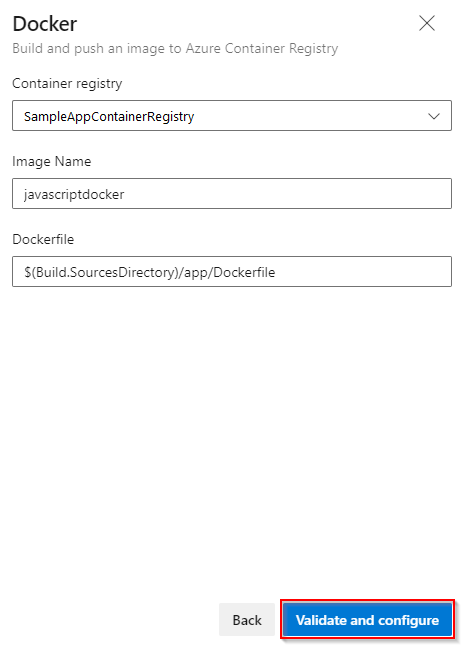
從下拉功能表中選取您的容器登錄,然後將映像名稱提供給容器映像。
選取 [ 驗證],然後在 完成時進行設定。
當 Azure Pipelines 建立管線時,它會:
建立 Docker 登錄服務連線 ,讓您的管線將映像推送至容器登錄。
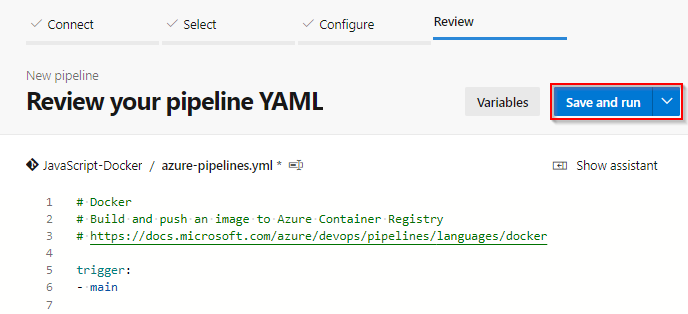
產生 azure-pipelines.yml 檔案,其會定義您的管線。
檢閱管線 YAML,然後在準備好時選取 [ 儲存並執行 ]。
新增認可 訊息,然後選取 [ 儲存並執行 ] 以認可變更並執行管線。
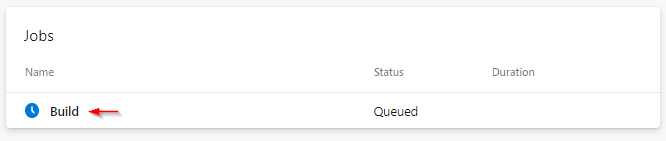
當您的管線執行時,請選取建置作業來監看管線的運作情形。
我們如何建置管線
我們剛才在上一節中建立的管線是從 Docker 容器範本 YAML 產生的。 建置階段會 使用 Docker 工作Docker@2 來建置 Docker 映射,並將 Docker 映射推送至容器登錄。
- stage: Build
  displayName: Build and push stage
  jobs:
  - job: Build
    displayName: Build job
    pool:
      vmImage: $(vmImageName)
    steps:
    - task: Docker@2
      displayName: Build and push an image to container registry
      inputs:
        command: buildAndPush
        repository: $(imageRepository)
        dockerfile: $(dockerfilePath)
        containerRegistry: $(dockerRegistryServiceConnection)
        tags: |
          $(tag)
清除資源
如果您不打算繼續使用此應用程式,您可以刪除在本教學課程中建立的資源,以避免產生持續費用。 執行下列命令以刪除您的資源群組。
az group delete --name myapp-rg
相關文章
意見反應
即將登場:在 2024 年,我們將逐步淘汰 GitHub 問題作為內容的意見反應機制,並將它取代為新的意見反應系統。 如需詳細資訊,請參閱:https://aka.ms/ContentUserFeedback。
提交並檢視相關的意見反應