Step 6 - Create the Power Automate flows for nudging
To create the Power Automate flows for nudging, perform the following steps:
Download Task and Meeting zip file.
Create a service account (as needed).
Add the service account as a member of the Yume content administrator security role.
Sign in to Power Automate by launching the URL https://powerautomate.microsoft.com.
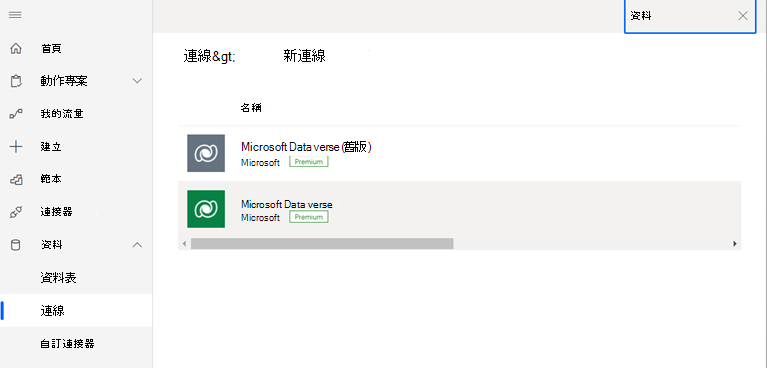
Create connections to Teams and Microsoft Dataverse, for example, adding connections for Microsoft Dataverse as shown in the following screenshot.
Import the meeting flows by performing the following substeps:
Select My flows on the left navigation pane. The Flows page is displayed.
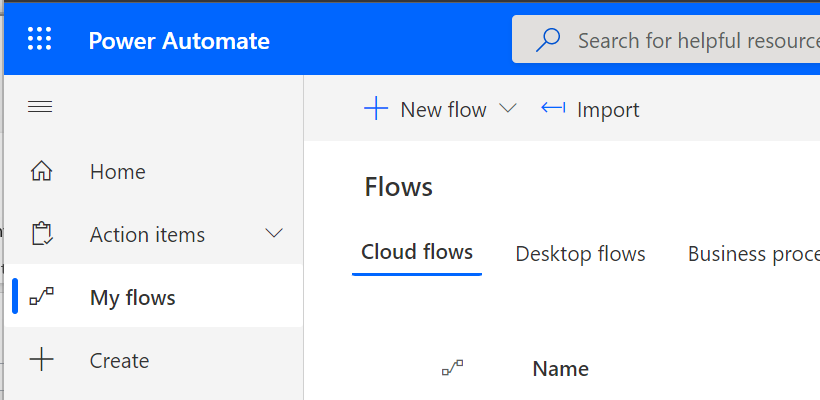
Select Import. The Import package page is displayed.
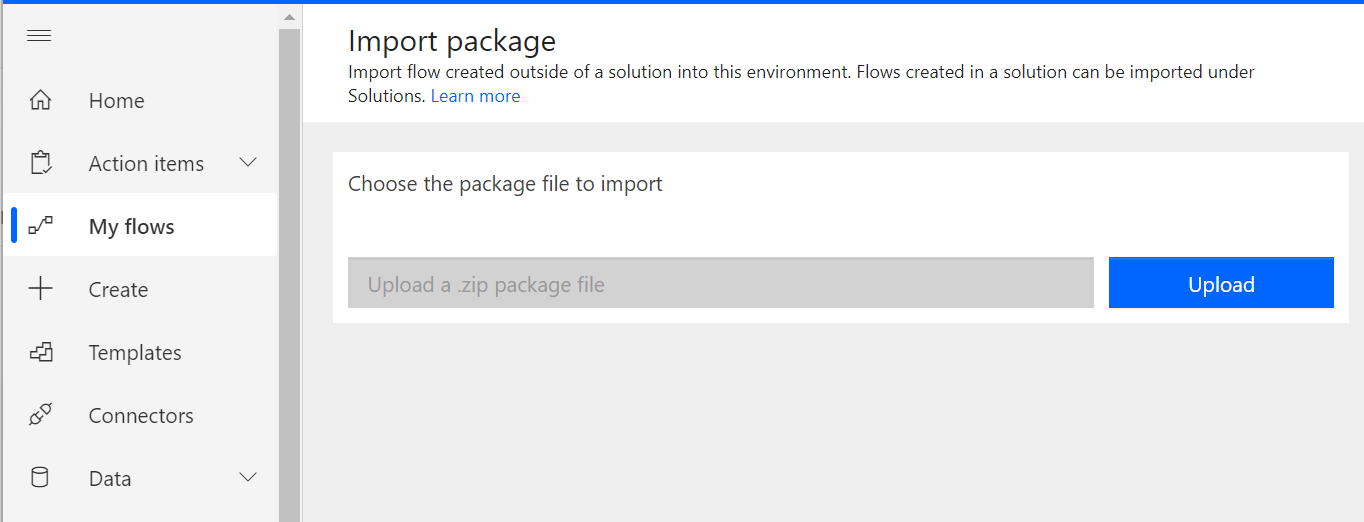
Select Upload. The file browser dialog box is displayed.
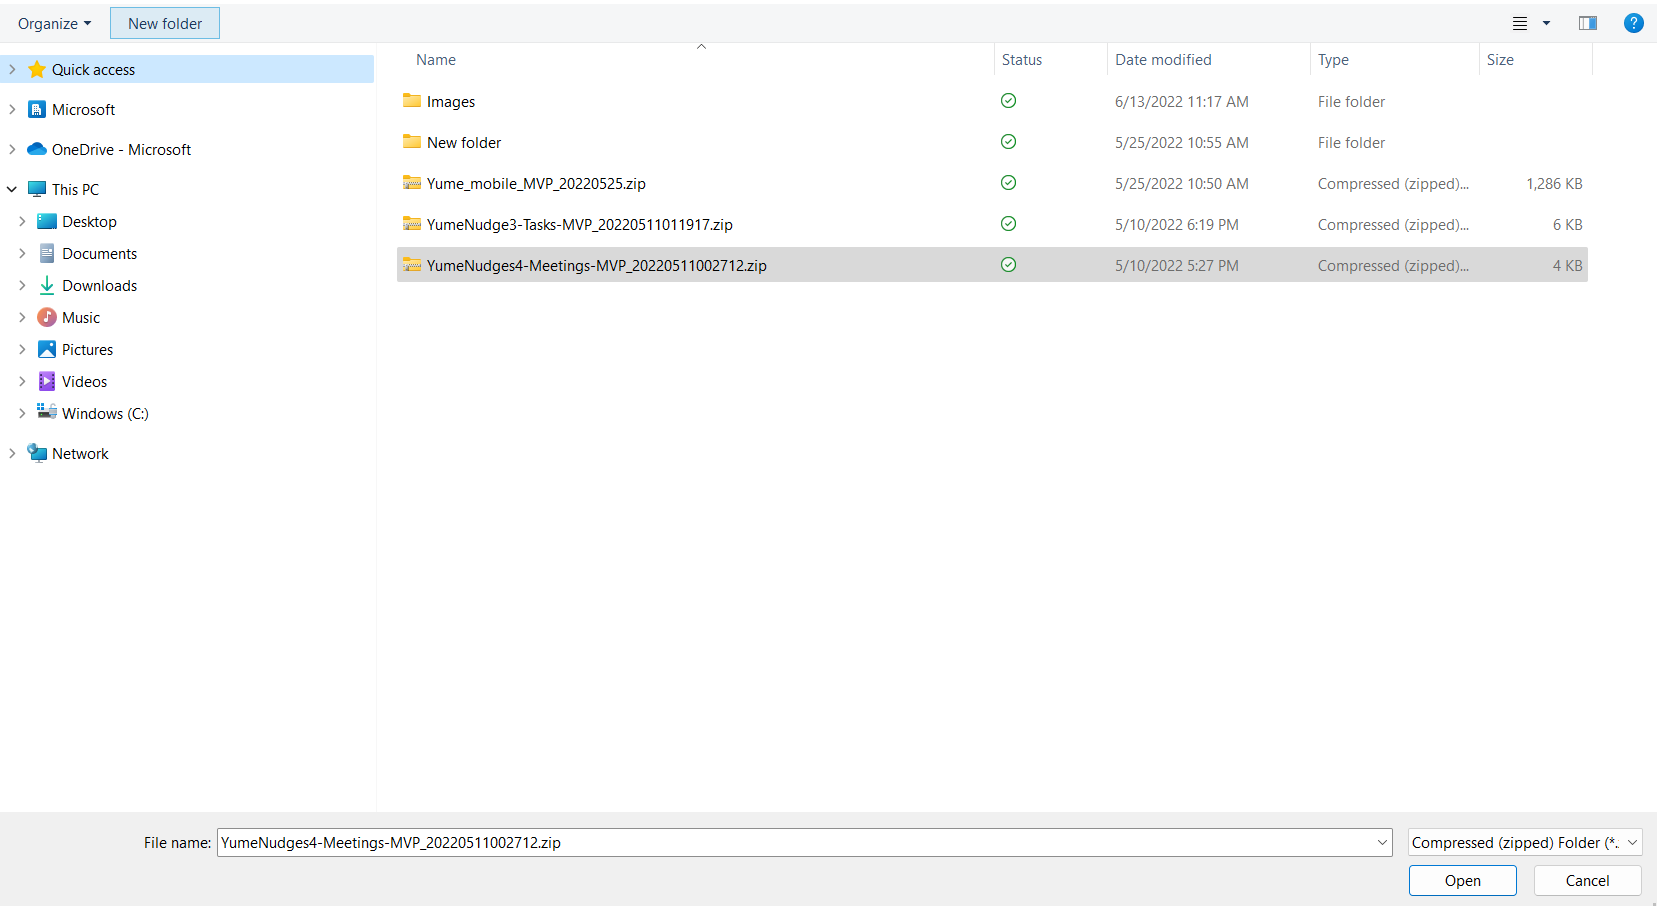
Select the file you want to upload, and select Open.
The selected file is populated in the Upload box, and the upload process begins which is indicated by the button changing from Upload to Uploading.

After a few minutes, the package is successfully uploaded, and the same is displayed on the Import package page.
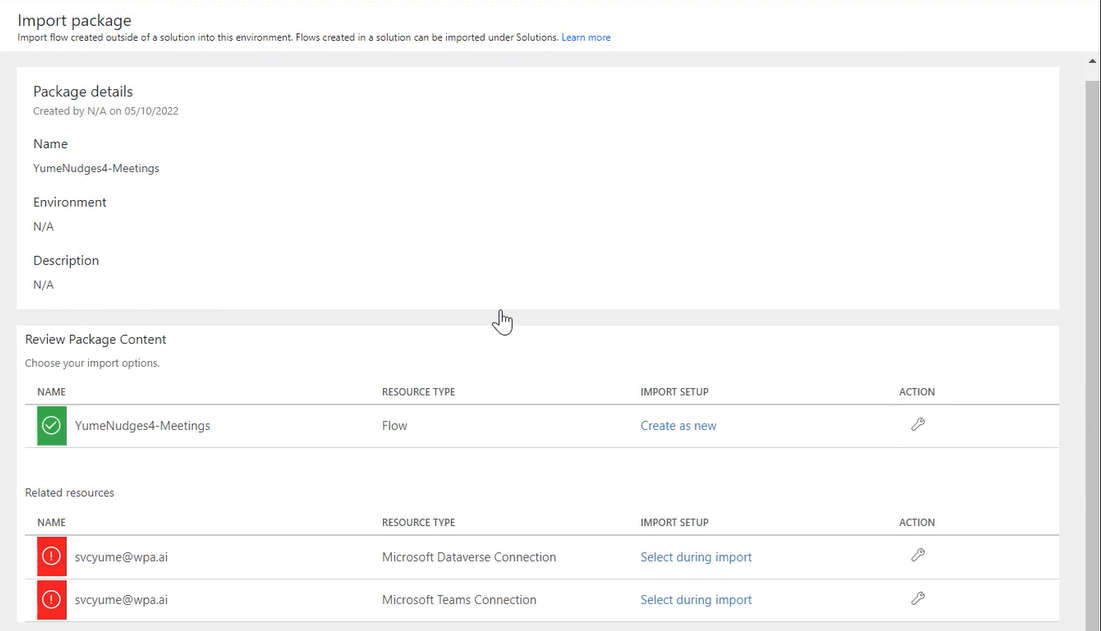
Select Create as new. The Import setup pane is displayed on the right side of the page, as shown in the following screenshot.
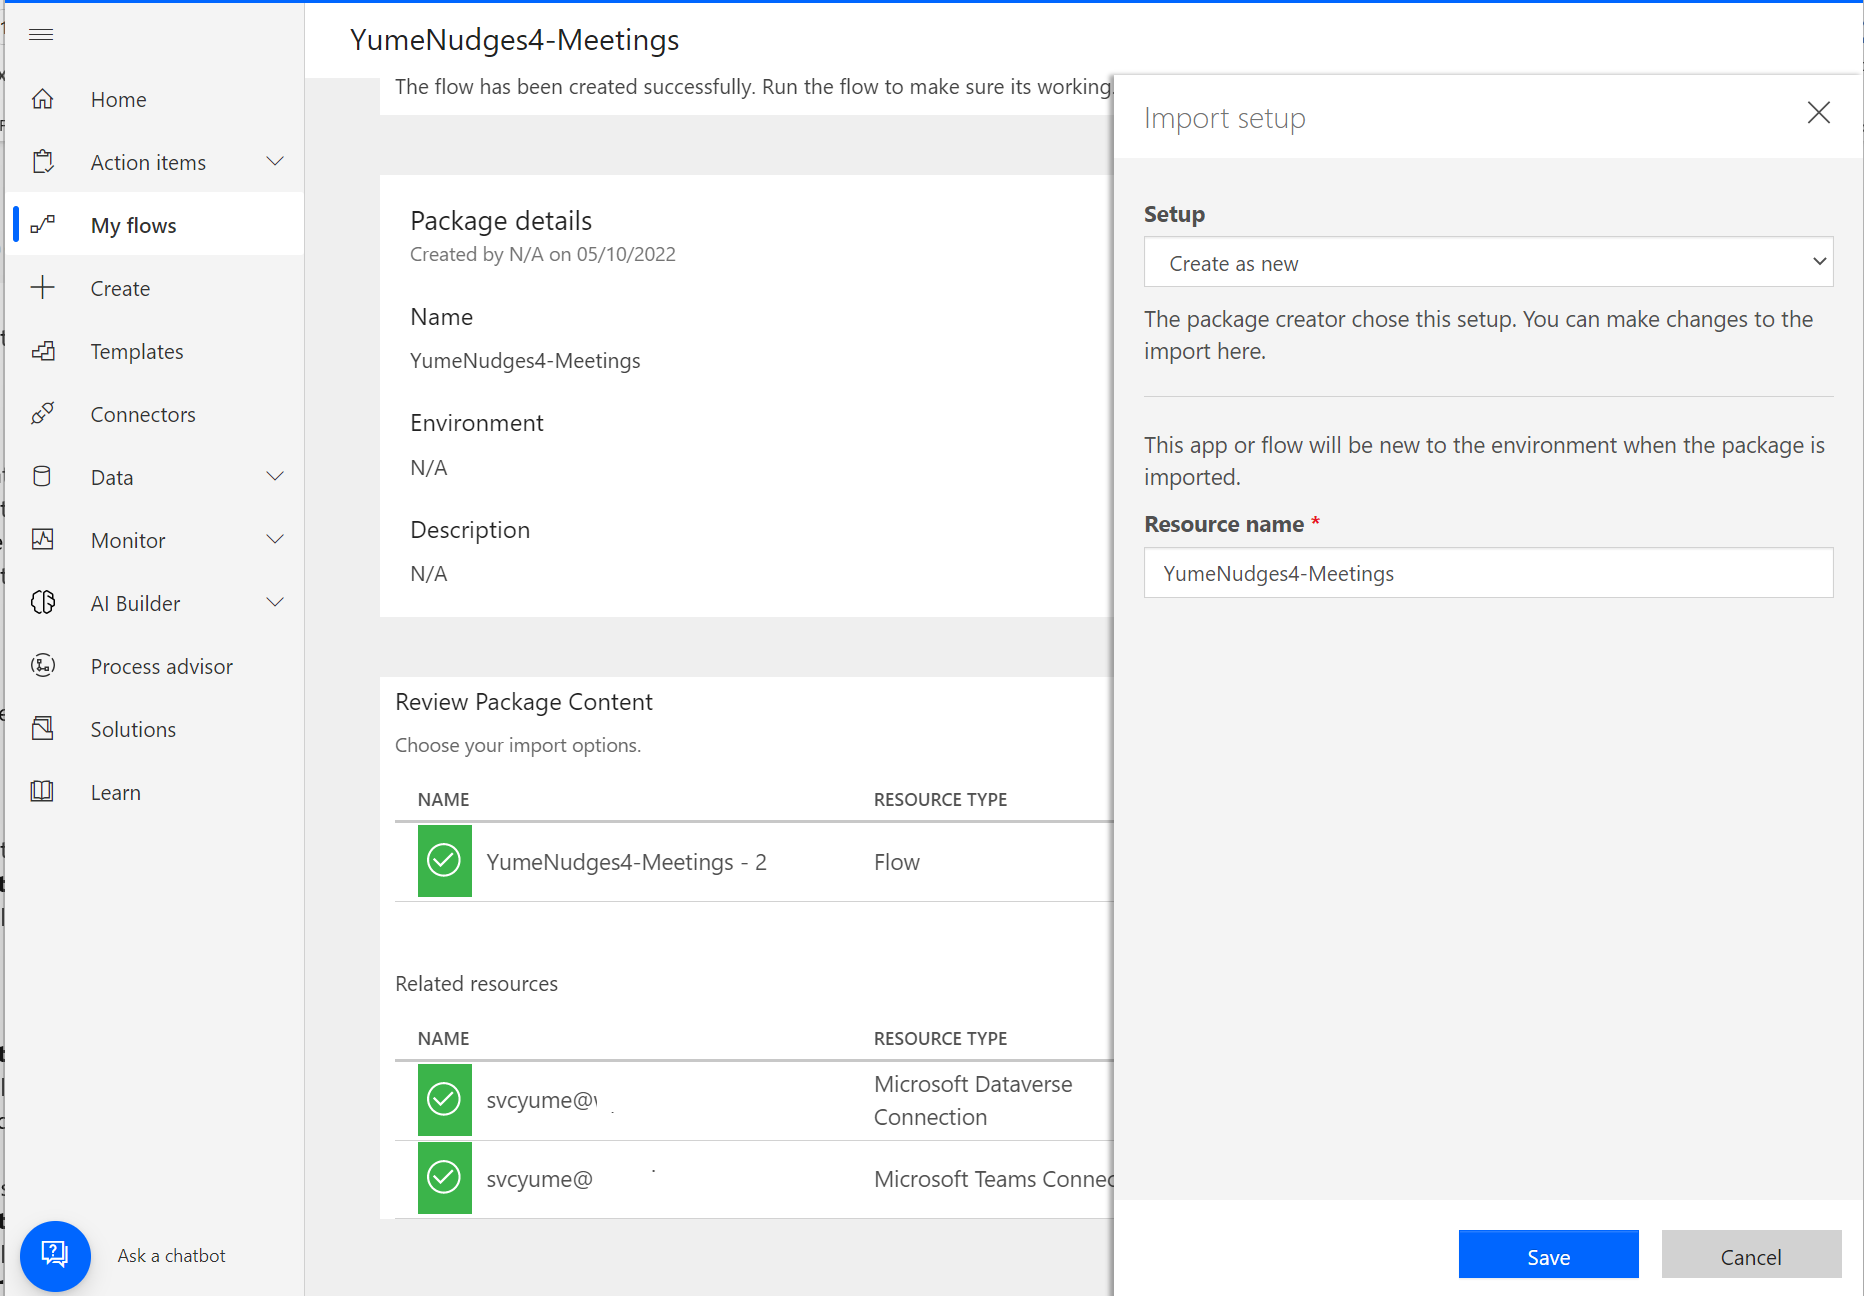
Update the name from the Resource name box, and select Save. You return to the Import package page, with the updated name displayed under the Create as new option.
Select the resource types for Microsoft Dataverse Connection and Microsoft Teams Connection by performing the following substeps:
Select the option Select during import for each of the two connections. The Import setup pane as shown in the following screenshot is displayed.
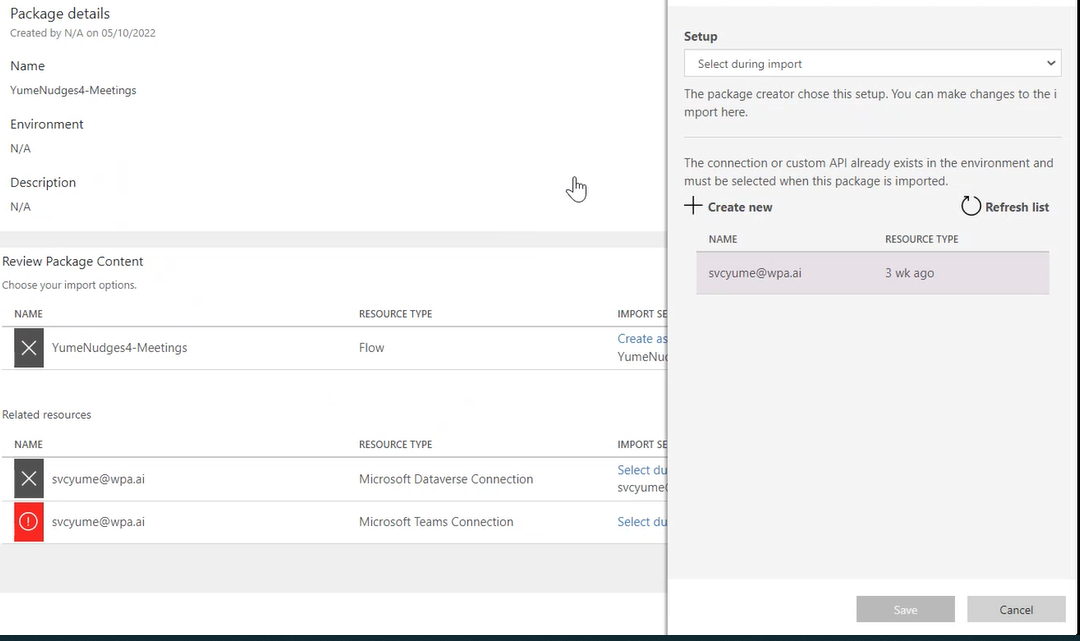
Select the connection. On selecting it, the Save button is enabled, as shown in the following screenshot.

Select Save. You're taken back to the Import package page.

Select Import. Once the import process is completed successfully, a notification message is displayed as shown in the following screenshot.

If this import process fails, the page as shown in the following screenshot is displayed.

Select Save as new flow. The import process is completed successfully as shown in the following screenshot:
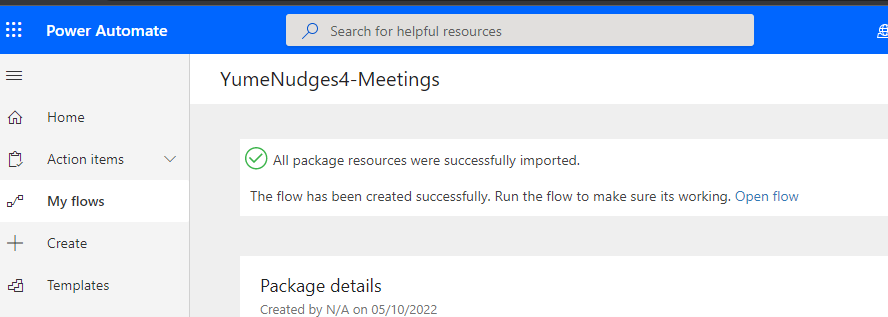
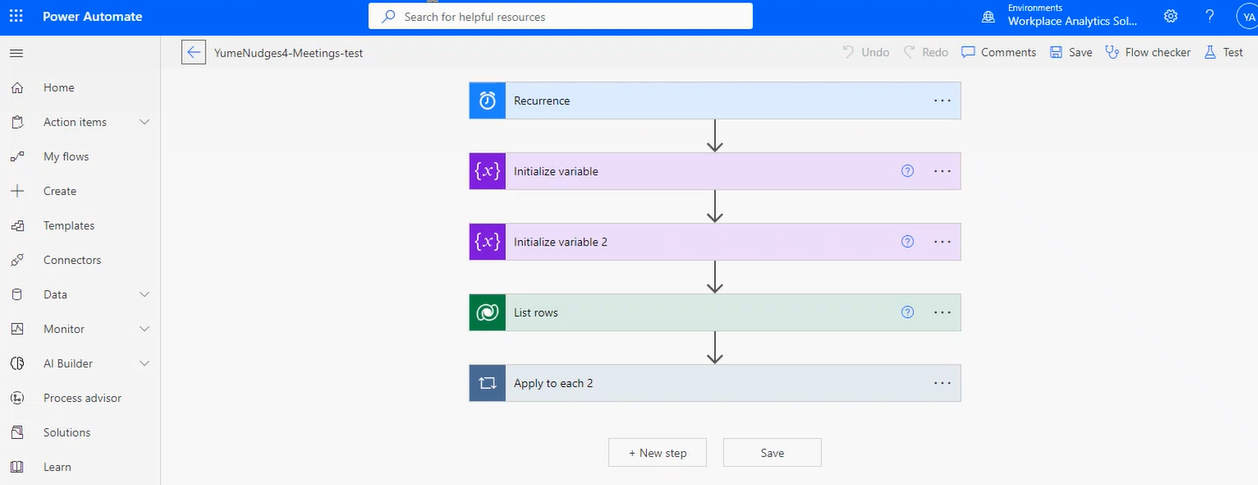
Select Open flow to edit the flow-related information. The page as shown in the following screenshot is displayed:
Update the Initialize variable page for data prefix by populating the Value field with the value of the Dataverse table created earlier, for example, cr627 as shown in the following screenshot.
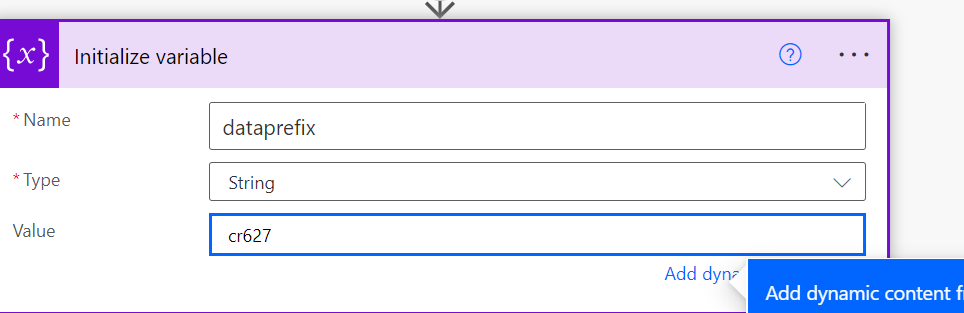
Select Initial variable to update the Initialize variable page for data prefix.
Populate the Value field with the value of the Dataverse table created earlier, for example, cr627 as shown in the following screenshot.
Select Initial variable to update the Initialize variable page for Yume URL by populating the Value field with the value of the PowerApps Weblink URL for the Yume PowerApp.
Update the frequency as needed (currently set to every 1 week on Sunday).
Save the flow.
Repeat the import process for the Tasks flow by performing the following substeps:
Select Initial variable to update the Initialize variable page for data prefix:
Populate the Value field with the value of the Dataverse table created earlier, for example, cr627 as shown in the following screenshot.
Select Initial variable to update the Initialize variable page for Yume URL.
- Populate the Value field with the value of the PowerApps Weblink URL for the Yume PowerApp.
Update the frequency as needed (currently set to every 1 week on Sunday).
Save the flow.


